Husband Builds a Beautiful Tree Stump House For His Wife

image via : facebook.com
It’s always really sad when an old beautiful tree dies on my land and then needs to be cut down. After the tree is cut down and any dangerous areas that could potentially fall on someone are removed a left over stump sits there on the ground. Not only is it a reminder of the loss of the majestic tree but it can be pretty a big eye sore.
A married couple faced this exact scenario with an unsightly stump right smack in the front of their yard, after her husband chopped the old dead tree down. They were faced with a dilemma. To they bring somebody in to remove the left over stump or maybe come up with something imaginative in it’s place
In the footage below, the man’s wife decided to come up with one of the most creative, magical and charming idea for that eye-sore of a stump. Knowing that her husband is great with his hand woodworking and cutting with a saw she knew her vision could be executed in just a short time.
She explained her idea to her husband who was surprisingly super excited to get started on the project. In the video below she takes us through each step and all the materials (which she clarifies are all very cheap and affordable), and were bought at the local Lowe’s hardware and the Dollar Store in their town, that went into this magical and whimsical creation.
Together the couple transformed an unsightly stump into a creative, beautiful and inviting ‘Tree Stump House For Gnomes’. It really adds such a nice pleasant piece of wooden art that gives their front yard some amazing character. All their family and friends want one to and love coming over to check out the magical little Gnome house. It gives them pleasure each day and has been enjoyed by friends and neighbors alike.
Please SHARE This With Family and Friends
She Wrapped An Egg In Silk. But When She Unwraps The Egg It’s STUNNING!
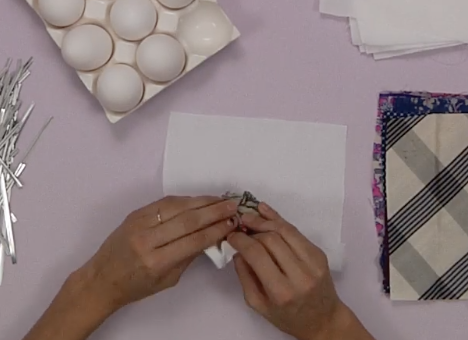
image via – youtube.com
There are many ways to dye an egg. Some people use Kool-Aid, food coloring, store bought kits, nail polish, and all sorts of other things. One lesser known method is an old fashioned way that uses dye from silk scarves to decorate hard boiled eggs. The scarves intricate patterns and colors transfer to the eggs, which turn out absolutely beautiful and truly unique, thanks to their level of detail.
All you need is eggs (uncooked), 100% silk scarves or ties, a ½ yard of white fabric, twist ties, white vinegar, and vegetable oil. You will also need scissors to cut the fabric and a pot of water to boil the eggs in, but that’s it! The whole process is neat and easily doable in under an hour.
However, do not use any of your favorite or treasured silk items because they will be altered by this; not completely ruined, but faded. Also, be sure to use only 100% silk to get the right results. Second hand or thrift stores are a great place to find them at the lowest cost.
To start, cut the silk and white fabric into 7 inch by 7 inch squares. Take an egg and wrap it very tightly in a silk square, then wrap that in a white fabric square, and secure with a twist tie. Once all the eggs are wrapped up place them in a pot and fill with water. Add 3 tablespoons of white vinegar to the water and boil for fifteen minutes.
Remove the eggs from the stove and allow them to cool off. Unwrap them from the fabrics and your done! If desired, rub the vegetable oil onto the finished eggs to give them a glossy sheen. The video says that the silks can be used 2-3 times in this fashion to dye eggs. The eggs are also edible, you start with raw ones and they becomes hard boiled by the end of the process.
The whole project is a great way to try something new, cheap, and easy with family and friends. Check it out!
Please Share With Family and Friends
She Cuts 5 Lines Into This Triangle Piece Of Paper. The End Result STUNNING Unexpected Surprise!
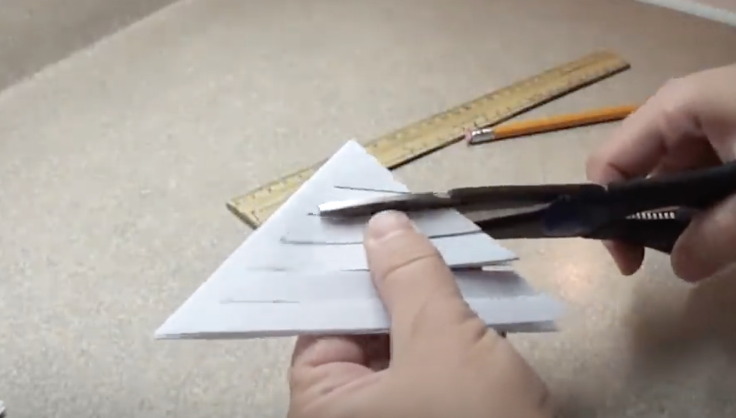
Making paper snowflakes when I was a kid, is such a wonderful memory. That memory pulled me to watch this crafty video, that illustrates a really simple way to make these seasonal decorations. These paper snowflakes are not the ones you remember as a kid, these are on a whole different level!
YouTuber “yoyomax12” shows us how to make these beautiful paper snowflakes, that look incredibly intricate, but are fun and easy to make. She points out that this can be done with your kids, or just a great homemade design that any adult would be proud to hang.
She shows us how to turn these into 3-D decorations that can be multi-colored, or simply white. They can be hung from the ceiling, in a window a fridge or wherever you think it should go. They make a lovely homemade gift that shows thought and caring.
Let us know if you think you will try to make this eye-catching craft!
Please SHARE this With Family and Friends
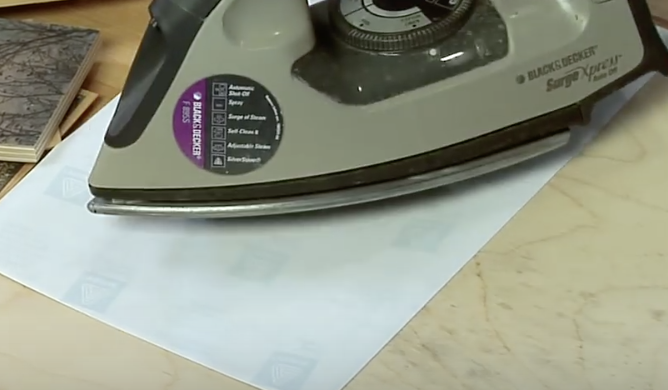
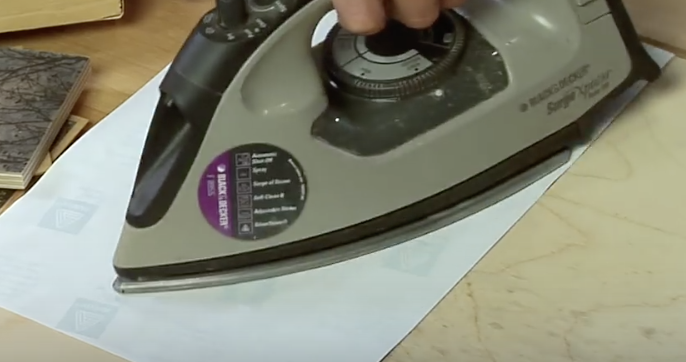
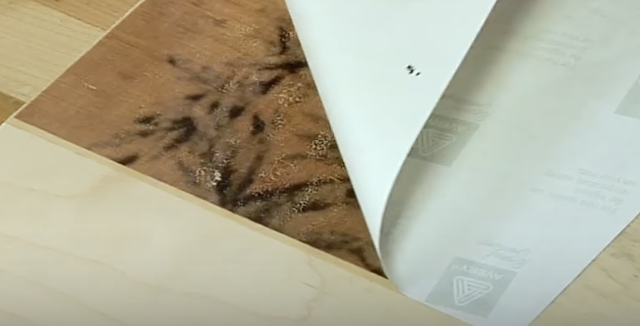
Woman Irons Paper On Top Of This Piece Of Wood. When She Lifts The Iron Up It’s STUNNING!
With Mother’s and Father’s Day on the horizon it’s time to start thinking about thoughtful ideas to give to our loved ones. Nothing is better than a heartfelt homemade gift directly from the heart. The following is an awesome DIY tutorial on how to cover wood with your favorite photos. This is the perfect gift that will be unique, creative and your friends and family will truly cherish and appreciate!
The people at toolgirl.com have figured out a way to get any photo off your computer onto a piece of wood. Depending on what your goals are you can design all different types of wood motifs. The best part is, it’s fast, easy, cheap and anyone with a computer and some wood can do it. I totally can’t wait to try this awesome DIY.
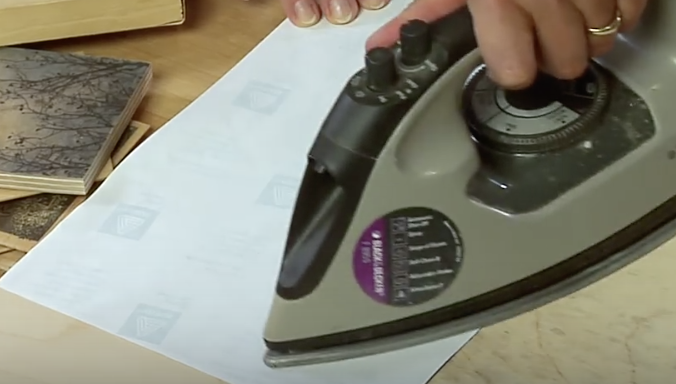
You will need a computer, t-shirt transfer printer paper, an iron, and a nice piece of wood. Then it’s time to begin your very own creation. Follow the instructions in the video below and post your finished products! This would be the perfect gift for Mother’s or Father’s Day. Are you going to try this awesome project?
Please SHARE With Family and Friends