7 Vegetables You Only Need To Purchase One Time And Then You Can Grow Them Forever At Home.

image via – shutterstock.com
These days it seems that more and more people are opting to grow their own fresh food and produce. Rather than buying expensive organic products that are pesticide-free, they are choosing to garden and shop locally in their own back yards for fresh fruits and vegetables. With consumer awareness and health and safety concerns at an all time high, it makes sense to grow your own. Whether people do it to save money, or to know exactly how the food they’re feeding their families has been grown, it’s really the only way to be sure about the food we consume.
If you’ve ever wished that you could have a garden but just don’t have the room or a yard, or the resources or know-how, there is still hope. Simply make a mini-indoor garden, all you really need is a few pots or glasses and some food scraps. That’s it. This type of ‘urban-garden’ will cost you nothing, save you money, and it requires virtually zero plant or gardening expertise!
There are more than a few vegetables out there that you can pick or buy at the store, eat, and then re-grow all over again! Below are eight different herbs and vegetables that you can re-grow from your kitchen scraps and the accompanying video covers a few more so be sure to check them out. Try a few of these the next time you’re about to discard scraps in the trash or compost and get the most out of your food and money.
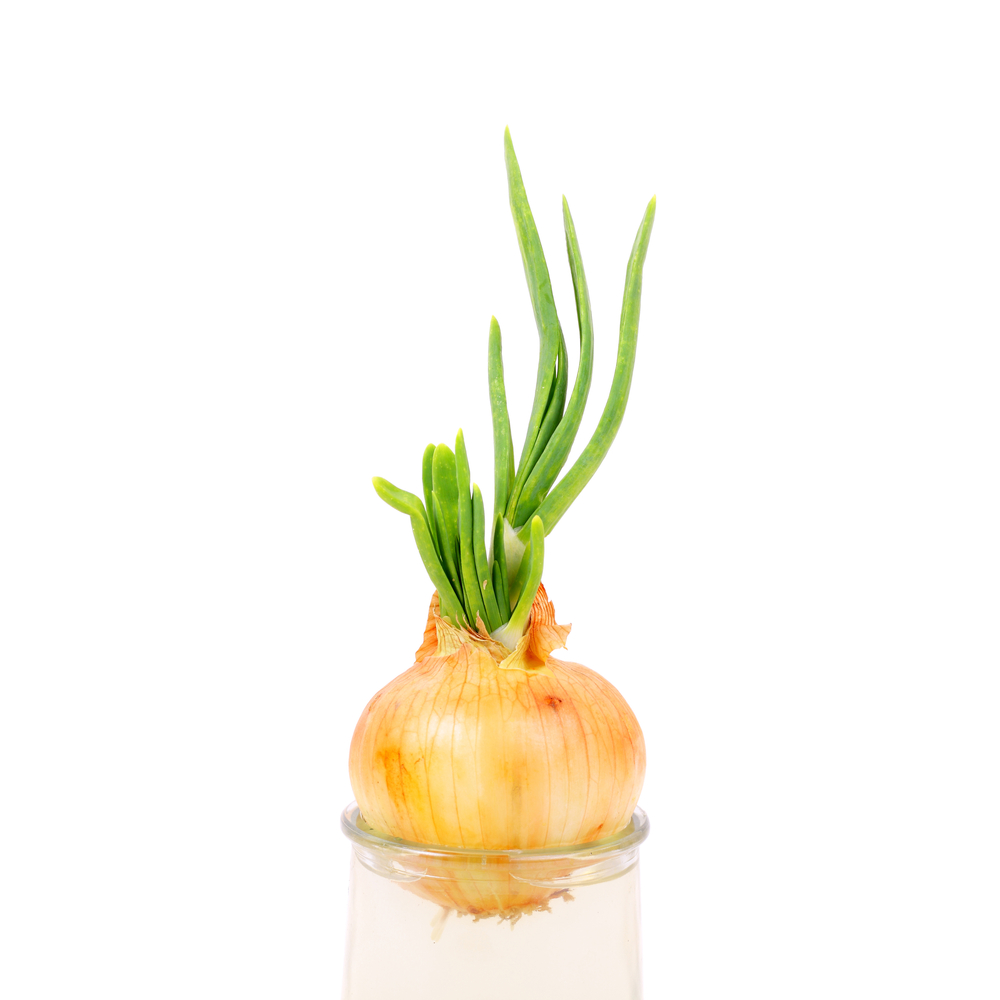
Image via: Shutterstock.com
Spring Onion- Cut a bunch approximately 4 inches above the roots and stick them in a glass of fresh water. Place it in a sunny window and change the water daily until the stalks have sprouted and grown tall again. After about 10 days you can re-plant it outside or keep it growing in water.
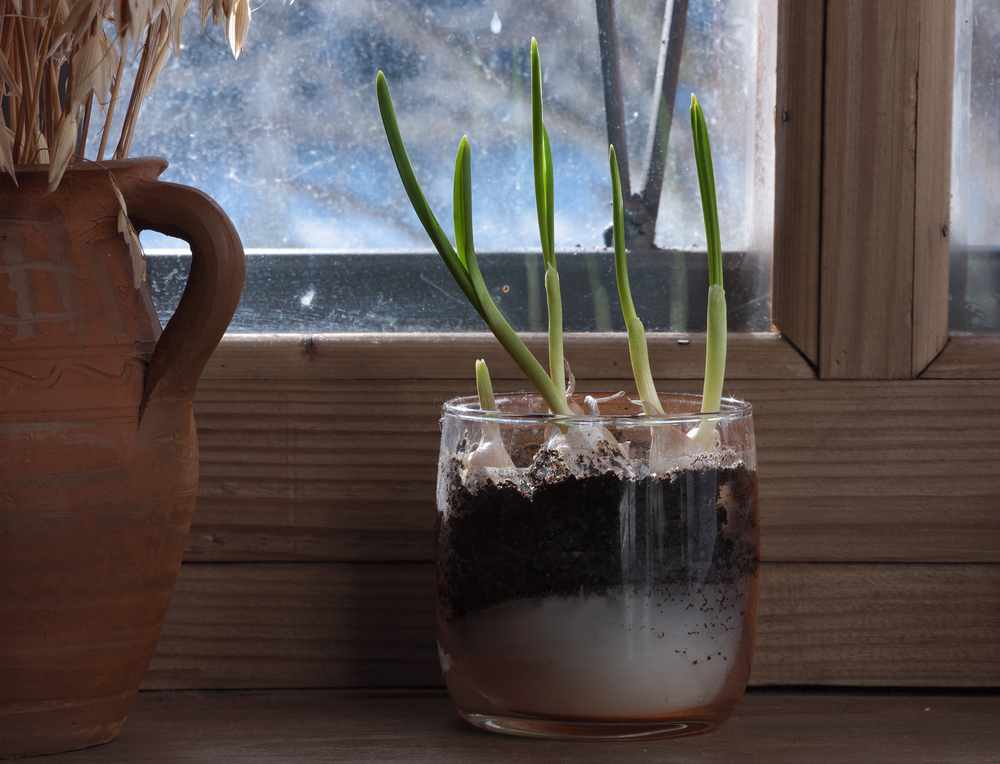
Image via: Shutterstock.com
Garlic- Take the larger cloves from piece of garlic and peel back the dried papery shell only on the end where it sprouts (refer to video for a clear look). Plant the cloves in a shallow, dirt-filled tray about half a foot apart with the peeled end facing up. In about two weeks time little green sprouts will appear and soon your garlic will be on its way to your plate!
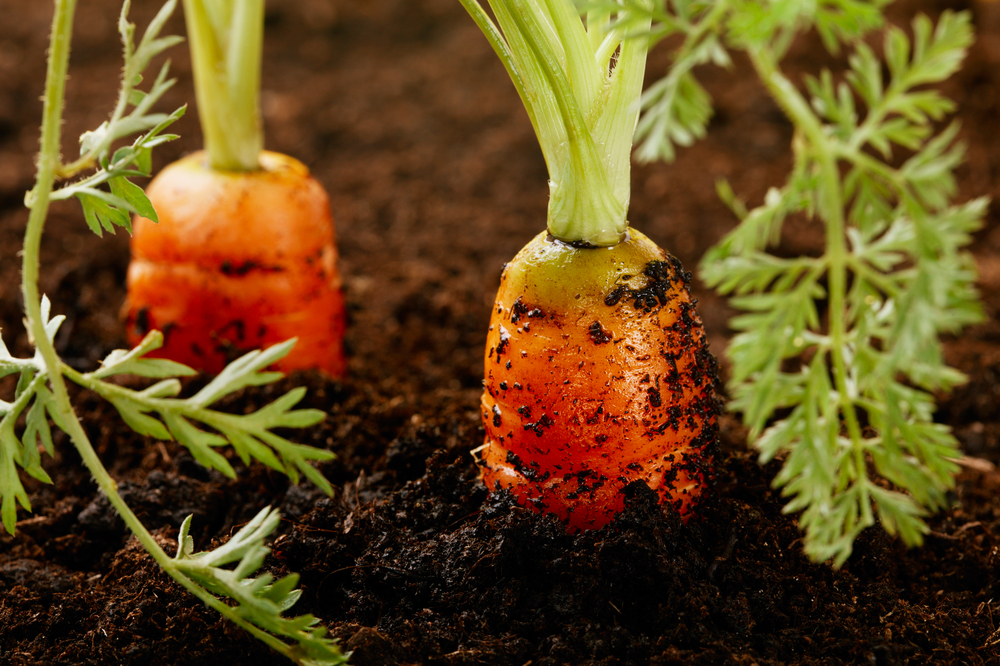
Image via: Shutterstock.com
Carrots- You will have to buy carrots with the leafy tops still attached to re-grow these. Cut them so that at least two inches of orange carrot remain attached to the top part, and then place them in a shallow pan of fresh water.
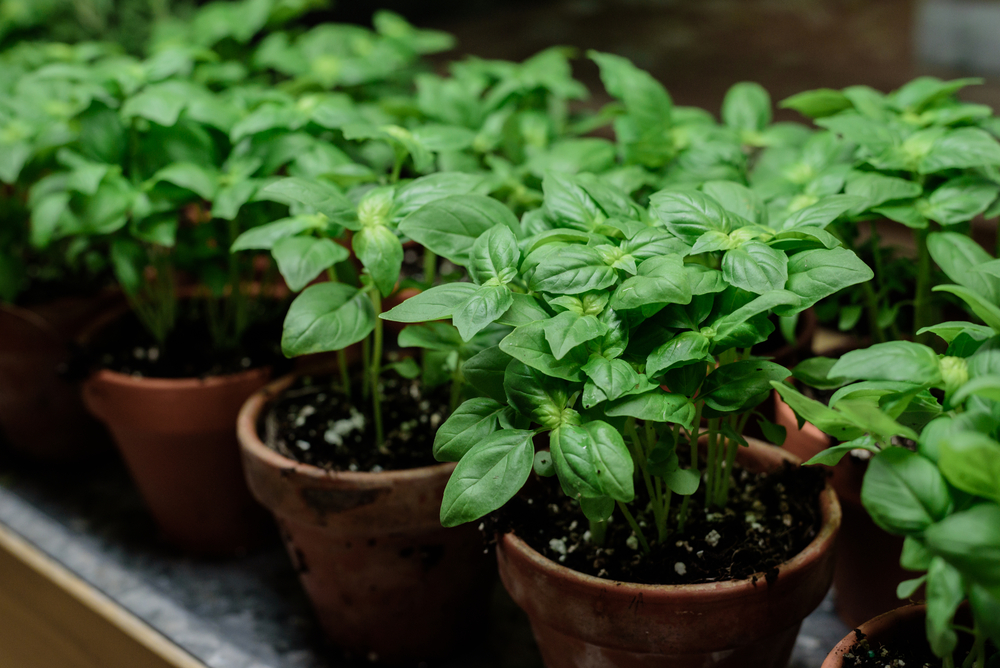
Image via: Shutterstock.com
Basil- Snip a few shoots off a basil plant, but make sure they are at least 6 inches long and healthy. Place the cuttings in a glass of water and leave it in a sunny window. When they have doubled in size, re-plant them in a pot or garden and enjoy!
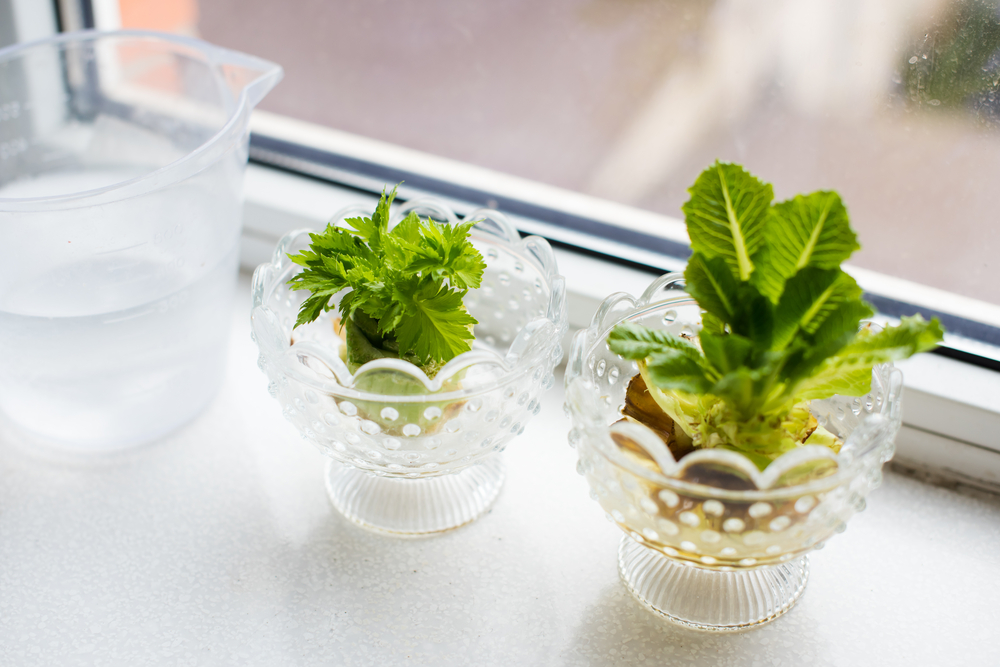
Image via: Shutterstock.com
Celery- Chop off the bottom 3 inches of a bunch of celery and place it root-side down in a shallow bowl of water. Place it in a sunny window, change the water daily, and after a few days it will begin to sprout. To allow for more root growth, remove the outer stalks and then plant it outside or in a pot.
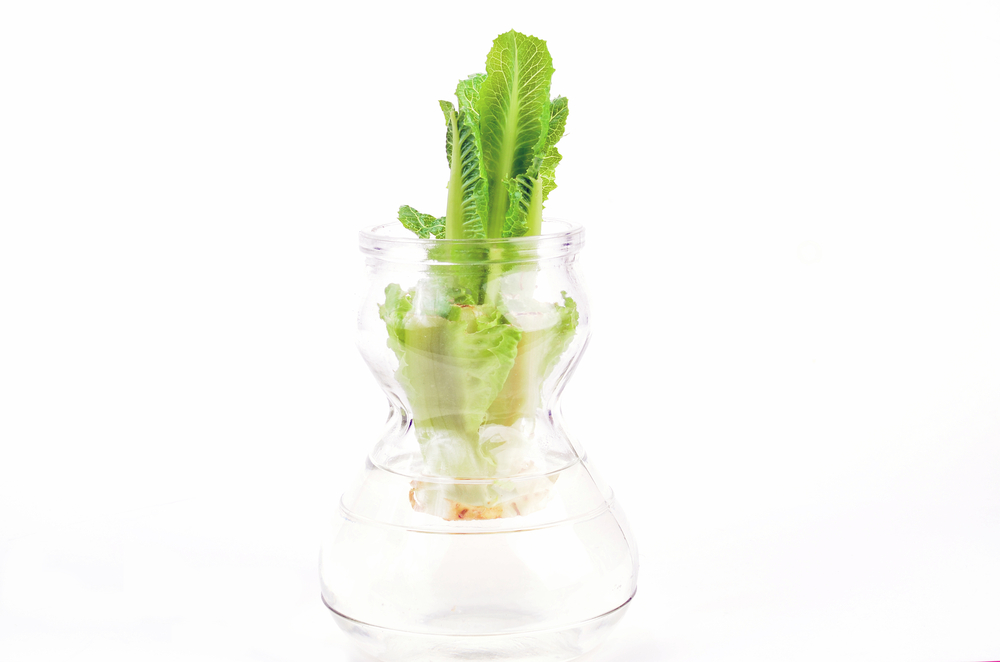
Image via: Shutterstock.com
Romaine Lettuce- Take at least half a bunch of romaine lettuce and submerge it in water for several days. It will begin to re-grow immediately and soon after you can re-plant it outside or indoors.

Image via: Shutterstock.com
Coriander- Take a few cuttings and place the bottom of the stems in a glass of water. Change the water regularly and place the glass in a sunny window. After the roots have grown a bit, transplant into a pot, and watch it sprout and grow big.
Please Share This With Family and Friends
She Paints 3 Used Tires White Then Stacks Them. Then She Reveals The Unexpected Surprise!
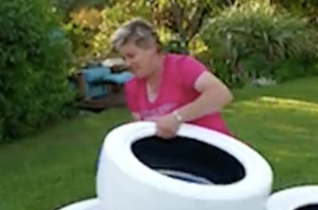
image via – youtube.com
AHHHH…the joys of a great DIY for something unique for gardening lovers, is brought to life with great enthusiasm in the video you are about to view below. Tanya Visser, a spirited and fun-loving South African “Guru of the Garden”, has come up with a brilliant idea. It’s a great thing to do with your kids, or simply to tap into your “inner child”, to create for your yard or garden this summer.
Tanya’s project uses a few old tires to create large garden planters. Her self-deprecating humor makes this idea all the more inviting…you don’t have to be a Martha Stewart to have this turn out pleasing to the eye for the whole season!
In the video, Visser takes you step-by-step in this easy to follow tutorial. She uses PVA primer as a base coat for the tires, which is great for you and your kids, because it washes out of clothes easily. She shows you how to place the tires, and how to prepare them for planting once all the decorating is done.
A plastic outdoor garbage bag, other color paints for drawing fun images, some drainage pebbles, good potting soil and bone meal, are the remaining things you will need. Watching the fun she has decorating with bright colors and choosing hearty plants to complete the project, has inspired me!
Have fun watching and HAPPY PLANTING!
Please SHARE This Awesome Gardening Idea With Family and Friends 🙂
He Takes 4 Slices Of Tomatoes and Places It In Compost. 10 Days Later He Reveals The UNTHINKABLE!
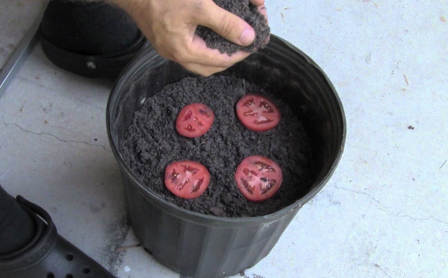
image via – youtube.com
Being a tomato lover, I look forward to “homegrowns” in the summertime. It is a simple pleasure that makes salads tastier, or I just like slicing one up with a little bit of salt, for a healthy delicious snack. I have bought tomato plants and grown them outdoors, but until I watched this great video below, I had no idea that I could grow them with greater ease and less expense.
The tomato growing tip offered by the YouTube channel, The Wannabe Homesteader, is an internet find that I had to share. You will see why it received over 460,000 views, and hundreds of comments, from people who just couldn’t get over this technique and were grateful for this easy tip.
There is nothing worse than cutting into a tomato that turns out to be overripe and inedible. It always kills me when I have to throw one out, but now I know that it can be used to cultivate seedlings, that will mature into my very own tomato plants. The process is so simple, as you will see watching this guy, (who has a really relaxing voice), take you through the steps.
All you will need is: a plastic plant pot, some good rich potting soil, and your overripe tomato cut into slices. He will show you exactly what to do, (which literally takes a few minutes), and within ten to fourteen days about 50-60 seedlings will have sprouted. With a minimal amount of effort you will be picking your very own homegrown tomatoes before you know it!
Please SHARE This Growing Tip With Family and Friends 🙂
He Never Throws His Leftover Eggshells Into The Trash. But The Reason Is Unexpectedly GENIUS!

image via – youtube.com
Spring and Summer are finally here, and whether you actually do the gardening yourself, or just revel in the beauty of a healthy garden, this tip is for you! When you throw your egg shells into the the trash, you are wasting a potentially powerful tool for a healthy garden.
As you will hear in the short video you are about to watch, egg shells contain one of the richest sources of calcium. He will show you how to harness the 39.15% calcium found in egg shells so that it can be used not only to enrich your garden soil, but prevent blossom end rot.
Plants prone to this rot, such as tomatoes, end up being much more prolific when the calcium-rich egg shells are added to the soil. You will hear how the mineral fights the rot of blossoming plants in a most fascinating way. Now, you may be wondering if you just throw the eggshells into the soil, or is something more required?
Store your egg shells until you are ready to use them. To prevent any type of bacteria, he will tell you how to easily clean them, and then blend them into a fine powder that gets sprinkled into your garden soil. These simple steps will help to ensure a season of healthy blossoms like you’ve never experienced before.
This quick tutorial is a real find for everyone who loves a beautiful and healthy garden.
Please SHARE this great tip with family and friends 🙂
This Lady Places A Bag Of Potatoes In A Tower Nest Made Of Straw. 3 Months Later She Reveals THIS!
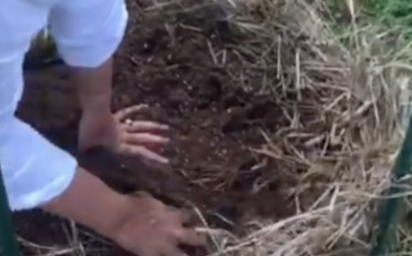
image via – youtube.com
Summer is here, which brings the promise of spending time outside in nature, and watching our gardens grow. Each of our annuals come to life as nature awakens, giving us the spirit of rebirth. In addition to beautiful plants and flowers, many of us enjoy planting our own vegetable gardens.
Each year I plant tomatoes, lettuce, and fresh herbs, but I never thought of planting potatoes, until I came upon the amazing video you are about to watch below. As we all have grown more and more concerned about what pesticides are doing to our future health, in addition to genetically modified produce, growing our own has more of an allure.
Although organically grown vegetables can be bought, the prices are prohibitive, and you never truly know what is being used on many veggies that are labelled organic.
Aside from health concerns about store-bought vegetables, there is just something inherently satisfying about growing your own, and eating what you, yourself have lovingly produced. Some people have space constraints on their property, which get addressed by Laurie Ashbach, from the blog “Dan 330”; the video shows how she was able to yield a large amount of potatoes in a few square feet!
Be sure to get seed potatoes that are “Certified Organic”, and plant them by late Spring; Laurie got hers from the “Seed Savers Exchange”. When her potatoes were ready for planting, Laurie and her husband inserted four 18-inch fence posts into the ground, forming a square of a few square feet, that gets wrapped with wire fencing for protection.
They then filled it with hay, which looks like a nest, which they then fill with compost or soil. They prepare the potatoes for planting, by cutting them so that each piece has at least 4 eyes; Laurie had 8 medium potatoes, each with 4 eyes. Laurie had 36 eyes to plant; 9 were placed around the outside edge of the “nest” which she did in four layers. With the help of ample watering, the tower grows all summer, and the potato leaves flourish, producing lovely flowers.
Watch the footage below, where at the end of the summer, Laurie excitedly is ready to reveal her harvest.
It is beyond cool to watch her dig out layers and layers of homegrown potatoes. All I can say is WOW!
Please SHARE This With Family and Friends 🙂
This Woman Stacks Flower Pots Onto a Metal Rod. But When She’s Done It’s STUNNING!
Vertical gardens are perfect for people who are low on horizontal space or for those who want fresh herbs and flowers close by. They are the best way to get the most use of a small space and if you live in an apartment or don’t have a yard they’re likely your best and only alternative!
Designs for vertical gardens range from simple and affordable to highly complex and prohibitively expensive. The ‘Tipsy Pots’ idea covered by Tamara Twist and seen here is one of the easier design types and it doesn’t require anything fancy to pull off. All you need are terracotta pots in a variety of sizes and rebar that’s thin enough to fit through the holes in the bottom of them.
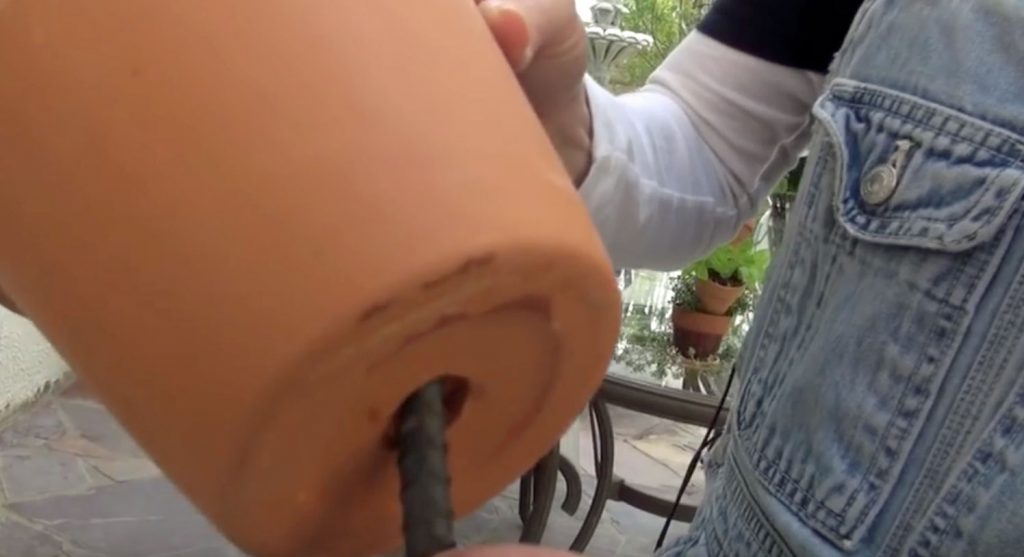
There are two different versions of this planter that you can make. One is for yards, since it’s basically stuck into the ground, and the other one can be placed on decks and patios where it’s free-standing. If you plan on making the free-standing patio version you’ll also need cement to make the base that will hold the planter in place and keep it stable and upright.
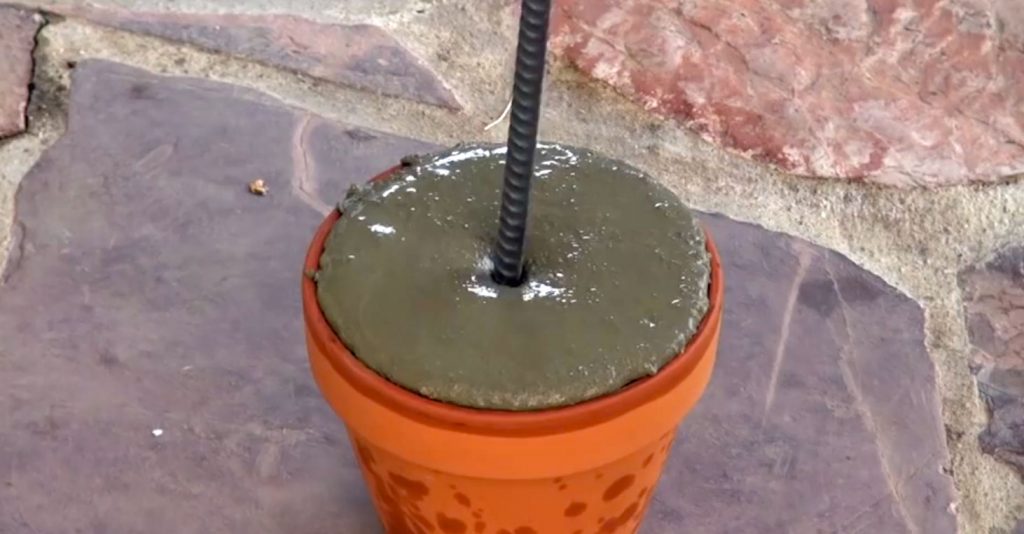
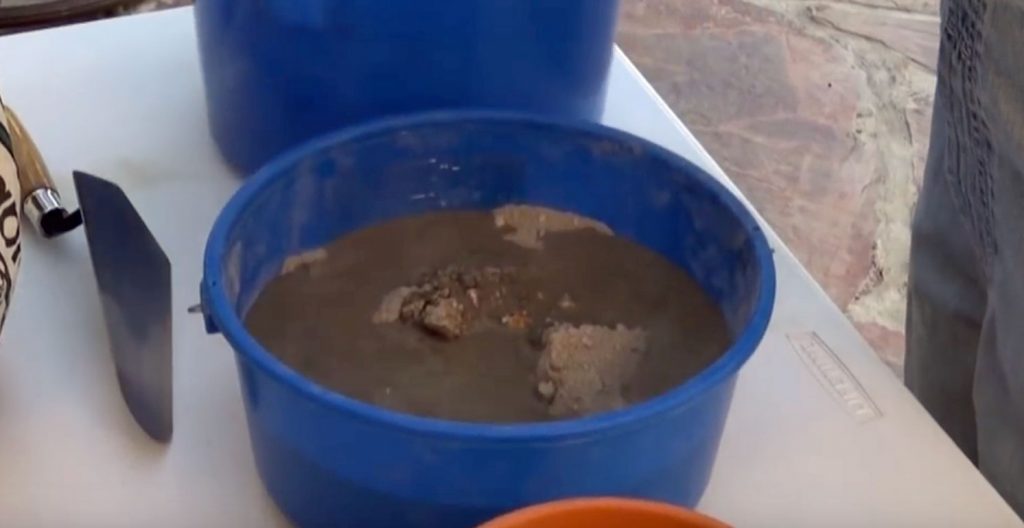
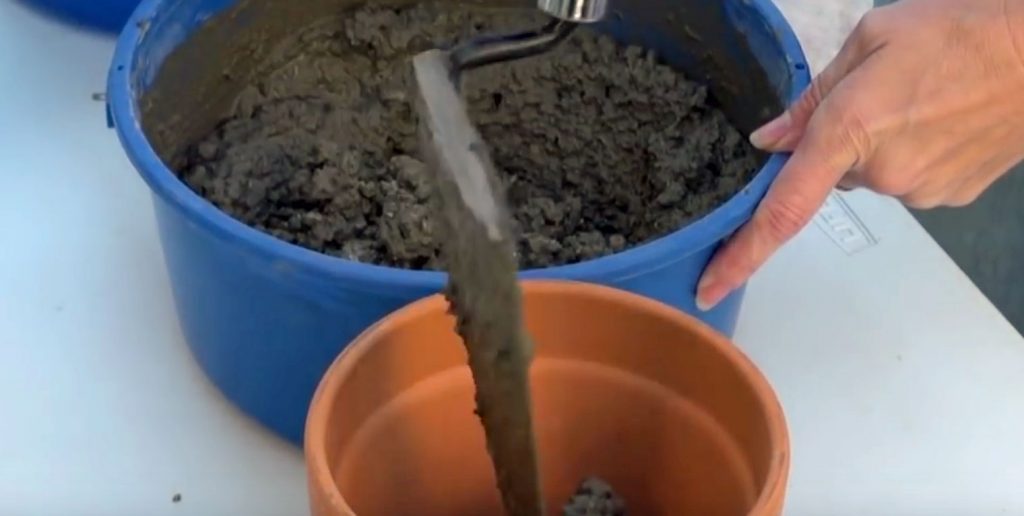
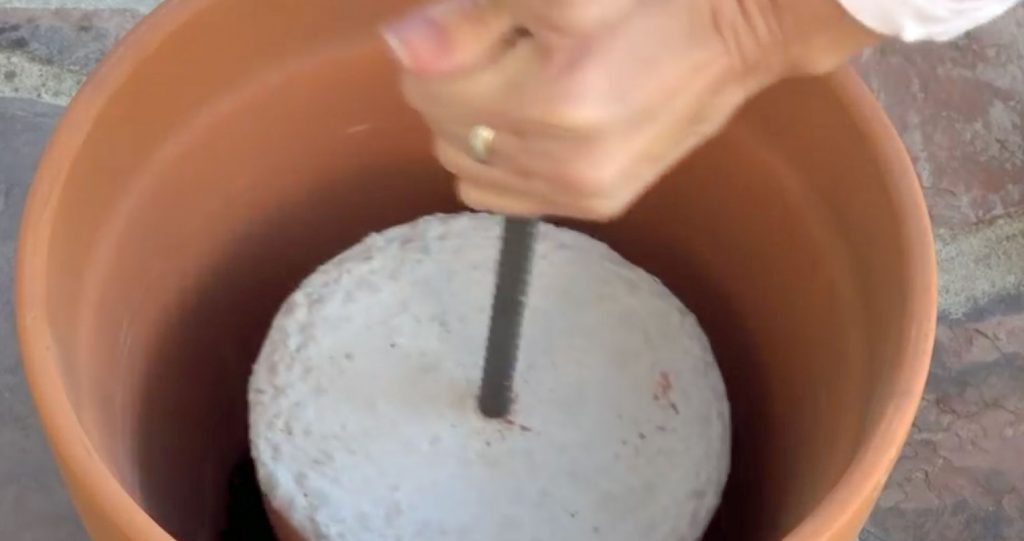
The entire process is quick and easy for either version you end up making. For the free-standing type start by mixing up enough cement to fill a medium sized terracotta pot. Fill the pot up with cement and then place a piece of rebar measuring 3-4 feet in the center of it. To help keep the rebar straight and upright you should secure the top of it by taping it in place, preferably against a wall or fence, as shown in the video.
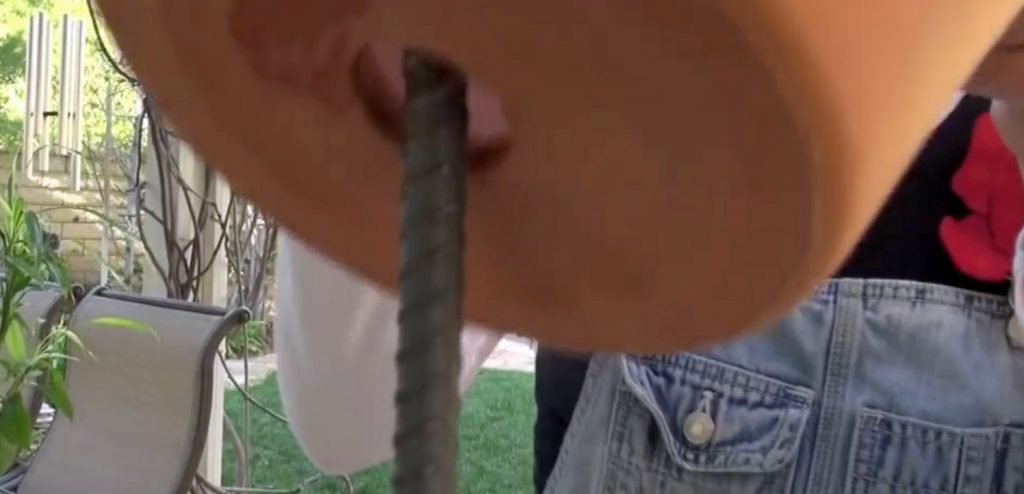
In a larger separate terracotta pot place approximately 3-4 inches of soil in the bottom. When the cement has set and hardened take that pot with the rebar in it and place it inside the larger one before filling the rest of the pot up with more soil.
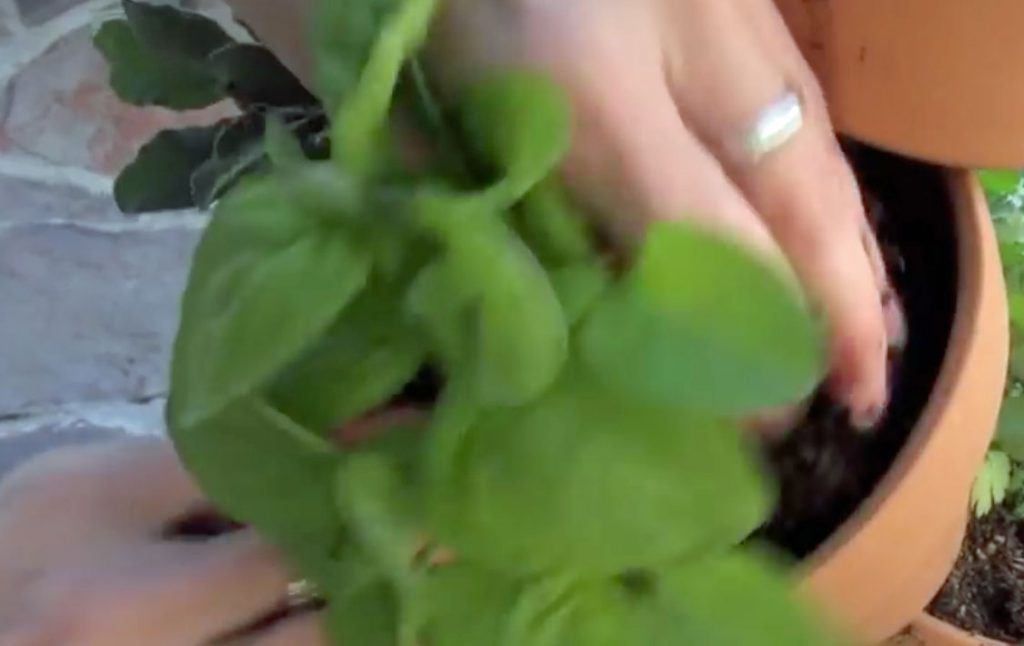
Take another pot and thread it through the rebar, bringing it down until it touches the soil, then tip it so that the back edge of the rim rests firmly against the rebar. Do this with the next pot, but tip it in the opposite direction instead. Continue to add pots, alternating the direction they are tipped in, until you run out of rebar. All that’s left is to place your plants into the pots and you’re done!

To make a free-standing tipsy pot planter without a base simply hammer the rebar 2 feet into the ground. Make sure to that you leave about 3-5 feet sticking out above the ground and then you can begin to thread the pots down, as covered above.
These are so neat and convenient to have around. They put plants and herbs right at your door and are a clever use of simple materials that really catch the eye. Now is the perfect time to start making them so check out the tutorial and share this with friends and family who could use the idea!

Please Share This With Family and Friends 🙂