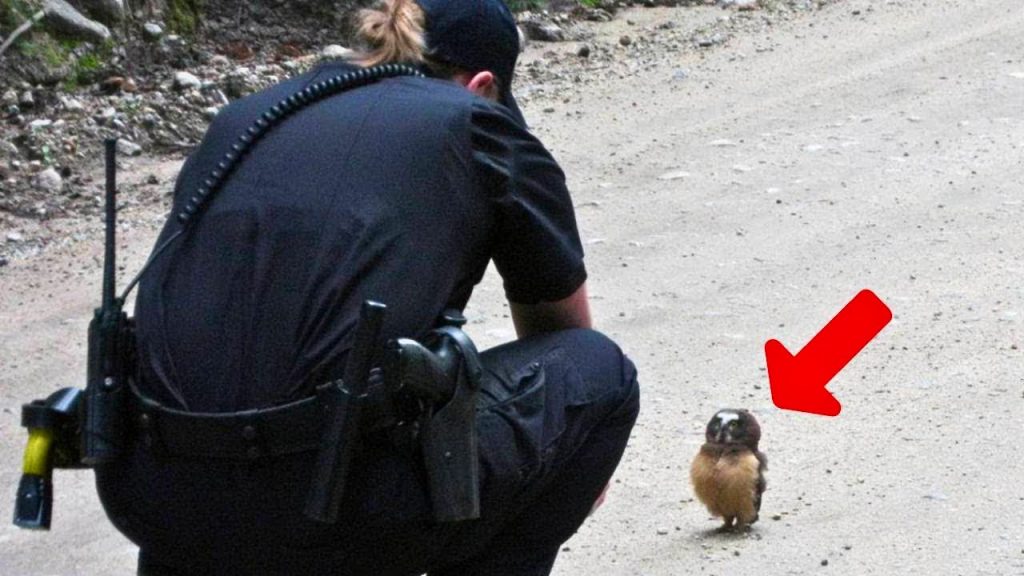
At First I Was Confused When He Poked A Hole Into This Bottle Cap. But When He’s Done Just Brilliant!
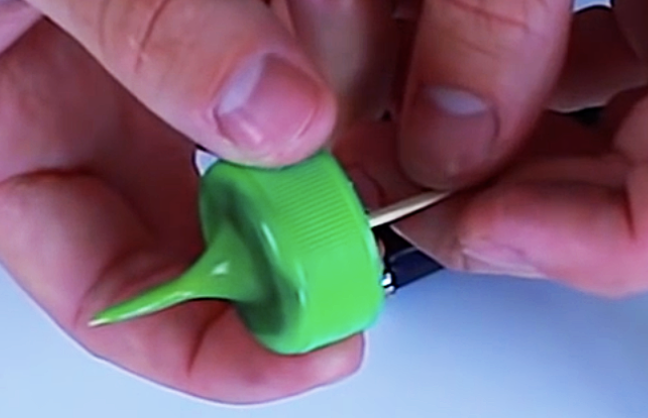
image via – youtube.com
If you are a person who is conscious about reusing items through recycling or composting, this video that you are about to watch below is for you. Although there are many health reasons not to refill plastic water bottles for drinking, they can be reused or or “repurposed” in order to conserve both energy and money.
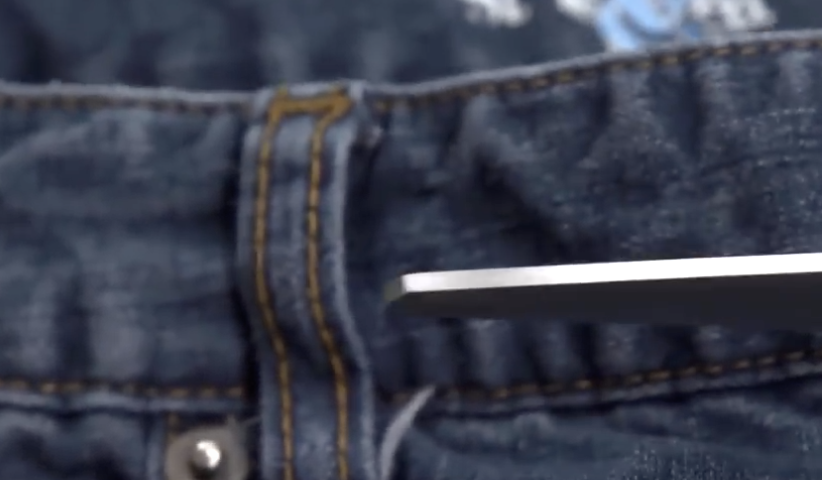
The five hacks presented are so clever and useful. By cutting off the top of a water bottle he illustrates how to turn it into a funnel to be used for any number of purposes, indoors and outdoors. He then shows how cutting off the bottom of a bottle can be used to make a measuring spoon.
The third hack is my personal favorite. By using toothpicks and a lighter, he shows how to turn the top of the water bottle into a pointed nozzle, which when placed on the bottle acts a fantastic dispenser for so many liquids around your home. Then watch how he makes a measuring cup, and last but not least, a laminated glass jar.
Let us know what you think about these creative hacks.
Please SHARE This With Family and Friends 🙂
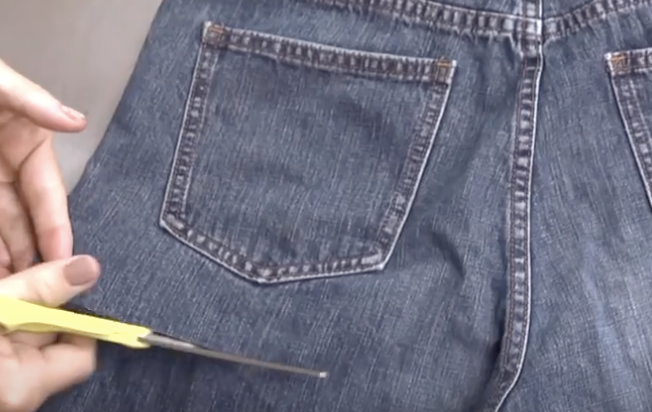
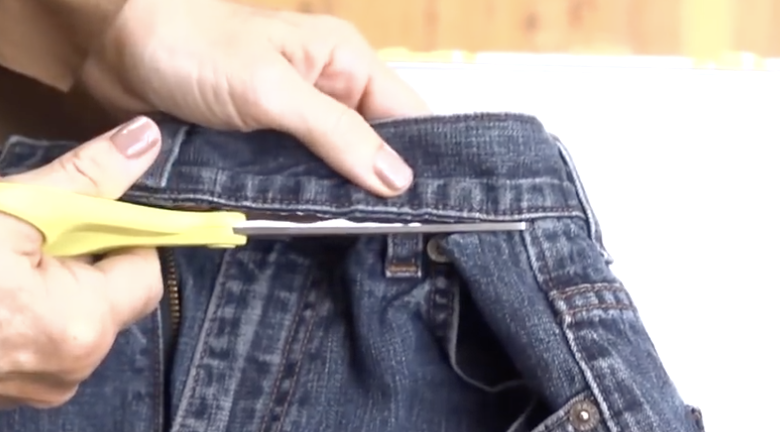
She Cuts The Waistband Off A Used Pair Of Jeans When She Reveals The Final Result It’s Priceless!
Jeans can be extremely durable and last a long time if they are made well and with quality fabric. When they no longer fit or go out of style we usually donate or throw them away. Instead of doing either of those things, get creative and re-use your old denim by turning unwanted jeans into wonderfully durable garden aprons. The method shown in this video, published by YouTube channel Chow, is fast, easy, and best of all, doesn’t require any sewing. All you need is a pair of old jeans, a pair of scissors, and a minute or two of time to spare.
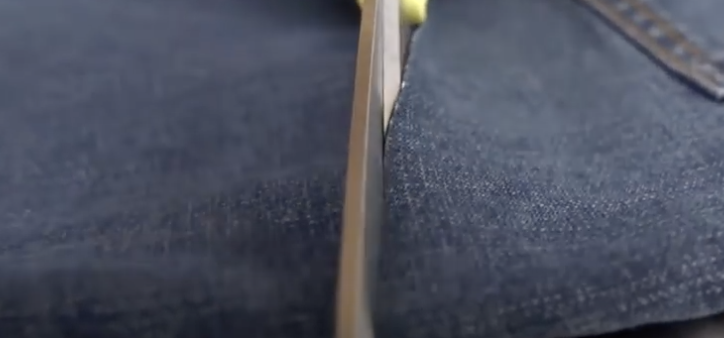
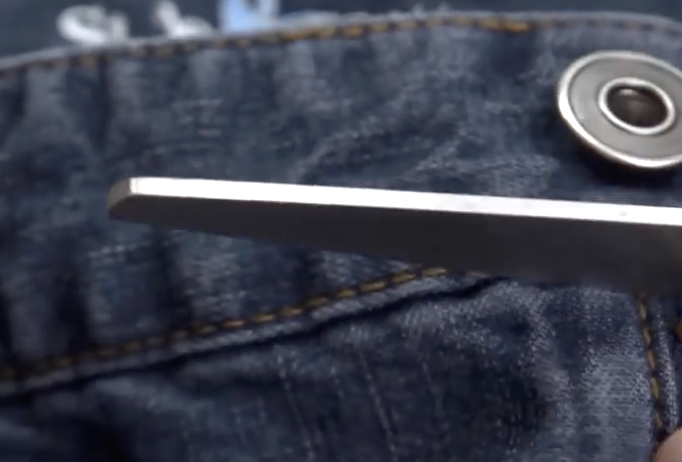
To make your own garden apron follow the instructions on the video and read on. Start by cutting the legs off the jeans about an inch below the back pockets. Then flip them over so the front faces up towards you. Starting at the zipper, cut along the seam right below the waistband until you reach the side seam on both sides. Continue to cut down each of the side seams and then you’re finished.
The front portion can be discarded and when it’s time to wear your new apron simply put it on around your waist and securely button it in place like a regular pair of pants. You can button it in the back so that the back pockets are in front, or off to one side so that one pocket is in front and the other is in back. For maximum apron coverage make 2 jean aprons and wear one on each side, like how the video shows it.
When you’re in the garden the extra pockets on the apron will definitely come in handy. They easily store shears, tools, seeds and more in a convenient and easy to reach place. Since denim is so strong and durable it makes for a great apron that can take a beating and still hold up for multiple uses. Plus, if it ever gets too dirty or worn out you can throw it away without feeling guilty or wasteful!
Please SHARE With Family and Friends
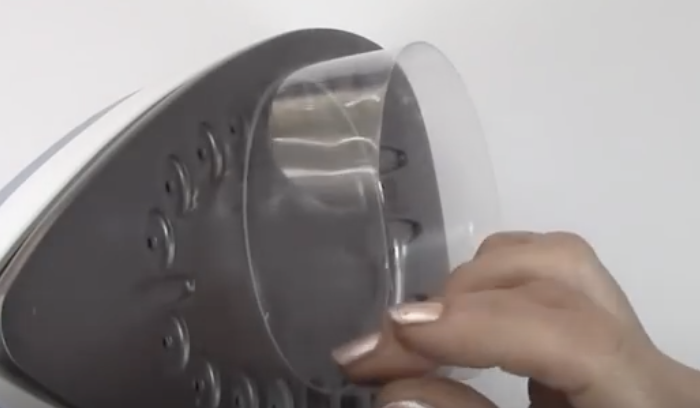
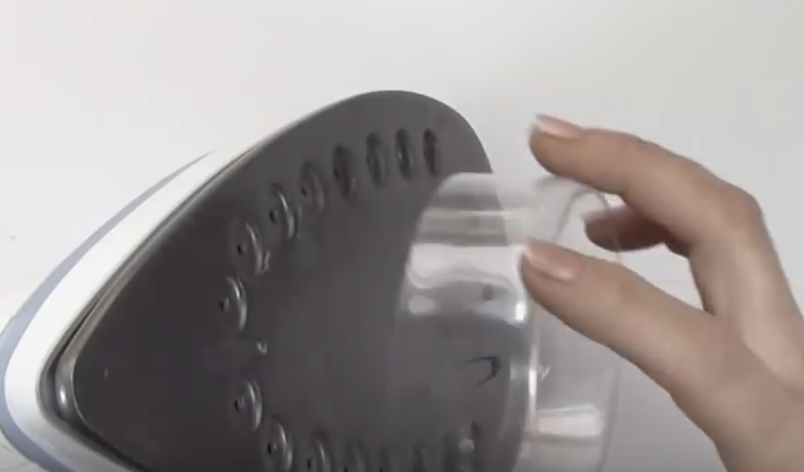
She Takes A Two Liter Plastic Bottle and Melts It On An Iron. The Final Result Is Beautiful!

Custom made jewelery can cost a pretty penny if you buy it at the store or online. Why not try making some one of a kind pieces at home that cost practically nothing and look just as beautiful as their pricier counterparts! With this tutorial, making your own arm candy can be extremely low cost, easy, and fun to do. Plus, if you have children who are wrapping up the school year, it will give you something creative and hands-on to do with them. This project involves re-using and recycling plastic bottles to make bracelets, so you won’t waste or need to buy anything. You can make lots of them and even if you mess up it doesn’t matter, just keep going until you make the perfect accessory!
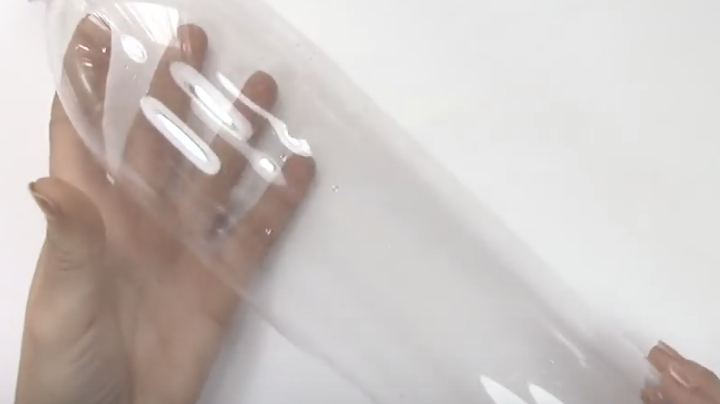
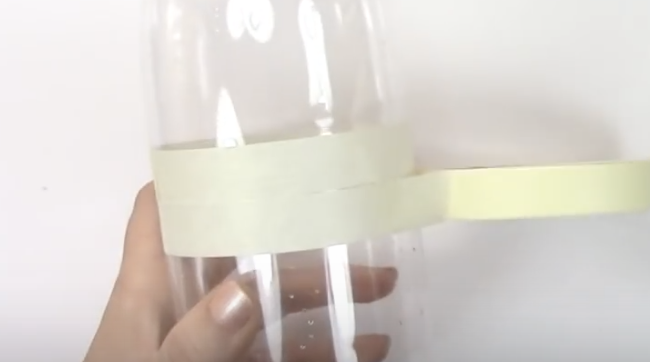
To create your very own you only need some plastic bottles, tape, scissors, an iron, and nail polish or acrylic paint. Remove all the labels from the bottles and wash them well beforehand. Start by taking a bottle and wrap a layer of tape completely around the mid-section. You may need to wrap several layers of tape around it depending on how thick you want the bracelet to be. Cut the plastic away from around where you taped and trim the edges, as neat and evenly as you can, then completely remove the tape.
Break out your iron and turn off the steam setting before adjusting it to a medium heat temperature. Be very careful doing this next step. Slowly begin to melt the sharp plastic edge on the hot iron so that each side is smooth and even all the way around. Make sure that you don’t melt the plastic too much, you only need to place it on the iron for a second or two.
Once it has cooled you can cover the plastic with nail polish or acrylic paint in whatever color or design you like. Ones with metallic finishes and textures would look really cool. Plus, you can add rhinestones, glitter, beads, stickers, or anything else to these. They will turn out shiny and can be custom made to match any outfit or look you are going for. Check out the Innova Crafts video to learn more on how to make them and enjoy!
Please SHARE With Family and Friends