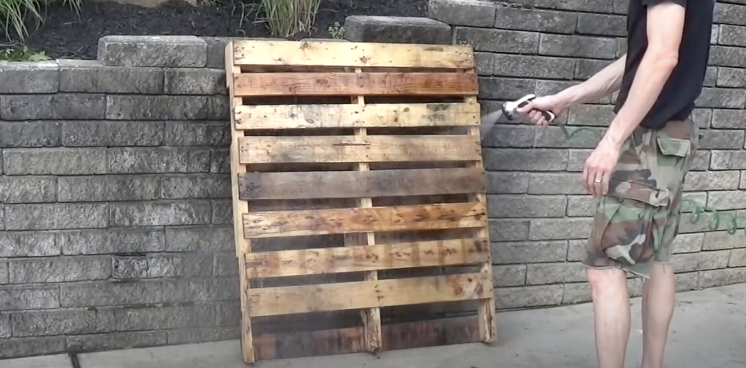
Wood pallets are ideal for moving and storing heavy items and also burn well in bonfires. Now they can be re-worked into beautiful, creative, and functional wine racks with the step by step guidance found in Joe Lydic’s YouTube video. The DIY project turns out a storage shelf with rustic appeal that’s perfect for storing wine glasses, bottles, openers, corks, and whatever else you can fit on it. Best of all, you can usually procure wood pallets from local landscaping companies for free..
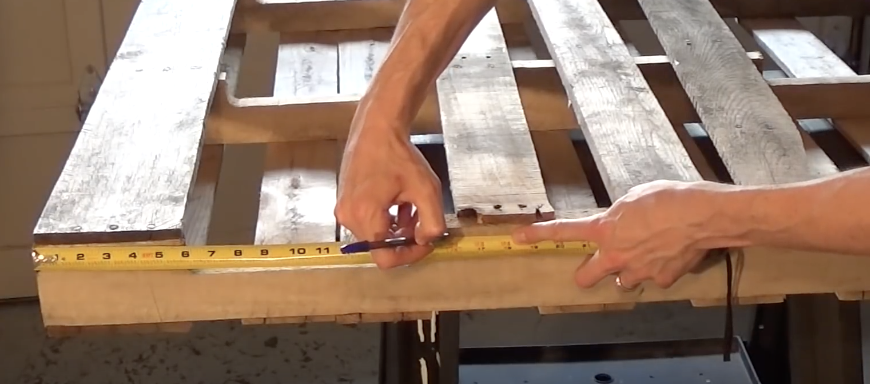
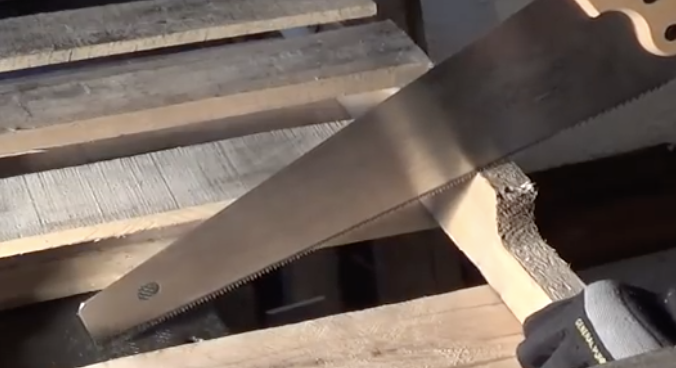
For this project all that is needed are some nails, wood glue, measuring tape, a hammer, a saw, sander or sand paper, a level, and a wood pallet. Begin by hosing off the pallet to get rid of any dirt or dust that may be on it. On the side of it you will see a cut out area, just above that (an inch or so) measure out a line for where you will make a cut. In the video this is 16 inches in from the side edge, and be sure to mark each of the 3 main supporting pieces at the same spot. Take your saw and cut all three of them off then sand the edges of where you made the cuts until smooth.
Next, take an extra slat of wood from the pallet and nail it to the top where you cut/sanded, checking to ensure it sits level. Lay the piece on its side and measure the width and height of the bottom opening (18”x3½”). Take another extra slat and measure out those same dimensions so when cut it fits snugly in the bottom of that opening. Move it onto its other side and hammer in some small finishing nails to secure that bottom piece.
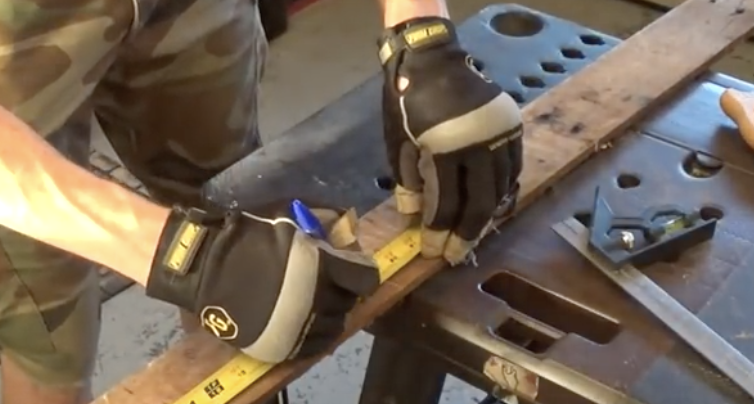
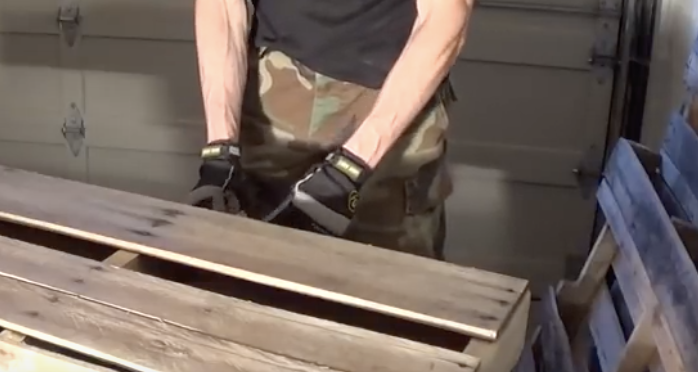
Next, cut 2 small sections off another extra slat (1”x3½”) and nail one onto each bottom end of the wine rack. Take another slat, place it across the top, and set wine glasses on to see how far apart they need to be spaced so they don’t hit each other (5”). Mark off the distance across the top piece, drill a hole at each mark, and cut a slit from the edge inwards to meet that hole. This is where the wine glass stem will slide into place and be held on the rack. Check that the glasses fit, then glue the top on the 2 small end pieces, and finish with a few nails. Sand over the entire rack until smooth and you’re done! The final piece has bottom slots for wine glass storage, a middle shelf for bottles, and extra space on top. It has a rustic and unfinished look but you can always paint or varnish it to your taste.
Please SHARE With Family and Friends