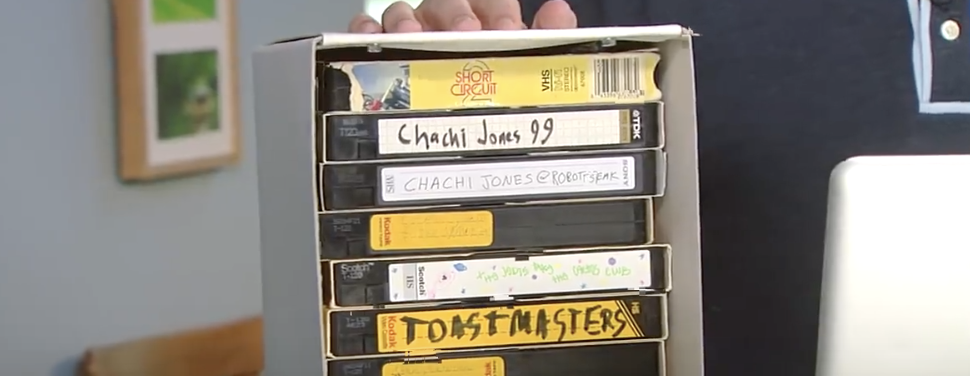
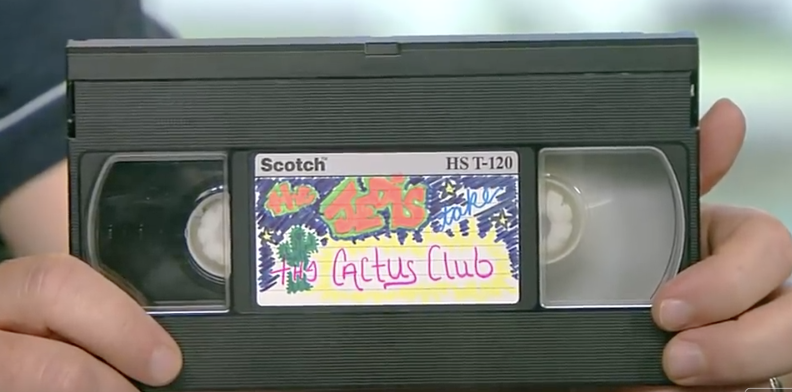
Technology is constantly being improved and advanced, which has led to a number of once new and innovative products being rendered obsolete. VHS players are a perfect example, as the previously popular and must have items are now a thing of the past. As a result, many people’s collections of VHS tapes go unused, sit in boxes, and take up space around the house. If you want to preserve the homemade videos and memories they contain then transferring the tapes onto a computer is the ideal way to go. By saving them in a new, updated format you can easily share them with others, edit the content, and watch videos without having to break out the old VHS player.
In this quick how-to video CNET senior editor, Donald Bell, walks us through the process of transferring VHS tapes to a computer. He makes clear the point that this is for archiving home video footage only and not copyrighted TV shows or movies. It is illegal to duplicate and/or distribute those programs and doing so violates their copyrighted content and can get you in a lot of unnecessary trouble.
To do this transfer you need a VCR player with audio and video output, VHS tape(s), a computer with room on the hard drive, and a compatible adapter to connect the computer and VCR. An hour of video will take up approximately 750 megabytes of storage on your computer’s hard drive, so if you prefer to save space on your computer use an external hard drive. Also, the adapter must be compatible with the type of computer you’re using, a PC or Mac, or it just won’t work.
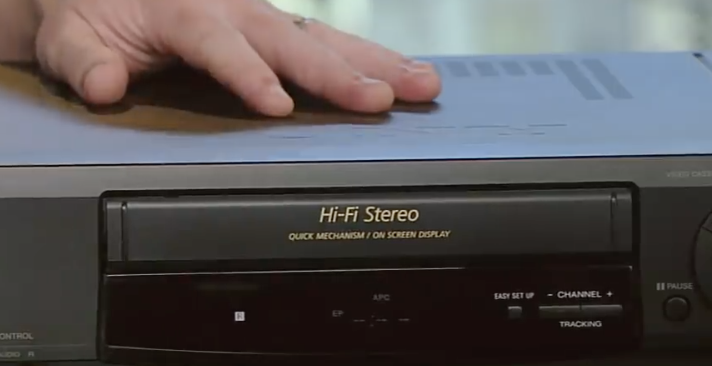
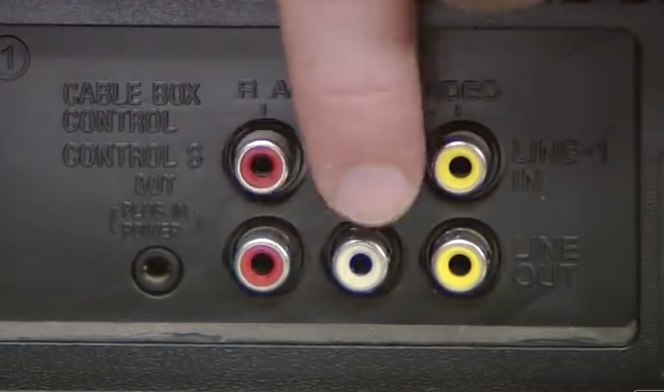
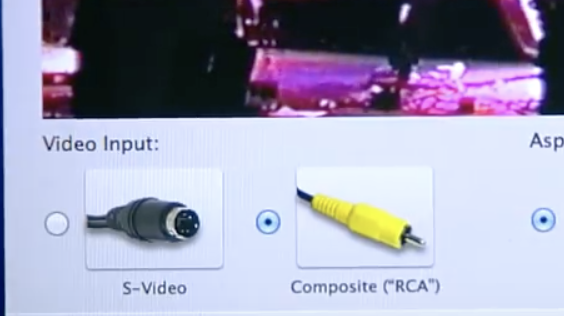
First, plug in the adapter’s color coded ends to their matching connections on the backside of the player. The yellow connection is for video, white is for mono audio, and white/red is for stereo audio. Install the software that’s included with the adapter and follow the steps it takes you through until you’re able to see and hear the video, which shows that you are properly connected.
At this point you may name the file and start the transfer. Press the record button and hit play on the VCR to record in real time, which means you have to wait for the whole thing to play through, and press stop recording when you’re done. Now you can edit out any unwanted portions from either the beginning or the end of the video.
Finally, it shows you a file path to the location of the file you just created, plus options to watch, upload or further edit the video. Now you can burn the videos onto DVDs or transfer them to other computers and throw out the bulky VHS tapes or put them in storage for good!
Please Share This Tip With Family and Friends