Vertical gardens are perfect for people who are low on horizontal space or for those who want fresh herbs and flowers close by. They are the best way to get the most use of a small space and if you live in an apartment or don’t have a yard they’re likely your best and only alternative!
Designs for vertical gardens range from simple and affordable to highly complex and prohibitively expensive. The ‘Tipsy Pots’ idea covered by Tamara Twist and seen here is one of the easier design types and it doesn’t require anything fancy to pull off. All you need are terracotta pots in a variety of sizes and rebar that’s thin enough to fit through the holes in the bottom of them.
There are two different versions of this planter that you can make. One is for yards, since it’s basically stuck into the ground, and the other one can be placed on decks and patios where it’s free-standing. If you plan on making the free-standing patio version you’ll also need cement to make the base that will hold the planter in place and keep it stable and upright.
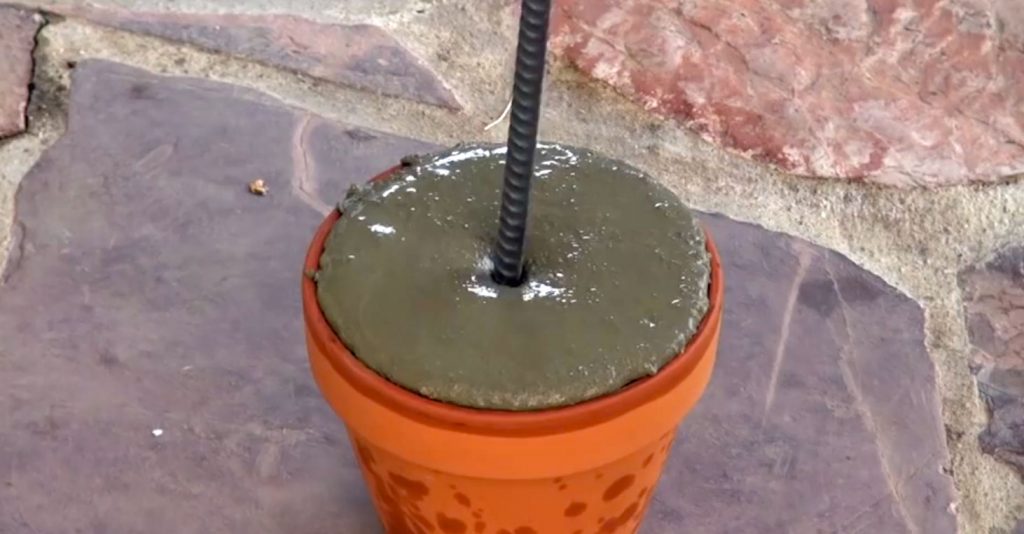
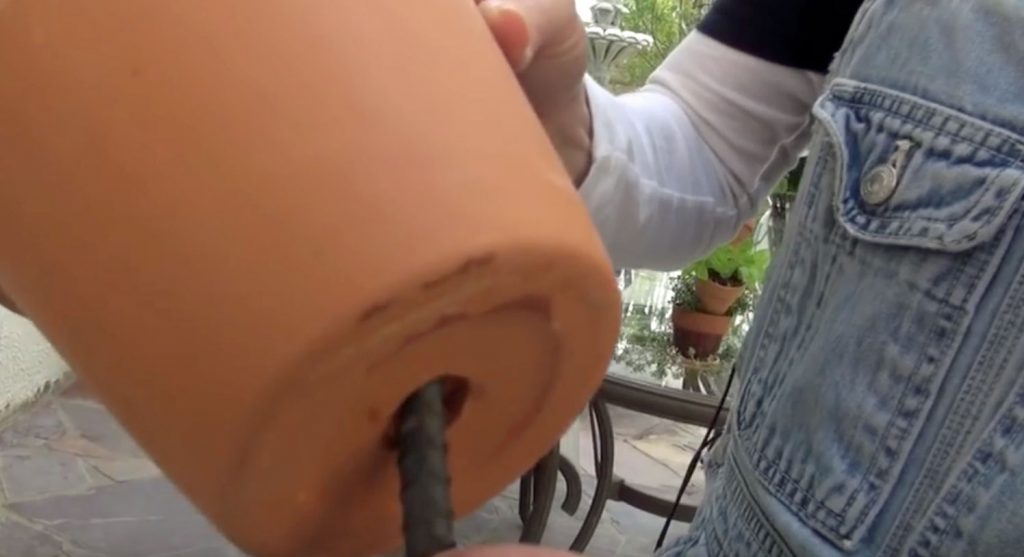
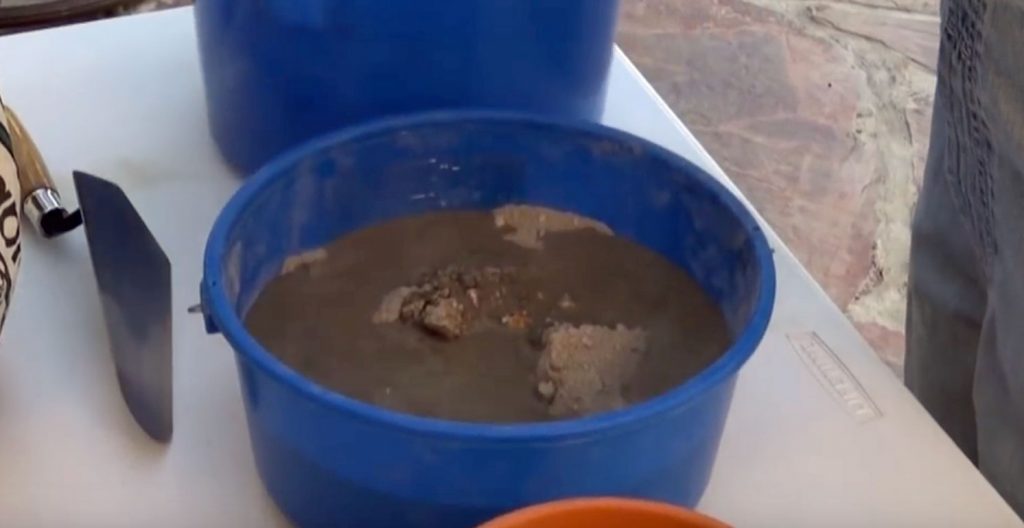
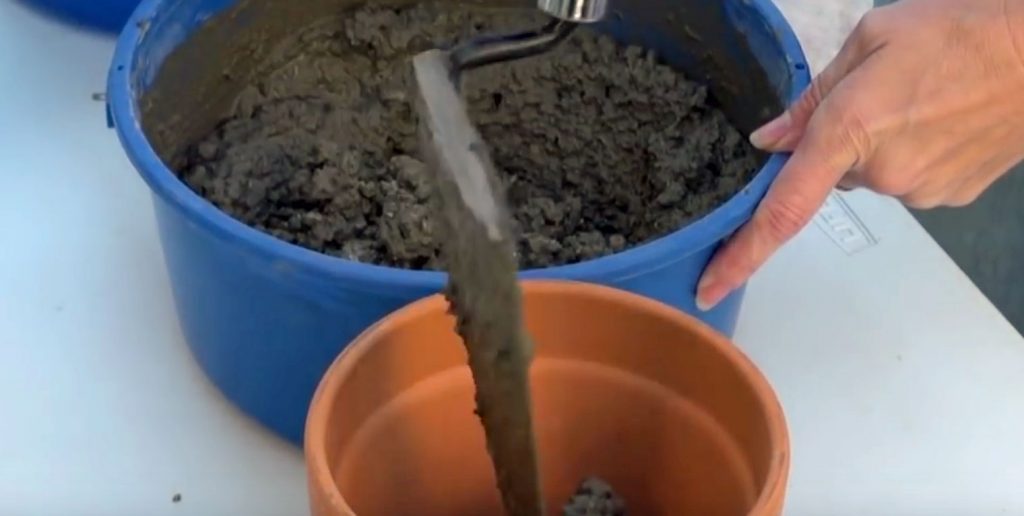
The entire process is quick and easy for either version you end up making. For the free-standing type start by mixing up enough cement to fill a medium sized terracotta pot. Fill the pot up with cement and then place a piece of rebar measuring 3-4 feet in the center of it. To help keep the rebar straight and upright you should secure the top of it by taping it in place, preferably against a wall or fence, as shown in the video.
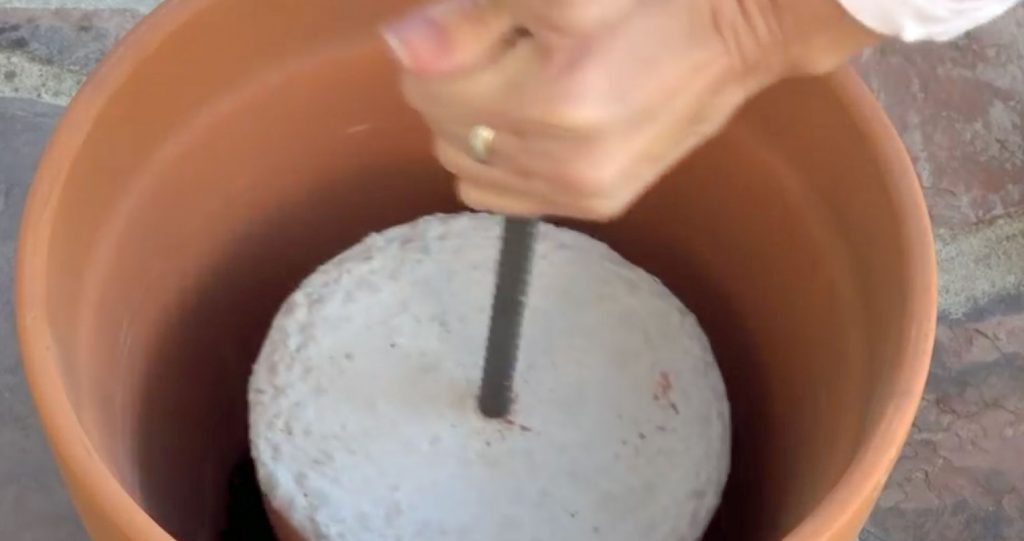
In a larger separate terracotta pot place approximately 3-4 inches of soil in the bottom. When the cement has set and hardened take that pot with the rebar in it and place it inside the larger one before filling the rest of the pot up with more soil.
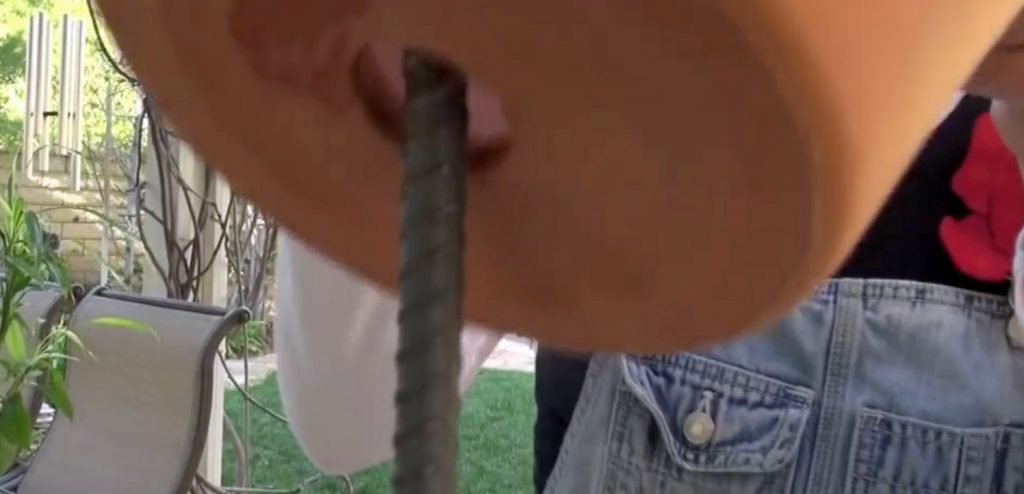
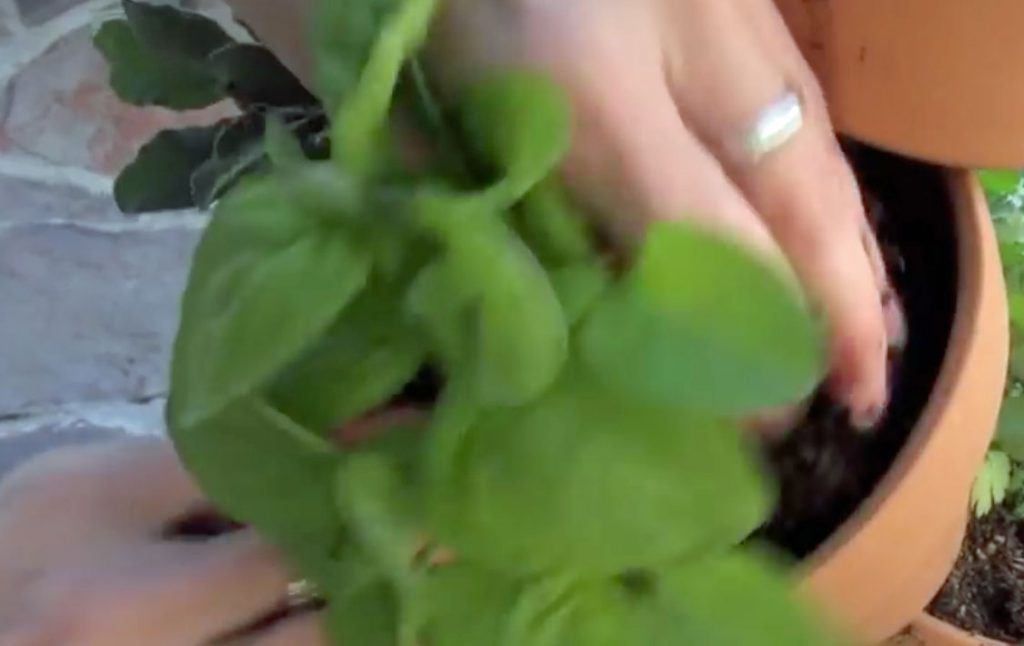
Take another pot and thread it through the rebar, bringing it down until it touches the soil, then tip it so that the back edge of the rim rests firmly against the rebar. Do this with the next pot, but tip it in the opposite direction instead. Continue to add pots, alternating the direction they are tipped in, until you run out of rebar. All that’s left is to place your plants into the pots and you’re done!

To make a free-standing tipsy pot planter without a base simply hammer the rebar 2 feet into the ground. Make sure to that you leave about 3-5 feet sticking out above the ground and then you can begin to thread the pots down, as covered above.
These are so neat and convenient to have around. They put plants and herbs right at your door and are a clever use of simple materials that really catch the eye. Now is the perfect time to start making them so check out the tutorial and share this with friends and family who could use the idea!
Please Share This With Family and Friends 🙂