
She Sets Wire Shelves Into Her Food Cabinets. The End Result Is Impressive!

Most of us dread having to clean and organize different areas of our houses but the time comes when you just have to get it done and over with. While we don’t really enjoy actually doing our spring cleaning chores, we do like learning about new and simple ways to get them done. It can be fun and interesting to discover what nifty and quick solutions people have come up with to solve common problems and the kitchen hack covered here is no exception!
If you’re currently dealing with messy, unorganized, sloppy looking kitchen cabinets where you store canned goods, then you know how frustrating and headache inducing it can be every time you open them up. Most of us simply place new canned goods and items on the shelf and in the process we end up piling and jamming things in wherever they fit.

Over time, the pantry cabinets that hold all of those cans and jars eventually becomes jumbled and disorganized. Food gets mixed up, lost, and pushed towards the back, where it’s never seen or heard from again!
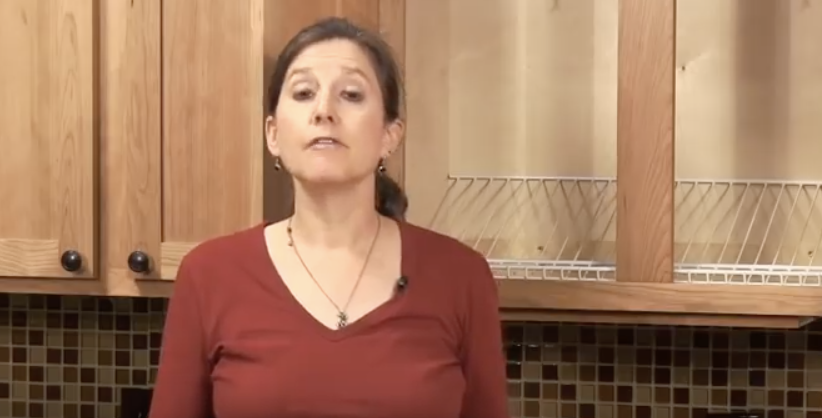
If you suffer from kitchen cabinet canned goods-itis then you need to check out this simple solution that will cure you of it. Elisa Bernick, associate editor at The Family Handyman, shows how an inexpensive and easy upgrade can turn your cabinet nightmare into a storage dream.
All you need is closet wire shelving, a hacksaw, two screws, and a drill. With the help of her easy instructions and a clear picture of exactly what to do, you can achieve clean and neatly organized kitchen cabinets. Check out the video for more details and below is a breakdown of how to make the storage shelves for canned goods:
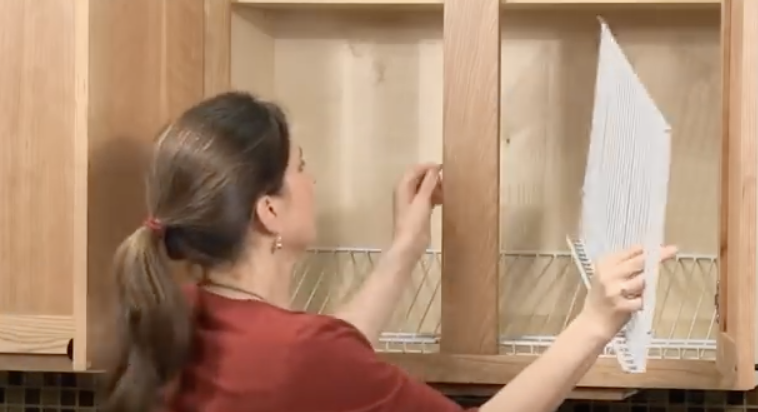
First, measure the inside dimensions of your cabinet and then measure out a piece of wire shelving that matches. When you go to cut the shelving, make sure to cut it about half an inch short.
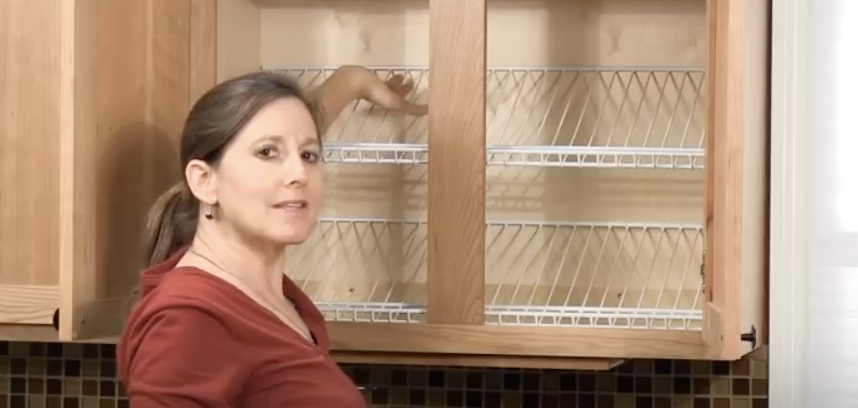
You can use a hack saw to cut the wire or heavy duty bolt cutters, which are quicker and easier to use. When placing the bottom shelf inside the cabinet just wedge it into place, but if you choose to add a second top shelf, you’ll need need to do some additional work that requires two screws and a drill.
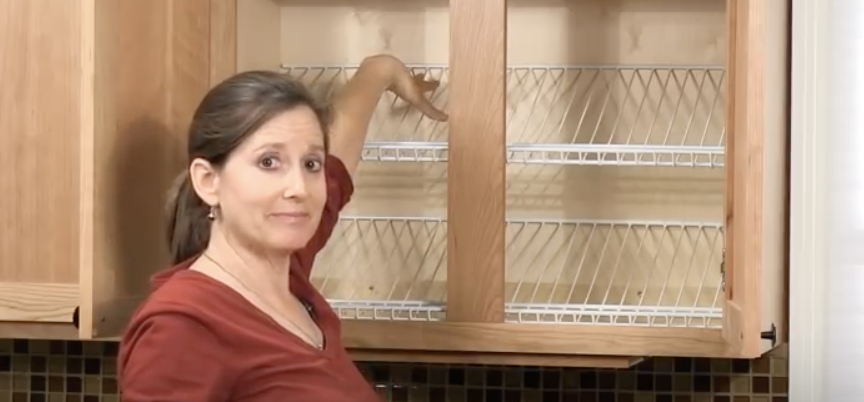
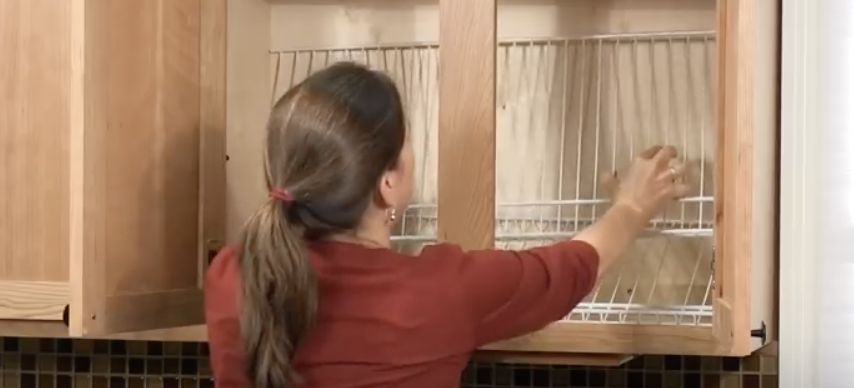
For the top rack, start off by pre-drilling two screw holes into the back of the face frame of the cabinet. Next, install the screws but make sure to leave them each hanging out by about ¾ of an inch so that the top rack can rest on them.
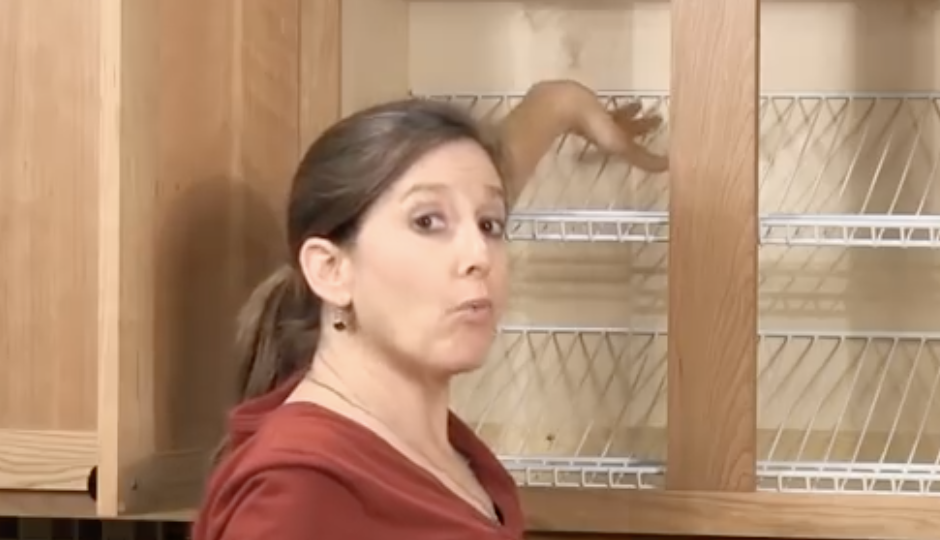
Cut the shelving to fit and this time when you go to install the top rack, position it inside the cabinet on an angle so that it’s slightly tilted. The front should end up sitting down on top of the screws, while the back will wedge into place.
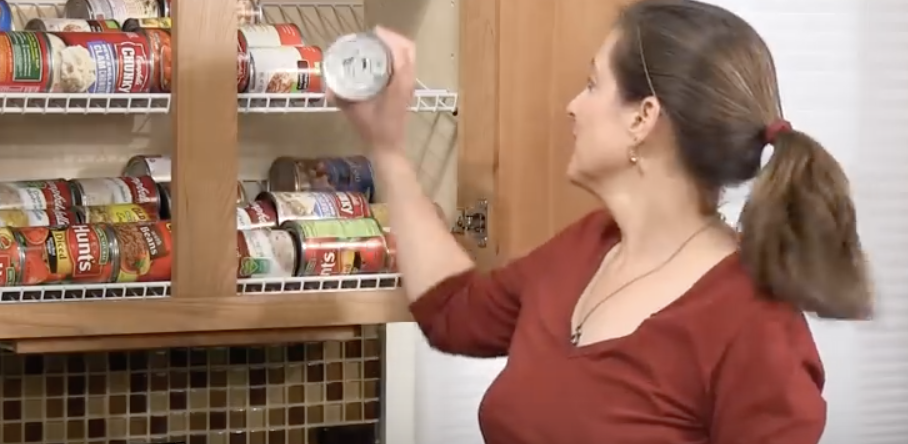
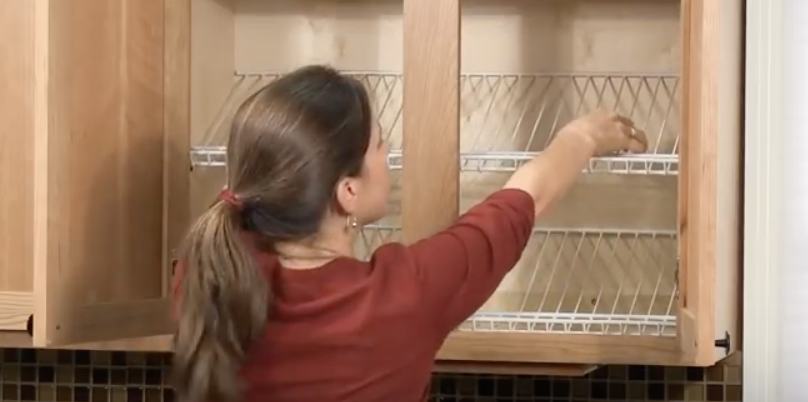
Finally, check to ensure that it fits snug and securely so that it’ll be able to hold a bunch of heavy cans, jars, or whatever other items you plan to place on them. Once the shelves pass the quality control test, go ahead and load them up with goods, and enjoy your newly organized shelf-life!

Please Share This With Family and Friends 🙂


