If you ever may need to MacGyver up a BBQ grill on the fly, check out this video for the best way to do it. This DIY project comes in handy for those who enjoy hiking and camping, but don’t want to haul a heavy, expensive, and bulky camp grill along with them. It also comes in useful when the power goes out and you get hungry. Forget having to eat cereal and crackers and instead grill up a nice juicy steak before it spoils in the fridge. Also, it puts to good use things you’d normally throw out, like tin cans. By re-using and recycling them into cheap and easily made BBQ you can make clean up a breeze and safely dispose of the ashes in seconds.
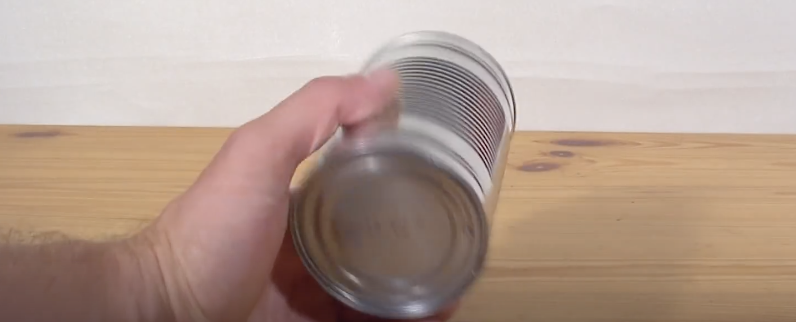
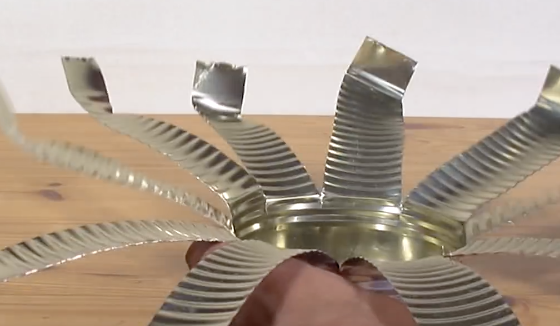
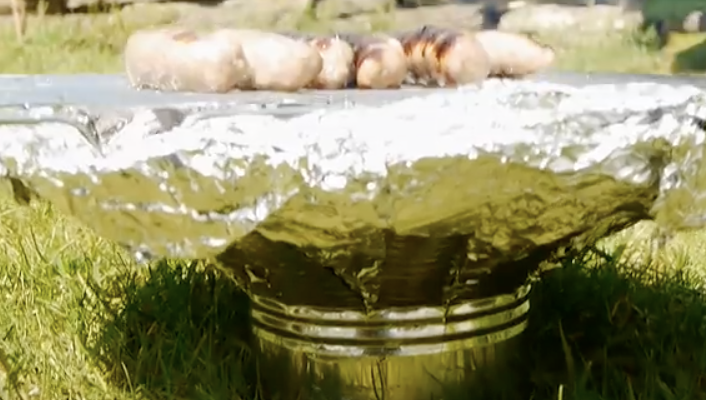
All that this simple little BBQ requires is a tin can, scissors, tinfoil, a metal grate and five minutes or less of your time. Start by taking a tin can, remove the lid, then grab a pair of scissors and cut strips down the sides, leaving about an inch or so uncut towards the bottom. The larger the can the better since it makes it easier to cut, more stable, and will better hold the coals later on. Next, bend the strips down and out all the way around the can (refer to the video for a visual). Be very careful when handling this because the edges are extremely sharp. After, line the can with tin foil so that you form a bowl shaped type of container out of it. With that, the constructing part is now done.
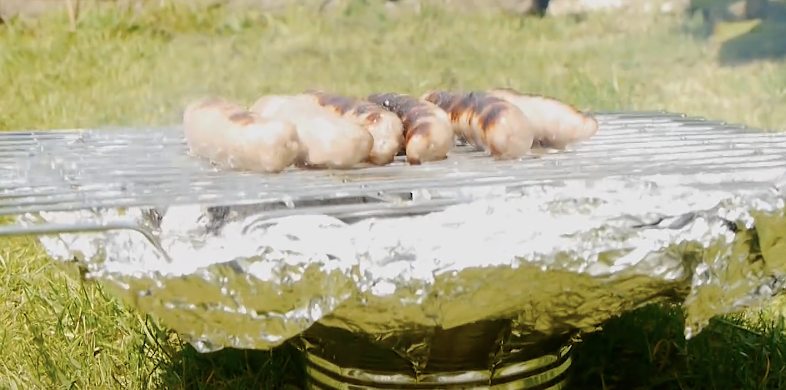
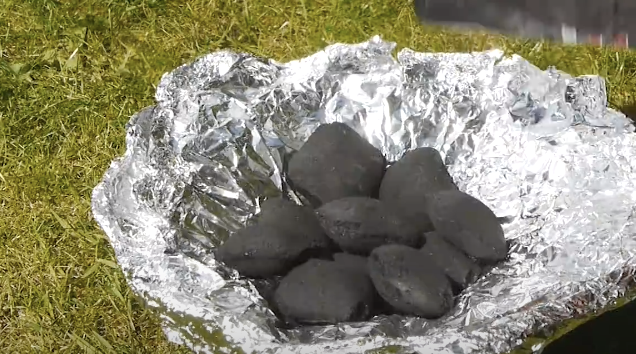
Place the grill somewhere safe, flat and outdoors before adding charcoal and lighting it. After the coals have heated to the right temperature spread them out on the foil and place a grill rack over the top. DaveHax, the man who made this video, used the rack from his oven, but you could also use a cooling rack or other similar metal-type grate. With the rack in place you can now throw a shrimp on the barbie, or grill whatever delicious meats, veggies, and fixings you desire.
This DIY tin can BBQ is versatile and useful in all sorts of situations. Plus, it may even prove itself out to be very useful one day. Check out the video for more detailed instructions and to get a better visual idea of what it will look like at each step. Enjoy!
Please Share With Family and Friends