
Woman Places An Entire Spool Of Yarn Into Glue. The Final Result Is STUNNING!
If you’re anything like me then you probably think that yarn can only be used for knitting. Awhile ago I bought some thinking I’d learn how to knit but never quite got the hang of it, which left me with balls of yarn laying around unused. I was about to donate them until I stumbled upon this awesome DIY yarn lamp globe project. The finished piece looks uniquely beautiful and reminds me of one of those birds nest lamps that cost an arm and a leg. The decorative yarn globes and lampshade are easy to make and, best of all, inexpensive!
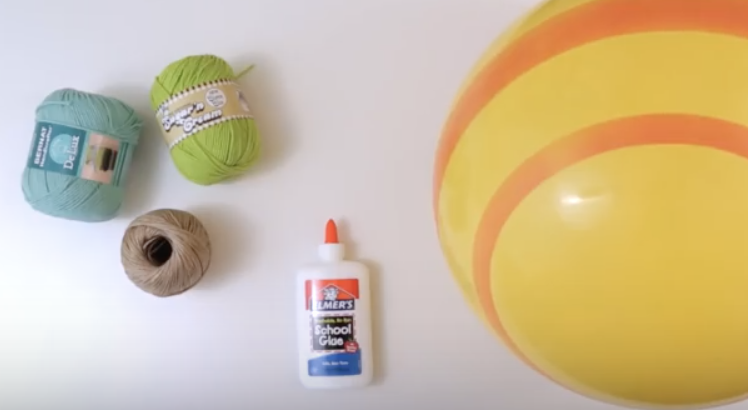
To start, you will need cotton yarn or hemp cord, standard school glue like Elmer’s (modge podge works too), and bouncy balls of whatever size(s) you desire. Cover up your work space and make an apron for yourself with plastic bags because this will get messy. If you plan on making a lamp, mark a large opening on the bottom where you insert the bulb, and a small one at the top for the cord, on the ball. Also, mark a spot for where you can deflate the ball later, to make it easier when the time comes.
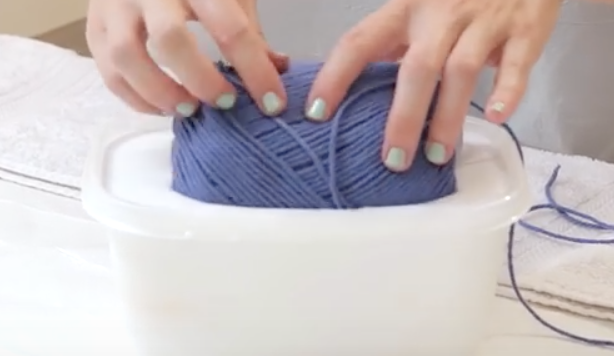
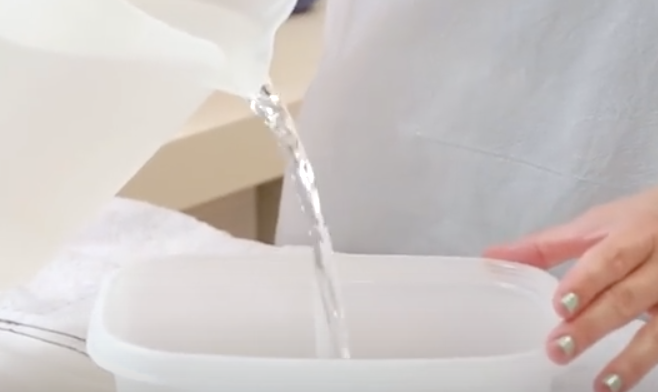
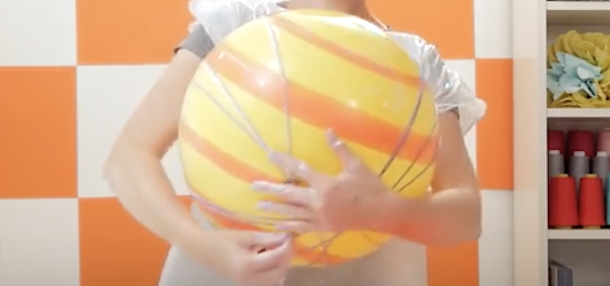
Now mix equal parts water and glue in a plastic container large enough to fit the ball of yarn in. Pull out the end of the yarn and then soak the entire ball in the glue. Begin to pull and unravel the glue soaked yarn and start to wrap it around the ball. When you start, hold the end you began with in place with one hand and wrap with the other until it stays on by itself. Be sure to avoid wrapping around the openings you marked off and wrap until you run out of yarn. Pour any remaining glue mixture over the string so it sets more solidly and focus on the edges around the holes.
Now make a new clean surface with a fresh plastic bag and set the ball there to dry. It will take at least 2 days for it to completely dry so place it somewhere it won’t be disturbed. Once it dries the original color of the yarn you used will return and when it hardens the glue causes it to have a wicker-like finish. Once it’s dry you can deflate the ball with a pin or other sharp point, let the air out slowly, and once it’s deflated enough you can pull the ball out of the large hole. You now have a yarn globe!
To construct the lamp you will need a hanging light fixture, a light bulb, a 3/8 inch two-piece metal clamp connector, and a 1 x 3/4 inch washer, which can all be bought at hardware store. To keep the light bulb centered in a larger sized lamp take the washer and slide it down the cord to the position you want it set at. Then take the metal clamp connector, clamp it on the washer, then screw it in place. That will prevent the cord from moving around and make the lamp safer. Screw in the bulb, plug it in, and test it out to see if any adjustments are needed. Now all that is left is to hang it up!
Please SHARE With Family and Friends
He Dips A Lighbulb Under The Faucet. But When He’s Done The Most Unexpected Surprise!
The next time you replace an old light bulb don’t throw it out. Instead, reuse and recycle it to make a bunch of cool, new, handy things. This video from YouTube’s Shake the Future channel will show you how to make 5 different things from an old bulb. Check it out and read on below for more information on the projects covered in the video!
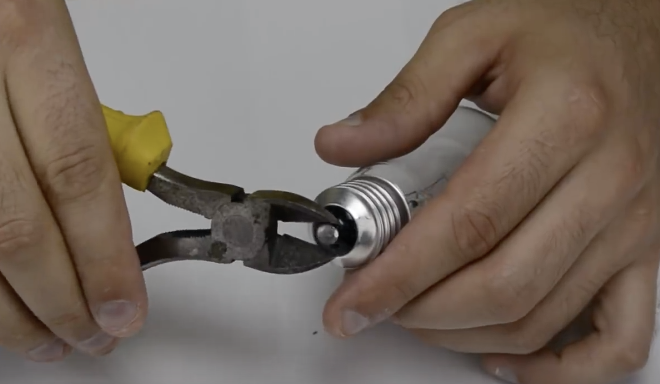
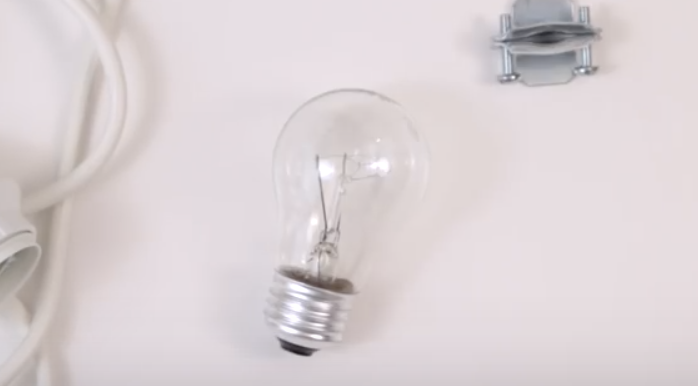
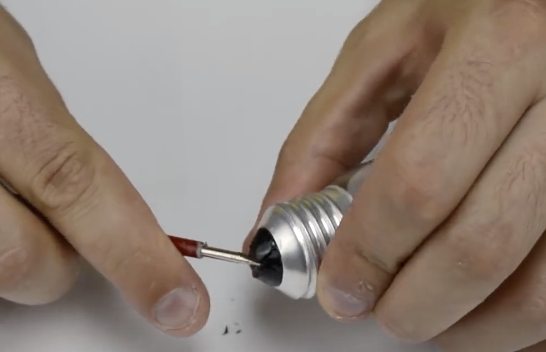
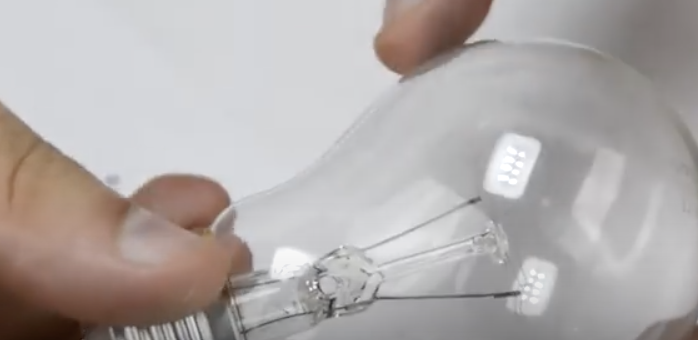
Make sure to use protection and wear safety goggles and gloves. The last thing you want is sharp glass fragments flying into your eye or a cut finger! To prepare the bulb use a utility knife and separate the contact from the surrounding black glass on the bottom. Take a small flat head screwdriver and twist it around the black glass until it breaks, remove the rest with pliers.
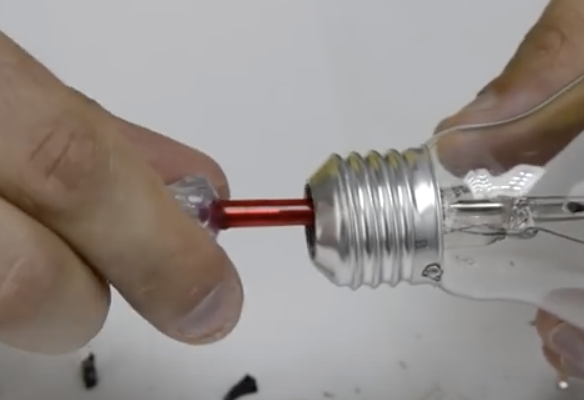
Reach into the bulb and break the stem with a small flat head screwdriver, then use a bigger one to loosen and break the inside filament. Empty out everything and if you need to make the hole bigger slowly apply more pressure to the surrounding edges. Wash out the bulb, let it dry, and now you can use it for a variety of things.
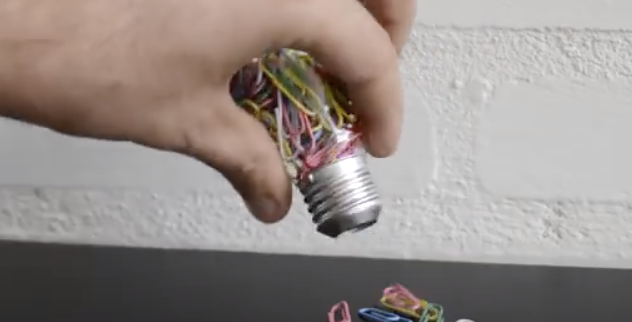
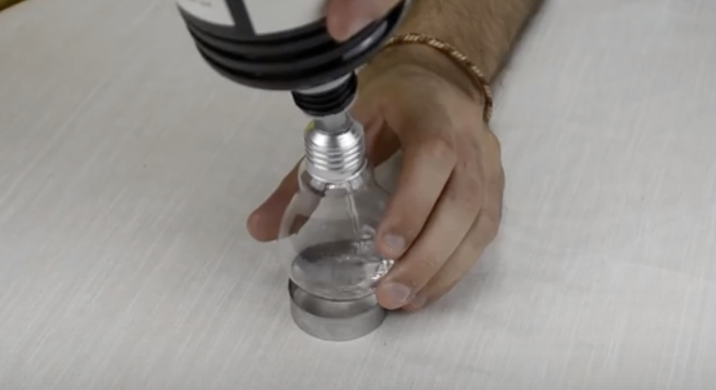
The first way in which you can use an old light bulb is as a handy paperclip dispenser. Place some paperclips inside and shake it upside down when you need one. It also makes a neat flower vase. Fill the bulb halfway up with water, stick in a flower or two, then place it on a small round cookie cutter to stabilize it.
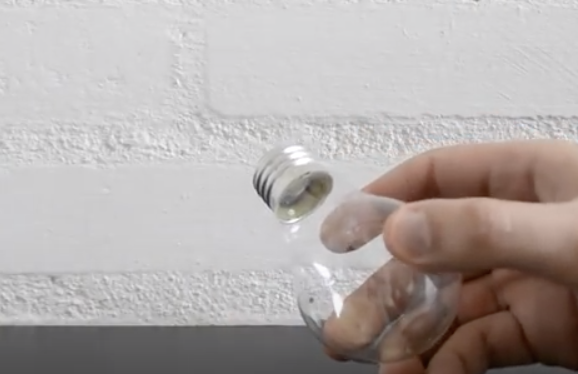
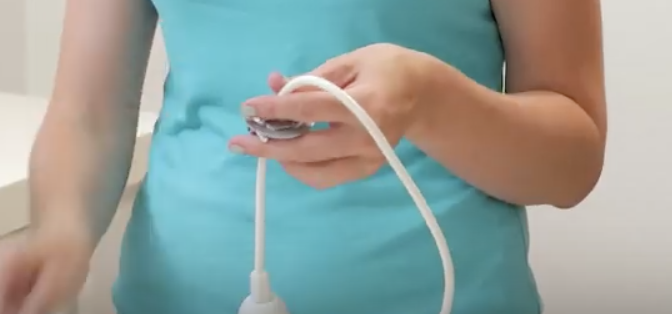
For this next project you only need to remove the bottom of the bulb. Take a solar garden light and glue a string to it, then glue the bulb to the light so it forms a base. Hang it in a sunny spot and voila, you have a new solar light. Alternatively, you can make a light bulb torch.
Use a high temperature sealant to attach a washer to the bottom of the bulb and place it on a cookie cutter base before filling with paraffin based fuel. Insert a wick, wait 10 minutes to soak up the fuel, then you can light it. Make sure to never leave this unattended!
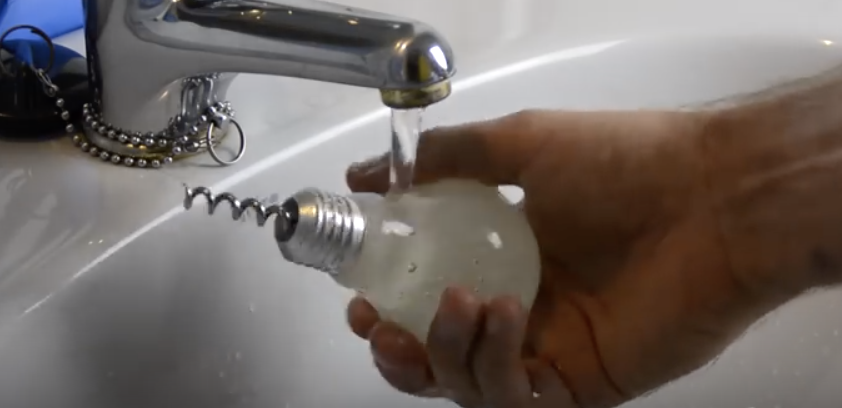
Finally, make a cool corkscrew by removing the worm, the pointed metal helix part, from an old or cheap one and place a small screw through the bottom hole. Fill a light bulb with InstaMorph, a mold-able plastic product, place it in the oven to melt then remove it and top off with more InstaMorph.
Put it back in the oven to melt again and repeat this until it’s filled with melted plastic. Push the worm into the bulb opening and hold it in place for 10 minutes while the plastic cools. Once it has cooled further you can run it under cold water to speed up the process. Finally, when it’s completely cooled off take a hammer and break the glass, now you have a light bulb corkscrew!

Please Share These Light Bulb Hacks With Family and Friends 🙂


