
An Awesome 4 Step Toothpaste Life Hack To Deal With Those Dull and Grimy Vehicles Headlights.
image via – facebook.com
When it comes to cars and maintaining them, many people are clueless about what to do or even where to start. Lots of things demand our attention from washing and waxing the paint job to changing the tires and oil. Some of the upkeep is easy and can be done by anyone, while other things are best left to a mechanic. This video falls in the former category and shows how anyone can clean their car’s headlights with just some toothpaste, a bottle of warm water, paper towels, and a bit of wax..
For obvious reasons, headlights are an essential part of any vehicle, and the cleaner they are the better you can see and be seen by other drivers. When headlights turn hazy and dirty, as they inevitably become over time, the light output from the bulbs ends up getting diffused. This makes the light beams appear dimmer, weaker, and therefore less effective. The lights end up covering a reduced area ahead and pose a potential safety hazard, which is the last thing anyone wants because driving is already dangerous enough.
If you noticed that your vehicle’s headlights have this issue then you have to try this quick and easy method to clean the plastic covering. This fix will work if your headlights are yellowing on the outside, pitted, and not smooth. If your car’s headlight is smooth on the outside, it won’t work.
You’ll need to use a type of toothpaste with a gritty texture to it, such as the ones that contain baking soda and peroxide or a whitening version. It’s also important to not use any gel formulas because only pastes work and if you need more grit try adding baking soda to it.
Start by rubbing a generous amount of toothpaste onto the headlight and to keep your hands clean you can use a toothbrush. Work it in really well and soon after the paste should begin to turn yellow as dirt and grime start to come off onto the brush. Next, grab a spray bottle filled with warm water and spray the light, then rub it off with a paper towel.
Apply a fair amount of pressure while buffing it away and when you’re almost done grab a clean paper towel to remove the last of the residue. Finish it off by applying a smidgen of wax to the headlight and wait for it to completely dry before buffing it all off. The wax will form a protective layer over the now clean light and help keep it from becoming yellow again so soon.
The older and more yellow the light, the longer you’ll need to rub the toothpaste into it. If the light is still hazy or you feel that it needs to be cleaner, simply apply more toothpaste and try again. The best part about this technique is it costs maybe a dollar or so, but if you have a tube on hand that’s the right kind of toothpaste then it’ll only cost you a few cents.
In comparison, store bought headlight restoration kits sell from anywhere between $15-25 so this is by far the cheapest way to clean them. Hopefully this trick will work for you and help to restore your car’s headlights to their former clear and shiny glory!
Be safe and and watch the video below for the full tutorial:
Please Share This With Your Family and Friends
He Dips A Lighbulb Under The Faucet. But When He’s Done The Most Unexpected Surprise!
The next time you replace an old light bulb don’t throw it out. Instead, reuse and recycle it to make a bunch of cool, new, handy things. This video from YouTube’s Shake the Future channel will show you how to make 5 different things from an old bulb. Check it out and read on below for more information on the projects covered in the video!
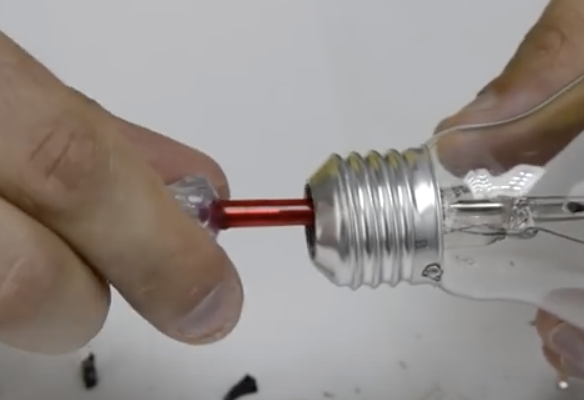
Make sure to use protection and wear safety goggles and gloves. The last thing you want is sharp glass fragments flying into your eye or a cut finger! To prepare the bulb use a utility knife and separate the contact from the surrounding black glass on the bottom. Take a small flat head screwdriver and twist it around the black glass until it breaks, remove the rest with pliers.
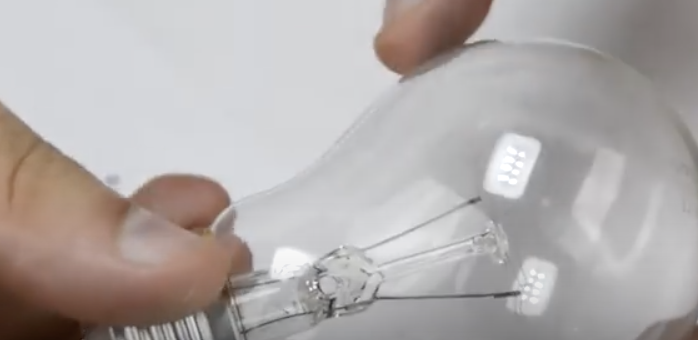
Reach into the bulb and break the stem with a small flat head screwdriver, then use a bigger one to loosen and break the inside filament. Empty out everything and if you need to make the hole bigger slowly apply more pressure to the surrounding edges. Wash out the bulb, let it dry, and now you can use it for a variety of things.
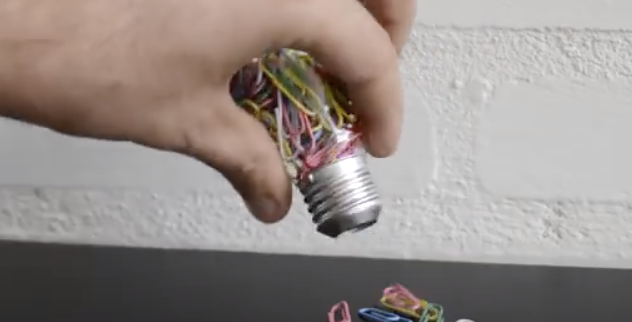
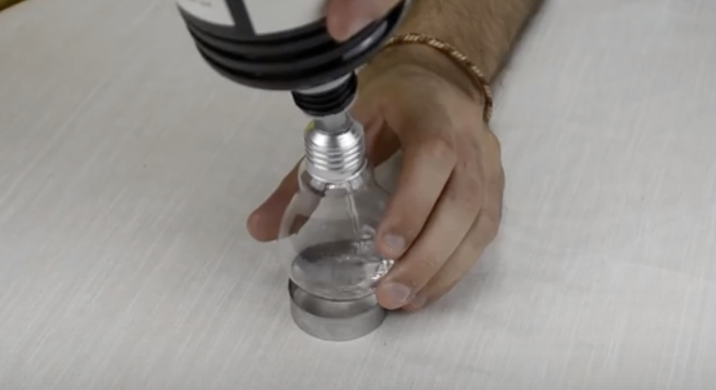
The first way in which you can use an old light bulb is as a handy paperclip dispenser. Place some paperclips inside and shake it upside down when you need one. It also makes a neat flower vase. Fill the bulb halfway up with water, stick in a flower or two, then place it on a small round cookie cutter to stabilize it.
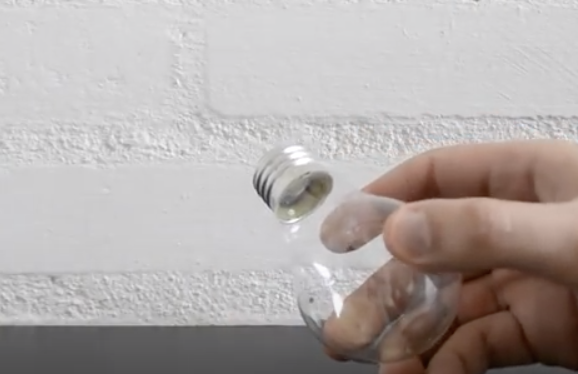
For this next project you only need to remove the bottom of the bulb. Take a solar garden light and glue a string to it, then glue the bulb to the light so it forms a base. Hang it in a sunny spot and voila, you have a new solar light. Alternatively, you can make a light bulb torch.
Use a high temperature sealant to attach a washer to the bottom of the bulb and place it on a cookie cutter base before filling with paraffin based fuel. Insert a wick, wait 10 minutes to soak up the fuel, then you can light it. Make sure to never leave this unattended!
Finally, make a cool corkscrew by removing the worm, the pointed metal helix part, from an old or cheap one and place a small screw through the bottom hole. Fill a light bulb with InstaMorph, a mold-able plastic product, place it in the oven to melt then remove it and top off with more InstaMorph.
Put it back in the oven to melt again and repeat this until it’s filled with melted plastic. Push the worm into the bulb opening and hold it in place for 10 minutes while the plastic cools. Once it has cooled further you can run it under cold water to speed up the process. Finally, when it’s completely cooled off take a hammer and break the glass, now you have a light bulb corkscrew!

Please Share These Light Bulb Hacks With Family and Friends 🙂
He Staples Dozens Of Plastic Cups Together. But When He’s Done It’s STUNNING!
Whether it is Christmas lights lining someones hedge or a wreath decked out in LEDs, it always makes me think of faeries when I see illuminated globes of light on summer nights. They just seem more magical and unexpected when they are ‘out of season’ and shining bright on a warm evening. I always wanted a few hanging globe lights to add a touch of magic to my own garden, yet I was having a hard time finding them.
Some specialty garden stores sell similar-type garden lights but they are usually on the expensive side and not really what I envisioned. When I stumbled across this DIY sparkle ball project it was perfect and exactly what I had in mind as to cost, effort and looks. It even carries over into winter and makes for the best holiday decorations.
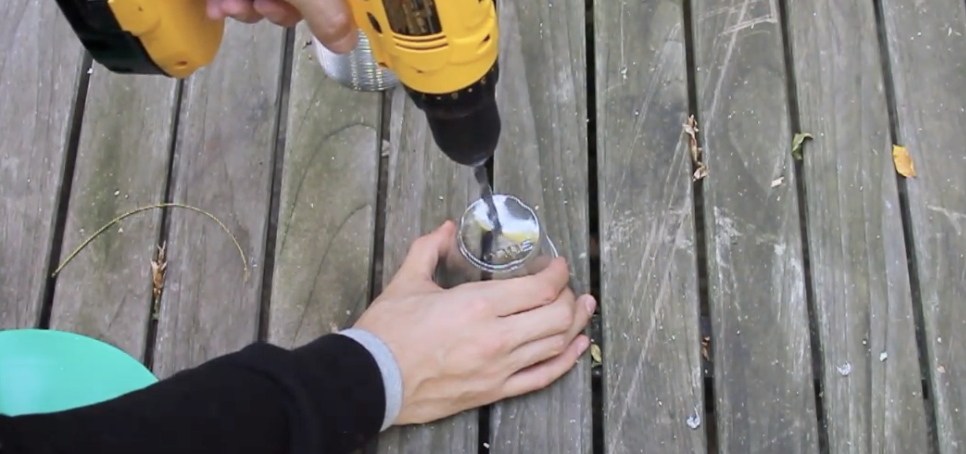
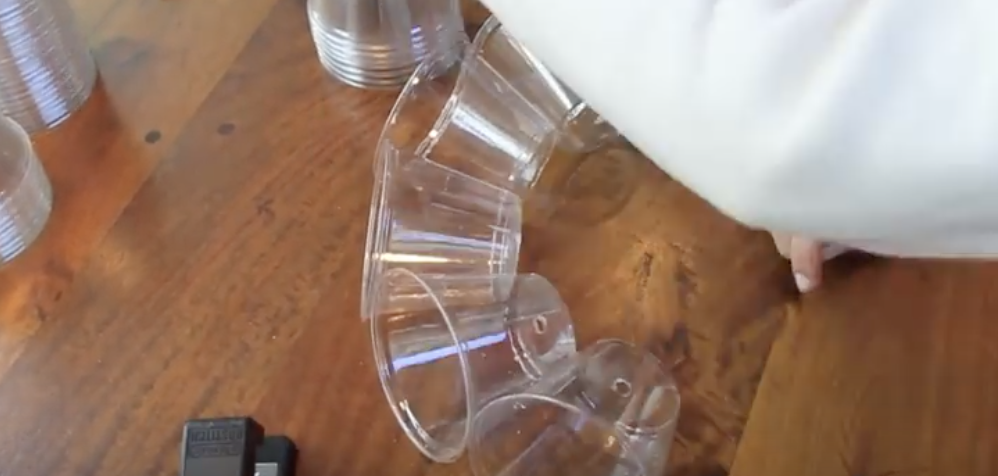
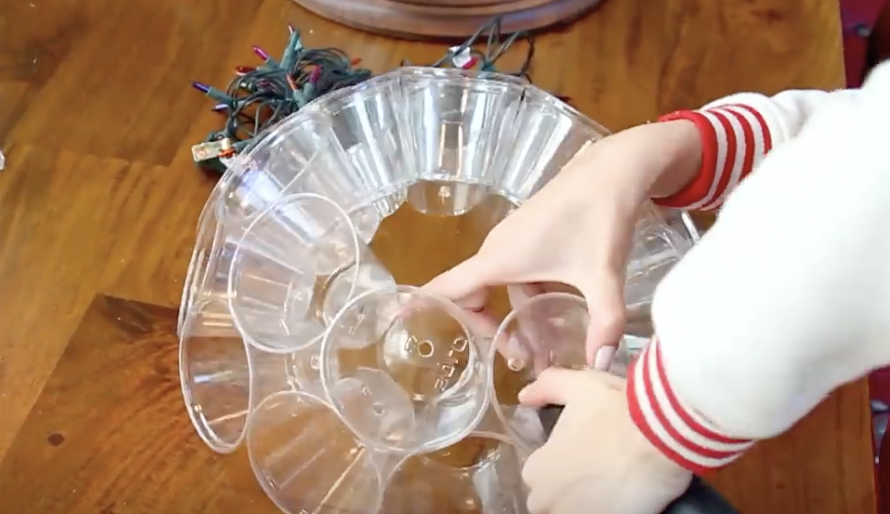
To make a sparkle ball you will need 50 clear plastic cups, a drill or tool to make holes in every cup bottom, a stapler, a string of lights, and some clothespins. First drill the holes in the cup bottoms and then take 2 and staple them to each other along their sides. Keep adding on cups in this fashion until a complete circle is formed (*see video for clearer picture/explanation).
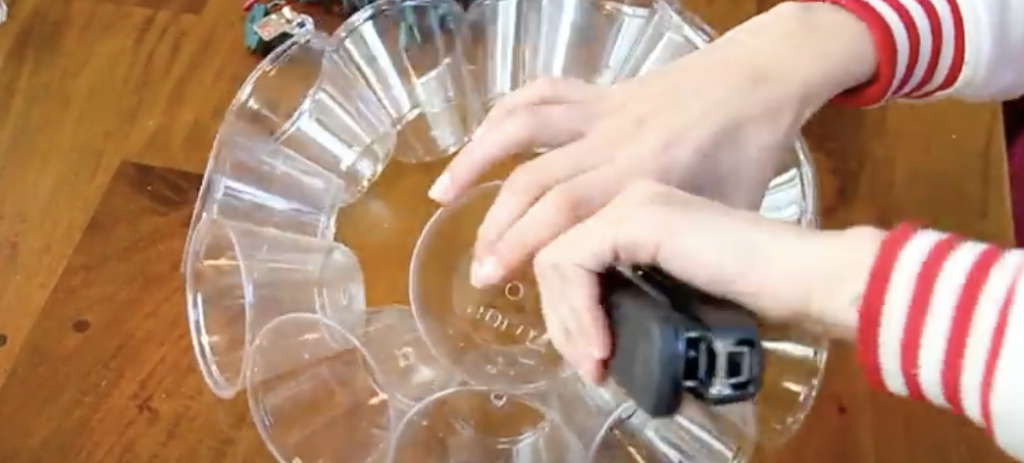
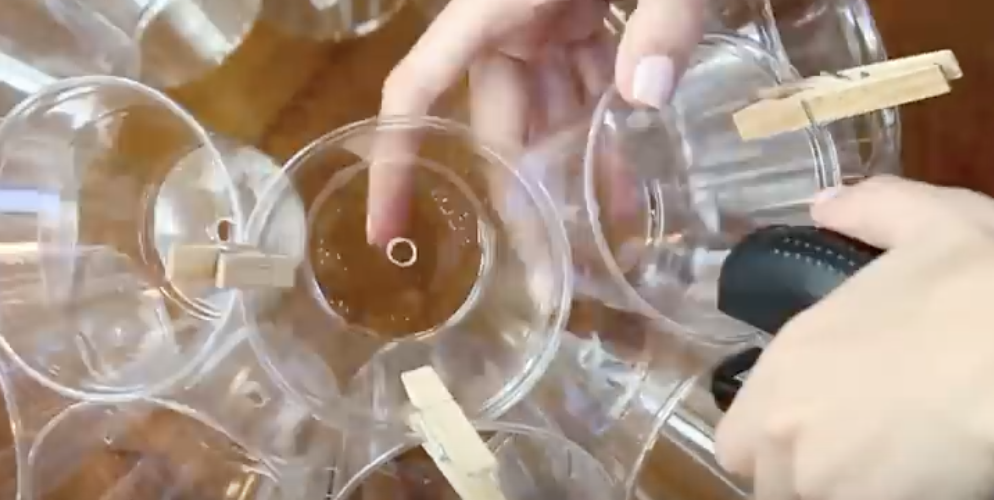
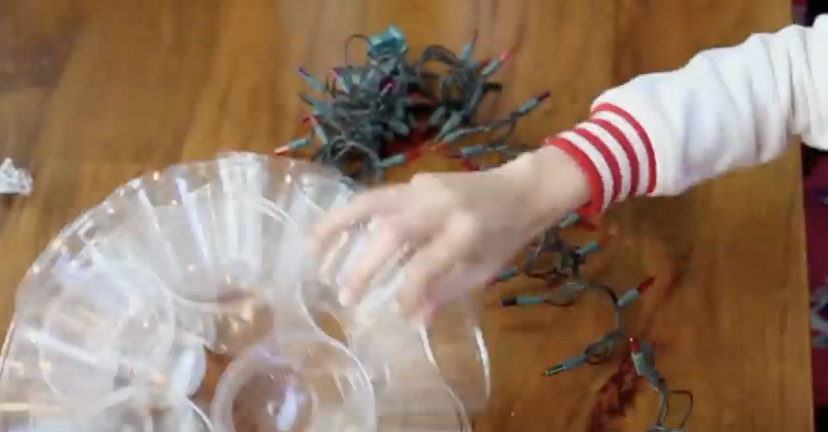
Now move on to the next ring of the circle and staple cups on top of the first ring. Use clothespins to help hold the additional cups in place and finish off the half-globe with a few more cups on top of the second ring. Repeat the process for the other half and then push one light through every hole on the cup bottoms. Finally, bring the two half-spheres together to form a full sphere and staple all the remaining cups together. That is it, Your done!
These lights look amazing and wont break the bank. The lights can even be switched out to fit different occasions; multicolored, clear, all one color, blinking, and so on. They are really neat looking from a distance and add just the right amount of sparkle to any old scene. Are you going to try and make one of these? Let us know.
Please Share This Tutorial With Family and Friends


