
An Awesome 4 Step Toothpaste Life Hack To Deal With Those Dull and Grimy Vehicles Headlights.
image via – facebook.com
When it comes to cars and maintaining them, many people are clueless about what to do or even where to start. Lots of things demand our attention from washing and waxing the paint job to changing the tires and oil. Some of the upkeep is easy and can be done by anyone, while other things are best left to a mechanic. This video falls in the former category and shows how anyone can clean their car’s headlights with just some toothpaste, a bottle of warm water, paper towels, and a bit of wax..
For obvious reasons, headlights are an essential part of any vehicle, and the cleaner they are the better you can see and be seen by other drivers. When headlights turn hazy and dirty, as they inevitably become over time, the light output from the bulbs ends up getting diffused. This makes the light beams appear dimmer, weaker, and therefore less effective. The lights end up covering a reduced area ahead and pose a potential safety hazard, which is the last thing anyone wants because driving is already dangerous enough.
If you noticed that your vehicle’s headlights have this issue then you have to try this quick and easy method to clean the plastic covering. This fix will work if your headlights are yellowing on the outside, pitted, and not smooth. If your car’s headlight is smooth on the outside, it won’t work.
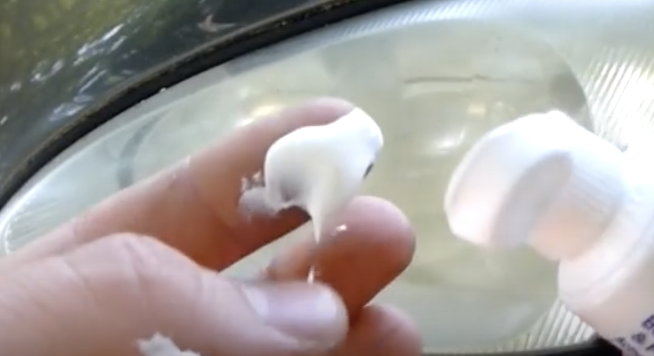
You’ll need to use a type of toothpaste with a gritty texture to it, such as the ones that contain baking soda and peroxide or a whitening version. It’s also important to not use any gel formulas because only pastes work and if you need more grit try adding baking soda to it.
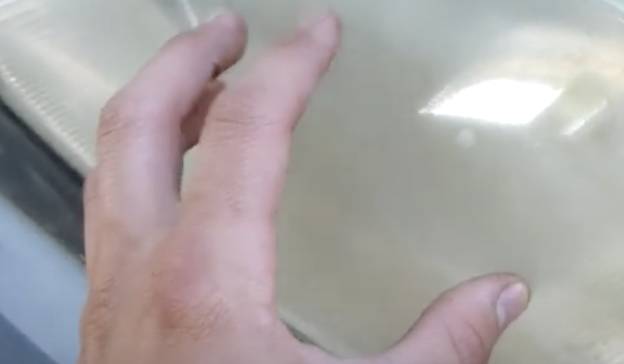
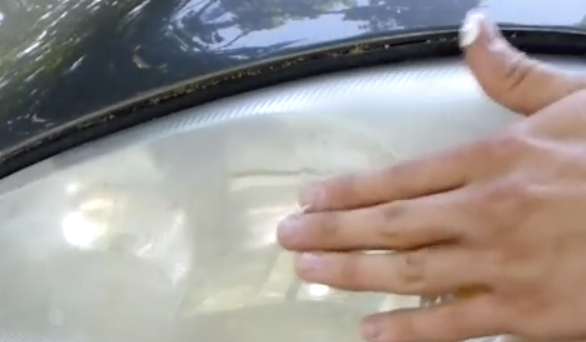
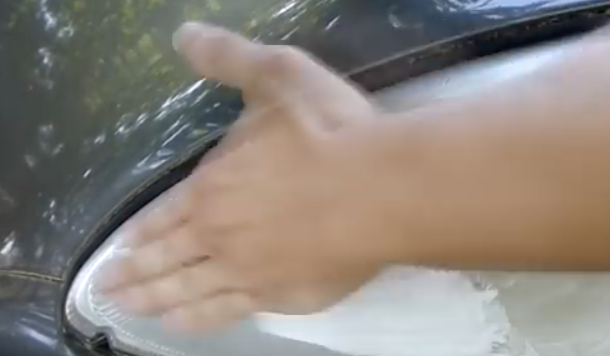
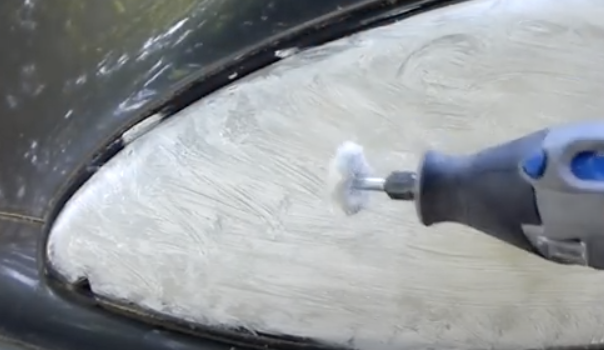
Start by rubbing a generous amount of toothpaste onto the headlight and to keep your hands clean you can use a toothbrush. Work it in really well and soon after the paste should begin to turn yellow as dirt and grime start to come off onto the brush. Next, grab a spray bottle filled with warm water and spray the light, then rub it off with a paper towel.
Apply a fair amount of pressure while buffing it away and when you’re almost done grab a clean paper towel to remove the last of the residue. Finish it off by applying a smidgen of wax to the headlight and wait for it to completely dry before buffing it all off. The wax will form a protective layer over the now clean light and help keep it from becoming yellow again so soon.
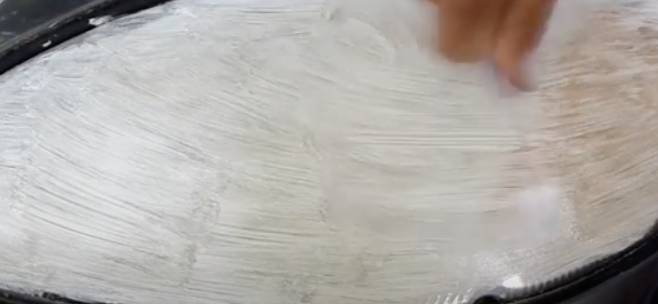
The older and more yellow the light, the longer you’ll need to rub the toothpaste into it. If the light is still hazy or you feel that it needs to be cleaner, simply apply more toothpaste and try again. The best part about this technique is it costs maybe a dollar or so, but if you have a tube on hand that’s the right kind of toothpaste then it’ll only cost you a few cents.
In comparison, store bought headlight restoration kits sell from anywhere between $15-25 so this is by far the cheapest way to clean them. Hopefully this trick will work for you and help to restore your car’s headlights to their former clear and shiny glory!
Be safe and and watch the video below for the full tutorial:
Please Share This With Your Family and Friends
She Puts Toothpaste All Over Her Nails. The Reason Is Genius!
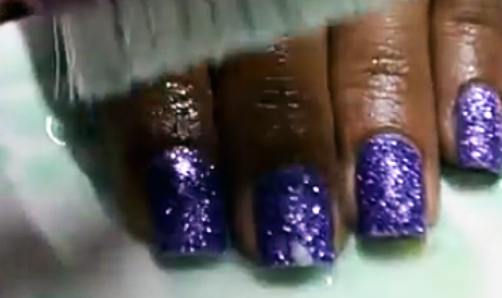
image via – youtube.com
If you have ever painted your nails with a glitter filled nail polish then you know that it’s hands down the worst type of polish to remove. It takes ten times longer to scrub the glittery bits off your nails than any version without it.
The most annoying part has got to be when you’re using a cotton pad soaked in nail polish remover and it snags and sticks to the glitter on the nail, which tears it up into an unusable mess, and makes it worthless. If all this sounds familiar then you need to view this video and learn this cool trick.
It will save you a lot of time, but overall it’ll just make you more sane the next time you go to remove the dreadful glitter polish. You will need cotton balls (or wipes or pads), nail polish remover, a nail cleaning brush or toothbrush, Vaseline, toothpaste and an optional lemon.
Start by gently rubbing and removing the topcoat with nail polish remover and a wipe before rubbing some Vaseline onto each one of your nails. In a small dish place a few drops of water, add in a dime sized amount of any type of toothpaste, and squeeze half a lemon in if you wish to whiten and brighten your nails.
Mix it all together well before dipping the nail or toothbrush in to pick it up, then rub the concoction onto your nails. Scrub fast and apply a little bit of pressure to really work off the polish. After about a minute of steady scrubbing the glittery polish should start to come right off.
If you use a nail brush you can get all of the nails in one go at once and that’s what makes this the fastest way to get stubborn glitter polish off. When your finger tips are clear of polish simply wash and dry your hands before applying another coat of Vaseline to help moisturize your cuticles and nails. That’s it!
The accompanying video shows you how easily glitter polish comes off nails when you use this trick. The method is perfect for those of us who like to change up our polish color or texture often. Try it the next time you want to remove tired, old, once pretty glittery nail polish, and you’ll be glad you watched the video and learned the easy technique.
Let us know if this technique worked for you!
Please Share This With Family and Friends 🙂
This Guy Started Rubbing Toothpaste All Over His Headlights. When He’s Done I’m Grabbing A Tube!
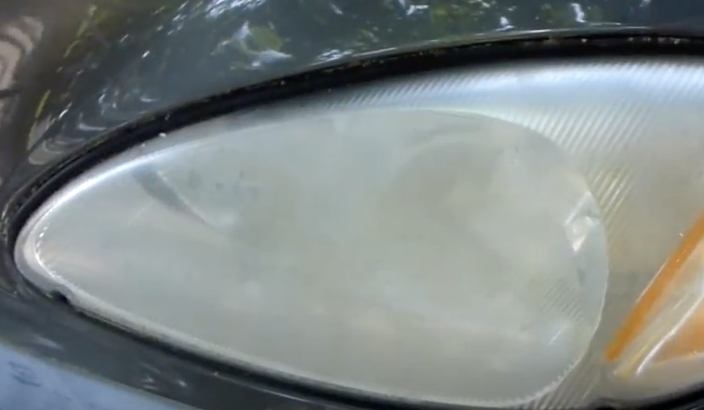
Headlights are an essential part of any vehicle for obvious reasons. The cleaner they are the better you can see and be seen by other drivers. If the lights are hazy and dirty, which they inevitably become over time, then the light output from the bulbs get diffused. This makes them seem dimmer, weaker and less effective.
The light beam ends up covering a reduced area and poses a safety hazard, which is the last thing you want because driving is already dangerous enough. If you noticed that your vehicle’s headlights have this issue then try this quick and easy method to clean the plastic covering. All it takes is toothpaste, a bottle of warm water, paper towels, and a smidgen of wax.
This quick fix works if your headlights are yellowing on the outside, pitted, and not smooth. However, if the headlight is smooth on the outside it won’t work. You will need to use a toothpaste with a gritty texture to it, like ones with baking soda and peroxide or a whitening version.
Do not use gel formulas, only pastes work, and if you need more grit try adding baking soda to it. Start by rubbing on a good amount of toothpaste onto the light and you can use a toothbrush to keep your hands clean. Work it in really well and soon the paste should start to turn yellow, with dirt and grime begging to come off onto the brush.
Then grab a spray bottle filled with warm water, spray the light, and rub it off with a paper towel. Apply a fair amount of pressure while buffing it away and when almost done get a clean paper towel and remove the last of the residue. Finish it off by applying a dollop of wax to it, wait for it to dry, then buff it off.

The older and more yellow the light the longer you will need to rub the toothpaste into it and if the light is still hazy, or you feel that it needs to be cleaner, apply more toothpaste again to try and get it cleaner. Adding wax at the end forms a protective layer over the now clean light and keeps it from becoming yellow again so soon.
The best part about this hack is that it cost maybe a dollar, not even if you have a tube on hand that’s the right kind then it’ll only cost a few cents. Store bought headlight restoration kits sell from anywhere between $15-25 so this is the cheapest way to clean them by far. Hopefully this trick will work for you and restore your car’s headlights to their former clear and shiny glory! Be safe and pass the video on to keep others informed.
Please Share This Trick With Family and Friends
Video: Cat Gets His Teeth Brushed For The First Time. What The Camera Caught Is Hilarious!
Even if the only thing your cat hunts these days is tasty treats, toy mousies and catnip, he still needs healthy clean teeth and gums. Damage to your cats teeth, palate, tongue and gums can extend into other health risks for your cat. The good news is, this can be prevented by brushing your cats teeth!
The ASPCA recommends doing a breath test, go on take a sniff of your cat’s breath. If your cat’s breath has an extremely strong odor he may have a digestive disorder or gingivitis. They also recommend pulling back your cats lips and inspecting their gums. Make sure their gums are a nice coral pink. They should not be white, red, or swollen.

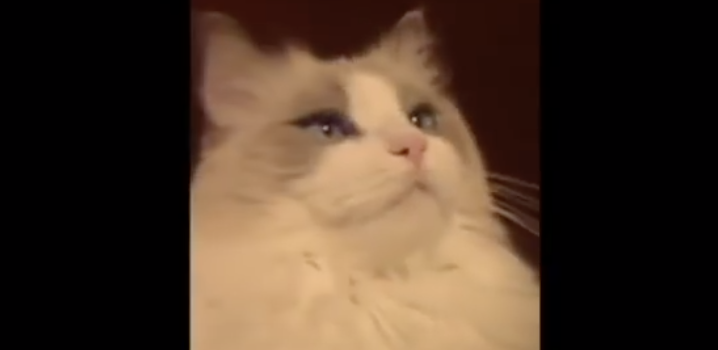
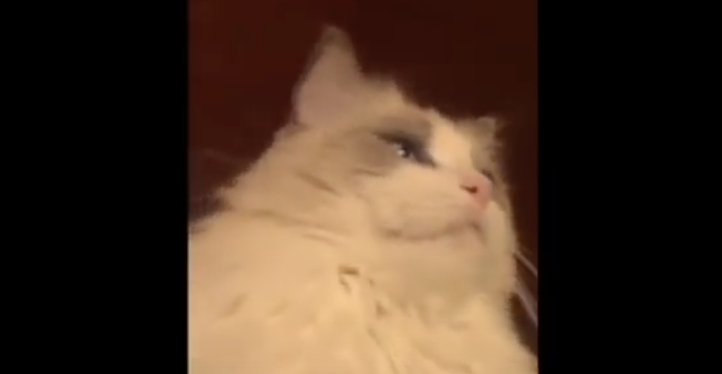
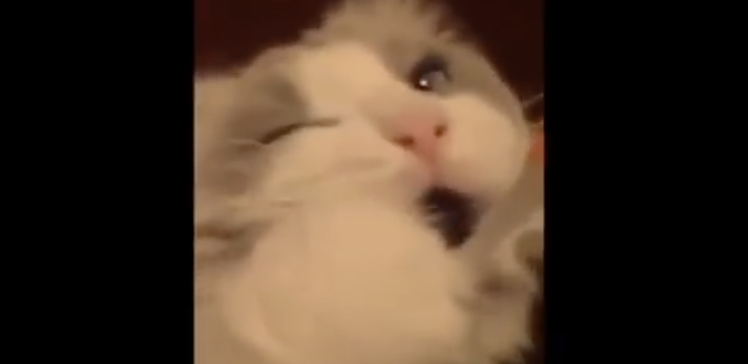
In the hilarious video below, a cat gets his teeth brushed for the first time by his human. Somehow, he loves it and even grabs for the toothbrush with his paw to place it in his mouth. Then as he is getting those pearly whites clean, he has an epiphany. He gets a far off look in his eyes, and it seems as if his mind has just been blown! Maybe he is pondering the meaning of life or Stephen Hawking’s theory of everything. Either way, this video is absolutely hilarious and I can’t stop laughing at that face. Enjoy! 🙂
Please Share With Family and Friends


