
He Wipes Steel Wool All Over This Windshield.
images via – youtube.com
If you’ve ever owned, maintained, or driven an automobile, then you know how dirty and cloudy looking the windshield can get over time. The filmy layer forms because all of the dirt, dust, pollutants, bugs, tar, and other nasty road grime that you drive through gets blasted directly at the windshield! While most of it ends up bouncing off, some of it inevitably ends up sticking to the glass, especially bugs. However, it’s the teeny tiny minuscule particles that you don’t even see which add up and make the windshield look dirty, hazy, and hard to see out of.
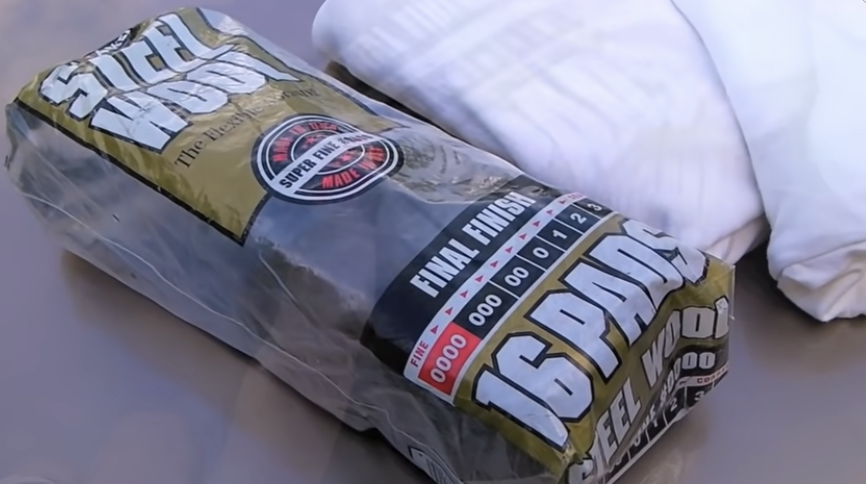
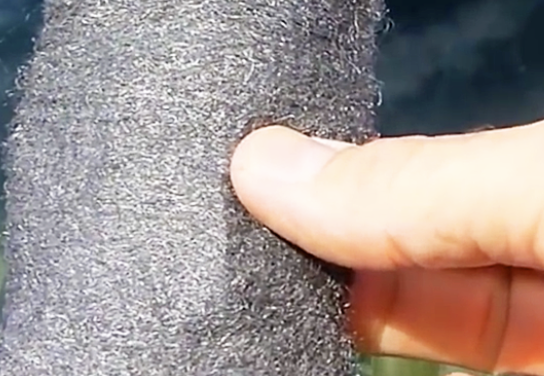
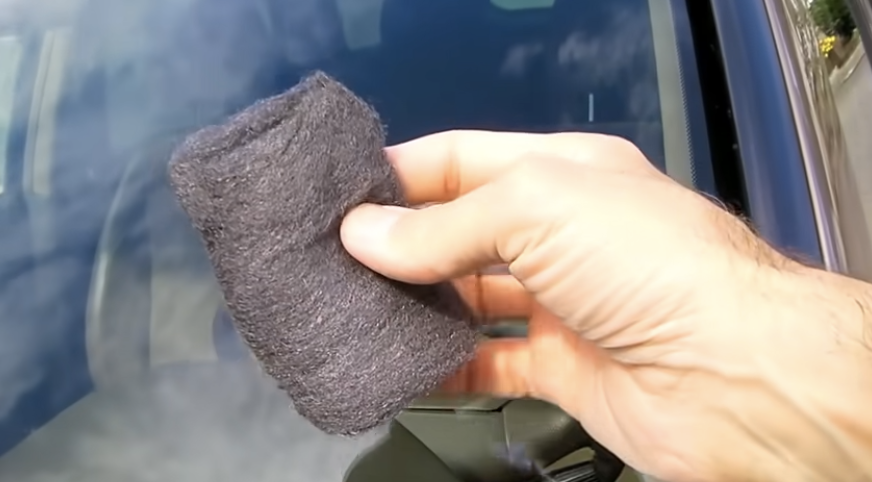
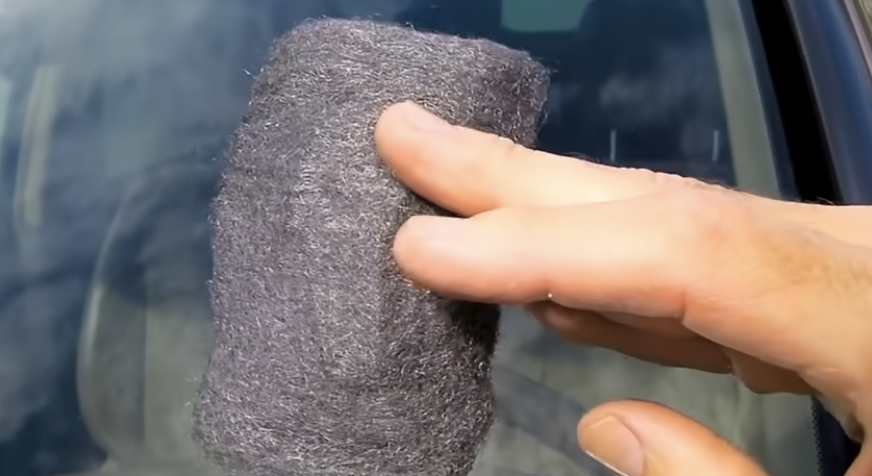
Oftentimes a regular car wash will fail to remove this type of dirt build up and instead you’ll need to really scrub and work hard to clean it all off. Or, you can make your life easier by trying this simple and effective method that will leave you with a super clean windshield. The choice is easy, so here’s everything that you’ll need; rain-x, steel wool (*make sure to get the finest type available- which is 4 ott), two old cotton t-shirts or rags, and an old pair of cotton socks. Start off by taking a steel wool pad and rub it all over the glass.
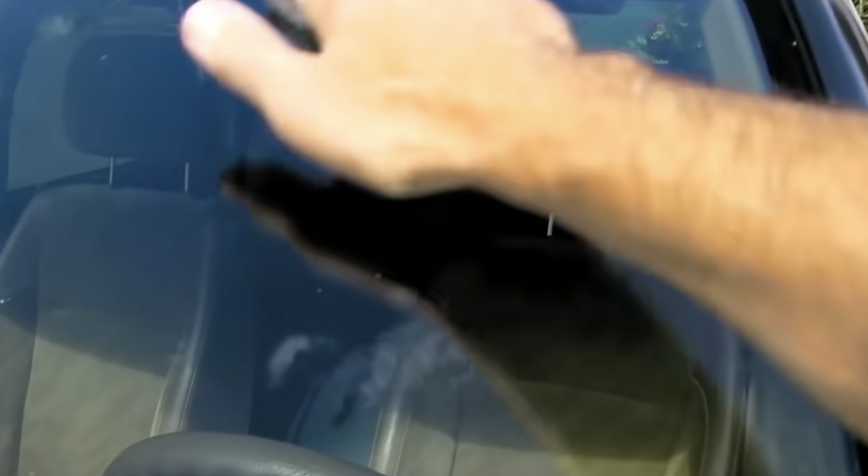
If you use the finest type it won’t scratch it, but will still easily remove everything that’s stuck on the windshield including bugs, grime, and the notoriously tough water spots, which are a pain to get off. Keep rubbing for as long as it takes to completely clean, paying attention to any little spots that may be tougher than usual to get out. It may take you about 5-10 minutes to do this but the cleaner the better and longer lasting it will be.
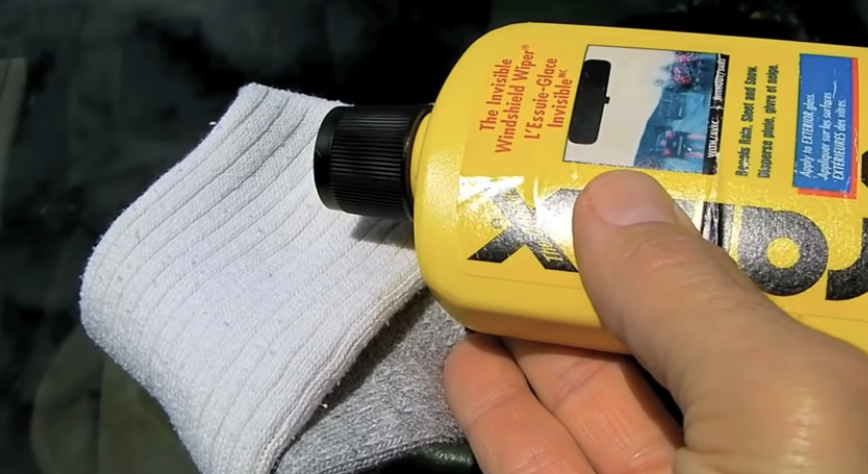
The next step is to grab an old sock and soak it with rain-x. Do not skimp on this part! Apply it to the glass in circular, overlapping motions, making sure to cover every single spot on the windshield without getting any on the car paint. After it dries a little, apply a second rain-x coat right on top of the first one, and let that completely dry.
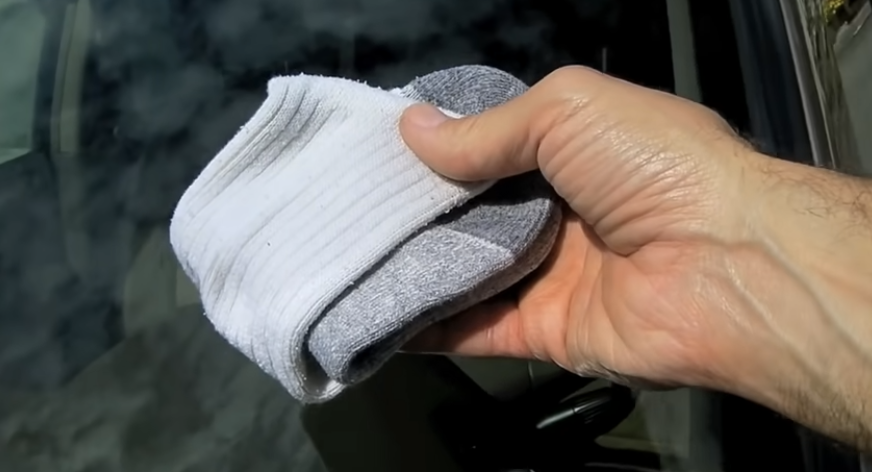
Take a rag and completely soak it with water, then wring it out so that it’s still quite wet but not so much that it’s dripping. Use it to wipe the glass to remove the rain-x film you applied on the windshield, and for this part you don’t need to press down hard or anything. Finally, take the other dry rag and wipe down the windshield again to completely dry it and you’re done!
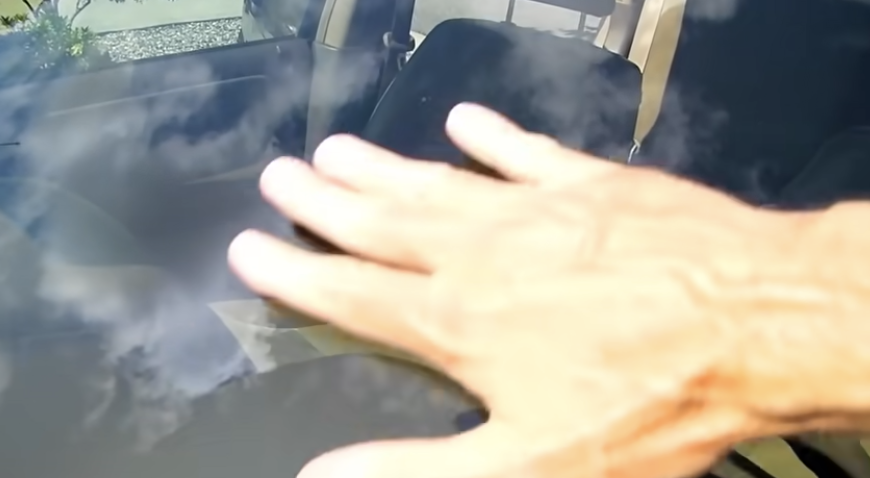
If you try this your windshield will be incredibly clean, clear, and smooth to the touch. When it rains the water will slide right off and you won’t need to use the wipers nearly as much as you would have without this treatment. This also works for the rear windshield, side windows, and side view mirrors.
The gentleman in the video further suggests that you coat the wiper blades with rain-x as well to help make it last longer, since it tends to wear off quicker on the windshield from the blades constantly going across it. He also suggested “Invisible Glass” cleaner be used on the inside of windows because it’s far superior to regular glass cleaners and doesn’t leave behind any streaks.
Check out the video below for the full DIY tutorial:
Please Share This With Family and Friends 🙂
If you enjoyed this story keep scrolling for more of our handpicked stories of the week:
––––––––––––––––––––––––––––––––––––––––––––––––
Everytime I went to my best friends house it smelled incredible. But then she showed me This Trick:
images via – youtube.com
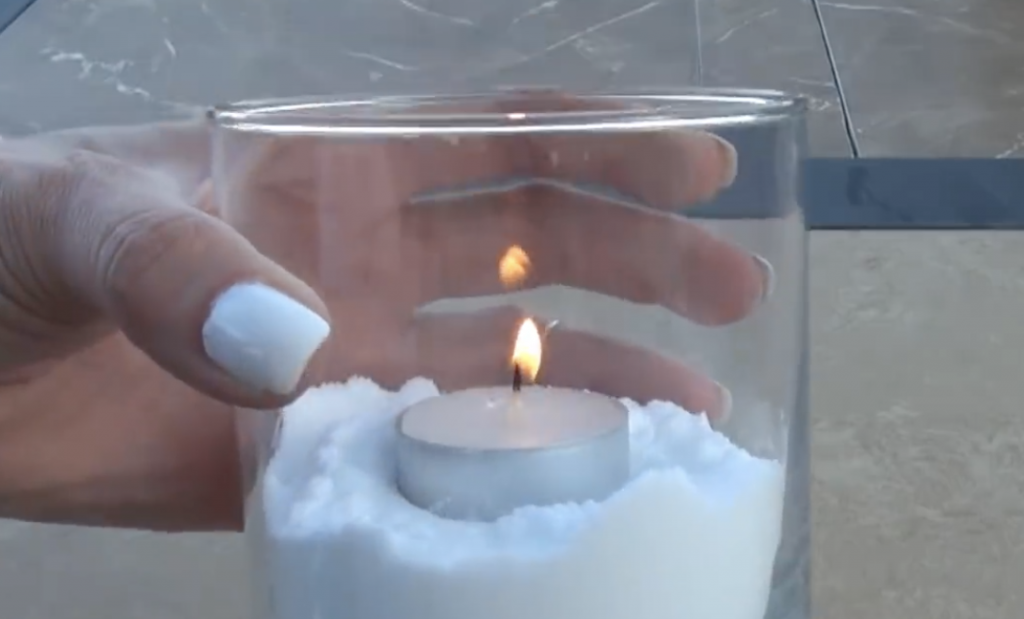
It is wonderful to have our homes smell good, and scented candles became very popular over the last decade. That is, until it was discovered that many of these candles and scented sprays contain really dangerous chemicals, that can cause permanent lung damage.
I, myself, have stopped using those candles that I used to love, because of the inherent health hazard they carry. I’m always looking for natural alternatives that are chemical free, to provide a nice fresh smell in my home. When I came upon this DIY video for creating a natural air freshener I was intrigued.
The video below is a great tutorial for how to easily, inexpensively and quickly make your own fresh and chemical-free deodorizer. Two alternative versions are demonstrated, which differ slightly in how they release the fragrance.
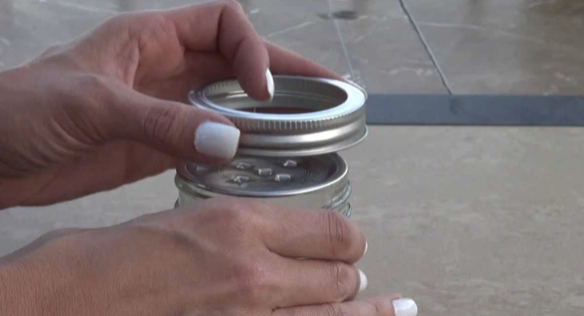
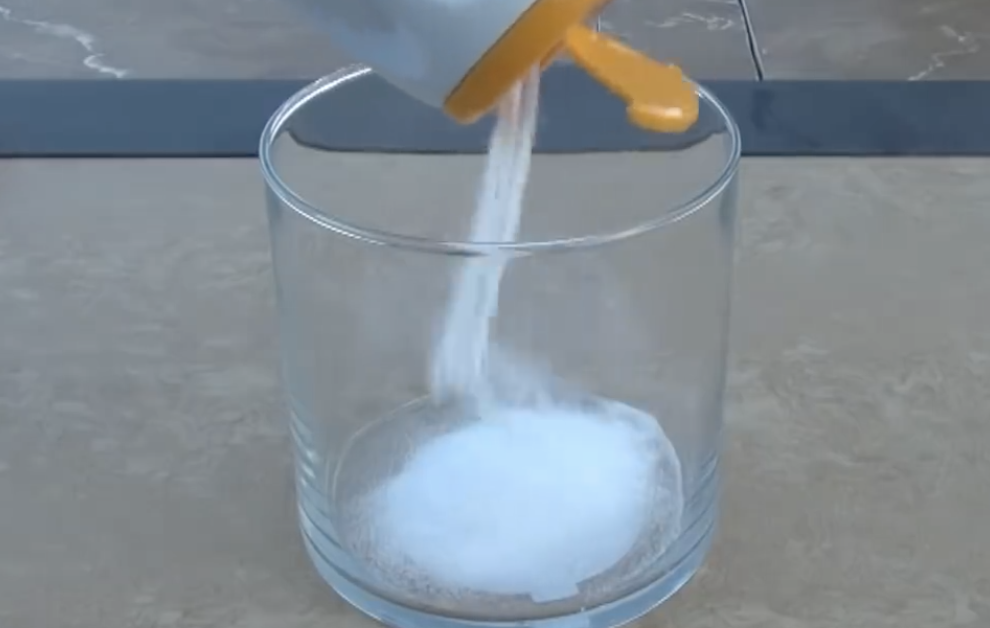
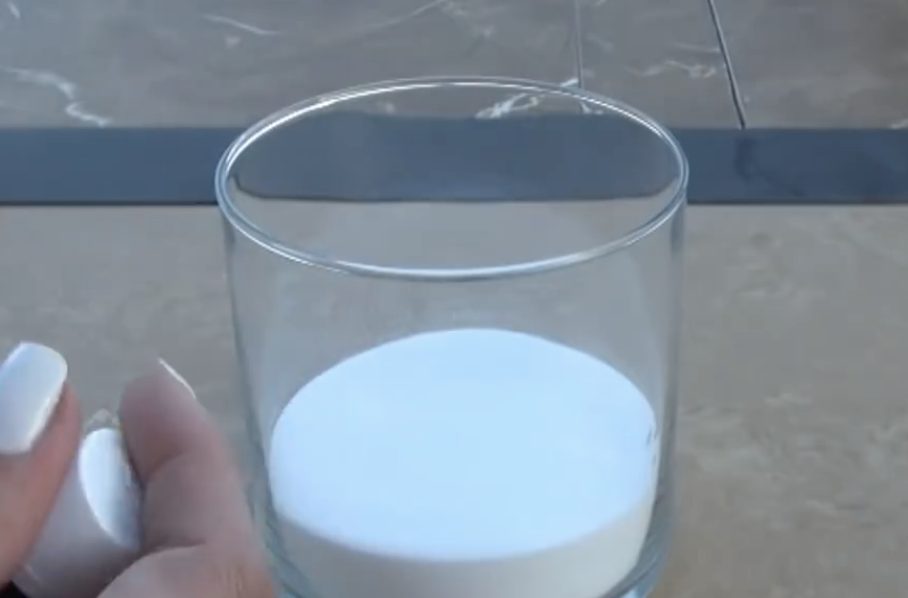
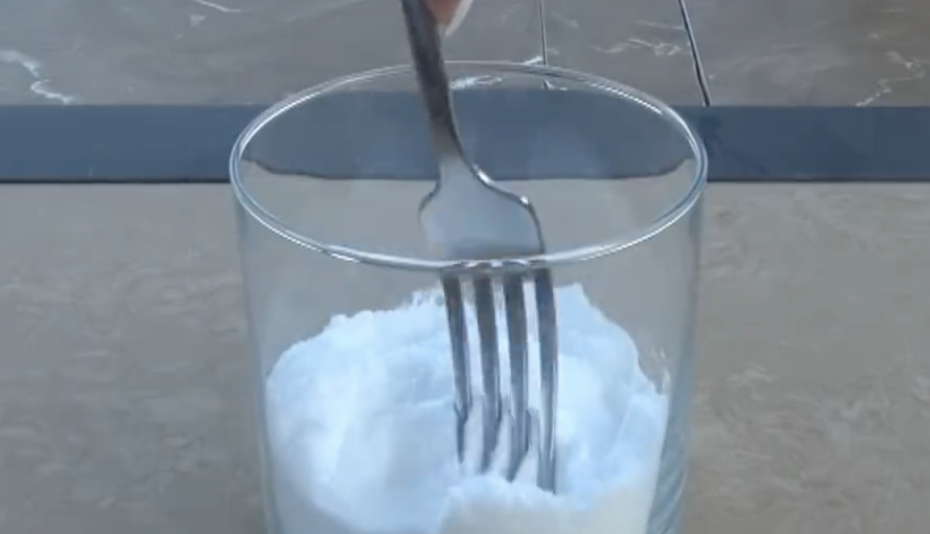
For both versions, all you will need are: a MASON JAR WITH A TIN LID, HAMMER, FORK, EMPTY CANDLE CONTAINER, SCREWDRIVER, BAKING SODA AND SOME ESSENTIAL OIL. The DIY is easy to follow, and gives you a great means to slow-release a pleasant scent into any room in your home.
Watch the video below for the full simple, easy and cheap DIY air freshener life hack:
Please Pass This Onto Family and Friends 🙂
If you enjoyed this story keep scrolling for more of our handpicked stories of the week:
––––––––––––––––––––––––––––––––––––––––––––––––
Check out this Awesome Vinegar Shower Head Cleaning Life Hack everyone should know:
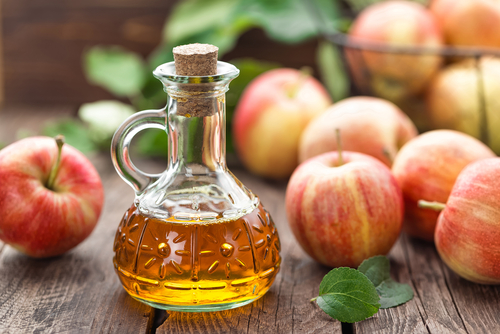
image via – shutterstock.com
Vinegar is arguably one of the most useful substances on the planet, at least when it comes to making life in your home easier, less expensive and safer! Why use nasty chemicals that cost an arm and a leg when you can use something that has been proven by time and countless mothers and grandmothers? I personally use vinegar for more things than I can count, and I have known about the wonderful liquid since before I can remember because my mom used it for literally everything. We are going to thoroughly run through some of the best little known vinegar life hacks that will make your life so much easier.
Is your drain clogged? Try pouring baking soda, followed by vinegar, down the drain and watch the magic. Something gooey sticking to your wall? Grab the vinegar and give it a squirt, then easily wipe it away.
Does your trash can smell like garbage, even when it’s empty? Soak a piece of bread in vinegar and leave it in the garbage can overnight, and voila, no more stank. It can also be used as an all-purpose cleaner: just fill up a spray bottle with one third vinegar and two thirds water.
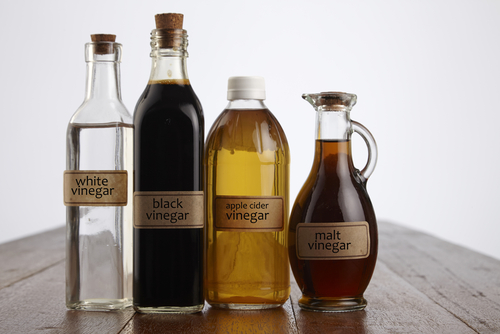
Too many fruit flies? Fill a glass with apple cider vinegar, cover it with plastic wrap, and poke a few holes. The flies enter, but cannot escape. It can even be used to straighten clothes if an iron isn’t available. A few other uses include keeping cats off the furniture, helping cut flowers stay fresh longer, getting tough stains out of pots and pans and cleaning glasses for a smudge-free sheen. Let us know what you think in the comments.
Hopefully you find these helpful tips and tricks over the next few weeks and months.
Please Pass These Vinegar Hacks Onto Family and Friends
––––––––––––––––––––––––––––––––––––––––––––––––
If you found these 10 Vinegar Life Hacks helpful keep scrolling for more awesome vinegar life hacks:
––––––––––––––––––––––––––––––––––––––––––––––––
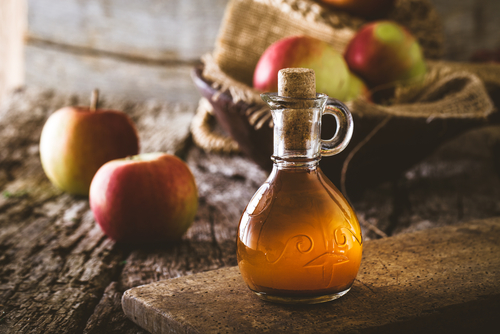
Check out this Awesome Vinegar Shower Head Cleaning Life Hack everyone should know:
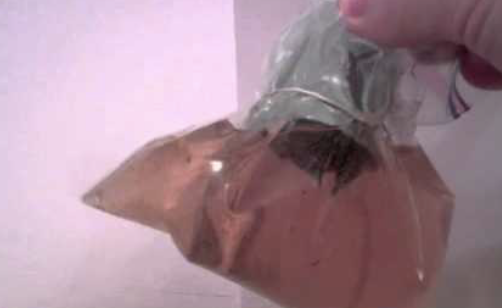
image via – facebook.com
When it comes to cleaning just about everyone loves learning new simple ways to get the same old things done. It can be fun and interesting to discover what nifty and quick solutions people have come up with to solve common problems. This video, from YouTube channel Outdoors and Gear Review highlights a helpful trick for dealing with a common and difficult problem you’re likely to encounter when tidying and cleaning your bathroom up; hard water deposits and stains.
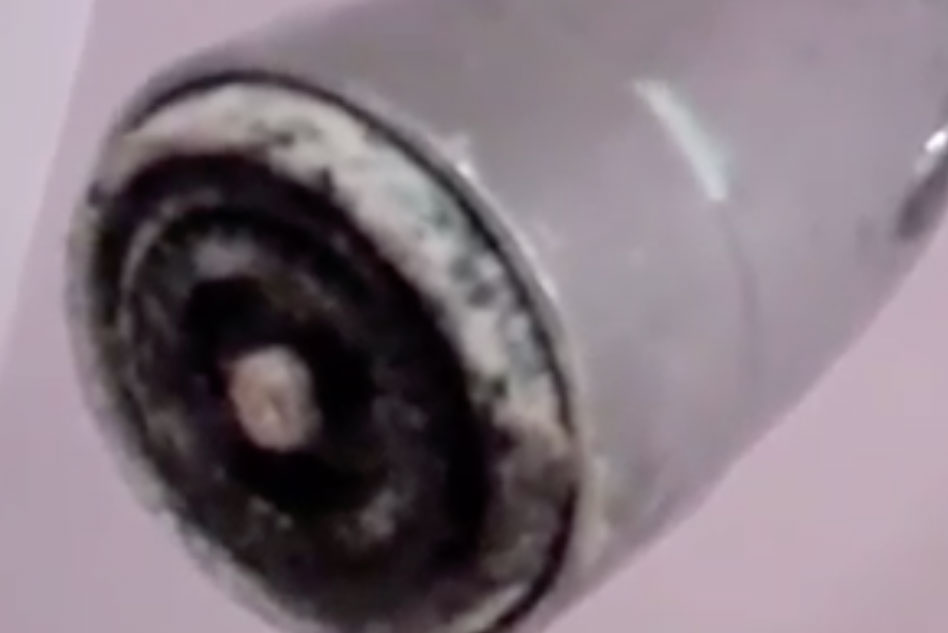
Hard water can be a real pain in the neck and the nasty looking stains and blemishes that it leaves behind on bathroom and kitchen surfaces can be extremely hard to fully remove. The ugly spots and stains are caused by water that contains large amounts of minerals such as limestone, calcium, and magnesium.
These metals and minerals are naturally occurring, most often in areas with low water tables and mountainous regions, and water that contains them is perfectly safe to use and drink. The biggest downside to it is the crusty, whitish colored mineral deposits and stubborn stains it leaves behind. Over time these gradually build up on stuff, especially faucets and shower heads.
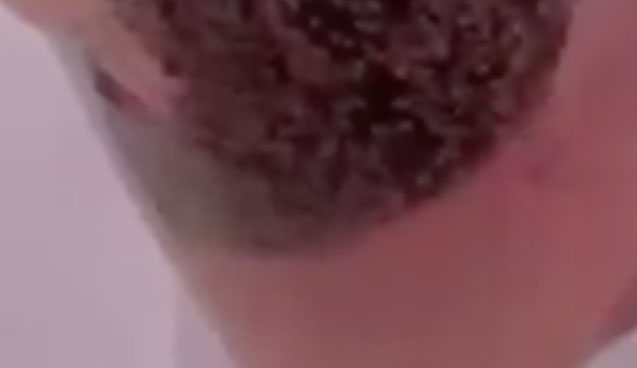
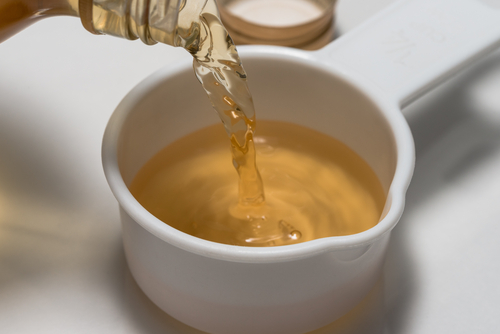
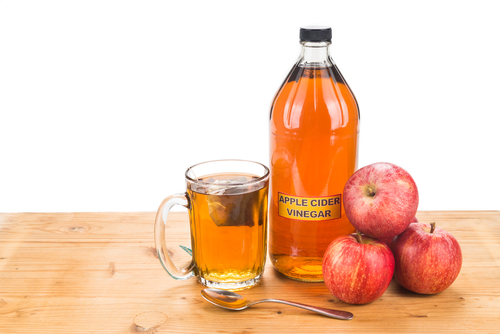
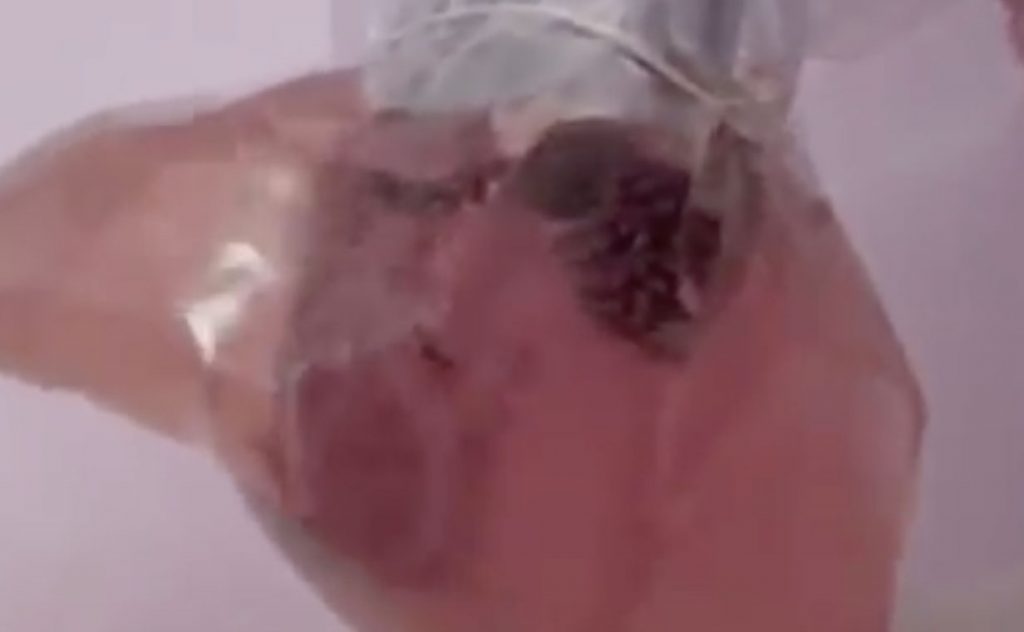
Many people struggle to remove these stains and often think that they need strong, harsh chemical cleaners to get rid of them effectively. However, there’s a better and more affordable way to go about cleaning a shower head with crusted on mineral build up. All you need is apple cider vinegar, a Ziploc bag, and a rubber band.
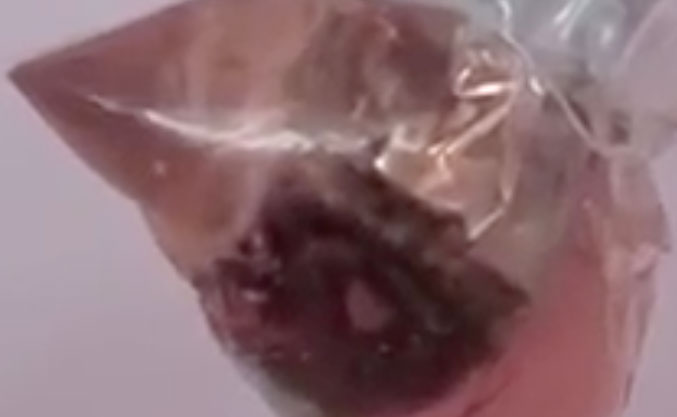
Simply pour some apple cider vinegar into the plastic bag and place it over and on the shower head. Use a rubber band to secure it in place and then leave it on overnight. Remove the baggy the following day, wipe the shower head clean, and it should be restored to its former glory!
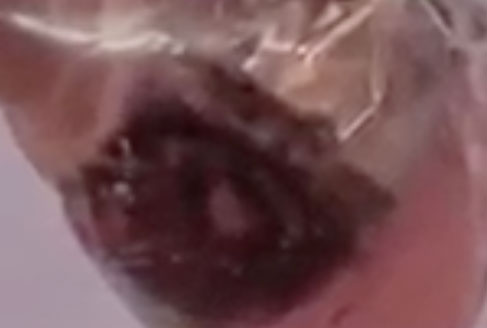
Check out the video for more information and to see just how shiny and spotless looking it turns out. This may be the fastest, easiest, and most natural way to clean hard water stains. It requires minimal effort or exertion on your part so try it the next time you’re stuck cleaning the house!

Have you tried any of these? Will you be trying any? Let us know..
Pass This Onto Your Family and Friends
––––––––––––––––––––––––––––––––––––––––––––––––
If you found this gross and grimy vinegar shower head cleaning life hack helpful keep scrolling for more awesome life hacks
––––––––––––––––––––––––––––––––––––––––––––––––
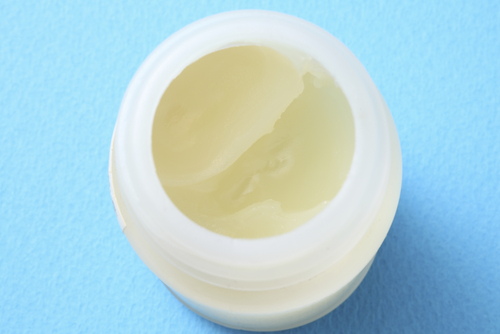
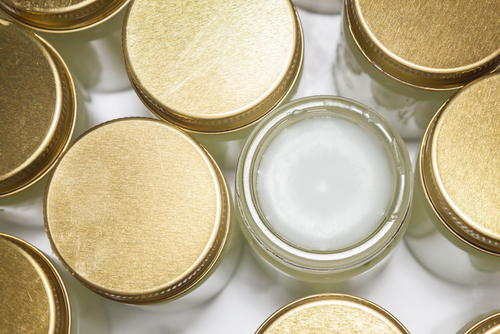
Check out These 5 Awesome Vaseline Life Hacks Everyone Should Know:
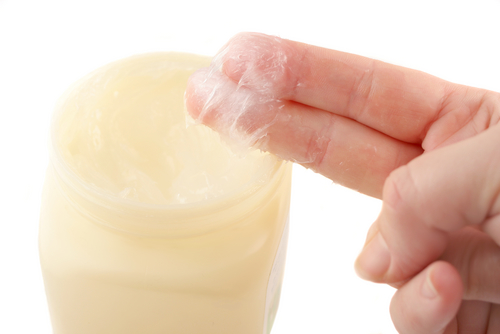
image via – facebook.com
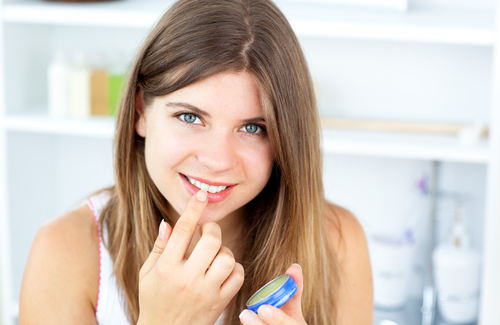
While you may only think of Vaseline as an integral part of your grandmother’s home remedies and go to solutions, it actually really is a product that can seemingly do it all. People use the petroleum based, gooey, slippery substance for all sorts of things. There are countless household and beauty tricks that involve it, whether it’s loosening stuff up or smearing some on minor cuts and burns to help them heal. This article and video focuses on several beauty related uses for the product that may prove useful and come in handy, and will definitely save you time and money.

If you love to paint your nails then you likely have encountered polish bottles with their tops stuck on them. It takes almost superhuman strength to loosen and get them them of when they dry on and stick like that. To prevent this, take a cotton swab and dab some Vaseline around the base of the bottle opening and on the threads where the cap twists on, now it won’t stick the next time you go to open it.
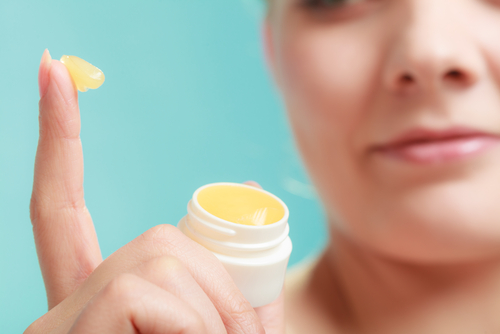
Another nail polish trick is to coat the skin around your nails with some Vaseline before painting them. This will keep the polish from sticking to your skin, cut down on the clean up, and make your paint job look all the more professional.
If you have rough, dry skin on your feet rub a little Vaseline on them before you go to bed. Slather some all over your feet, then put on a pair of socks, and wake up to smooth soft skin. For those of us with sensitive ears that act up and become sore when wearing earrings, try rubbing Vaseline on the metal stud part that goes through your ear.

By coats the earring it helps them slide through and lessens any negative reaction or sensitivity you may have. If the scent of your perfume disappears way too quickly take some Vaseline, apply a thin coat to the area where you plan to spritz it on, then spray the perfume over that area. This works great at holding the fragrance and makes it last much more longer, plus it won’t alter the perfume’s scent.
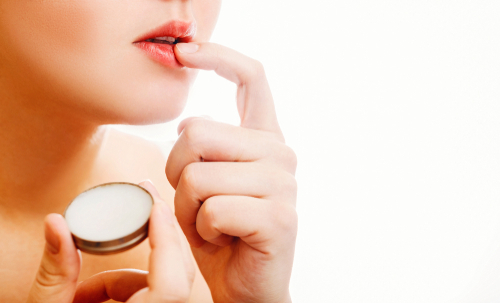
If you haven’t already, toss a small jar of the wonder product in your bag so it’s always on hand close by. Use it to touch up makeup, soften rough skin, loosen stuck tops and lids, or as a lip gloss/chap-stick stand in when you inevitably lose or misplace them.
Besides being versatile, it’s also widely available and can be found in practically any pharmacy, health, convenience or grocery store around the world. Best of all, Vaseline is relatively cheap and costs only a few dollars, with a jar of it easily lasting a year or two before running out. With Vaseline, the possibilities may just be endless!
Have you tried these life hacks?
Please Pass This Onto Your Family and Friends
––––––––––––––––––––––––––––––––––––––––––––––––
If you found these 5 Vaseline Life Hacks Useful keep scrolling for more amazing life hacks:
––––––––––––––––––––––––––––––––––––––––––––––––
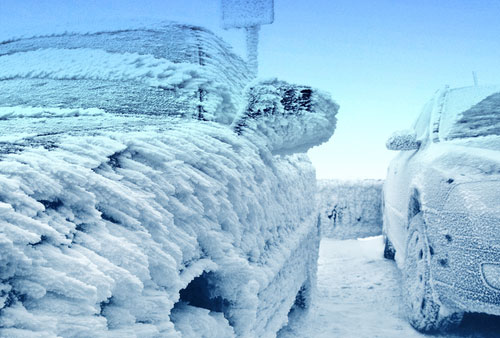
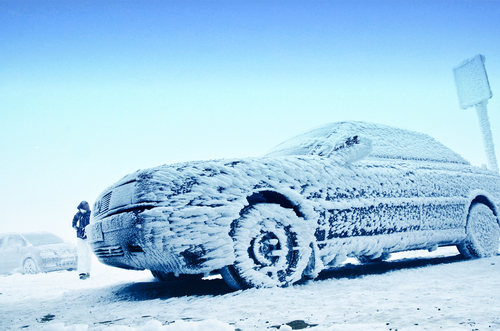
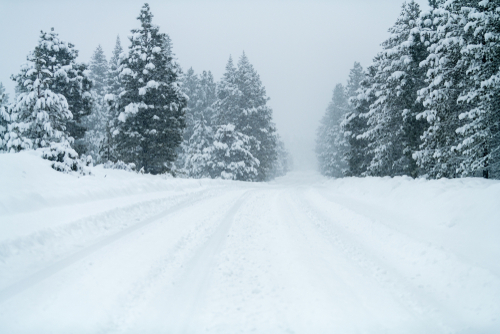
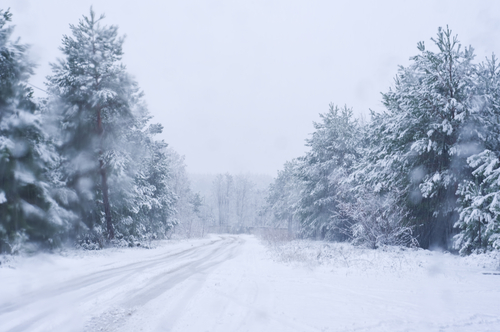
The Next Batch of Life Hacks are some incredibly useful winter life hacks that will make your life so much easier this winter:
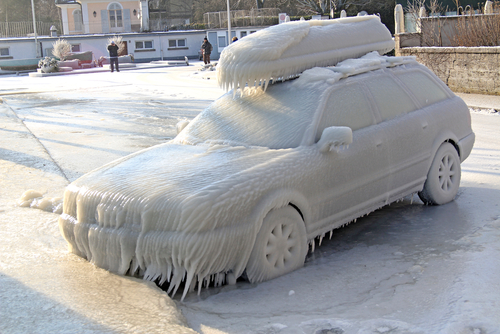
image via : shutterstock.com
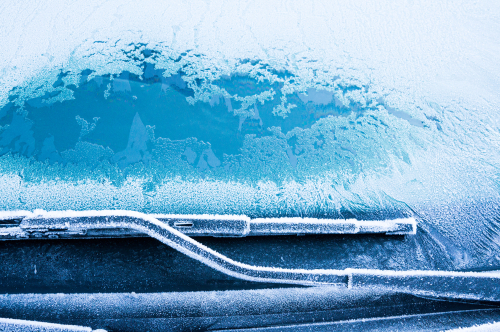
Along with the cold weather, there are a number of special challenges that winter brings along with it, and we all have to just deal with them! Dry skin, chapped lips, stuffy noses, darkness at 4PM, winter storms, the list goes on and on. One of the most annoying things by far is clearing walkways and driveways of snow and ice. The same goes for cars, but while you can often drive through a little bit of snow, you can’t with an ice-covered windshield. Not only is it illegal to drive with an obstructed view, it’s also insanely dumb and extremely dangerous!
While defrosting the car and scraping ice off the windshield seems like a necessary evil, it doesn’t have to be. You really don’t need to wake up extra early just to stumble around in the freezing cold darkness so that you can drive to work. Instead, you can save yourself some time and energy by doing the following:
In a spray bottle container mix together 2 parts isopropyl alcohol with 1 part water and then add in 1 tablespoon of liquid dish soap. Shake it up, spray it directly onto an icy windshield, and watch the ice literally melt away right before your very eyes!
This rubbing alcohol spray is the perfect thing to have on hand for freezing cold mornings and icy windshields. You can leave the bottle in your car and it won’t even freeze, unless it gets well under zero. That’s because the freezing point of isopropyl alcohol is -128.2 degrees Fahrenheit, so when you spray it on the ice, it doesn’t freeze up. Instead, it helps to melt the ice and keeps it from re-freezing. Since all you have to do is mist it on, it’s by far the quickest and easiest way to clear a windshield that’s coated with a thick layer of ice.
Don’t forget to check out the video to see exactly how well this works in action and be sure to pass it along to those who could use the smart tip. If it can make someone’s life a little bit easier this winter, then it’s worth it!
This is super helpful for those rough winter months.
Please Pass This Onto Your Family and Friends
––––––––––––––––––––––––––––––––––––––––––––––––
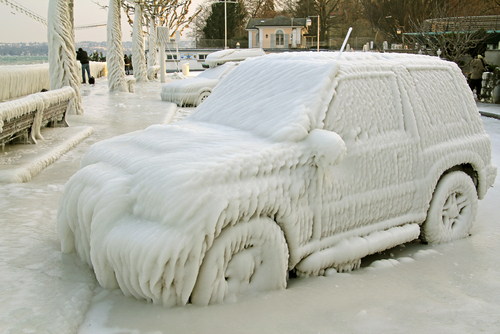
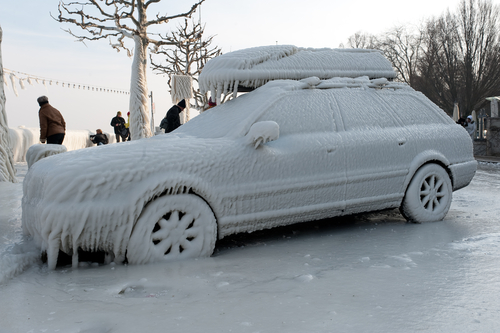
If you found this awesome winter life hack help keep scrolling and reading for 7 More Amazing Winter Life Hacks:

image via – Shutterstock.com
Winter is tough. Along with the cold, dry weather comes a number of challenges that we all have to deal with. Cars need to be cleared of snow and ice and the same goes for walkways and driveways. Traveling often becomes way more difficult than usual and to top it off our health also takes a tumble for the worse.

Many of us are plagued by dry itchy skin, sore chapped lips, and stuffy noses that just won’t go away. These things quickly add up and can make it seem like winter is dragging on forever, especially when problems pop up outside on top of the health issues we may be facing.
Which is why these simple winter hacks, covered by the Millennial Moms YouTube channel, are perfect for right now. The video features some of the most clever ways to solve common winter woes and it might offer a solution to a problem you’re currently dealing with. These are some of the best hacks shown in the clip, but there are a total of fifteen, so be sure to check it out for all of the rest.

1) Winterize Boots- This trick does the job to keep feet warm and dry inside of boots that aren’t waterproof. After putting on your socks take two large plastic Ziploc bags and stick a foot in each. Grab a couple of rubber bands and slide them on over the bag to secure it in place and seal the top off around your leg. Pull on your boots and say goodbye to cold, wet feet.

2) Prevent Static Build Up In Hair- Pull a dryer sheet on over the bristles of your hair brush so that they poke through. Brush your hair as normal to eliminate the static, plus it’ll smell clean and great.

3) DIY Boot Inserts- Maintain the shape of tall boots by cutting a foam pool noodle into thirds or fourths, then stick a piece in each boot and they’ll stay upright, making them easier to organize and wear later on.

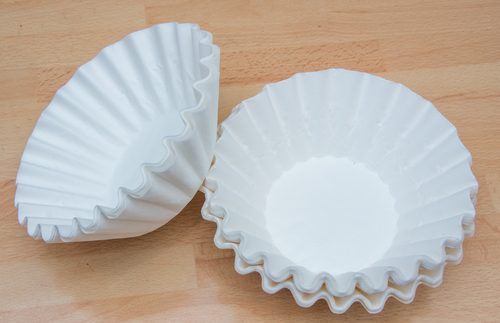
4) Stop Wipers From Freezing to a Car Windshield- Take an old pair of long cotton socks and slide them over each wiper, puling it down as far as it can go or reaches. This will prevent wipers from freezing and/or sticking to the windshield, and makes life all the more easier.

5) Organize Winter Gear- Hats, scarves, gloves, mittens, hand warmers, neck warmers and all other winter accessories can be neatly stored in one accessible place with a shoe organizer. Hang it over a door and never search for lost gloves again.

6) Windshield Treatment- This one is the best! A combination of vinegar and water works wonders at preventing frost and ice from building up on car windshields and windows. Mix the two liquids up in a spray bottle, spritz it on car windows, then wipe off with a soft cloth.

7) Boot Tray- Keep floors safe, clean, and dry by making your own boot tray. This one is much more appealing than commercially available ones and works even better. Fill a large metal cookie sheet with a layer of decorative rocks and put it near the door so that when people enter they can immediately place wet boots on the rocks. The water will drip through the rocks to the bottom and soon evaporate. Don’t forget to check out the rest of the tips covered in the clip and be sure to pass it along to those who could use these smart hacks to make their own lives easier.
These are just really helpful.
Please Pass These Awesome Winter Life Hacks To Your Family and Friends
––––––––––––––––––––––––––––––––––––––––––––––––
If you found these 7 incredible winter life hacks to be helpful keep scrolling for a — For 12 Awesome Car Cleaning Life Hacks You Probably Haven’t Heard About:
image via : facebook.com
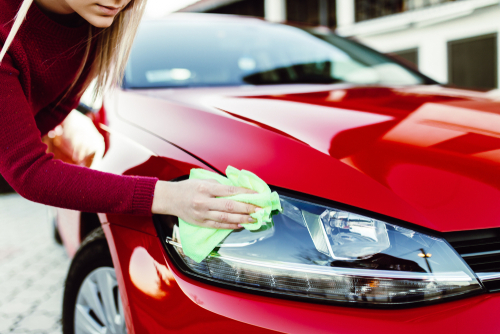
Having your car professionally detailed can easily end up being quite expensive. While it’s always nice to have a sparkling clean car, it’s even better when you can have it without spending a small fortune. Thankfully there are all sorts of cheap ways to clean your car with common items that you probably already have around the house. They can do the job just as well, if not even better, than what professional cleaners use.
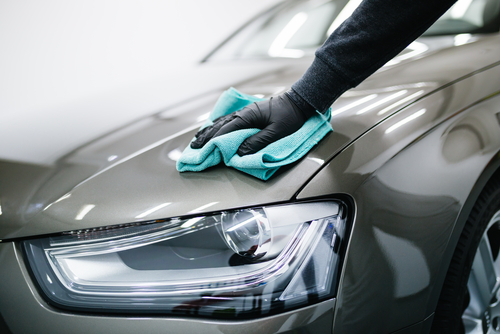
These are just a few of the handy tricks covered in the accompanying video so be sure to check it out for even more:
Clean your headlights with toothpaste. Use regular toothpaste, not the gel type, to polish up car headlight lenses by rubbing it on evenly with a cloth. Move in quick circular motions to then buff it off and you should notice the grime and fogginess disappear.
Remove stubborn old bumper stickers cleanly and completely with WD-40. Simply spray the sticker with WD-40 and let it sit for a while, the sticker will absorb it, then you can peel it right off.
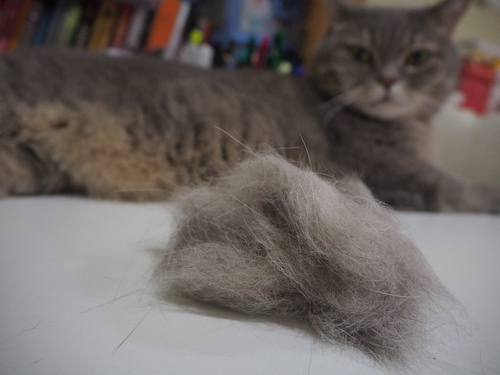
Remove pet fur from carpets and seats with a spray bottle, water, and a squeegee. Spray the water on the seat and then move the squeegee over the area, it will gather and lift up the hair so you can easily pick it up.
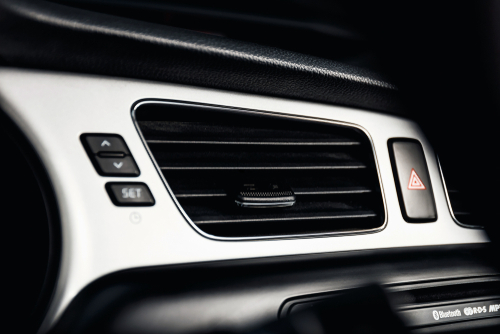
Clean air vents with small foam brushes. They can easily fit in even the smallest vents and pick up all the dirt and dust inside them.
Use coffee filters to dust your car dashboard. Unlike cloth towels and paper towels, coffee filters won’t leave behind lint or just push dust around. Instead they work great at picking up dust and you can toss a few in the glove compartment for whenever you might need one to freshen up the dash.
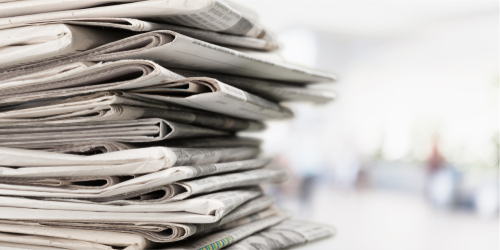
Get streak free windows by cleaning them with newspaper. It’s the cloths and paper towels that leave streaks when you clean your windows so don’t even bother using them. Instead, spray down the window with cleaner and wipe it off with a piece of newspaper as you normally would.
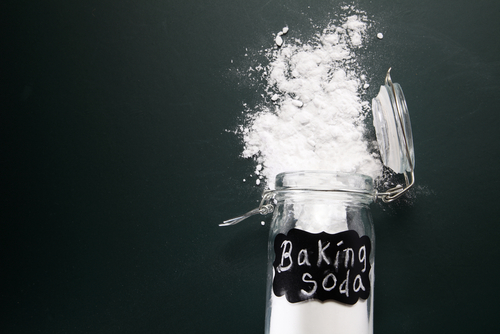
Get rid of stubborn, lingering odors by sprinkling baking soda on car seats and carpets. Let it sit for a couple of hours before vacuuming it up. The baking soda should absorb the foul odors, leaving your car smelling fresh and clean.

There are even more clean car tips covered in the video and it might just have the solution you’ve been looking for so be sure to check it out!

Will you be trying any of these? Let us know
Please Pass These Awesome Car Cleaning Hacks To Your Family and Friends
A Great Recipe To Poach 12 Eggs at Once.
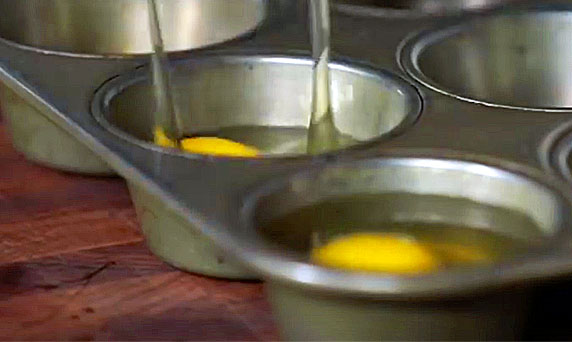
image via : facebook.com
Eggs are one of the most versatile foods to cook with and eat. They’re often a main ingredient in many recipes and can be cooked by themselves in lots of different ways. The fact that a dozen of them are inexpensive and widely available makes them a staple to have on hand. Plus, they make a great addition to main dishes or as a side accompaniment to a meal.
Even people who don’t happen to be master chefs can easily whip up a batch of scrambled, hard boiled, or fried eggs. However, when it comes to poaching an egg, that definitely falls on the more difficult side of the egg cooking-spectrum.
Poaching is a cooking method whereby a food is dropped and simmered in liquid. Usually water, milk, or some type of stock is used and it’s an ideal way to cook foods which tend to fall apart when cooked other ways. That’s why many recipes involving eggs, fish, chicken, and fruits are poached.
Mastering the technique can be tricky but if you follow the accompanying tutorial from the Food and Wine Test Kitchen’s Justin Chapple you’ll get it correct and soon you can be poaching up to 12 eggs simultaneously!
First off, you are going to need water, a muffin tin, and a dozen fresh large eggs. Start by pre-heating the oven to 350 degrees and then place one tablespoon of water in each of the cups on the muffin tin. Next, crack one egg into each slot, right on top of the water, and immediately place them into the heated oven.
Bake for 8-10 minutes and you’ll know they’re done if they match up with the following description- the egg white should be nice and firm and the yolk jiggly. To help keep them intact, use a slotted spoon to scoop them from the tin.
Also, if there’s any excess moisture simply place them on a paper towel lined plate and then sprinkle with salt and pepper to taste. In the end, you should end up with neatly cooked egg whites that ensconce a still runny, slightly creamy, liquid yolk.
When you dig a fork into them and pierce the whites the yellow yolk will spill out and that’s what the ideal poached egg should look like. Bon Appétit!!
Let us know if this life hack worked for you! Enjoy!
Please Share This With Family and Friends 🙂
He Draws Over The Flash Of His Phone With A Blue and Purple Sharpie. The Reason Is Unexpectedly GENIUS!
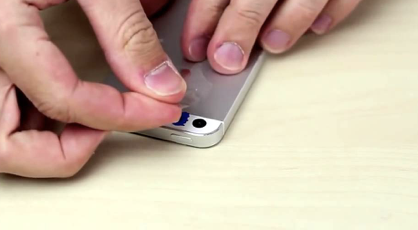
image via – facebook.com
Is there really an app for everything you need in life? Well, there certainly are a lot, which often makes me utter in amazement, “WHAT A WORLD!” However, when I came across this ingenious hack that you are about to watch below, I realized that there are still many apps that haven’t been created, and the idea this clever YouTuber has come up with, serves a really useful function.
Perhaps some of you don’t really care about the nasty viruses and bacteria left on services you touch, but sometimes knowing may save you from picking up germs that will make you sick. Are you intrigued? If you are watch this tutorial below, you will see how easily and quickly, you can turn the flash on your cell phone into a BLACK LIGHT.
Black lights have the capability of making visible, that which you cannot see with the naked eye. All you will need is some scotch tape, one Blue and one Purple Sharpie. The tutorial shows you how easily you can create a black light, that will send you on an exploration of what is actually living on surfaces, that you assume are clean.
This is particularly handy if you are staying in a hotel that appears to be cleaned, but really has surfaces where germs have been left behind by many people who have stayed there before you! Even your own home deserves some inspection…get ready for a good Spring cleaning!
Please SHARE This With Family and Friends
After You See How This Guy Wraps Presents You Will Never Do It The Same Way Again. It’s So Simple!
image via – youtube.com
I love receiving presents, but truly my favorite thing is giving gifts, and as we all know “presentation is everything!” So when I found this gift wrapping hack I was really excited; I’m pretty good at wrapping but I’m always happy to find a trick that works every time and doesn’t waste paper.
I take pride in my gift giving ability, and know how nice it is to receive something in a beautiful package. The man who demonstrates this Japanese trick for wrapping, in the video you are about to watch below, does an excellent job of showing you this foolproof method.
By watching his tutorial you will learn how to cut the right amount of paper to cover your gift, so you don’t waste paper, and follow this step-by-step technique by laying the box on a diagonal. You keep working in a triangular fashion, so that the corners never bulk up. The results are amazing and it’s fun to do!
Please SHARE this Wrapping Hack With Family and Friends 🙂
She Places Bubble Wrap All Over Her Windows. The Reason Is GENIUS!
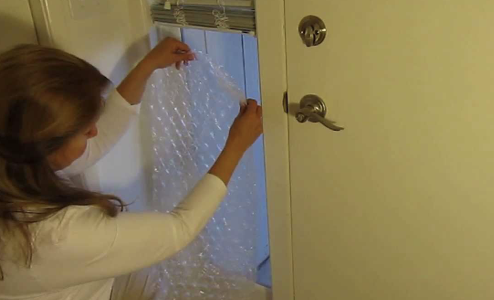
image via – youtube.com
Winter doesn’t officially begin until December 21, at 11:48 P.M. EST, but temperatures are dropping well below freezing in many areas of the country already. People have been digging out their warm clothes, blankets, and extra bedding, as well as cranking up the thermostat to keep their houses nice and comfortable.
That’s just about all you can basically do to fight the winter chill, but heating the house can turn into an expensive endeavor. When it comes to keeping the warm air in, and the cold air out, insulation is key. All the cracks and crevices, or drafty areas that you notice, need to be found and insulated.
The most common and draftiest areas of our houses where the majority of heat tends to escape is doorways and windows. Stores sell a variety of products that are meant to be used to keep these areas insulated, such as “draft stoppers” that fit under or around the bottoms of doors.
For windows, there are all different types of kits and sealants, but you can easily create your own window draft-blocker without spending any money at all. This quick and easy method to insulate a window is brought to you by YouTube user AlaskaGranny. She shows how to insulate a window with bubble wrap, so if you have any on hand be sure to save it!
Other than bubble wrap, you’ll also need a pair of scissors and a spray bottle with water. This takes less than a minute to do and it can be done on any type of window. To do it yourself, start by taking a piece of bubble wrap and cut it so that it fits the window that you want covered.
Next, grab the spray bottle and spritz some water onto the glass window and on the bubbly side of the plastic bubble wrap. Place that side, the wet and bubbly one, against the window so that the smooth side faces towards you. Gently press it into place and you’re done!
The bubble wrap will add extra insulation to the window and it stays in place naturally all winter long. When you want to remove it, simply peel it off. It won’t leave behind any marks and all you may have to do is clean the glass, but it’s nothing that a little Windex can’t fix. Try it this winter and save yourself a lot of money, you’ll be extra toasty and won’t have to spend a dime.
Be sure to pass this tip along to your family and friends, it will save them so much money!
Please Share This Life Hack With Family and Friends
She Puts Toothpaste All Over Her Nails. The Reason Is Genius!
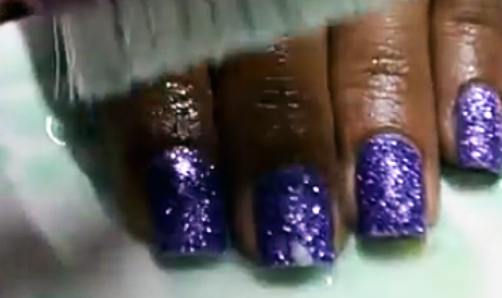
image via – youtube.com
If you have ever painted your nails with a glitter filled nail polish then you know that it’s hands down the worst type of polish to remove. It takes ten times longer to scrub the glittery bits off your nails than any version without it.
The most annoying part has got to be when you’re using a cotton pad soaked in nail polish remover and it snags and sticks to the glitter on the nail, which tears it up into an unusable mess, and makes it worthless. If all this sounds familiar then you need to view this video and learn this cool trick.
It will save you a lot of time, but overall it’ll just make you more sane the next time you go to remove the dreadful glitter polish. You will need cotton balls (or wipes or pads), nail polish remover, a nail cleaning brush or toothbrush, Vaseline, toothpaste and an optional lemon.
Start by gently rubbing and removing the topcoat with nail polish remover and a wipe before rubbing some Vaseline onto each one of your nails. In a small dish place a few drops of water, add in a dime sized amount of any type of toothpaste, and squeeze half a lemon in if you wish to whiten and brighten your nails.
Mix it all together well before dipping the nail or toothbrush in to pick it up, then rub the concoction onto your nails. Scrub fast and apply a little bit of pressure to really work off the polish. After about a minute of steady scrubbing the glittery polish should start to come right off.
If you use a nail brush you can get all of the nails in one go at once and that’s what makes this the fastest way to get stubborn glitter polish off. When your finger tips are clear of polish simply wash and dry your hands before applying another coat of Vaseline to help moisturize your cuticles and nails. That’s it!
The accompanying video shows you how easily glitter polish comes off nails when you use this trick. The method is perfect for those of us who like to change up our polish color or texture often. Try it the next time you want to remove tired, old, once pretty glittery nail polish, and you’ll be glad you watched the video and learned the easy technique.
Let us know if this technique worked for you!
Please Share This With Family and Friends 🙂


