
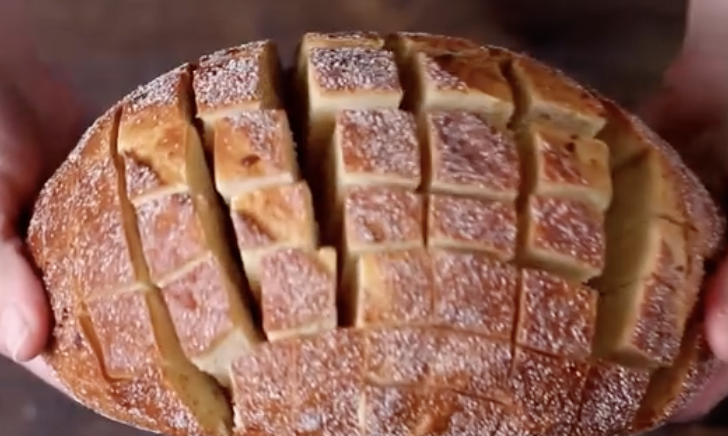
Woman Cuts This Bread Into A Bunch Of Little Squares. When She’s Done YUM!

If you are ever in need of a quick, easy to make, crowd pleasing recipe to serve or bring to a gathering, then look no further. This cheesy bloomin’ onion bread looks just as good as it tastes and everyone will want to try a piece. It goes well with almost anything and is a tasty treat all on its own. Check out the recipe below and video for instructions on how to make it at home, and be sure to save and file it away for later use!
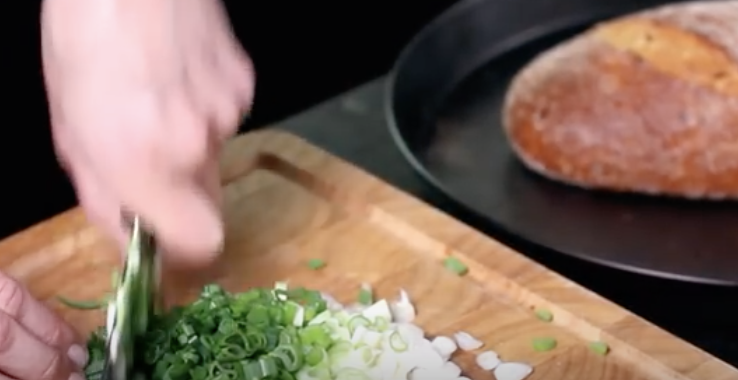
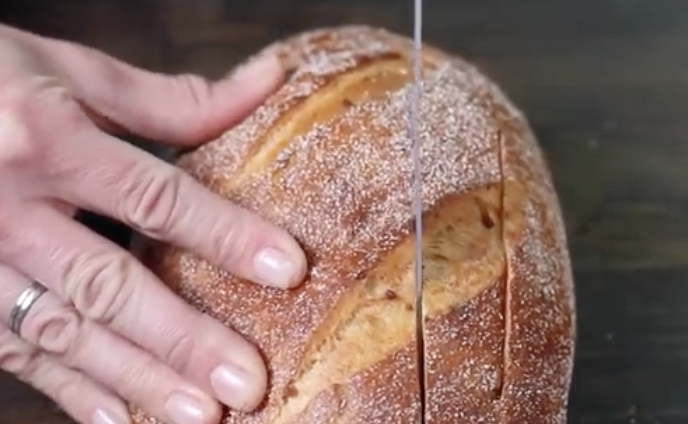
This recipe makes between 6 and 8 servings and can be made in under 30 minutes. Ingredients you will need include; 1 pound loaf of unsliced bread, 3.5 oz. matured cheddar cheese sliced thinly, 3.5 oz. mozzarella cheese sliced thinly, 1/3 cup melted butter, ½ cup chopped green onions, 2 tsp. flax and sesame seeds (optional). Preheat the oven to 350 degrees Fahrenheit before cutting the bread length and width-wise, without cutting all the way through to the bottom crust, so it stays in one piece.
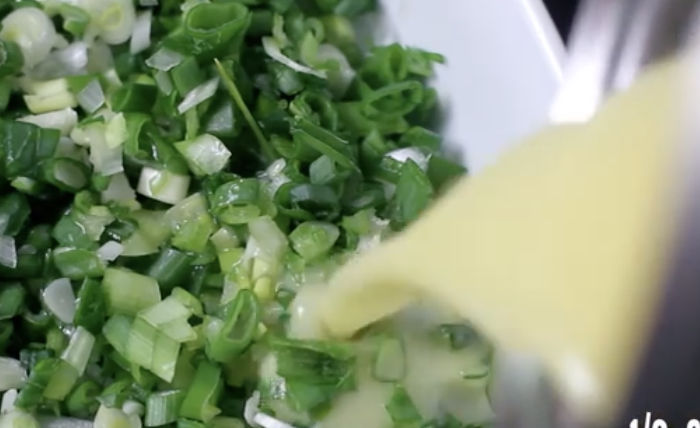
Place the cut bread on a foil lined baking sheet and insert the cheese slices between the cuts on the bread so they are evenly distributed throughout the loaf. Combine the chopped green onions with the melted butter and seeds, if you choose to use them, then pour the mixture into the bread cracks. Cover the bread with tinfoil and bake for 15 minutes. When time is up, remove the foil and place back in the oven for an additional 10 minutes, or until the cheese is melted, gooey, and golden.
With a bake time of 25 minutes and prep time of about 5 minutes or less, this bread is the perfect item to make for a last minute snack. Plus, you can easily add on other ingredients or substitute alternative types of cheeses that better suit your tastes. Personally, I like to serve this with dipping sauces and olives; to each their own!
Please SHARE With Family and Friends
When She First Wrapped Ice Cream In Bread I Was Confused. But The Final Result Is Mouth Watering!
Summer is coming and that means one thing for certain; ice cream treats! If you need to up your ice cream game and take it to the next level then this recipe is for you. Lets face it, most people serve a couple of boring scoops on the side of a slice of pie or cake. With this fried ice cream recipe you can elevate it to the focal point of dessert while simultaneously impressing everyone who can see and taste your delicious concoction.
Be forewarned, this is easier to make than you’d imagine and the risk is high that you may become addicted to ice cream enveloped in a warm, crispy shell. Check out the video and below is a breakdown of the recipe and instructions.
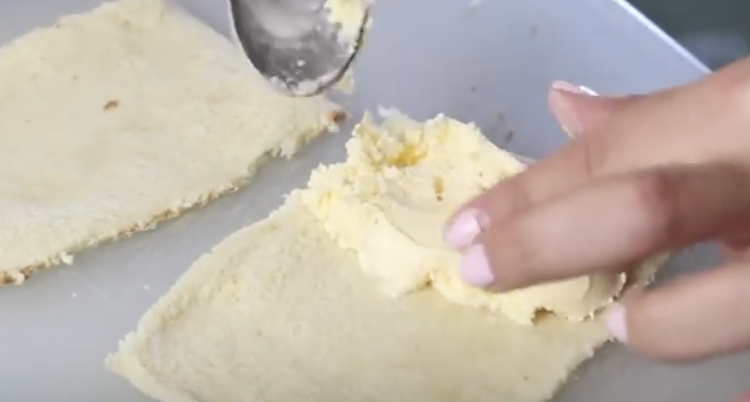
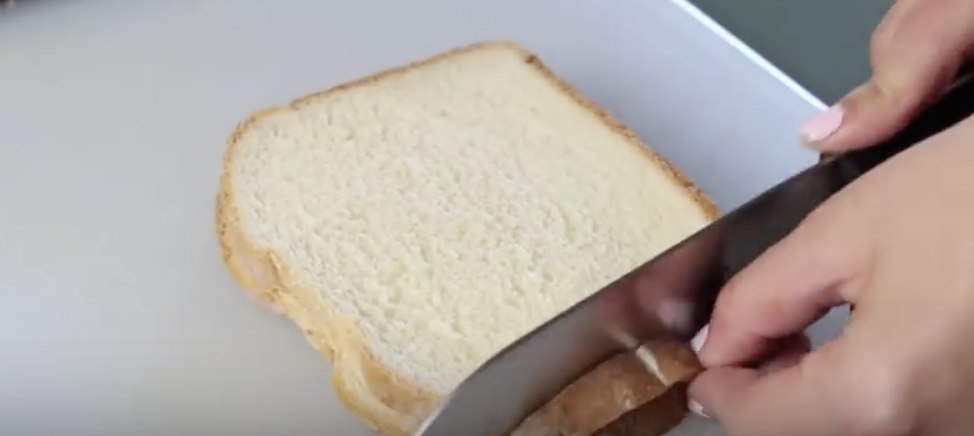
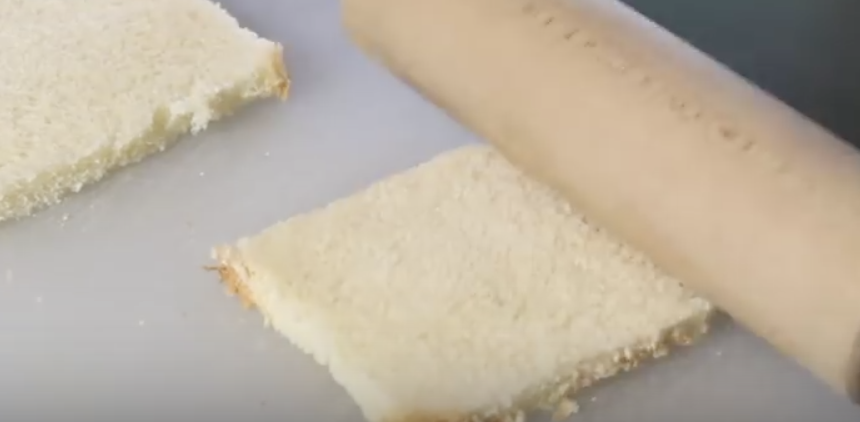
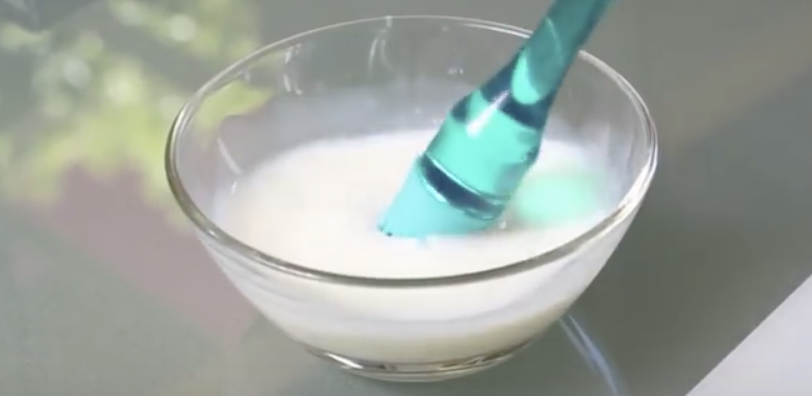
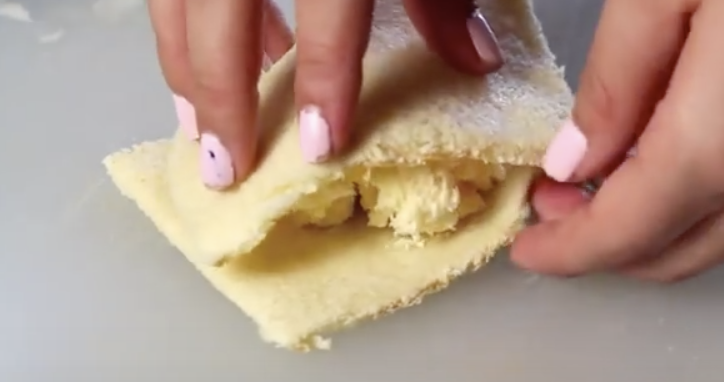
Take a few slices of white sandwich bread and cut off all edges and crust. Roll it flat with a pin or the side of a cup and then scoop some ice cream onto it. Roll up the bread around the ice cream so that it’s completely ensconced and to help the ends stick together brush on a little milk.
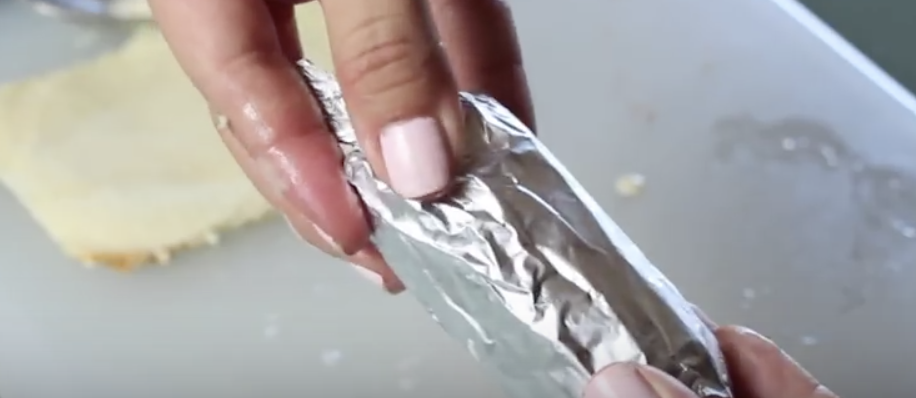
Working quickly, take the breaded piece of ice cream and wrap it up in tin foil as if it were a candy, then place it in the freezer for at least 4 hours. For a round shape simply ball up the ice cream in the bread, cover with tin foil, and freezer.
Next, make the batter by first mixing ¼ cup of milk with one egg. Then slowly add in ¾ cup of pancake mix and stir until smooth. Take the frozen ice cream/bread out of the freezer, unwrap from the tin foil, and completely coat it with batter.
Heat up some oil in a pan until at least 350 degrees, then drop the battered ice cream in the hot oil. Flash fry it for only a few seconds, any longer and the ice cream will start to melt. Finally, drizzle some caramel, chocolate syrup, and/or Nutella on a plate and over the fried ice cream. Add some whipped cream, nuts, sprinkles, fresh fruit, or whatever topping you desire and top it all off with a cherry!

Please SHARE With Family and Friends


