
She Slices A Paper Towel Roll In Half Then Submerges It In Vinegar. The Result Will Save You Money!
Keeping a clean kitchen can be a pain in the behind when you’re in the middle of cooking. It’s a necessary evil to have to wipe down and disinfect counter tops, cutting boards, and any other surfaces where you are prepping food. The last thing anyone wants is to get food poisoning or sick because of food coming into contact with germs and bacteria.
It’s a hassle to wash your hands, grab a bottle, get a paper towel, spray surfaces and wipe them clean. That’s why many people use convenient, quick, and easy Lysol disinfectant wipes. However, the problem with those is that they are expensive and contain lots of chemicals that you don’t want to ingest. A better alternative, that is more cost effective, is to make your own pre-soaked paper towel wipes with a non-toxic solution.
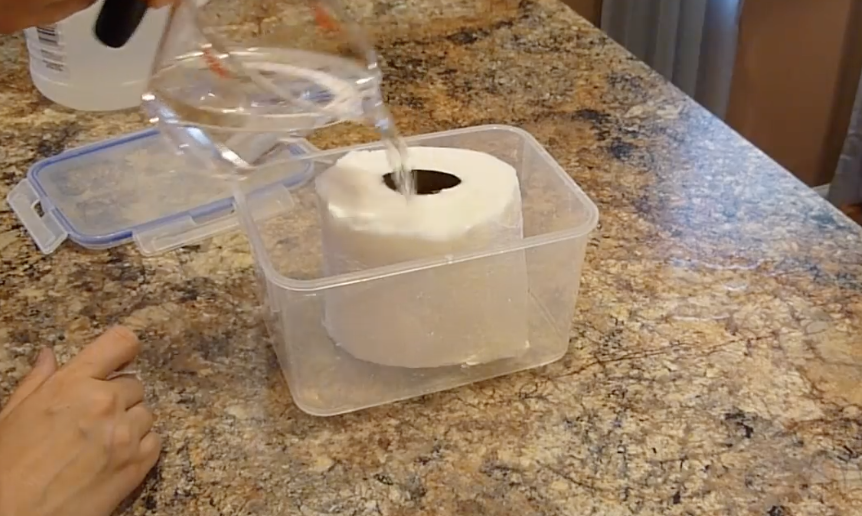
This easy project requires strong, high quality, name brand paper towel rolls. If they are cheap they will likely dissolve and turn mushy. You also need a resealable plastic storage container with a lid, water, liquid dish soap, rubbing alcohol, and vinegar.
Grab a roll of paper towels and carefully cut them with a sharp knife so that they will be able to fit into the container and check to see that they actually do fit. Mix 12 ounces of water with ¼ cup of rubbing alcohol, and 4 drops of dish soap.
Stir it well and then pour it over the paper towels in several stages. This will allow the liquid to soak the towels more evenly. Finally, remove the cardboard center from the roll, which is easier to do when it’s wet, and grab a wipe from the center of the roll.
The second homemade vinegar wipes covered in the video are for cleaning heavier used kitchen surfaces, specifically wood block cutting boards. This one can be made the same exact way as the ones covered above but with a different solution.
Instead, you want to mix together 1 cup of vinegar and 1 cup of water, then pour it over the paper towels. When you wipe down a surface the vinegar will kill any bacteria on it without leaving behind any harsh or toxic chemical residues. It’s the perfect way to keep your kitchen clean and germ free!
These DIY cleaning products will save you at least 75% on wipes that you’d otherwise have to buy at the store, and they work just as well as Lysol or other name-brand products. Try it today and see how much of a difference they make when you have them on hand nearby. Please share this and help make your family and friends lives easier as well.
Please Share These Cleaning Hacks With Family and Friends 🙂
The Simple Way To Remove Hard Water Deposits On Your Faucets And Sinks. I’m So Glad I Learned THIS
Hard water can be a real pain in the neck when it comes to the unsightly stains that it leaves behind on bathroom and kitchen surfaces. Those blemishes are nasty looking and it can be extremely hard to fully remove them. The ugly spots and stains are caused by water that contains large amounts of minerals such as limestone, calcium, and magnesium.
These metals and minerals are naturally occurring, most often in areas with low water tables and mountainous regions, and water that contains them is perfectly safe to use and drink. The biggest downside to it is the crusty, whitish colored mineral deposits and stubborn stains that it leaves behind, which over time gradually build up on stuff.
Many people struggle to remove these stains and often think that they need strong, harsh chemical cleaners to get rid of them effectively. However, there is a better, more simple, and affordable way to go about cleaning surfaces with mineral build up that has been caused by hard water.
In this easy to follow tutorial YouTube’s Crouton Crackerjacks channel shows us how to clean a kitchen sink. Watch the video for more information and to see how it turns out, and read on to see how it’s done. Start off by placing a bowl in the sink and pour some distilled white vinegar in it.
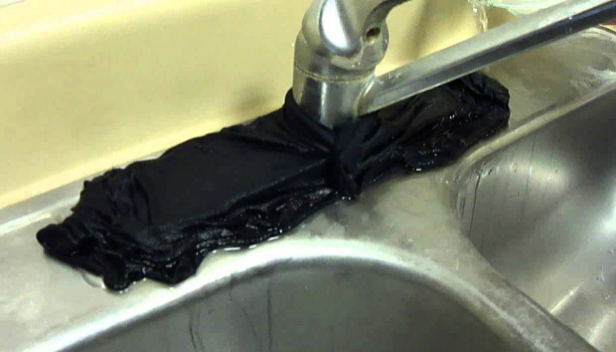
Take an old cotton cloth, rag, towel, or whatever you have on hand and fully soak it in the vinegar. Make sure the sink is completely dry and not wet in any places, especially the cracks. Drape the soaked towel on the surfaces that are stained and press it firmly against the sink and into any seams or cracks.
Let it sit for an hour, then place it back into the vinegar. Take an old, worn sponge and gently scrub the sink to further remove the hard water stains. You should notice the whiteness coming off and the sink getting shinier. Take your rag and again place it on any remaining stains, paying attention to areas that are more built up, and leave it on for an hour. Repeat the gentle scrubbing as before and you should have a shiny, sparkly, clean and renewed sink!
This works for porcelain surfaces as well, and if you need a quick and easy way to brighten up the commode, read on. Grab a roll of paper towels, distilled white vinegar, and a pair of rubber gloves. Pour some vinegar onto paper towel squares so they are soaked, then fold them up and place them all around the rim of the toilet, making sure to cover all the stains.
Stick them to the inside bowl and as close to the water line as you can get without them touching the water. Then, fill the bowl with vinegar until it is above the stains. Let this sit for a few hours while the vinegar works before removing the paper towels from the rim and bowl, and scrub away any remaining stains. Make sure to fish out any paper towels from the water and don’t flush them because they will clog pipes and the septic system.
This may be the fastest, easiest, and most natural way to clean hard water stains. It requires minimal effort or exertion on your part so try it the next time you clean the house!
Please Share With This Trick With Family and Friends
This One Ingredient Will Get Rid Of Your Plaque Bad Breath and Remove Tartar!
Oil pulling is one of the hottest new trends right now. It has steadily been taking over people’s health and beauty routines and it’s easy to see why. There are numerous reported benefits to the easy practice, plus it’s affordable, all natural, and even oddly hypnotic for some.
While oil pulling is new to practically everyone in western culture, it can be traced back to ancient times where it originated in India. People swear by the practice and claim that it helps to do everything from whiten their teeth to clean toxins out their blood.
Other benefits that have been touted are that it helps prevent cancer, makes skin glow, kills bacteria responsible for bad breath, inhibits tooth decay, helps fight exhaustion, keeps colds at bay, helps strengthen gums, decreases instances of mouth sores and ulcers, re-mineralizes teeth, and more.
While almost all of these benefits are self reported and need more studies to either prove or disprove them, there is some scientific evidence backing claims it’s good for oral health. One recent study found oil pulling to be effective at decreasing plaque formation and plaque-induced gum disease.
The study measured patient’s plaque and gum disease levels at several stages, and after just 7 days of pulling they were all significantly reduced, and continued to decrease further over the course of the study. Furthermore, coconut oil has proven antimicrobial effects and has anti inflammatory properties as well.
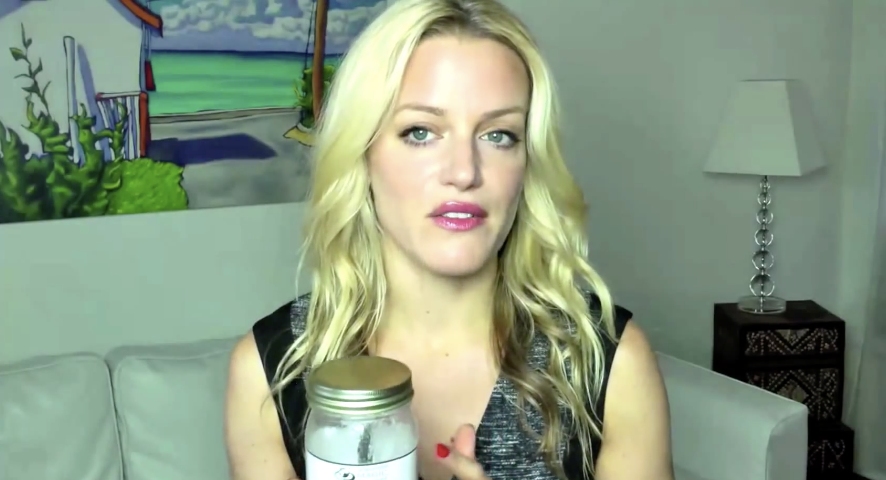
Here is all you need to know about how to do it yourself at home. First, pick out a good, organic, cold-pressed coconut oil. Place 1-2 teaspoons into your mouth. It will feel odd and lumpy at first, but soon it melts into liquid, and that’s when you can begin to swish it all around your mouth.
You need to swish for at least 5 minutes, but many people go for as long as 20. Try not to swallow any oil but if you do it won’t harm you, it’ll just taste kind of gross. When you’re done spit out the oil into a trash can or something of the like. Do not spit it into the sink!
After all, it’s oil and will re-solidify, and that means it’ll clog septic systems and pipes. Lastly, rinse out your mouth with warm water and finish up by brushing your teeth well. Oil pulling is not a replacement for flossing, brushing, and regular dental check ups. Rather, it is something that can be added to your oral care regimen.
Even if you’re skeptical about the whole thing, you can’t knock it until you try it. The practice has endured for centuries since Indians first swished coconut oil around in their mouths. Perhaps there is truth to its many beneficial effects, why else would so many different people be raving about the method and swearing by it?
Please Share This With Family and Friends
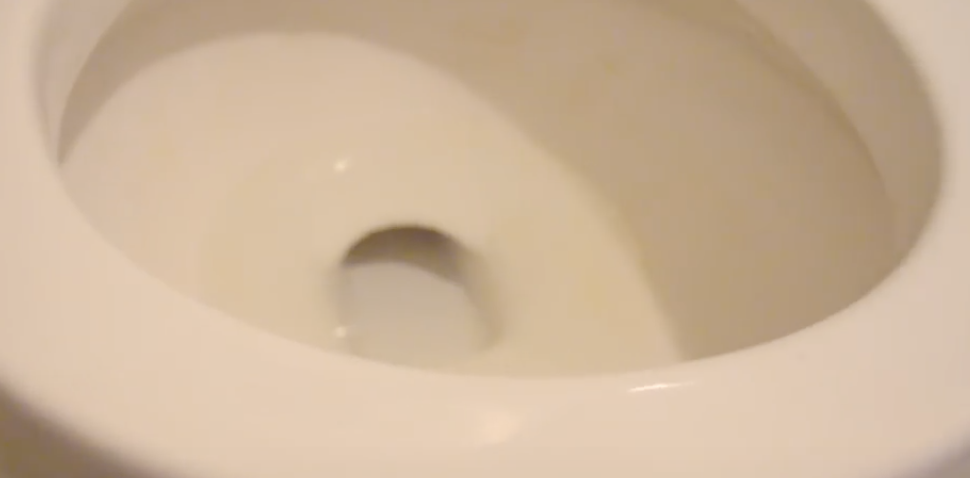
He Pours A Bottle Of Vinegar Into The Toilet. The Reason Is Totally Brilliant!
Hard stains on bathroom surfaces are caused by hard water and can be very hard to remove. The ugly spots and stains are caused by water that contains large amounts of minerals, such as limestone, calcium, and magnesium. These metals and minerals are naturally occurring, most often in areas with low water tables and mountainous regions, and water that contains them is perfectly safe to use and drink. The biggest downside to it is the unsightly mineral deposits and stubborn stains it leaves behind, which over time gradually build up on stuff. Many people struggle to remove these stains and often think that they need a strong chemical cleaner to effectively get rid of them.
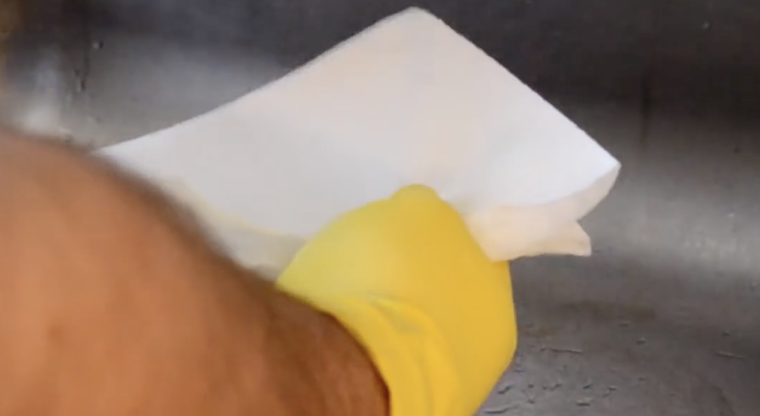
Instead, there is a very simple way to go about cleaning hard stains off of a toilette. You don’t need harsh, pricey chemical cleaners or tons of muscle power to brighten up the commode. So go ahead and grab yourself a roll of paper towels, a bottle of distilled white vinegar, and a pair of rubber gloves.
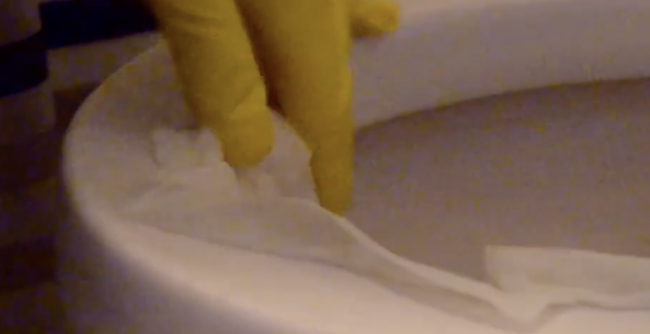
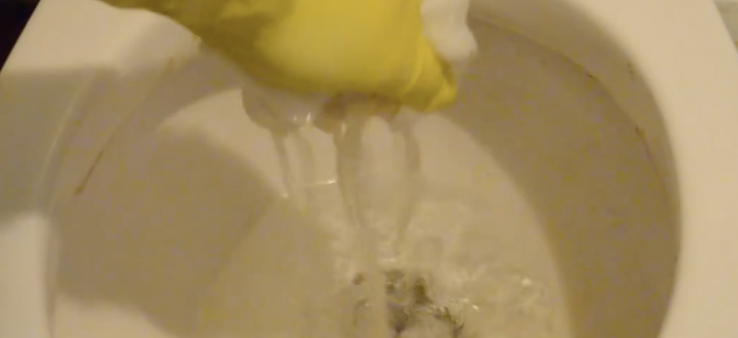
What to do is simple and will take less than 5 minutes. Pour some vinegar onto squares of paper towels so they are thoroughly soaked. Fold them up and place them all around the rim of the toilet, making sure to cover all the stains. Stick them to the inside bowl as well as close to the water line as you can without them touching the water. Then, fill the bowl with vinegar until it is above the stains.
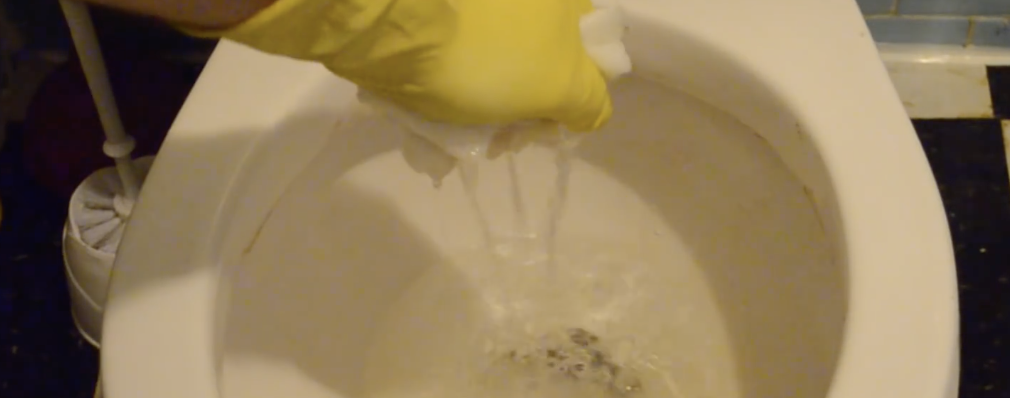
Let this all sit for a few hours while the vinegar works its magic. Remove the paper towels from the rim and bowl and scrub away any remaining stains. Make certain to fish out any paper towels from the water and do not flush them because they easily clog septic systems due to their thickness and absorbency. That’s it!
This may be the fastest, easiest, and most natural way to clean a stained toilette that requires minimal effort or exertion on your part. Try it yourself the next time you clean house!
Please SHARE This Tip With Family and Friends
5 Reasons Why You Should Throw Out Your Loofah or Shower Pouf Immediately
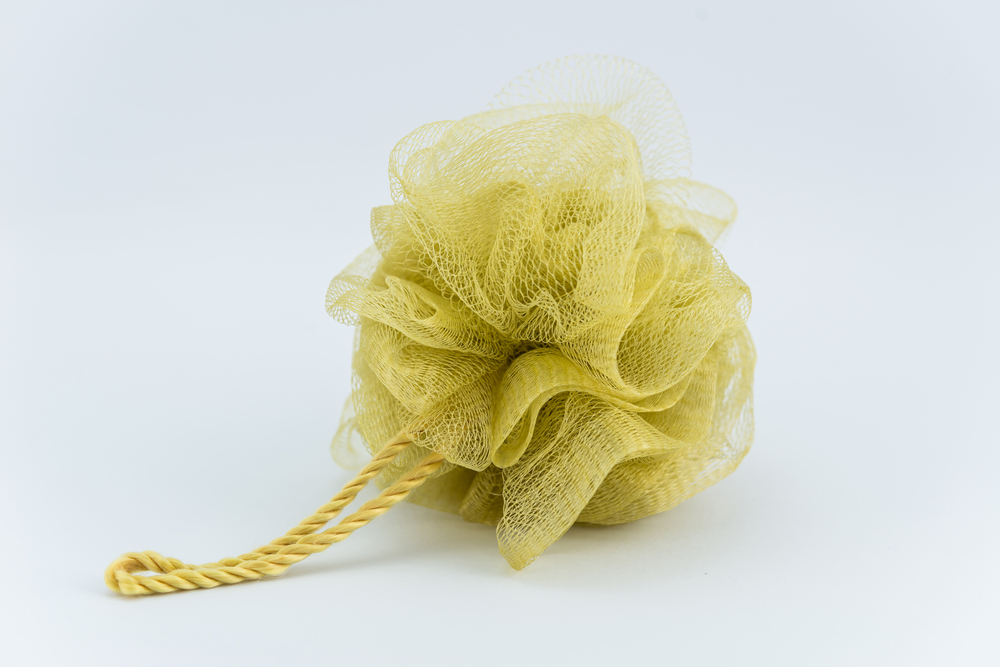 image via – shutterstock.com
Do you use a loofah or shower pouf when you bathe and clean yourself? If you answered yes, then you may want to throw it out as soon as possible!
Scientists have now confirmed what many of us already knew, or at least sensed, about the popular shower accessories; they’re filled with all sorts of nasty germs. A recent study published in the Journal of Clinical Microbiology found that mesh sponges and loofahs are the perfect breeding ground for bacteria. Most of us leave them in the shower after each use and so they end up sitting in the damp, warm bathroom, an area of our house which is already filled with a wide variety of gross germs.
In addition to that, all of the tiny holes, netting, and folds in loofahs and poufs act to help trap dead skin cells, mold, bacteria, yeast, germs, dirt, grime, and more within them. In a moist environment, which the shower is, all of this bacteria thrives and multiplies quickly. In particular, yeast and mold seem to be able to grow rapidly in shower poufs. When it comes time to use them, you end up rubbing and smearing all that disgusting stuff all over your body instead of cleaning yourself. You don’t even need to think about it to understand how truly gross that is!
In order to minimize your exposure to all of the above and to cut down on the associated risk of a possible skin infection, it’s recommended that you replace loofahs and shower poufs every three weeks. This way any mold or germs trapped in it won’t have long to grow and spread. The bottom line is the longer you wait to replace it, the more infested and dirty it will become.
Check out the accompanying video to learn more about this and some of the other health dangers that may be hiding in your shower and bathroom. The information covered in it is eye-opening and it may just convince you to throw more than your loofah or pouf out!
Please SHARE This With Family and Friends


