
She Pours Marbles Into a Bowl of Water Filled With Ice. But When She’s Done It’s STUNNING
Nothing pulls an outfit together quite like a piece of beautiful jewelry can. If paired right, the extra bit of decoration and sparkle can instantly upgrade the most plain and simple looks and turn them into modern elegant ones.
This season the hottest trend in jewelry isn’t statement pieces, it’s crystal necklaces. They’re showing up everywhere, from the runways in Paris to stores at the local mall, and a quality made one costs a lot of money.
Instead of buying a mass produced, drastically marked up crystal necklace, you can create your own for a fraction of the cost. The one of a kind pieces come out looking absolutely beautiful and they’re also very easy to make if you follow the steps outlined below and refer to the tutorial from yoyomax12.
While the video is titled “fried marbles” the technique shown actually involves baking them in the oven. The extreme heat is what helps give the marbles a crackled, unique look which resembles that of a crystal.
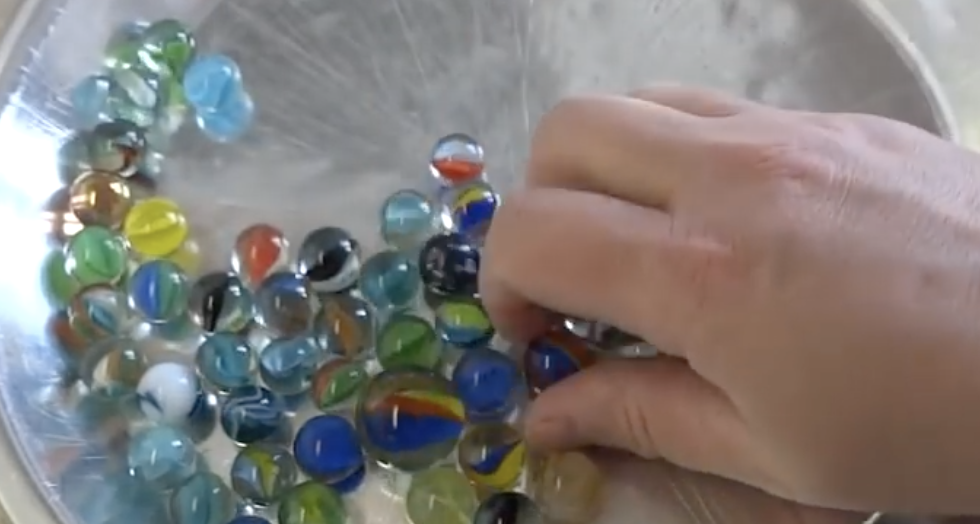
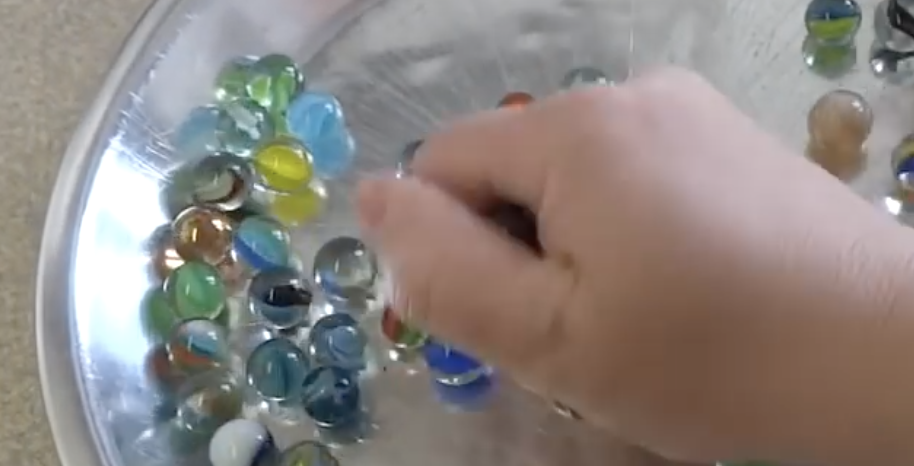
First, you will need some glass marbles, any size or color will work, but the plain clear ones seem to work best for this. Place them in an oven safe container, like a pie dish or pan, and then stick them in the oven.
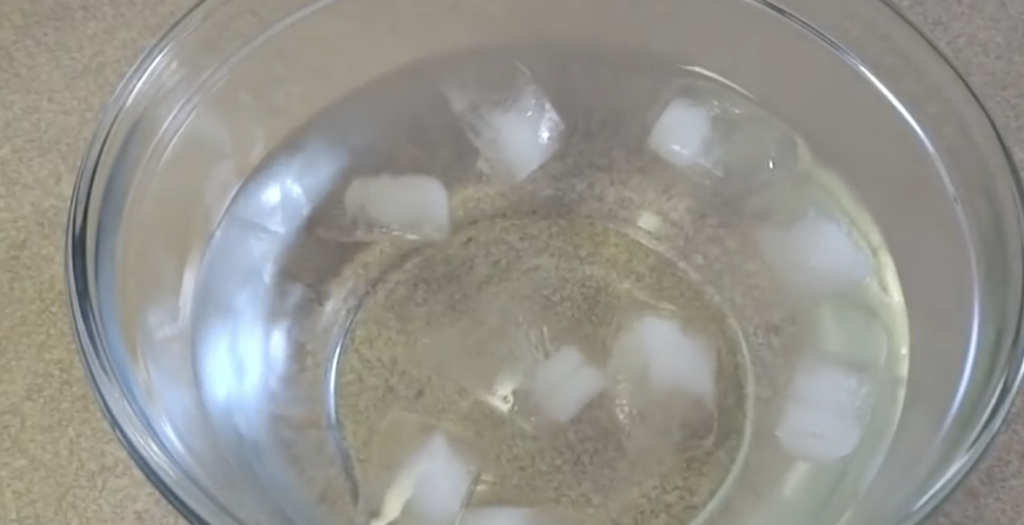
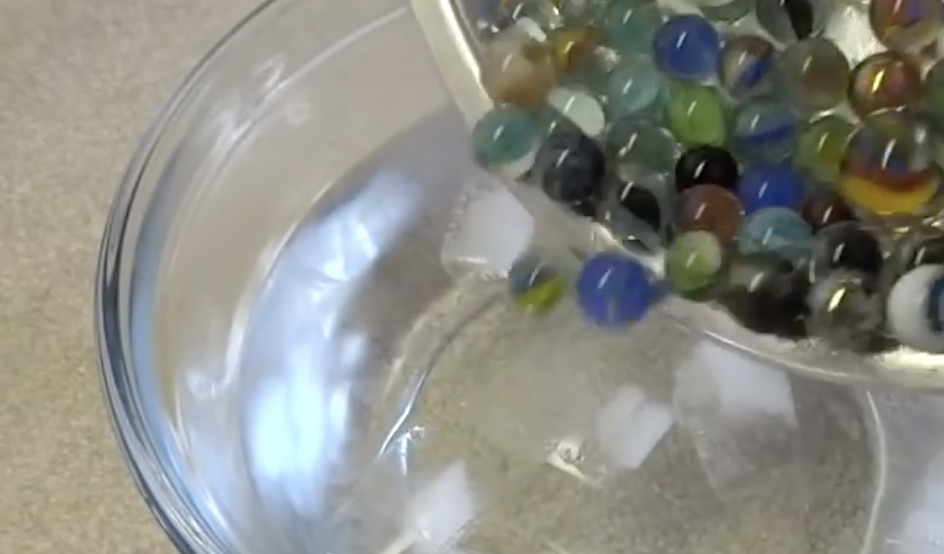
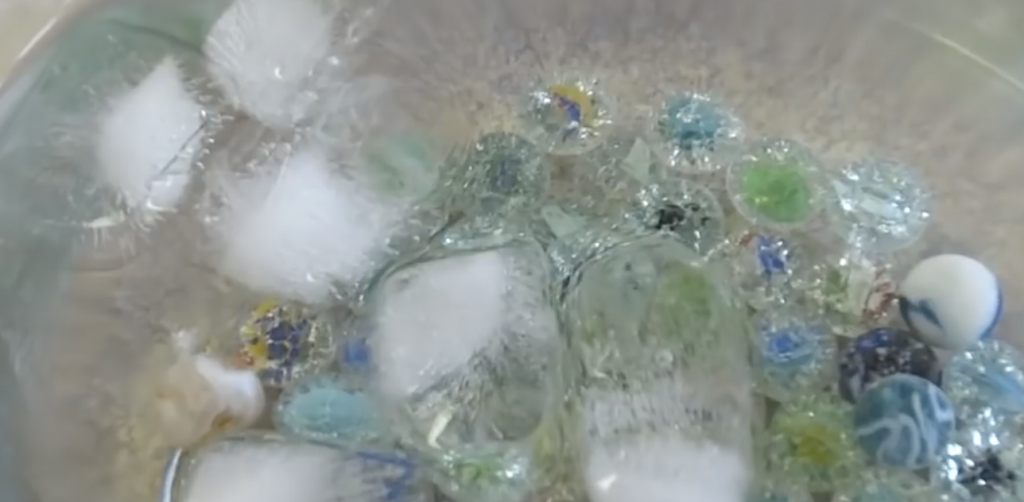
Bake the marbles for about 20 minutes at 500 degrees Fahrenheit. While they’re cooking fill a large bowl up with cold water and place some ice cubes in it because you want the water to be as icy cold as possible.
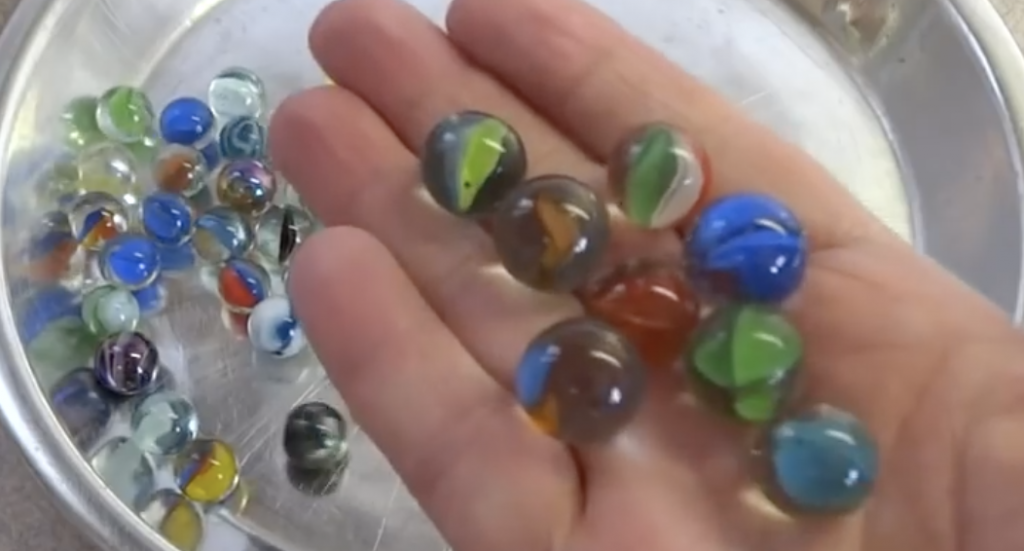
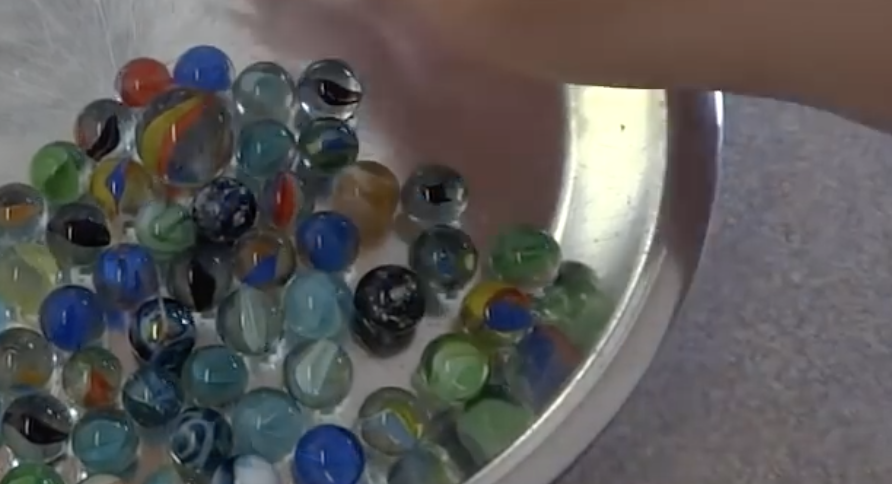
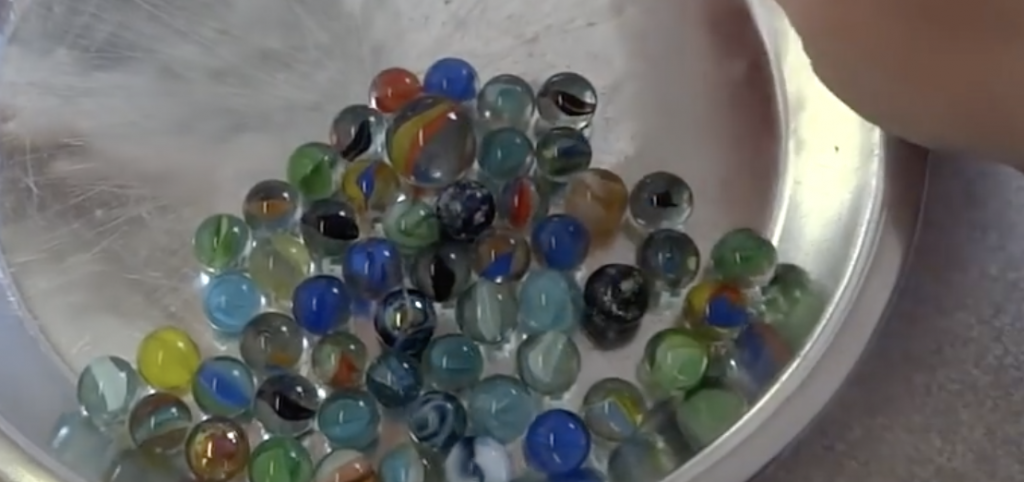
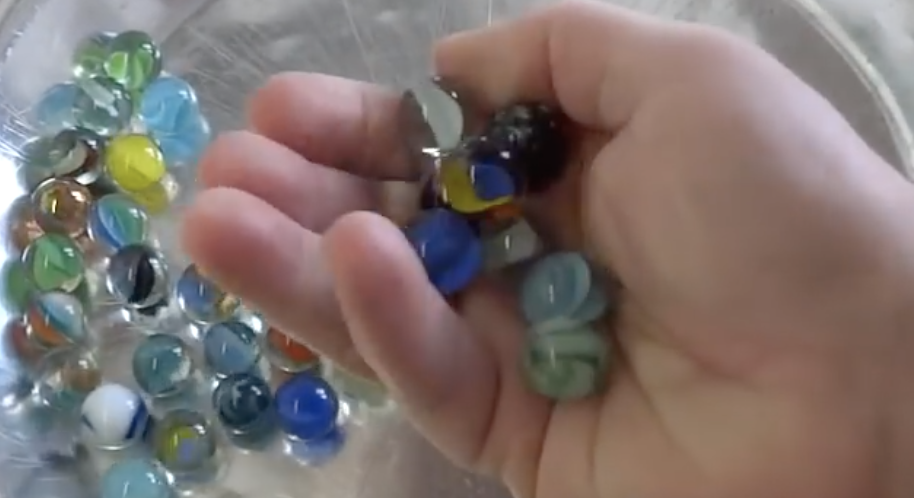
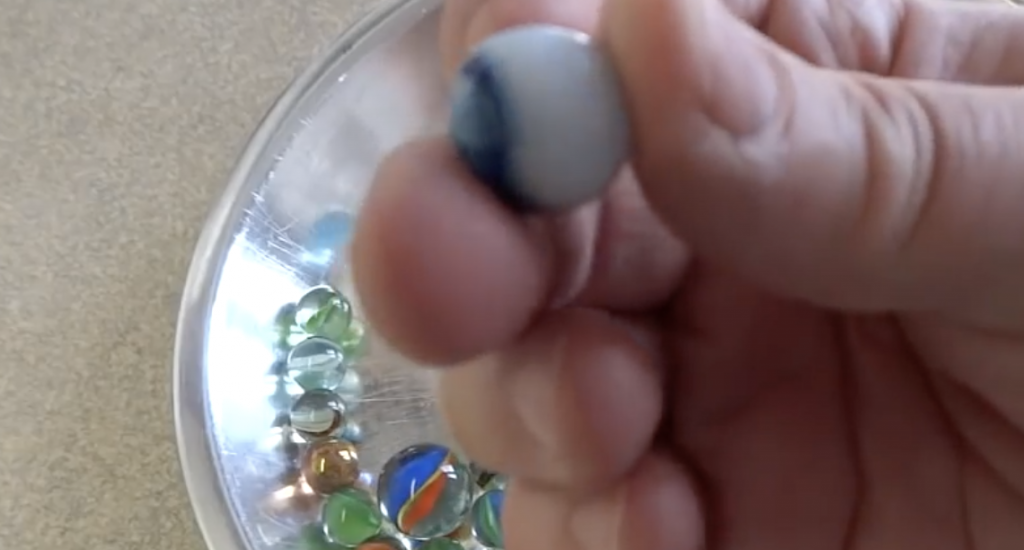
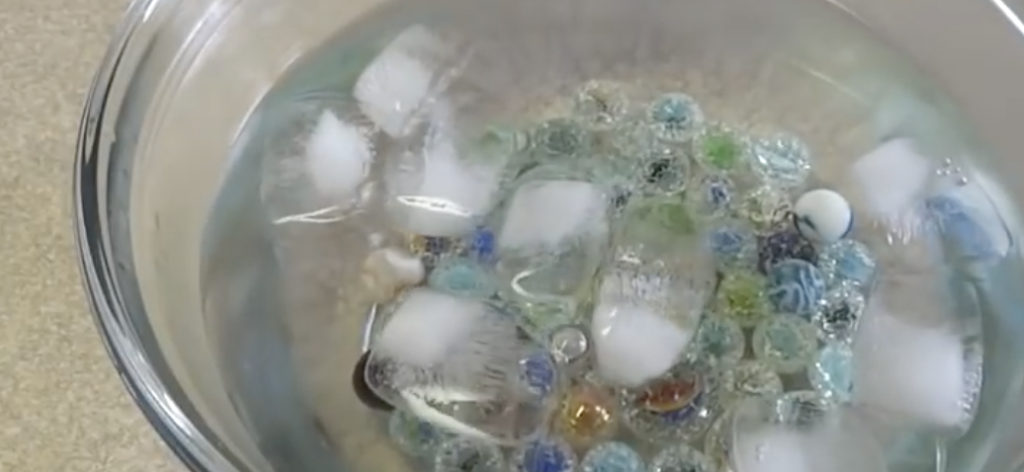
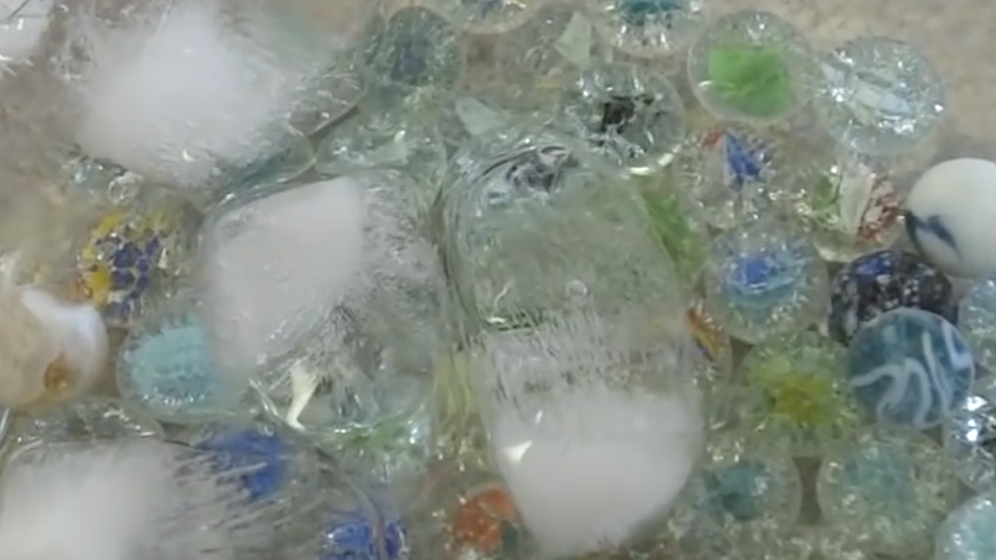
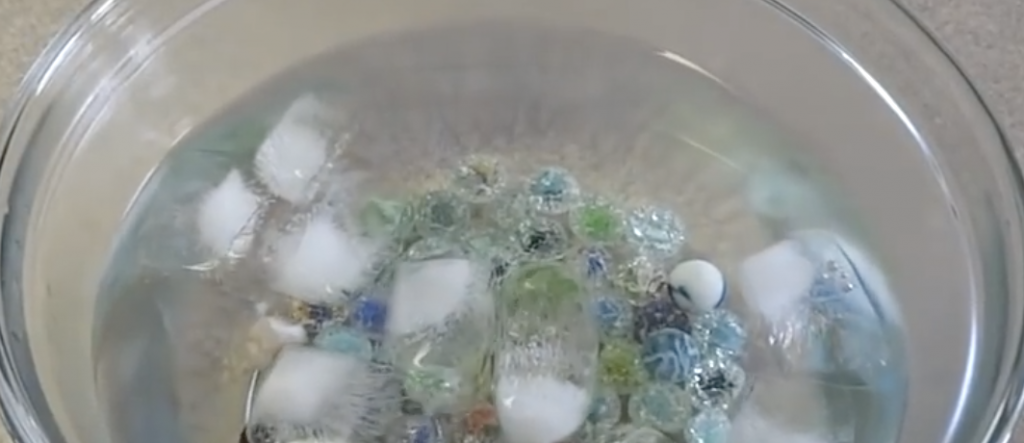
As soon as you take the marbles out of the oven transfer them over to the bowl and carefully pour them into the ice water. Their insides should immediately crackle and shatter and they should end up looking like the ones in the video. If any of them are cracked or broken simply toss them out.
The neat effect and appearance is caused by the glass cooling rapidly and going from an extremely hot temperature to ice cold. That’s what makes the insides of the marble shatter and gives them the distinct, pretty, and unique look that reflects and refracts light much more beautifully than plain old marbles ever could!
To make a necklace with these fried marbles you will need bead caps, eye pins, jump rings and superglue, all of which can be purchased at virtually any craft store. Take an eye pin and thread it into a bead cap before trimming any excess. Fill the bead cap up with clear superglue, press it onto a marble, and allow it to completely dry overnight.
Place a jump ring on the eye pin once the glue has set and now you have a crystal marble pendant! All that’s left to do is add a chain by threading it through the extra jump ring and any type that’s thin enough will do.
You can use leather cording, clear wire, or a metal chain to dress the look up or down. No one else will have anything like this necklace, so be original before they catch on and become all the rage!
Even if you choose to not make a necklace, the fried marbles work well for many alternative things. You can use these little gems to decorate around the house, stick them in a fish tank, or use them for arts and crafts projects. Either way, make a batch, get creative, and try something new!
Please Share This With Family and Friends 🙂
She Begins Hot Glueing Marbles To a Ball Made of Foam. But When She’s Done It’s STUNNING
If you’re looking for a quick and easy way to make your lawn or garden pop, then you have to check out these beautiful homemade gazing balls. They shimmer and sparkle when they catch the sunlight and add an extra-special touch to the landscape. They’re fun and easy to make, but the best part about them is that they’re super affordable and won’t cost you more than a few dollars. In comparison, store bought versions can be very pricey and the less expensive ones are usually dull, plain, cheaply made, and not too exciting to look at!
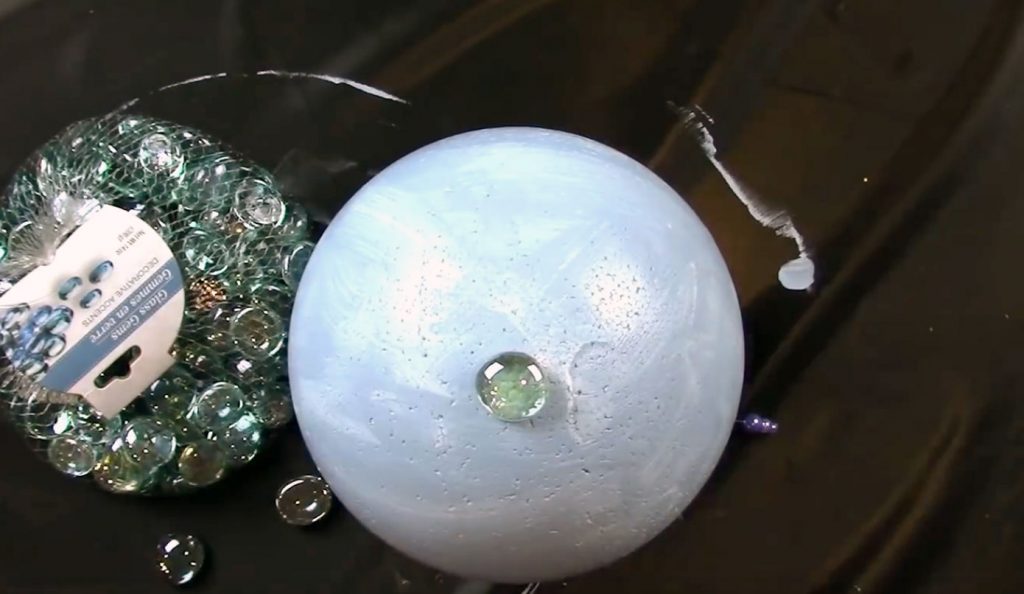
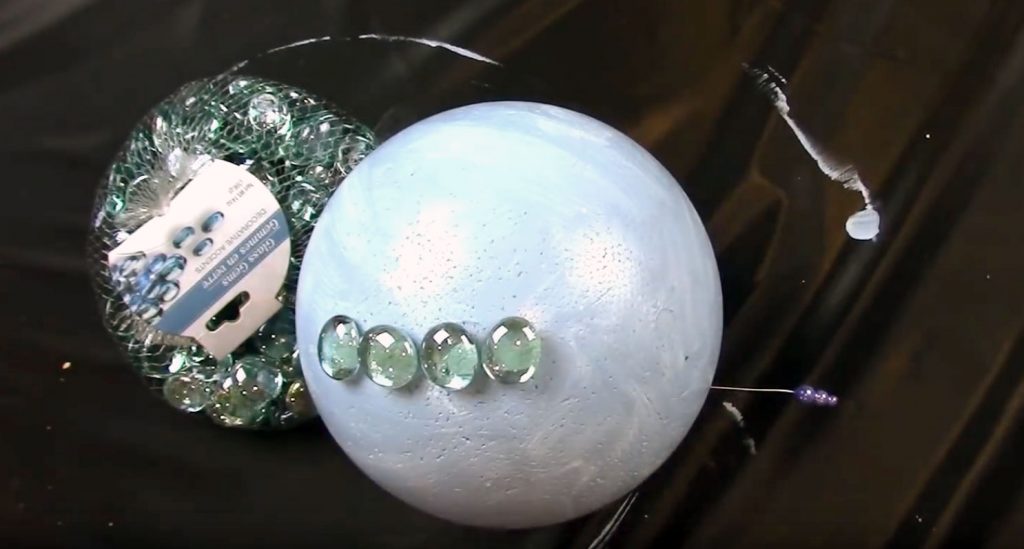
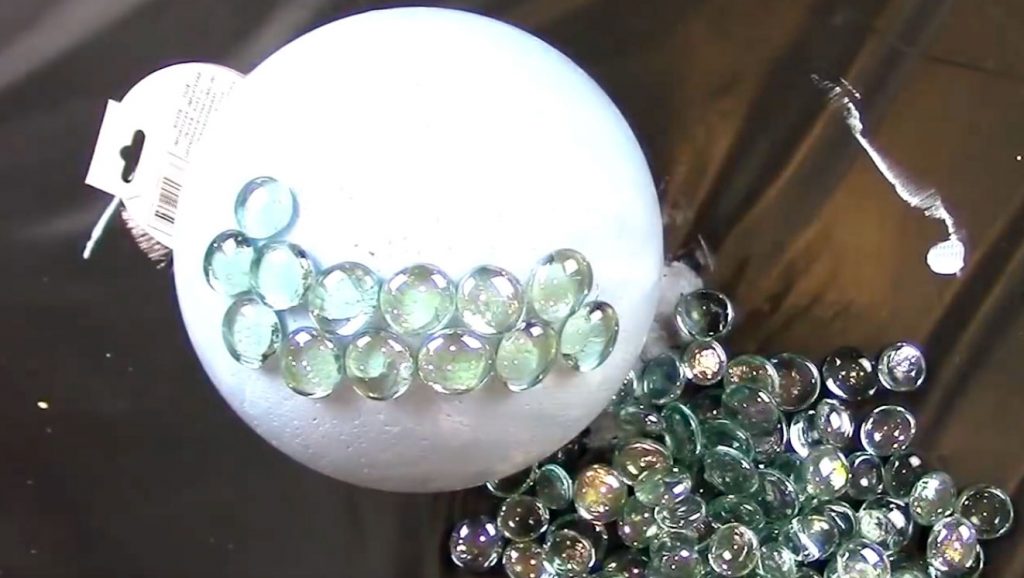
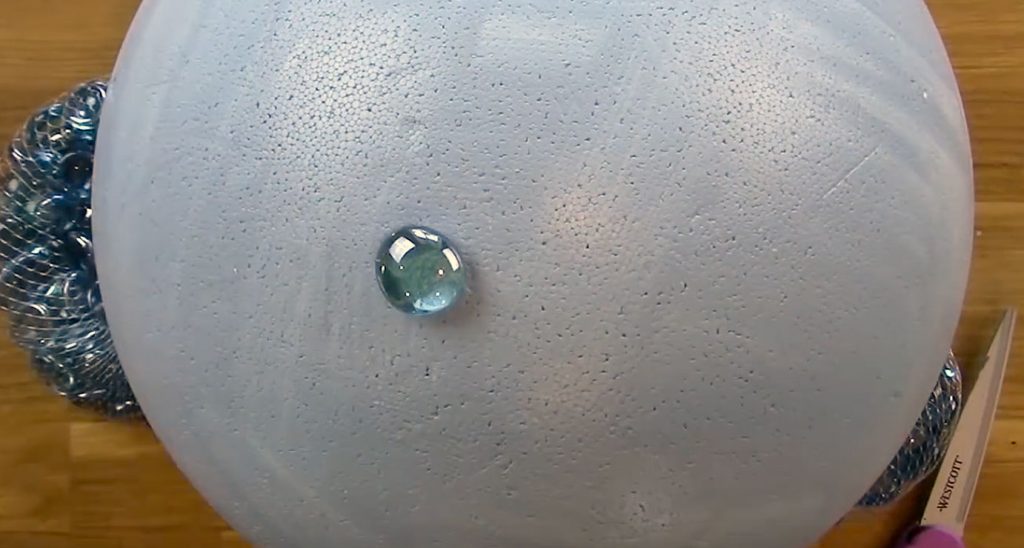
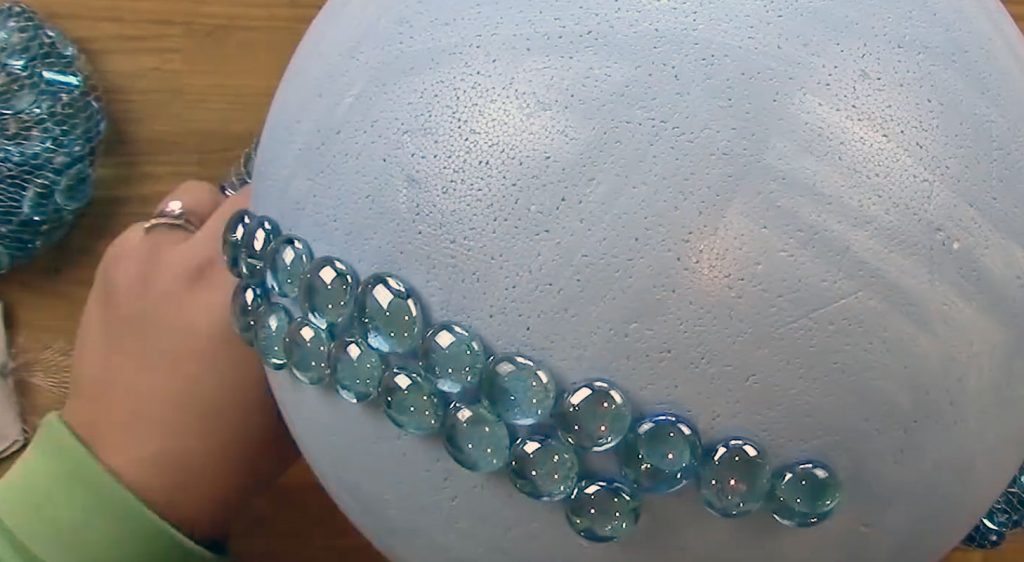
This craft project is also something that kids will enjoy making and it allows them to really get creative. You can make different sized balls in any color or combination and you can customize them to your exact standards. All you really need are Smoothfoam balls and flat glass marbles that most dollar stores carry in stock.
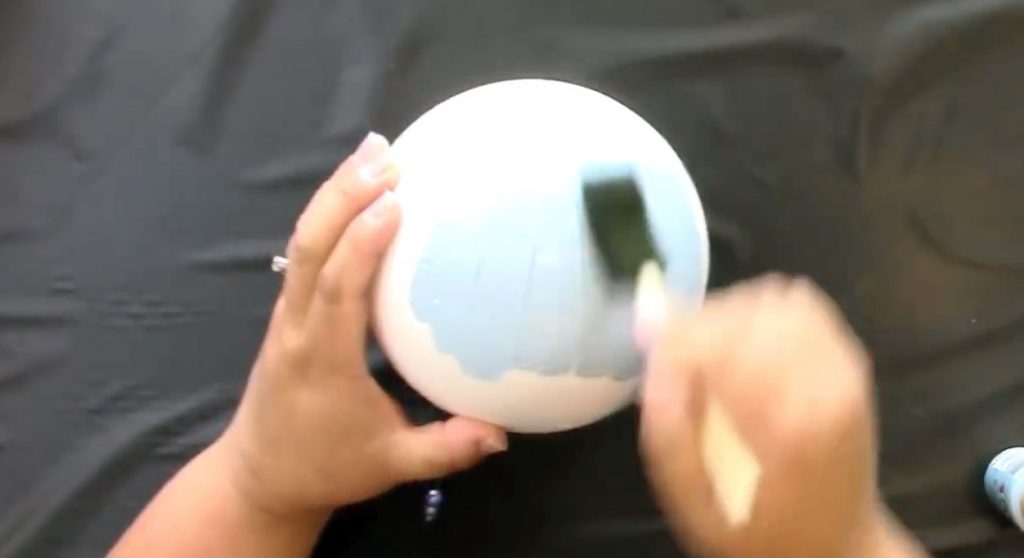
Craft extraordinaire Jennifer Priest, who runs her own blog named Hydrangea Hippo, shows us how to make them in the accompanying video. She conveniently included a list of all the supplies that she used and links to them as well. The materials you will need include Smoothfoam balls, flat glass marbles, a hot glue gun, acrylic paint, and a foam brush.
It’s important that you use Smoothfoam balls and not Styrofoam ones because Styrofoam will absorb all the paint you put on it and melts very easily. You’ll also want to use something that you can stick into the foam ball to hold on to, like a chopstick or long pin, that way you can paint the entire ball without making a mess and getting your hands all dirty.
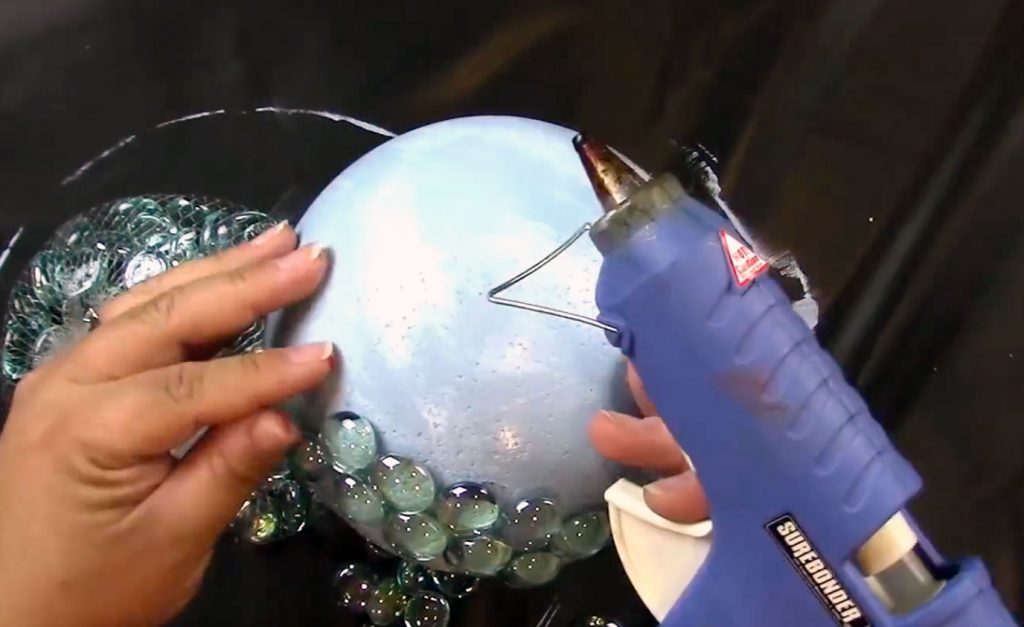
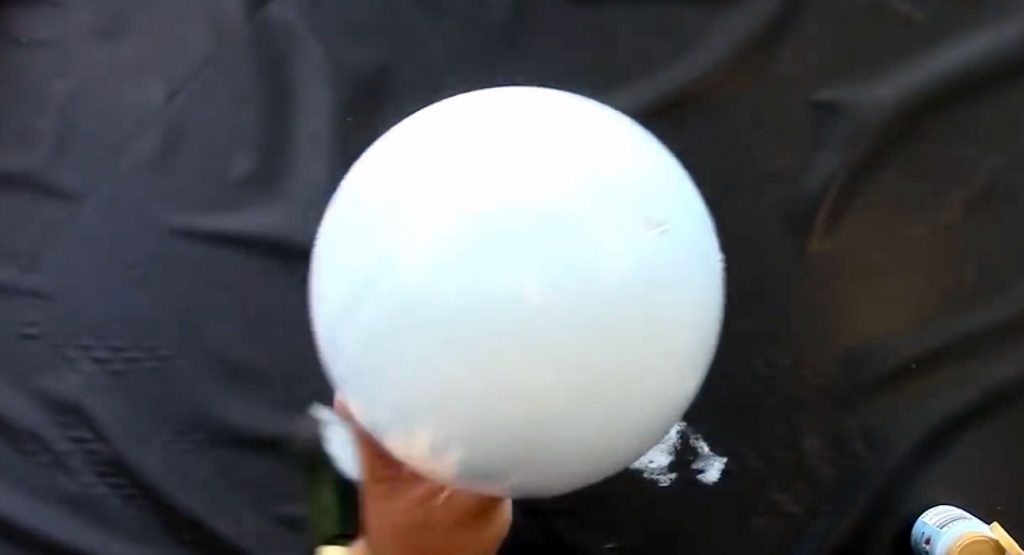
Start out by painting the foam balls and then set them aside to dry. Once the paint has completely dried fire up your glue gun and apply a dab of glue to the smooth side of each marble. Stick them onto the ball smooth and glued side down and as close to one another as you can until the entire thing is coated in marbles.
Now you can place the ball in the garden, flower beds or pots, on a pedestal or stand, or wherever else you desire. They can be hung as well, just stick a small screw hook into the side and it’s ready to be strung up. The decorating uses for these go beyond lawn and garden and they make beautiful additions to party or wedding décor as well.
These gazing balls turned out looking anything but cheap and you’d never guess they were made with simple items from the dollar store. They would make a lovely and thoughtful Mother’s Day gift and with everything starting to really bloom, now is the time to make them!
Please Share This With Family and Friends 🙂


