
THIS Is What Happens When You Place White Vinegar and Alcohol Inside Your Ear For 60 Seconds
People often think that earwax is gross and should be removed from their ears every time they shower or bathe. However, this is not the case, and the bad reputation that ear wax has developed is not based on anything but hearsay, it’s totally without merit.
The yellowish waxy substance is naturally produced by the human body and is beneficial to our health in more ways than one. It helps to protect our inner ears from infections, dust, and dirt, as well as bacteria and other germs that would otherwise enter them.
The wax also forms a protective barrier on the delicate skin in the ear canal which prevents it from becoming irritated when water gets inside, plus it moisturizes and keeps the skin from becoming dry, flaky, and itchy. The wax is produced by the tiny hair follicles that line the ear canal.
Normally it makes its way out of the opening of the ear on its own, but sometimes it can build up and cause blockage problems. The most common way in which people go about cleaning their ears is with a Q-tip. Doing this is the wrong way to clean your ears, it’s ineffective and just pushes the wax further into the ear canal thereby increasing the potential for blockage.
Whatever you do, don’t use Q-tips to try and clean your ears. Instead, gently wash the outside area with a washcloth. If you feel that there is a blockage due to wax build up in your ear, you can try this all natural, homemade rinse to clear it out. All you need is white vinegar and rubbing alcohol.
Take a small container and fill it halfway with white vinegar and equal parts rubbing alcohol. Tilt your head to one side, so your ear is level and will hold the liquid inside, then gently pour in about a teaspoon of the mixture. Stay still for one minute, then sit back up and allow the liquid to drain from the ear.
You may repeat this process twice daily until your ears clear up, but if the issue persists any longer than 3 days you should see a doctor because it could be something more serious. Also, this remedy should only be used in cases of minor ear infections, ear wax, or water in the ear. If you have a different or more serious problem you should see a doctor. Watch the video for more information on the topic.
Please Share This Tip With Family and Friends
When You Mix Alcohol With Normal Sharpies The Results Are STUNNING!
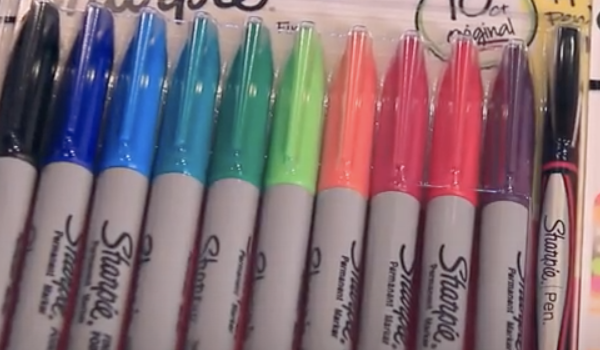
If you’re looking for a cool and easy craft idea, or some unique colorful pictures to liven up a space, then check out this video. YouTube channel SoCraftastic uploaded the tutorial which features artwork done primarily with Sharpies, or any permanent marker, and rubbing alcohol. There are 4 different techniques covered and each attains certain results. Each one turns out looking awesome and, best of all, they don’t require that you be a highly skilled fine artist.
The Sharpie watercolor technique is the first covered. Take a sandwich bag and color on it with a marker until there seems to be a lot of ink on the bag. Fill up a dropper with rubbing alcohol and squeeze some onto the marker/bag. Mix it all together with a paintbrush and then you can paint it on canvas as you would with watercolors.
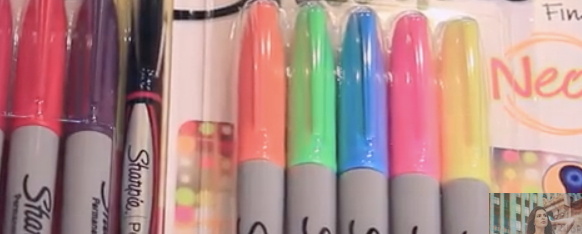
If you add in more rubbing alcohol it gives you lighter hues that are more faint and after about 5 minutes it should be dry. Next is the tie dye technique, which works best with neon colors. Start by drawing a star-burst, then extend it out in layers with different colors until the entire canvas is filled. Take a dropper of alcohol and drip it onto different parts of the canvas. It will spread the ink out and overlap the colors into a nicely blended smear.
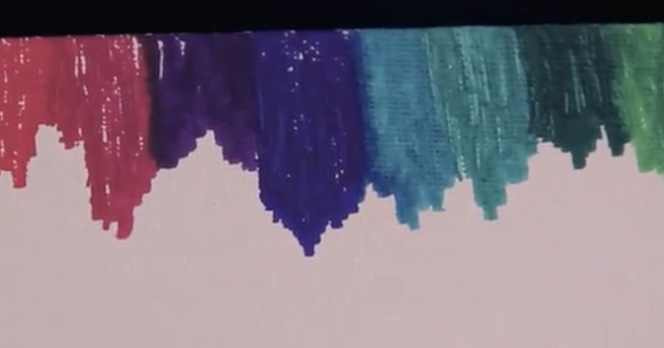
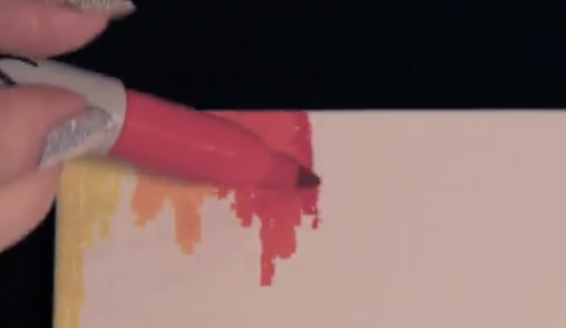
The third is the crayon melting technique, which requires only the top portion of the canvas be colored. Mix up and alternate colors in any way you desire, the video shows rainbow, and you can color over onto the side as well. Prop the canvas upright and drop alcohol onto the top colored portion, making sure to let it run down the canvas as if it melted and dripped down like wax.

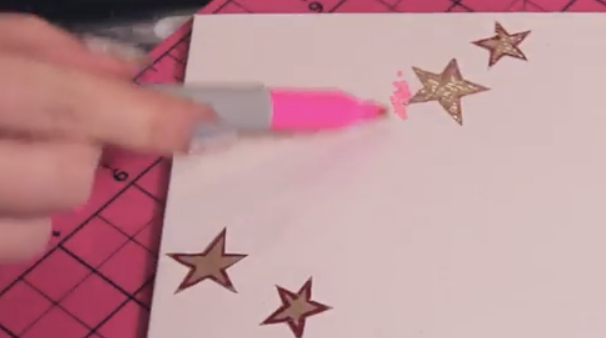
Last up is the galaxy-esque style. Draw stars on duct tape and cut them out (or use stickers) then place them down before you add any ink. Color all over the canvas, with different colors here and there, then add in some black spots. Prop the board upright and drop on alcohol so it runs down. Let it dry and then it’s safe to peel off the stars.
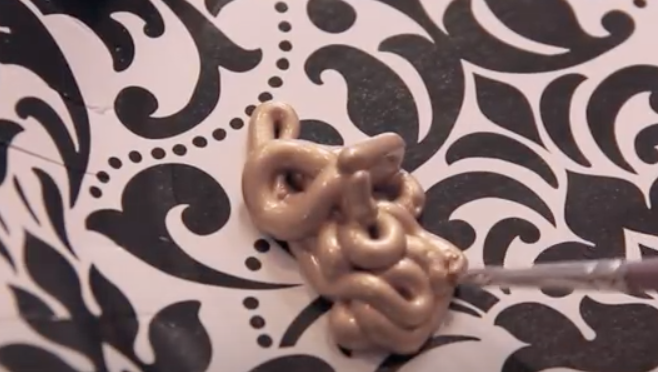
The video girl painted her stars with gold puffy paint, and she brushed on modge podge mixed with glitter, to add a bit of sparkle to the galaxy. These make a really fun project for kids, teens and adults. Plus, with 4 alternative ways everyone can find something to try. Check it out and enjoy!
Please SHARE With Family and Friends


