
She Starts Cutting Up This Old T-Shirt. 3 Minutes Later An Unexpected Surprise!
If you hate to throw things out or let them sit around unused then check out this tutorial. The video shows how to re-purpose an old tee-shirt into a handy new bag. The all purpose carry-all is perfect for hauling groceries in or your local farmers market finds and costs absolutely nothing to make.

The tee shirt tote is a clever and handy way to be environmentally conscious and resourceful, while wasting nothing and giving old tee’s a second life. All you have to do is grab a pair of scissors, an old tee shirt, and within a couple of minutes you can make a bag or two to use this weekend.
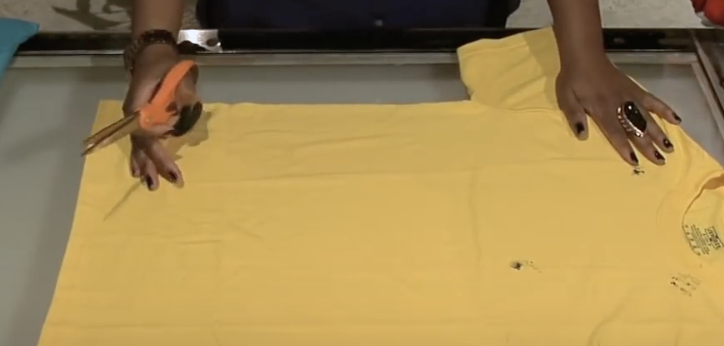
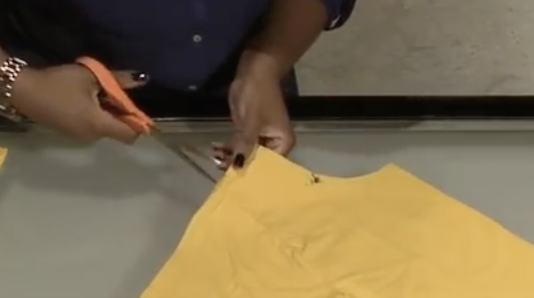
Start off by laying the tee shirt out flat and cut off the bottom part, right above the seam. Make sure to save the binding piece you just cut off because you will need it later. Fold the tee in half and line up the two shoulder points and sleeves.
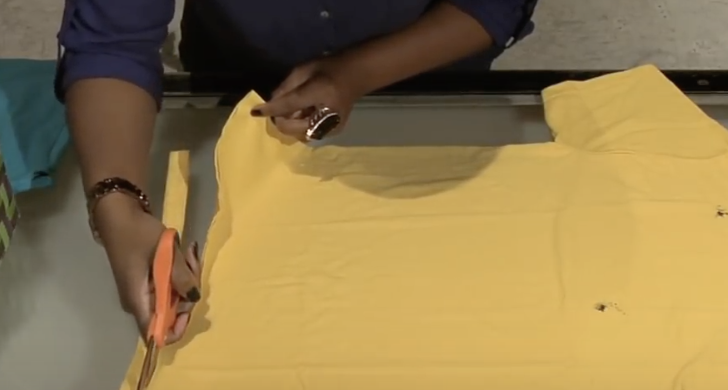
Cut off the neck part of the t-shirt and at this point it helps to refer to the video for a better visual of how you want it to look. Then, cut off the sleeves of the shirt, and leave yourself a bit of space away from the shoulder seams if you want deeper handles.

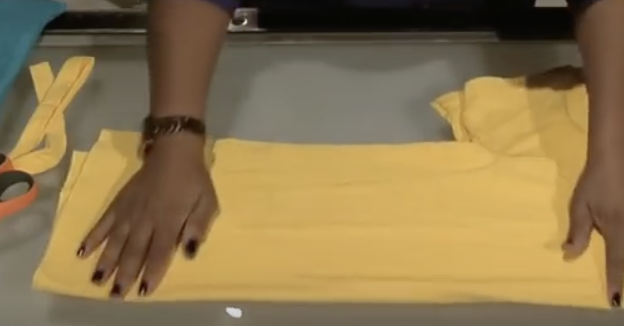
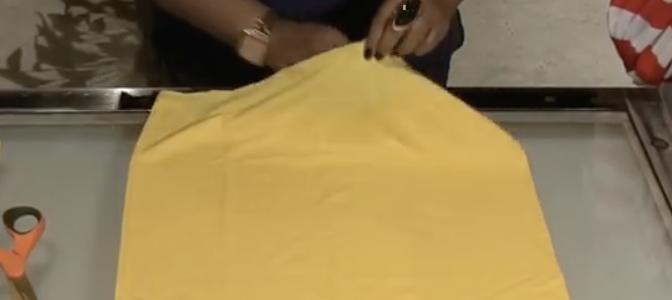
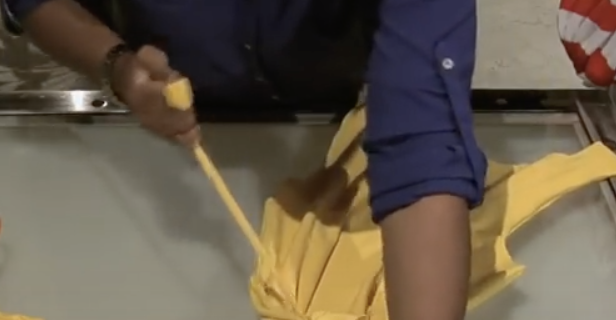
For higher handles you should cut right along the shoulder seam. Now unfold and lay out the shirt, which should resemble a tank top at this point, and turn it inside out. Gather together the bottom edge of the tee and tie it together using the piece of binding you cut off earlier in step one.
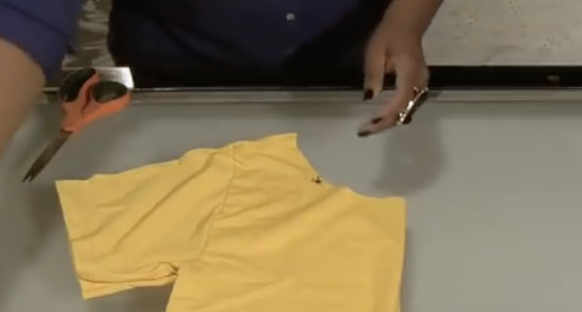
It’s important that you make sure to tie it as tightly as possible and wrap the binding around again to double-tie it. Securely knot it off and trim away the excess ends of the tie-binding. Turn the shirt inside out again and now you should have a brand new, re-purposed, tee shirt bag that is ready to use and hold all your stuff in.
Use this basic style of pattern cutting to make all sorts of bags and totes out of old tee shirts. They turn out awesome if you use busier patterns and add on custom touches, like fabric paints, iron on patches, and other attachments.
You can also braid the handles and incorporate different, stronger materials directly into the braids in order to make the handles more heavy duty and stand out. There is just so much more that you can do with this homemade t shirt bag technique, the possibilities seem endless. Check it out and try cutting one up for yourself or a friend and share the eco-friendliness!
Please Share This Crafty Repurposing Trick With Family and Friends
This Guy Pours Vinegar On This Weird Mixture. After I Tried It I’ll Never Buy It At The Supermarket Again!
These days Heinz is the leading producer and seller of ketchup. The company’s top spot can be attributed to clever marketing and always having their ketchup placed in prime locations on grocery store shelves. However, there is a way to make the tasty condiment at home and it will taste even better than the mass produced version.
By making ketchup yourself you can custom mix it into flavors that are more pleasing to your palette. Follow the simple recipe below for a quality alternative to the tasty dipping sauce, your taste buds will thank you.
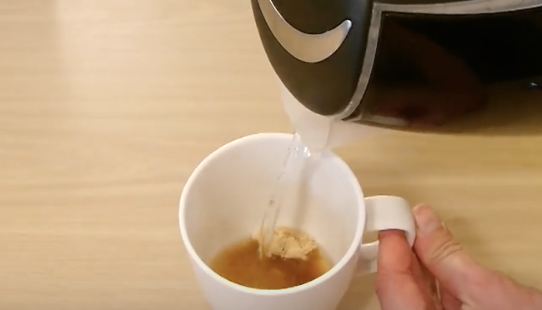
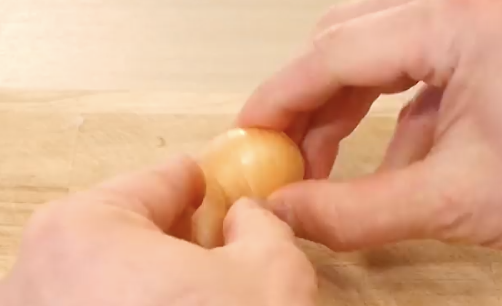
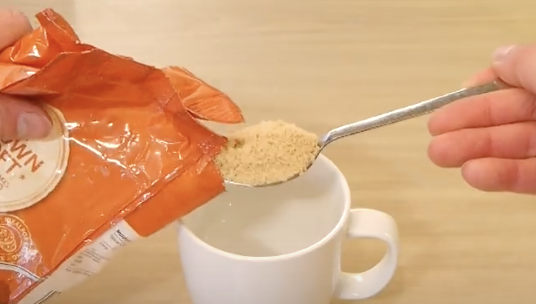
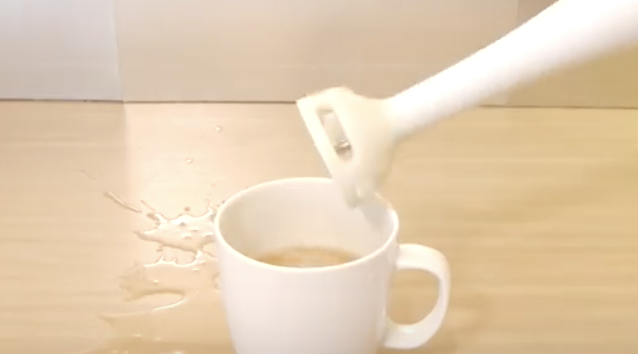
First peel a small onion and cut it in half. Place a heaping tablespoon of brown sugar in a cup, fill it about halfway up with hot water, then stir to dissolve the brown sugar. Once the water has cooled place a half of the cut onion into the cup and blend it until smooth with a hand blender.
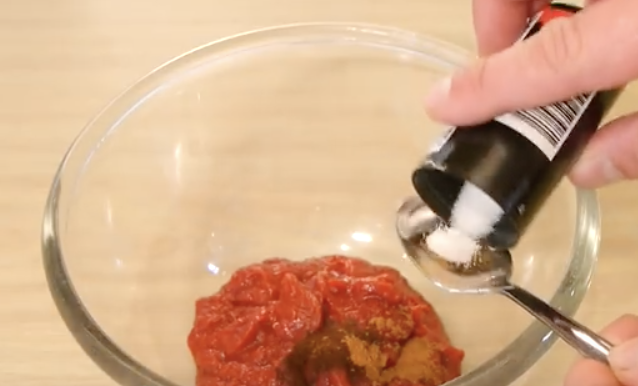
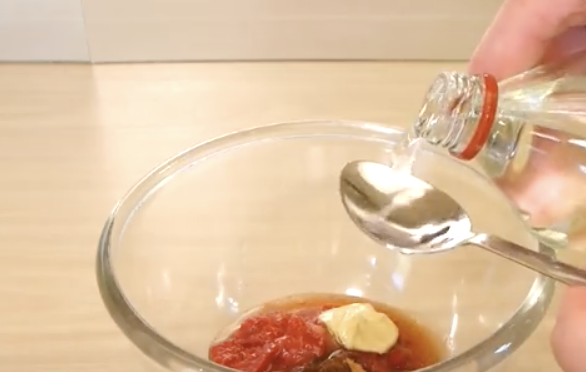
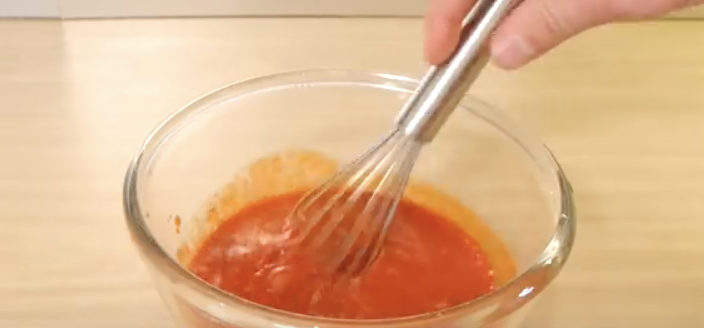
In small bowl combine a 200 gram jar of tomato paste with ½ teaspoon of mustard, ¼ teaspoon of ground cloves, ¼ teaspoon of ground cinnamon, ¼ teaspoon of salt, and 3 tablespoons of white vinegar. Then add in the sugar and onion mixture you prepared earlier and whisk it all together.
The simple recipe is very quick and easy to make and you can customize it in a number of ways. If you prefer thicker ketchup don’t add as much of the brown sugar and onion water, and for a more thin, runny ketchup, just add more of it.
You can also substitute vinegars, a lot of people like malt vinegar in it, or add in hot sauce for a spicy kick. Experiment with whatever flavors you like! When you’re done just pour the homemade ketchup into an old bottle, or sealed container, and store it in the refrigerator to enjoy later.
Please Share This Recipe With Family and Friends
This Woman Places 12 Jolly Ranchers In Each Bottle Of Vodka. When She’s Done YUM!

Vodka is the number one distilled beverage in the world according to consumption and sale rates. The popular hard alcohol of choice is incredibly versatile and often used in mixed drinks since it pairs well with almost everything, although many also prefer to sip it plain or shoot it down.!
The thousands of commercially available vodka brands offer many unique flavorings in addition to the plain unflavored type that include smoked salmon, bacon, sriracha, tobacco, fresh cut grass, and even electricity (huh?). You can even make your own flavored vodka right at home using just Jolly Ranchers and turn one bottle of plain vodka into 5 different flavors!
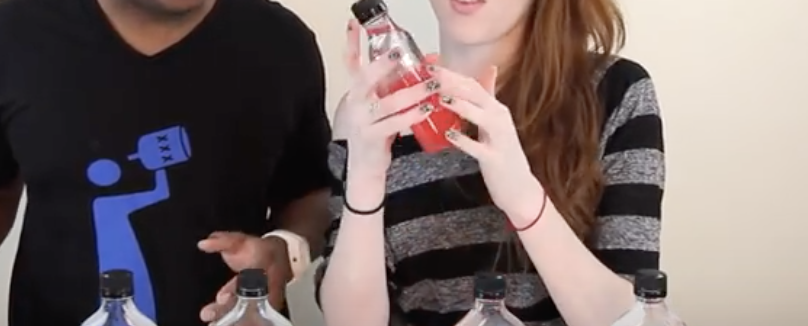
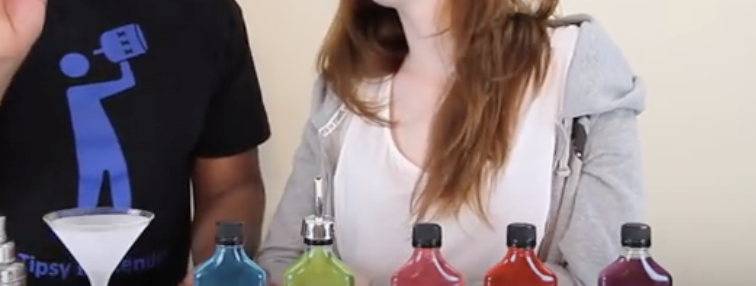
This tutorial is for those with a more traditional palette. YouTube’s Tipsy Bartender shows us how to make grape, cherry, watermelon, sour apple, and blue raspberry flavored vodkas using a bag of Jolly Rancher hard candies.
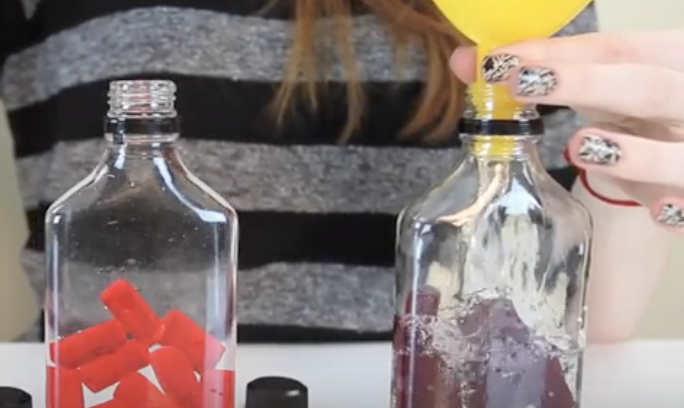
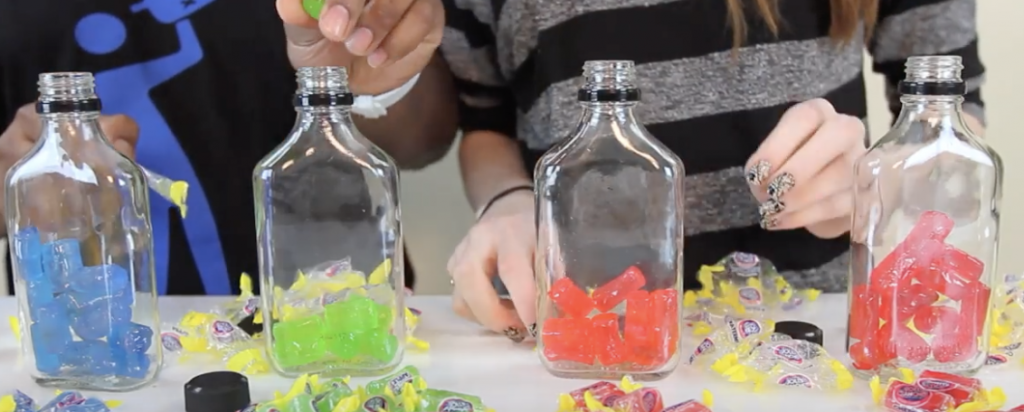
You will need 5 small bottles, ranging in size from 250-375 milliliters (mL), and approximately 12 Jolly Ranchers of each flavor. Depending on taste preferences and bottle size, you can try experimenting with more or less candies to adjust the sweetness and flavor factor. Unwrap the hard candies and place 12 of each flavor into a separate bottle.
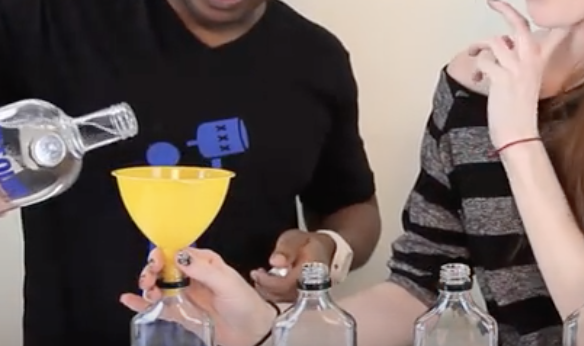
Pour unflavored vodka into the bottles and to make the transfer easier and less messy use a funnel. Replace the cap and refrigerate the Jolly Rancher bottles for at least 24 hours. When you take them out the bottles should be brightly colored and the candies fully dissolved.
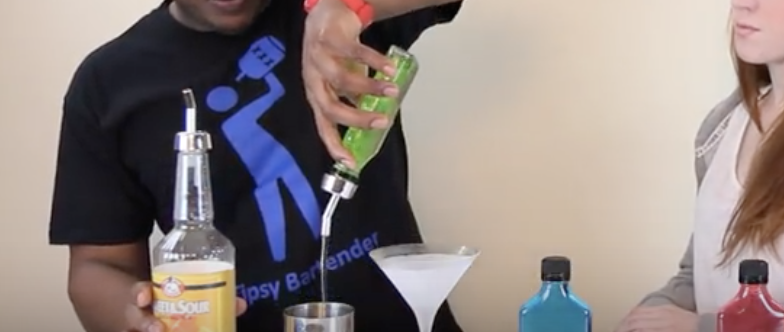
For a drink idea that uses the yummy new concoctions, the Tipsy Bartender showed us how to make a Jolly Rancher sour apple martini. In a cocktail shaker combine 2 ounces of green sour apple vodka with 1 ounce of sweet and sour, shake it up, pour into a martini glass, and top if off with a few cherries for a garnish. The cocktail not only looks pretty, but it also smells good and tastes delicious!
Please Share This With Family and Friends
This Woman Starts Pouring Milk Into A Plastic Bag. But When She’s Done YUM!
Shake and no-bake your way to fast, easy, homemade ice cream. All you need is a few basic ingredients and an appetite for frozen deliciousness to master this recipe. Best of all, it’s fun to do and a creative way to experiment around the kitchen with a new cooking method. If you have kids then try it with them and make sure to throw in a mini-science lesson because it’s a great way to learn!
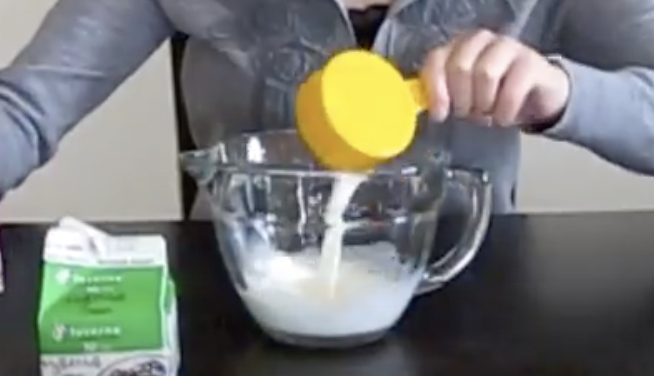
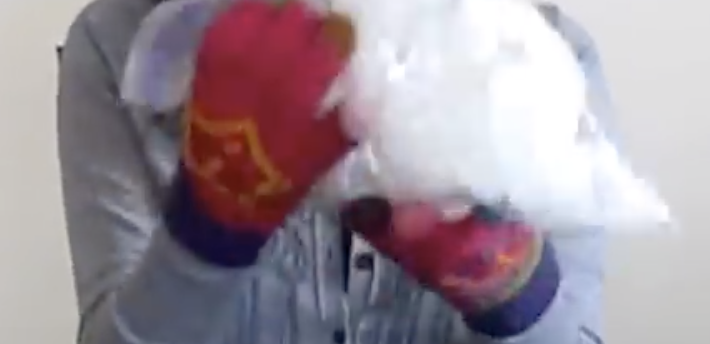
To shake up a proper batch of ice cream you will need milk, cream, sugar, salt, and vanilla extract. This style also requires the following tools and items to work; ice cubes, measuring bowls and spoons, a small plastic bag, a large freezer bag, and winter gloves.

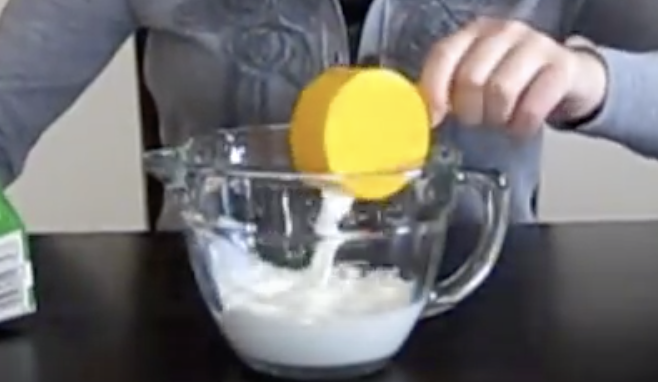
First, in a bowl combine a ½ cup of milk, ½ cup of cream, 3 tablespoons of sugar, and ½ teaspoon of vanilla extract. Carefully pour the mixture into a small plastic bag, squeeze all the air out, and seal tightly. Next, fill a freezer bag about halfway with 4 cups of ice then add in a generous amount of salt.
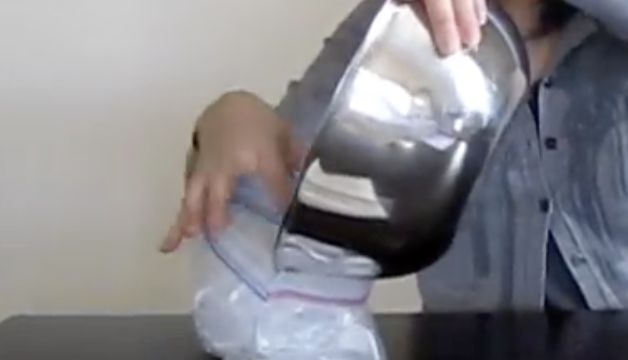
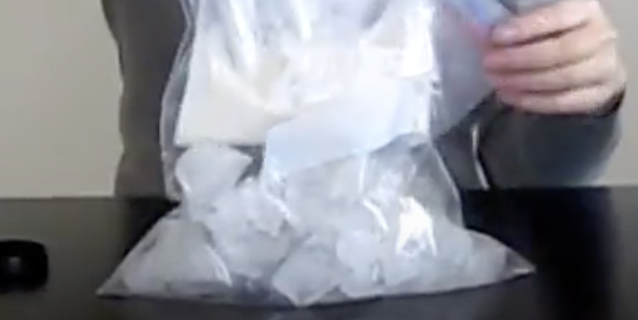
To speed up the process you can add about 8 tablespoons of salt. Place the small plastic bag into the larger one, seal that securely, and shake them very well for at least 5-10 minutes. It is recommended that you wear gloves for this part because it gets really cold. Remove the small bag and rinse off the salt so that it doesn’t contaminate the ice cream.
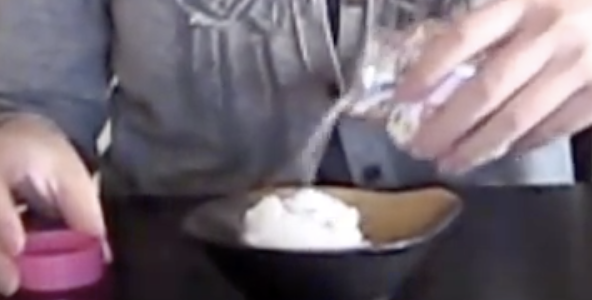
Now the good part!! Get a spoon and scoop the ice cream into a bowl, top with sprinkles or whatever add-ins you prefer, and eat it quick. This recipe makes about two servings and tastes delicious!

How does it work s quickly? This is the science behind it- The salt makes the ice cream freeze faster because it lowers the freezing point of the ice and melts it quicker.
Thus, the more salt the more energy gets taken from the ice, which results in a transfer of the melting ice’s coldness to the ice cream. That’s why you can shake your way to frozen, iced, creamy, tasty treats in a matter of minutes smile 🙂
Please Share This Recipe With Family and Friends
He Takes A Used Beer Bottle And 8 Bucks Worth Of Supplies. The Result I Need THIS For My Backyard!

If you are looking for a way to spruce up an outside patio or seating area then try making these easy, affordable, and unique looking tiki torches. The homemade torches make a clean and safe alternative addition to outside spaces and look a lot better than the average, boring, store bought, ugly tiki torches your used to seeing. The project uses recycled wine or beer bottles and a few other supplies that can be picked up at the hardware store for less than $8. It only takes about five minutes to transform a patio from drab to fab, so try it today!
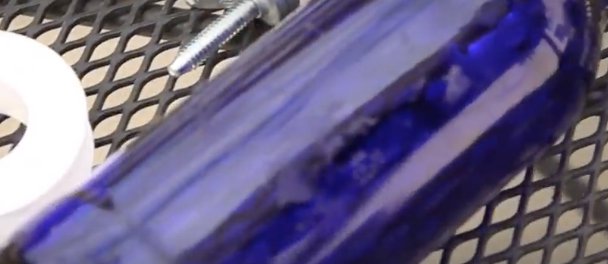
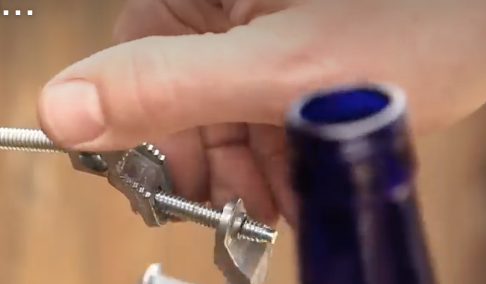
To do it yourself at home you will need the following supplies; 1 glass bottle, 2 grounding clamps, ¼ inch threaded rod, a roll of Teflon tape, ½ inch copper coupler and cap, and a replacement torch wick. Depending on how you want it to look and where it is going to be placed, you may need to shorten the threaded rod, so try to get a smaller one if possible or you will need to cut it. Also, make sure to empty out the bottles before you get started!
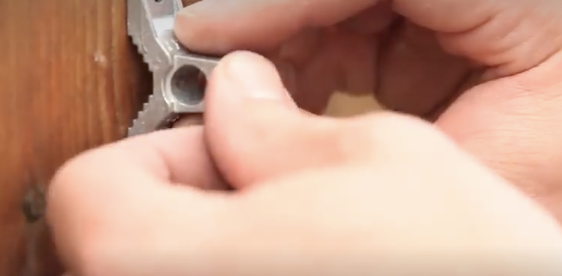
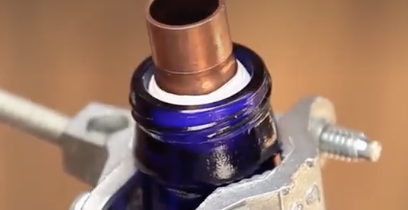
First, scout out a location for where you want to place the tiki torch. Attach one of the grounding clamps by screwing it into place and then attach the threaded rod to it. Then attach the second grounding clamp to the other end. Take a bottle and use the clamp to hold it in place. Grab the copper coupler and wrap Teflon tape around one end so that it fits securely in the bottle opening.
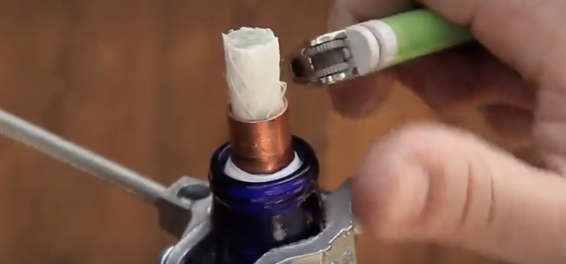
Make sure it is very snug and water tight before filling the bottle with torch fluid. Run the wick through the coupler and set it inside the bottle. When you are not using the torch remember to re-place the cap back on top of the wick/coupler to keep water out.
That’s it! In a few minutes your patio will look fresh and upgraded with these torches. The best part is that they look expensive and professionally done but they cost so little. Make sure you remember to save all the cool looking bottles you drink for this project!
Please Share With Family and Friends
Do You Hate Mosquitos? This Easy Trick Will Stop Them From Ruining Your Entire Year!
Mosquitoes are nasty and highly irritating bugs that can ruin an otherwise perfect time. The way they buzz and swarm around, waiting to land on someones warm skin to bite, is enough to drive anyone insane.
The pesky blood suckers are carriers of a number of diseases that they can transmit straight into your body when they bite. In fact, every year almost 700 million people world-wide end up contracting a mosquito borne illness, resulting in over a million deaths. This scary fact makes them the number one killers of humans.
While it’s best to avoid them all together, that is basically impossible. People commonly use bug zappers, horrible smelling chemical repellents, and mosquito nets to try and combat the pests.
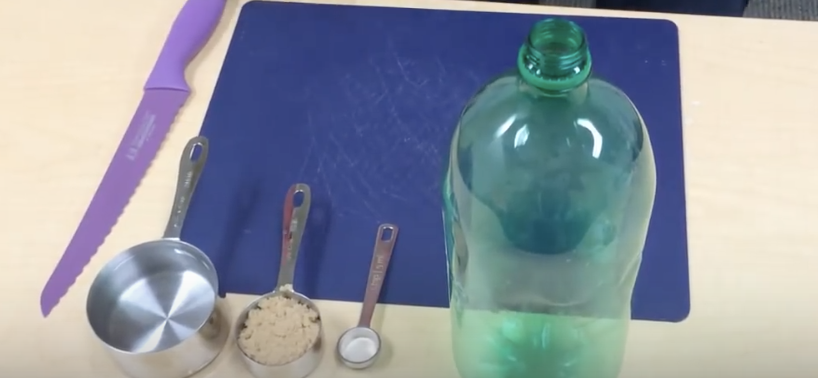
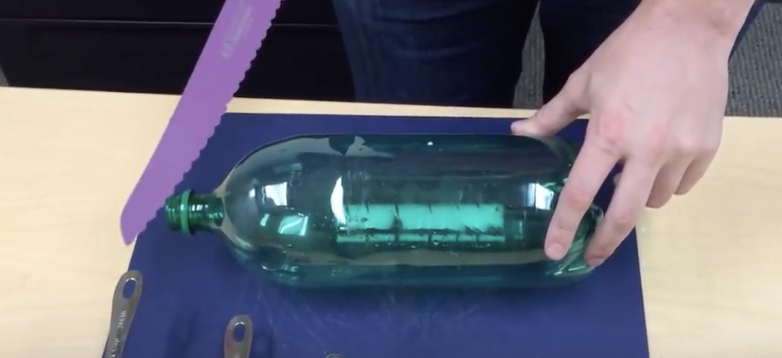
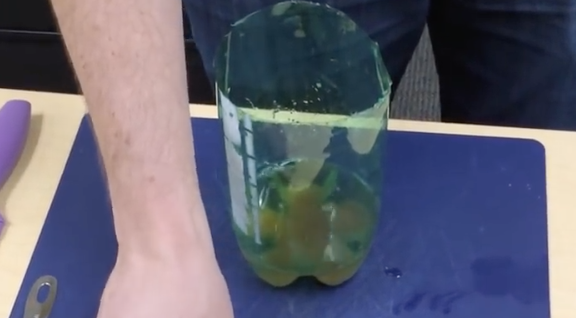
Fortunately, there is an easier and highly effective way to keep surroundings mosquito-free, and this video shows how to make a trap to catch the suckers. It takes just seconds to make, uses old soda bottles, and you can make a bunch of them for less than a couple of bucks.
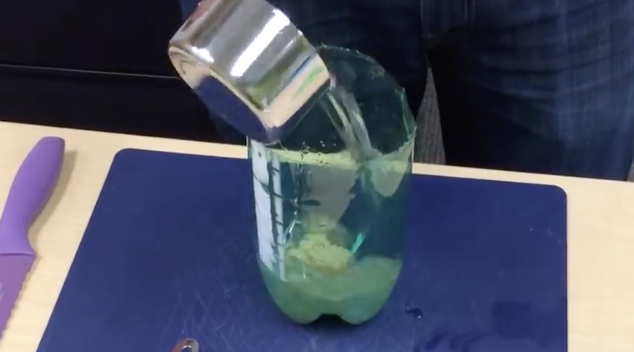
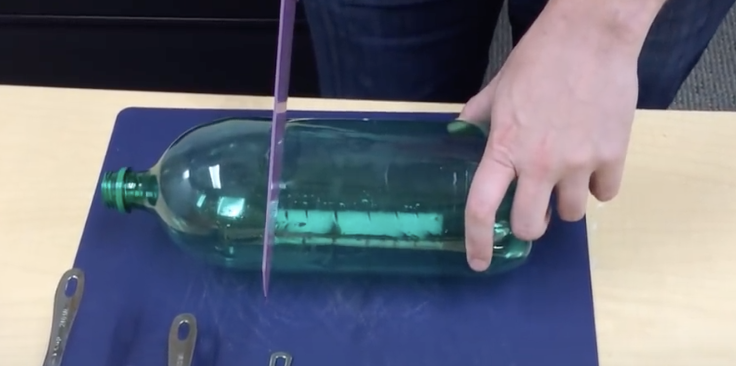
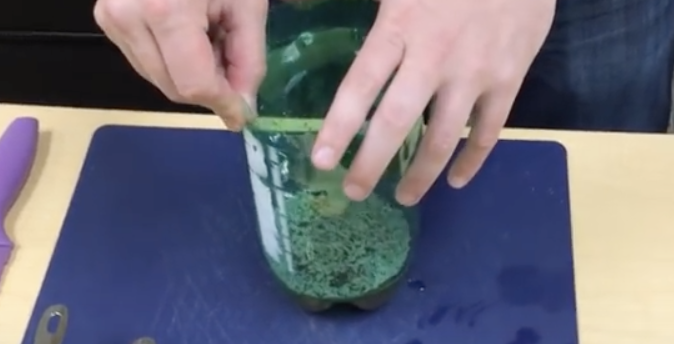
Take a 2 liter soda bottle and carefully cut a third of the top part off it. Use a serrated knife to do this, it will cut through the plastic quicker and smoother and won’t slip around as much as other knives tend to do on plastic. Place a ¼ cup of brown sugar, one cup of warm water, and ¼ teaspoon of yeast in the bottom two thirds portion of the cut soda bottle.
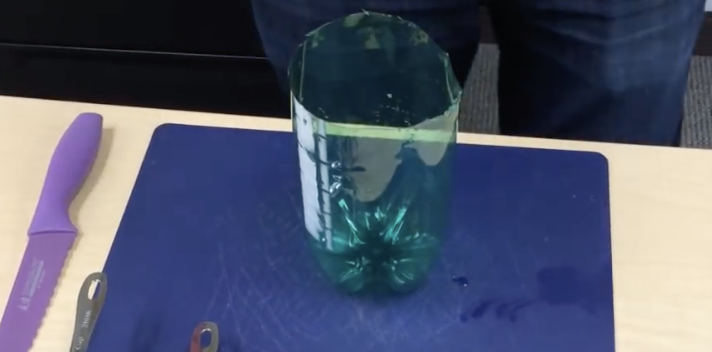
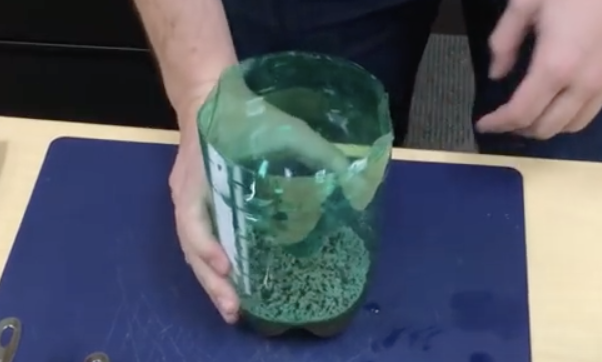
Place the top of the soda bottle upside down into the bottom half of the bottle. Make sure that the cap is off and that it fits tight and snug all around the sides. Then place the soda bottle trap outside near where you plan on sitting and let it do its magic. The mosquitoes will be attracted to the brown sugar and yeast mixture and won’t be able to resist the sweet, sticky aroma it puts off.
When they fly down inside the bottle they become trapped inside and cannot escape. The result leaves you with a comfortable, relaxing, mosquito-free atmosphere to enjoy and kick back in. Check it out, the video is definitely worth a one minute view!
Please Share This Trick With Family and Friends


