
She Buys A $2 Old Tarnished Cheese Grater But When She Reveals Her Transformation It’s AWESOME.
Do you have any old unused items laying around the house that are begging for a new look? Instead of tossing them out, give your old stuff a new life and recycle things into one of a kind pieces that you actually have a use for. All you need is a little imagination and creativity, plus a few craft supplies, and you can re-purpose just about anything. It also helps to have some ideas and videos with instructions showing you what to do, like this one from the Gibbz DIY channel on YouTube. The video shows how an old, rusty cheese grater that no longer has any use can be transformed into a brand new jewelry holder.
To begin, gather all your supplies and you will need: a box cheese grater, medium sized pearl beads, 4 medium sized screw hooks, 3 small sized screw hooks, a hot glue gun, toothpick, sandpaper, acrylic paint, a paint brush, and water to clean the brushes with. If you want to make this and have a newer cheese grater, it’ll work just as well. You can pick one up at the dollar store and can likely find just about everything else you’ll need for this project there as well.
To start, take the small sized screw hooks and screw them into the holes on the small shredder side of the grater. These will be your necklace and bracelet hooks so place them near the top to ensure that you have enough room for your jewelry to hang. If the screws are a little loose, take the hot glue gun and squeeze a little glue out. Pick up a tiny bit of the melted glue with the end of a tooth pick and dab it around the screw to help hold it in place.
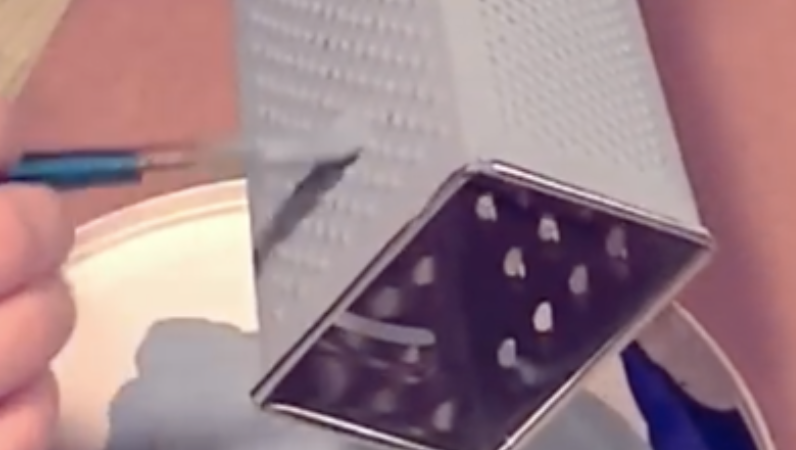
Now that the hooks have been added, it’s time to sand and rough up the entire outside surface of the grater. Take the sand paper and run it all over the grater, making sure to remove any built up rust, then use a soft dry cloth to wipe away any excess dirt, dust, or rust particles. This will help ensure that the paint sticks to the metal surface and won’t chip off later and now it’s ready for a coat of paint. Use acrylic paint for this and if you don’t have the exact color you want on hand you can mix it up with a blend of other colors, as shown in the video. Brush the paint evenly on the grater and be sure to coat the all the sides and visible parts. Set the grater aside and allow it to completely dry before adding the second coat of paint.
In the meantime, you can make the feet for the jewelry stand. Take the larger screw hooks and dab hot glue on the ends opposite of the threaded part. Attach a pearl bead onto each end and hold them firmly in place until they set. Apply the second coat of paint to the grater and allow it to dry completely before moving onto the final step. To attach the feet, take the larger screw hooks and apply a generous line of glue along the threaded end, on the side you’ll be attaching it to the grater with. Gently push the glued part of the screw into the inside corner of the grater, making sure that the bead on the outside lines up with the bottom corner. Once the feet are glued on and secure it’s ready for use!
This project is a great re-purposing idea and there are so many ways to customize it to your liking. You can add different sizes and amounts of hooks, switch up the placement of them, go with other types of beads or rhinestones, and choose any shade or mix of colors you prefer. Hopefully it will inspire you, so try it out!
Please Share This With Family and Friends 🙂
He Starts Rubbing A Raw Tomato Against a Cheese Grater. But The Reason Is Unexpectedly GENIUS!
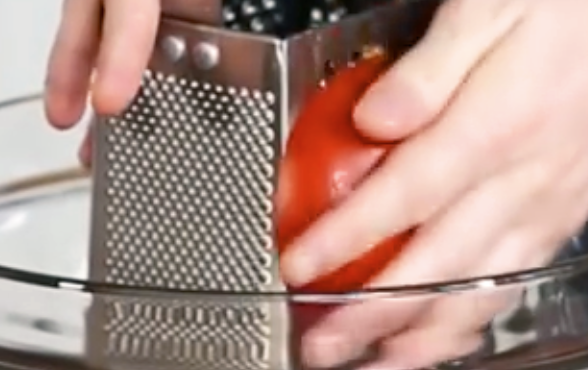
image via – facebook.com
I consider myself a “foodie” and what makes a dish outstandingly delicious for me, is when the taste is truly FRESH. I enjoy preparing food for myself and my family, but I don’t want to spend hours cooking…it just leaves me exhausted and without an appetite.
Most people enjoy a simple pasta and tomato sauce, and have great memories (if you are Italian) of Grandma’s Sunday dinners. They always included a marinara sauce (for the pasta) that had to be stirred and simmered for hours to reach the peak of perfection.
I am always looking online for simple recipes that use really fresh ingredients, and can be completed quickly. When I came across the video that you are about to watch below, Food & Wine’s Justin Chapple astounded me, with a way to make a fantastically fresh, delicious tomato sauce that requires NO COOKING!
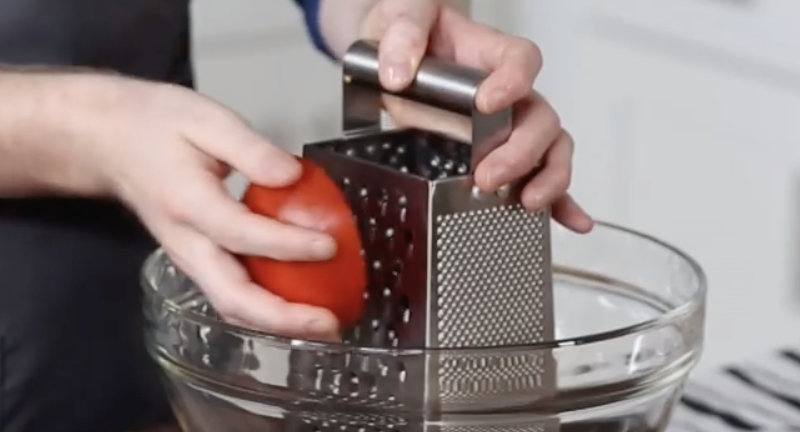
All you need is a box grater and ripe, good quality tomatoes. The bonus is that the grater actually saves you from having to peel the tomato. Watch Justin, add a few ingredients to enhance the taste and consistency, and then pour it on the cooked pasta.
When I watched his preparation, which he does with such simple pleasure that exudes his love of fresh food, I was inspired. I made it last night for my husband and kids and all I could hear was a resounding Yummmmm!
Let us know how yours turns out! Bon appetite! 🙂
Please SHARE this amazingly simple and delicious recipe with your friends and family!
This Guy Rubs A Raw Tomato On Cheese Grater. The Reason Is Brilliant!
What is more delicious than a great tomato sauce on pasta? Traditional homemade sauces that some of us remember our Italian grandma’s cooking for family Sunday dinners, hold great memories, but took many hours simmering and stirring until it arrived at the table. Although such sauces are fantastic, what if you could actually skip all of that cooking and achieve a fantastic home-made sauce to pour over your pasta?
After watching this tantalizing and simple DIY video, in which Food & Wine’s Justin Chapple illustrates how to make a completely fresh tomato sauce that can be ready in minutes, I tried making this. All that I needed was a square grater, some fresh ripe tomatoes, salt, pepper and olive oil.
What’s so amazing about the technique Justin demonstrates, is that it eliminates the need for peeling and dicing the tomatoes. I added some oregano, and fresh basil (as he did) and I have to tell you that my family was blown away at how delicious the sauce was! If you try this, please let us know how yours came out.
Please SHARE this recipe with family and friends


