
She Places A Bunch Of Marbles In A Bowl Then Bakes Them In The Oven. When She’s Done It’s STUNNING!
Marbles are neat little balls of different colors and sizes that can be used for just about anything you can imagine. Some people collect marbles and are always on the hunt for rare pieces, designs, and colors. Even if you don’t collect them, it’s more than likely that you played with them when you were younger, and there are a bunch of games centered around the cool looking spheres.
While some marbles are made out of clay, metal, or plastic, they most commonly come in glass form. If you have a bunch of them at home collecting dust, dig them out and give them a new life with this neat “fried marbles” craft project.
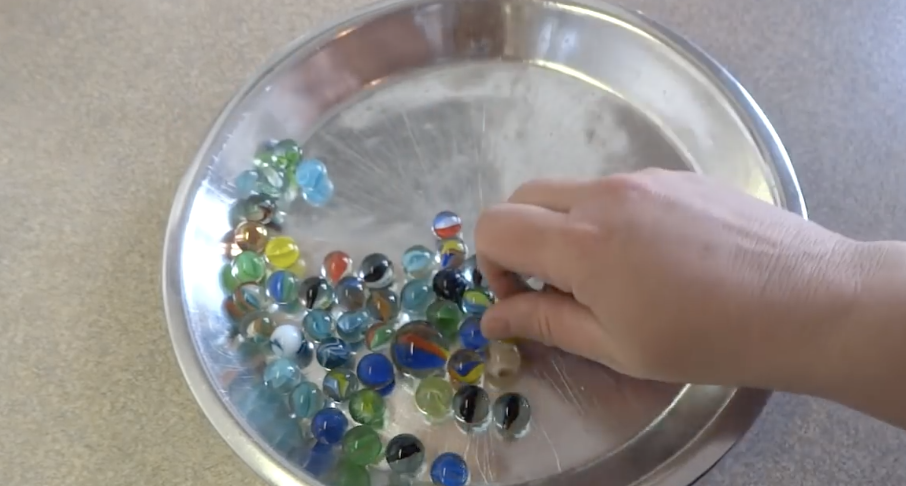
The “fried marbles” are actually oven baked, and when you follow the steps outlined below and in the video you will end up with beautiful, crackled, unique looking marbles. To start, all you need is some glass marbles. Any size or color will work but the plain, clear, glass ones seem to work best.
Place them in a pie pan, or any other similar type of oven safe container, and pop them into the oven that has been heated to 500 degrees Fahrenheit. Bake the marbles for about 20 minutes and while they are heating take a large bowl and fill it with cold water.
Place a few ice cubes into the water because you want it to be as ice cold as possible. Take the marbles out and carefully pour them into the ice water. They should immediately crackle and shatter on the inside and end up looking like the ones in the video. A few of them may crack and break in the oven or when you place them in the cold water and you can just toss those out.
The neat effect is caused by the glass suddenly cooling from an extremely hot temperature to ice cold. That’s what makes the insides of the marble shatter and gives them the distinct, pretty, and unique look that reflects and refracts light much more beautifully than plain old marbles ever could.
You can use these little gems to decorate around the house, place them in a fish tank, use them in arts and crafts projects, or make jewelry out of them (the YouTube video has links for that). Also, while the woman in the video notes that in all of the times she has done this she’s never had any of the marbles explode, there is always the possibility it could happen.
To be extra safe, wear safety glasses, and if you are doing this project with children don’t let them handle anything hot and supervise them closely. This is definitely a cool project to do with kids on a rainy day, or any day, and you can even inject a science lesson into it that they will most certainly remember.
Please Share This Fun DIY Project With Family and Friends 🙂
She Places Marbles Inside This Sticky Mixture. But When She’s Done It’s Unexpectedly Brilliant!

It’s spring and almost summertime! Time to fill yourself with the life that is thriving everywhere. Fresh food, bright colors, vibrant cocktails, and sunshine are all in abundance this time of year. You can bring the spirit of summer into your home with fun do-it-yourself crafts like the one in this video.
It’s super easy to make these beach reminiscent coasters at home with just a couple simple materials and a little bit of time. You can even get creative and make whatever design you can imagine.
First, you start with a silicone coaster mold. Fill the molds with floral stones, of whatever color variety you choose, to decide how many stones you need for each mold. In the video she uses yellow, green, and blue, but you could use whatever colors you like or arrange them together to make multi-colored coasters.
Once you have your designs, remove the stones from the molds to get ready for the mixing of your concrete or cement. Follow the instructions on the package that you purchased. You will be mixing a number of parts concrete to the necessary parts of water.
For example, in this video she uses one part water to four parts cement, which she translated to a quarter cup of water to one cup of powder. Mix the concrete and pour just enough into the molds to cover the bottoms. Then, place your stones in your desired design and press them into place. Let the concrete dry and pop out your new coasters! These can also be used as colored tiles to spruce up your patio.
Please Share This DIY Project With Friends On Facebook


