
How To Quickly Clean Your Oven Naturally With Only 2 Ingredients!
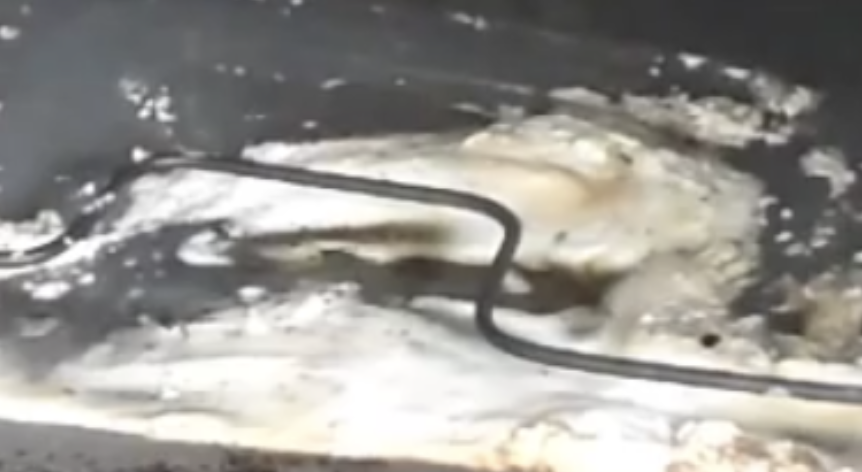
image via – youtube.com
Many of us love to cook, but the clean up is a whole other beast. Nothing is worse than the oven or the broiler pans. If you have a self-cleaning oven, you may or may not get the results you want. I hate the smell from the self-cleaning mechanism, as much as I hate the fumes from oven cleaning products. I feel like I am damaging my lungs!
Ovens and broiler pans get gross pretty quickly. Food and grime gets baked in to all the crevices making it a cumbersome clean-up. When I came upon this natural and simple way to do the clean-up I wanted to share it with as many people as possible. It never fails to amaze me, how certain common substances do so many things so well!
Baking soda comes to the rescue again. Watch the video below to see how combining it with water to create a paste, that you can leave on from 30 minutes or longer. Watch how she optimizes the combination, and just lets it sit. If the grime is really bad you can let this natural paste sit overnight.
Watch how easily the grease and grime gets removed with a minimal amount of elbow grease. This solution is such a great find, that does the job without having to work hard or inhale dangerous chemicals!
Please SHARE this really useful DIY with your friends and family on Facebook! 🙂
She Places A Bunch Of Marbles In A Bowl Then Bakes Them In The Oven. When She’s Done It’s STUNNING!
Marbles are neat little balls of different colors and sizes that can be used for just about anything you can imagine. Some people collect marbles and are always on the hunt for rare pieces, designs, and colors. Even if you don’t collect them, it’s more than likely that you played with them when you were younger, and there are a bunch of games centered around the cool looking spheres.
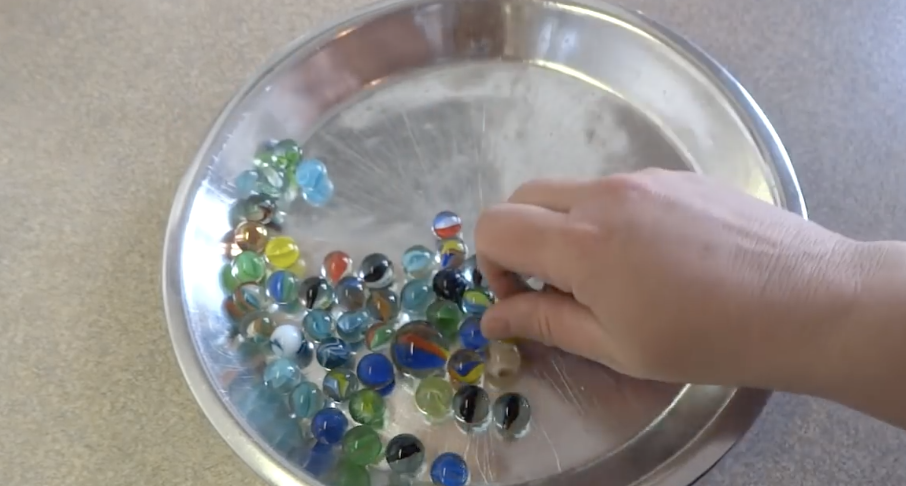
While some marbles are made out of clay, metal, or plastic, they most commonly come in glass form. If you have a bunch of them at home collecting dust, dig them out and give them a new life with this neat “fried marbles” craft project.
The “fried marbles” are actually oven baked, and when you follow the steps outlined below and in the video you will end up with beautiful, crackled, unique looking marbles. To start, all you need is some glass marbles. Any size or color will work but the plain, clear, glass ones seem to work best.
Place them in a pie pan, or any other similar type of oven safe container, and pop them into the oven that has been heated to 500 degrees Fahrenheit. Bake the marbles for about 20 minutes and while they are heating take a large bowl and fill it with cold water.
Place a few ice cubes into the water because you want it to be as ice cold as possible. Take the marbles out and carefully pour them into the ice water. They should immediately crackle and shatter on the inside and end up looking like the ones in the video. A few of them may crack and break in the oven or when you place them in the cold water and you can just toss those out.
The neat effect is caused by the glass suddenly cooling from an extremely hot temperature to ice cold. That’s what makes the insides of the marble shatter and gives them the distinct, pretty, and unique look that reflects and refracts light much more beautifully than plain old marbles ever could.
You can use these little gems to decorate around the house, place them in a fish tank, use them in arts and crafts projects, or make jewelry out of them (the YouTube video has links for that). Also, while the woman in the video notes that in all of the times she has done this she’s never had any of the marbles explode, there is always the possibility it could happen.
To be extra safe, wear safety glasses, and if you are doing this project with children don’t let them handle anything hot and supervise them closely. This is definitely a cool project to do with kids on a rainy day, or any day, and you can even inject a science lesson into it that they will most certainly remember.
Please Share This Fun DIY Project With Family and Friends 🙂
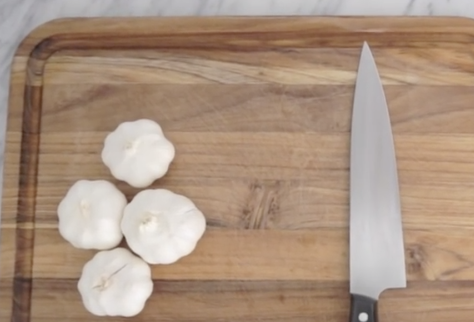
Woman Wraps Foil Around THIS Garlic and Puts It In The Oven. But When She’s Done YUM!
Roasted garlic is a wonderful ingredient that can add lots of complimentary flavor to almost any recipe or dish. It’s also really good for you and is packed with nutrients like fiber and Vitamins C and B6. If you ever have a cold skip the medicines and instead pop some garlic since it has been proven to boost your immune system and helps reduce the severity of symptoms associated with the flu and common cold.
There are many other health benefits associated with the hearty bulbs, as well as various alternative ways in which they can be used. However, one of the most universal and beloved ways we take our garlic is by roasting it first.
Roasting garlic helps to lessen the stinky effect it has on our breath and it tones down the powerfully strong taste it has in its raw form. Instead, the heat transforms it into a sweeter, less bitter, and more rich flavor that’s perfect for use in dishes, dressings, dips, sauces, spreads, and so on.
Try the following method to perfectly roast up some delicious garlic in the comfort and convenience of your kitchen at home.
First pre-heat your oven to 400 degrees. Take a bulb of garlic and remove the dried, papery outer skin from around it. Carefully cut off the top of the bulb with a sharp knife. Take a piece of tin foil and lay it flat, place an equal sized piece of parchment paper directly on top of the foil, and finally place the garlic atop the parchment paper.
Drizzle the garlic bulbs with some olive oil and wrap them up neatly and tightly in the foil. Place them on a pan in the oven and roast for one hour. Remove when time is up, unwrap, and allow the garlic to cool. Gently squeeze the garlic bulbs to remove the cloves and serve or use them right away. You may also place them in a covered storage container and keep them for a few days in the refrigerator.
It is simple and easy to roast your own garlic and enjoy its many benefits. Now you can spread it on crackers, use it in dips or different dishes, and upgrade the tastes of whatever you happen to whip up in the kitchen!
Please Share This Delicious Recipe With Friends On Facebook 🙂
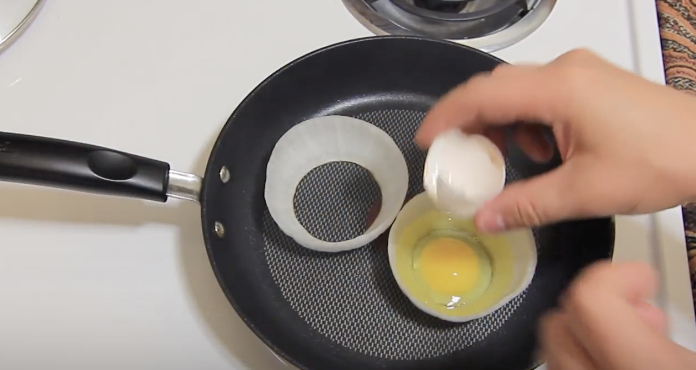
He Cracks An Egg Into Onion Rings. But When He’s Done The Most Unexpected Tasty Surprise!
Everyone loves to learn new and simple ways to get the same old things done. It can be fun and interesting to discover what nifty and quick solutions people have come up with to solve common problems. This video, from the HouseholdHacker YouTube channel, highlights 10 tricks for dealing with difficulties you may have encountered when cooking or bustling about in the kitchen.
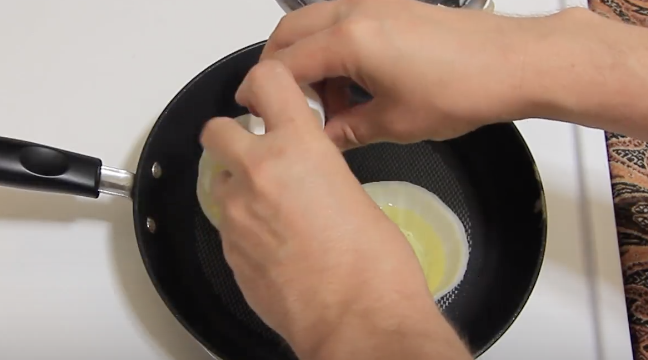
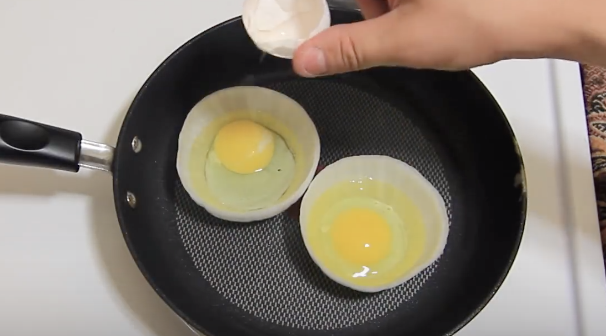
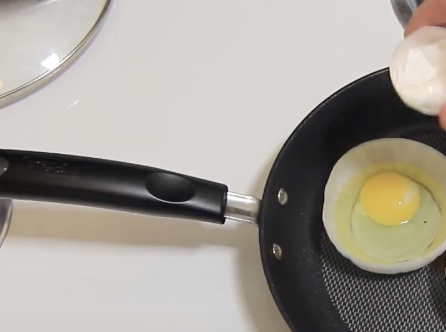
The tastiest hack shown is the eggs and onion gourmet breakfast. Take an onion and cut out a couple of large circles, place them in a pan on medium heat, wait one minute and then crack an egg into each one. Cover the pan and cook for 3 minutes, then sprinkle on some salt and pepper.
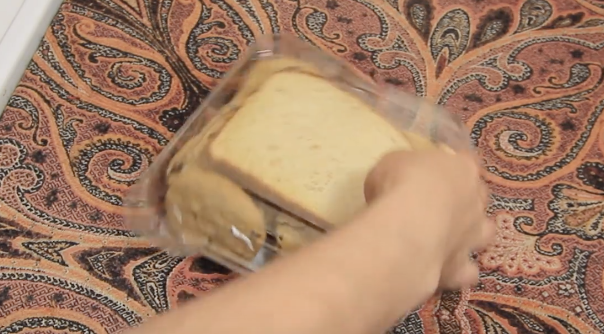
The most useful trick for cookie lovers is to place a piece of bread into the container holding the treats. It will release moisture and keep the cookies softer for longer. Also included is a great way to reheat pizza on the stove top, which avoids the soggy, limp, microwaved effects of zapping it.
Heat up a burner on medium-high and place a pan on it. Once it’s heated up set the leftover pizza into the pan and cook for one minute, then flip and cook for another minute. The slices will come out crisper and as if they’d just been pulled out of the oven.
The most interesting alternative technique shown was cooking hard boiled eggs in the oven, which makes them not hard boiled at all, but they come out that way nonetheless. Heat the oven to 325 degrees, place the eggs on a tray, and put them in to cook for 30 minutes.
After you take the eggs out place them in a pan of cold water and allow to sit for a few minutes. Once they are cool you can eat them right away or store them in the refrigerator. There are six additional innovative and useful kitchen solutions covered in the video so be sure to check it out. And remember to share the knowledge because they may end up making life easier for you or someone you love!
Please Share These 10 Incredible Food Life Hacks With Family and Friends
She Presses Dough On An Upside Down Muffin Tin. But When She’s Done YUM!
There seems to always be a right way and a wrong way to go about doing practically everything. Then there are all of the many ways that fall in between those two opposite ends, and that’s what is covered in this Allrecipes YouTube video. It features a novel way for you to use a plain old muffin tin to bake a variety of delicious treats that the whole family will love and appreciate.
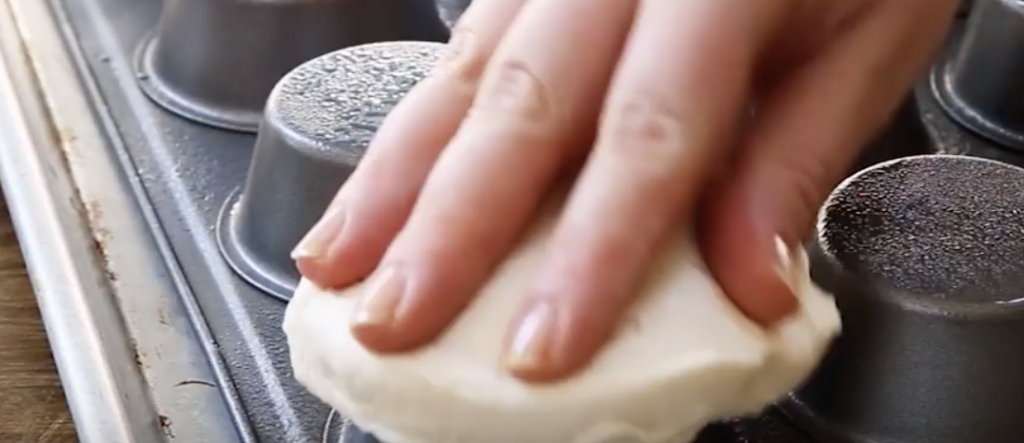
The innovative idea shown makes you think outside the muffin tin by switching up the way in which you’d normally go about using the classic bake ware. Instead of putting batter or dough in the little slots right-side up, flip over the tin and use the underside of the moldings to make different types of edible food bowls.
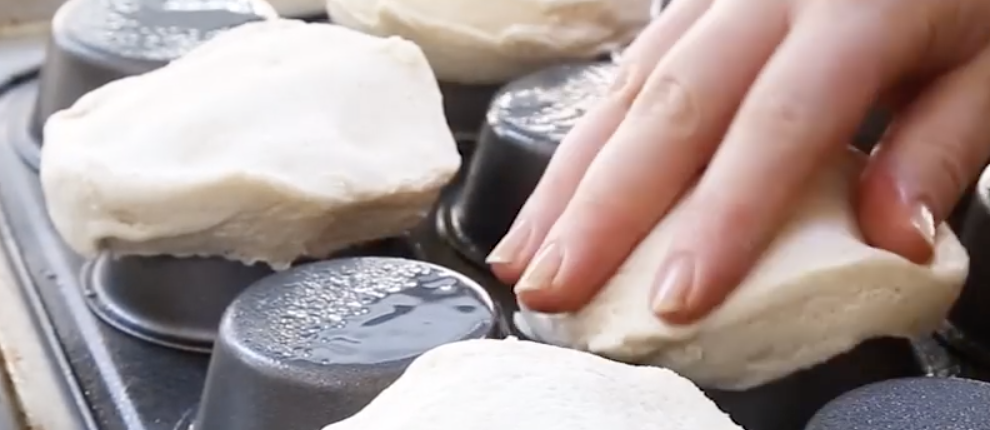
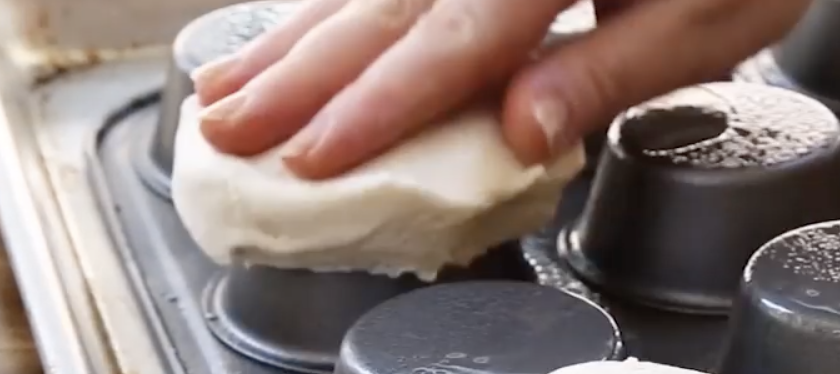
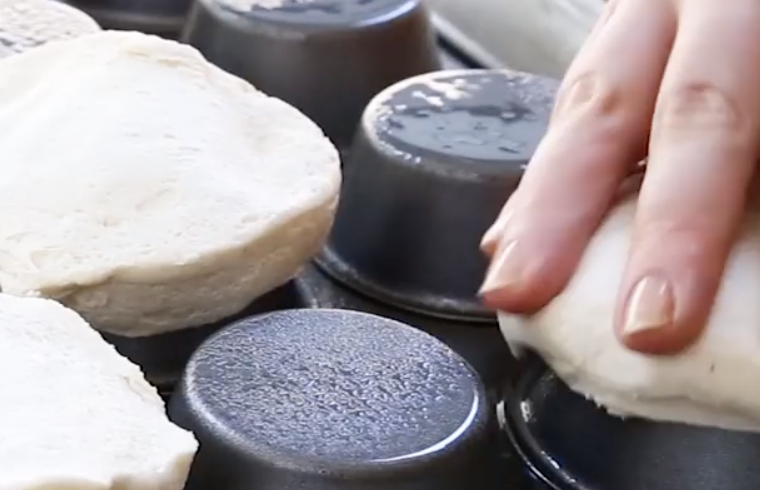
Get creative and imagine all the different ways you could use this technique to bake stuff and check out the recipe ideas covered in the video and below. The first recipe shown is for biscuit bowls. Start by turning the tin over and coating the underside with cooking spray. Take some biscuit dough (homemade or store bought) and smush it over each of the muffin slots on the bottom of the tin.
Pop it in the oven and bake them for 12-15 minutes at 350 degrees. When they’re done you’ll have tasty little biscuit bowls that are perfect for holding hearty soups, like loaded potato soup with cheddar or different chowders, as well as dips and chili.
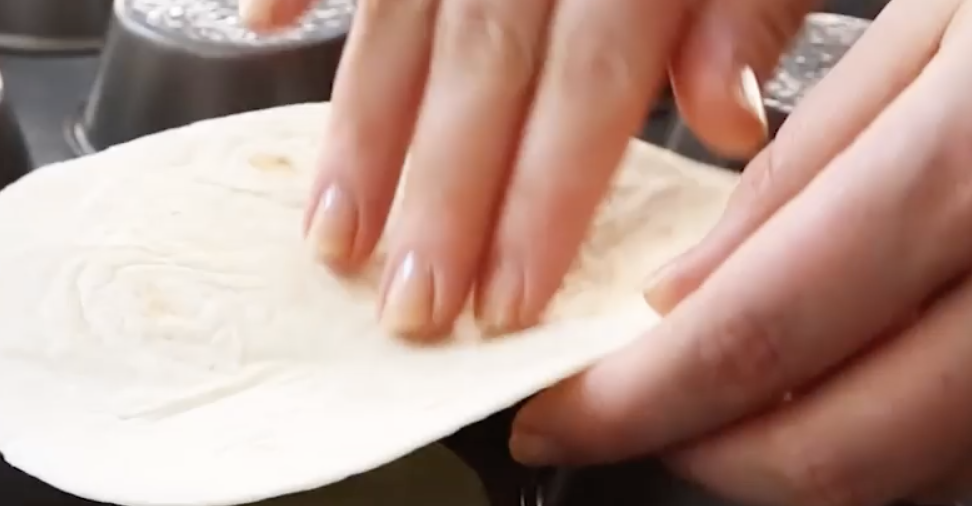
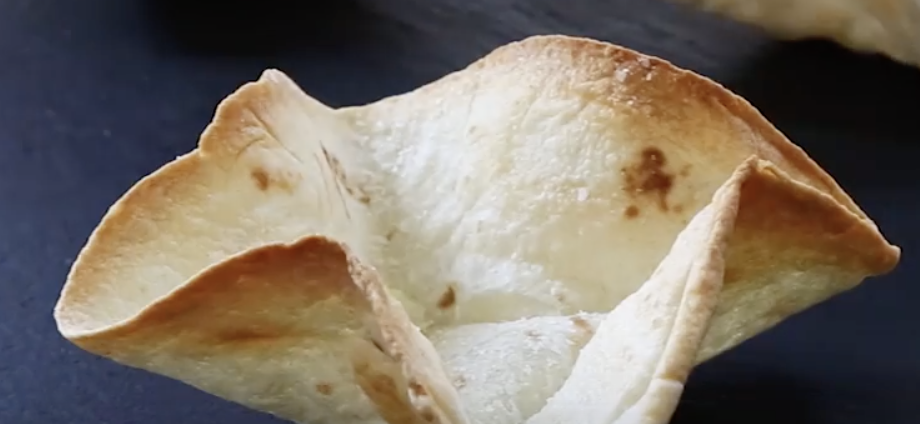
The second recipe is for taco bowls. First coat the underside of the muffin tin with cooking spray and then insert soft tortillas snugly in-between the muffin slots so that they form a nice bowl shape.
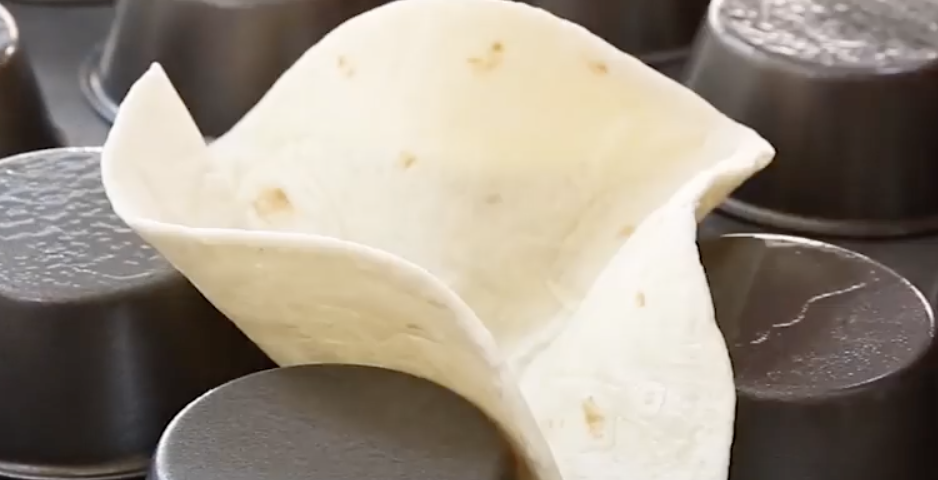
Bake these at 350 degrees for 10 minutes and then fill them up with your favorite taco fixings like meat, cheese, lettuce, tomato, salsa, guacamole, or whatever else you prefer.

The whole idea is a great way to maximize your muffin tin beyond using it to make the standard batch of cupcakes or muffins. Try it out and pass it on!
Please Share These Recipes With Family and Friends 🙂


