
How To Quickly Clean Your Oven Naturally With Only 2 Ingredients!
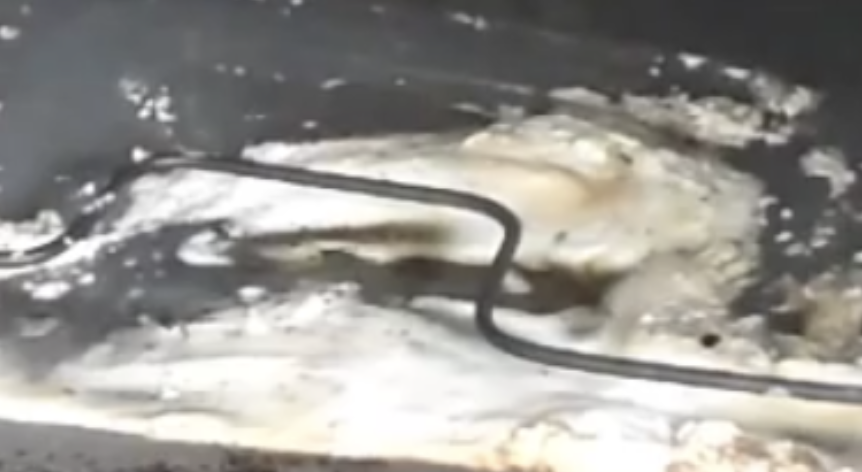
image via – youtube.com
Many of us love to cook, but the clean up is a whole other beast. Nothing is worse than the oven or the broiler pans. If you have a self-cleaning oven, you may or may not get the results you want. I hate the smell from the self-cleaning mechanism, as much as I hate the fumes from oven cleaning products. I feel like I am damaging my lungs!
Ovens and broiler pans get gross pretty quickly. Food and grime gets baked in to all the crevices making it a cumbersome clean-up. When I came upon this natural and simple way to do the clean-up I wanted to share it with as many people as possible. It never fails to amaze me, how certain common substances do so many things so well!
Baking soda comes to the rescue again. Watch the video below to see how combining it with water to create a paste, that you can leave on from 30 minutes or longer. Watch how she optimizes the combination, and just lets it sit. If the grime is really bad you can let this natural paste sit overnight.
Watch how easily the grease and grime gets removed with a minimal amount of elbow grease. This solution is such a great find, that does the job without having to work hard or inhale dangerous chemicals!
Please SHARE this really useful DIY with your friends and family on Facebook! 🙂
Why Pay The Exterminator a Fortune When You Can Solve Your Ant Issue With THIS 2 Dollar Hack
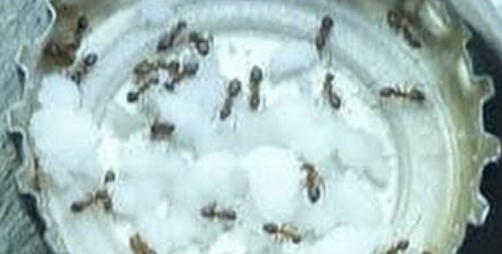
It’s getting warmer which is great, but it means those pesky ants are around in droves, getting into your home and your food. They love getting into houses because of the food, and the ability to get safe crawl spaces to hide their colonies. I cringe when I see them all over my house and have used store-bought ant traps in the past instead of going to the expense and chemical exposure of calling an exterminator!
The problem is, now that I have a dog those ant traps contain chemicals as well, which can be quite harmful. The video you are about to watch below, offers a great remedy that should be sprayed outside only, and if you have an animal he shows you how to keep them from getting into this recipe.
Using common household natural ingredients, WATER, SUGAR and/or HONEY and BORAX, the tutorial shows you how to mix and apply. The ants love this, and your problem will be solved within 24-48 hours. If you don’t have a pet and already have a multitude of ants inside, you can soak cotton balls in this mixture and lay them around the areas of entry at nighttime. It is an amazing remedy for what can be a summertime nightmare!
Please SHARE this ANT PROBLEM SOLVING REMEDY, with your family and friends
If You Get Droopy Eyelids THIS Is The Most Natural and Effective Way To Treat It. I Had No Idea

image via – youtube.com
People who have eyelids that tend to droop and sag know how frustrating they can be. The loose skin makes applying eye makeup a lot trickier and it also causes them to appear older, more tired and worn out. For most people the condition is typically a natural result of aging, but in some cases it’s caused by nerve damage, disease, or an injury.
Other than plastic surgery, there isn’t much one can do about sagging eyelids that’s effective and affordable, but don’t give up hope just yet! Many people have found an easy and inexpensive home remedy that works for them and involves just a single egg.
While eggs are popularly known for being incredible and edible, they also go well beyond the realm of omelets and the breakfast table. For thousands of years the little shelled ovals have be used in a variety of homemade, do-it-yourself beauty treatments. People mix them up into all sorts of masks and facial treatments that are targeted for hydrating skin and hair, preventing acne, diminishing blemishes and scars, eliminating blackheads, and now tightening up the skin around their eyes. Here’s what to do:
- Clean your face of all makeup and pat it dry.
- Crack open one egg and remove the yolk.
- To easily separate an egg crack it onto a plate. Take an empty water bottle, remove the cap, squeeze a bit of air out, and then use it to suck up yolk.
- Using a cotton swab, apply the egg white to your eyelids. Don’t skimp on the coverage or amount, you want to use a lot, but not so much that it drips. *Be careful and make sure you don’t get any in your eyes*
- Keep your eyes closed and wait for the egg whites to completely dry.
- Wash your face and pat dry.
Results will be seen immediately and typically last for a couple of days. You can do this application once a week or every day if you wish since it’s completely safe and all-natural. The accompanying video goes over some helpful exercises you can do to further tighten saggy eyelids and reduce wrinkles.
What are you waiting for? Grab an egg and try it out for yourself!
Please Share This Tip With Family and Friends 🙂
Apparently You Should Never Use A Q-Tip To Clean Your Ear Holes. Use THIS Instead!
image via – shutterstock.com
People tend to view earwax in a negative light and see it as a sign of uncleanliness because it looks gross. It’s natural to automatically assume that earwax is nasty, after all it’s a bodily fluid that comes out of ears, there’s nothing appealing about it whatsoever.
That’s why people stick all sorts of cleaning solutions, Q-tips, candles, even automatic ear cleaner gadgets into their ears in vain attempts to remove the offensive substance. If you’re guilty of doing any of the aforementioned things you should re-think your ear-care routine because they can easily injure or damage sensitive inner ears.
When anything is stuck into an ear it simply makes them dirtier and increases the odds of developing an ear infection or worse. The most common way people try to clean their ears is with Q-tips but this is wrong, ineffective, and pushes wax further into the ear canal, thereby increasing the potential for build up and blockage. Whatever you do, don’t use Q-tips!
First and foremost, the bad reputation earwax has developed is without merit and based on false information. The yellowish waxy substance is produced naturally by our body and is beneficial to our health in several ways.
It helps protect inner ears from all sorts of nasty stuff like infections, dust, dirt, bacteria and other germs that would otherwise enter them. Furthermore, the wax forms a protective barrier on the surface of the delicate skin in ear canals which prevents it from becoming irritated when water gets inside.
It also moisturizes and keeps that skin from becoming dry, flaky, and itchy. Earwax is produced by tiny hair follicles that line the ear canal. It normally makes its way out of ear openings naturally on its own, but sometimes wax can build up and cause blockage problems.
If you feel that there is a blockage due to wax build up in your ear you can try one of the natural remedies below or see a doctor if the issue is more serious. Please see the video for more information on the topic and keep reading for at home remedies you can try to safely remove earwax.
1) Saline Solution- Dissolve 1 tsp of salt in ½ cup of water. Soak a cotton ball in the solution, tilt your head to the side, and allow a couple of drops to fall into your ear. Let the saline work to soften the wax and keep your head to the side for a few minutes before tilting it in the other direction to drain it.
2) Olive Oil- Carefully drip 2-3 drops of olive oil into your ear before going to bed at night and try to sleep on the opposite side. Repeat this process for 3-4 consecutive nights. It helps to softens earwax so that it naturally works its way out of the ear canal on its own.
3) Paraffin Oil- Over a candle flame heat 2-3 tablespoons of paraffin oil so that it’s warm but not hot. Lie still on your side and place a few drops in your ear, wait several minutes, then rinse with warm water. Repeat this for 3 days to help completely dissolve buildups.
4) Vinegar and Alcohol Solution- Mix equal parts white vinegar and rubbing alcohol, dip a cotton ball in the solution and place several drops in your ear. Wait a few minutes then drain.
5) Hydrogen Peroxide- Mix equal parts water with 3% hydrogen peroxide and drip a few drops in your ear before gently shake your head to work it through the canal. Leave in for a few minutes then tilt your head to the side and drain it out.
Let your friends and family know!
Please Share This Story With Family and Friends
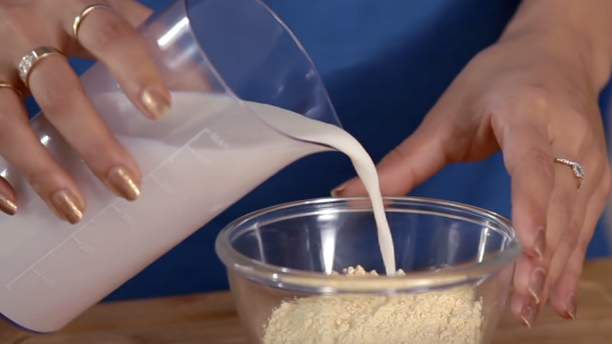
This Simple Effective And All Natural Recipe Will Permanently Remove Unwanted Hair On Your Face!
There is not a woman alive who has not had to deal with unwanted facial hair. At different points in the developmental cycle, and post-menopausally, most women find this hair distressing, and want to get rid of it. Depending on your hair color, some women have more facial hair than others.
Most women have it above the lip, peach fuzz on the sides of the face, and dark hairs under the chin. Some women wax, for temporary removal, which can be irritating. Chemicals in the wax can have long term bad effects on the skin.
I have stopped waxing for this reason, and have just been plucking, which doesn’t really take care of the whole problem. I was really happy to come across this natural, at home remedy for unwanted facial hair. YouTube User Homeveda offers a solution that has been used by middle-eastern women for centuries.
Not only do these two different remedies do the trick, but they utilize ingredients that have nutrients and vitamins that are actually good for the skin! Harsh chemicals be gone!
No one wants to absorb chemicals into their bloodstream, when they can mix: chickpea flour, milk, turmeric powder and fresh cream for Remedy # 1; Remedy # 2 requires mixing: peeled and crushed potatoes from which you extract the juice, crushed yellow lentils, lemon juice and honey.
The exact amounts and how to apply each remedy to the face, is beautifully illustrated in the video below, for maximum benefit. I am definitely going to try both of these to see which works better. I love the idea of using natural ingredients on my face that have been time-tested.
The good news is that after a month the hair will be gone completely!
Please Share This Recipe With Your Family and Friends
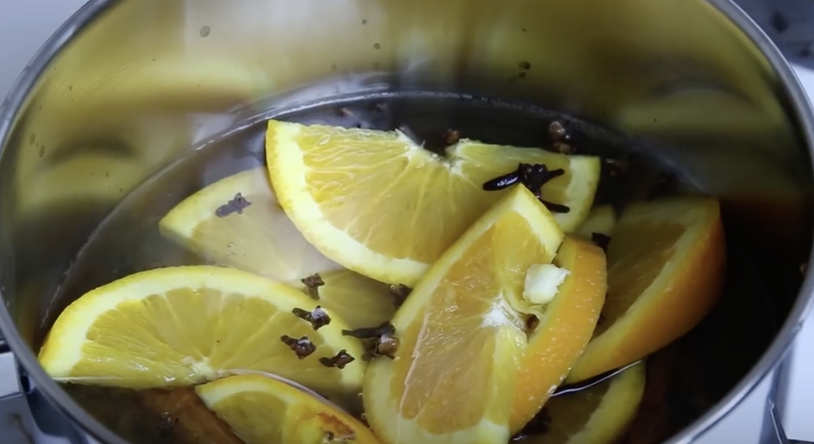
She Boils Oranges In A Pot. The Reason Is Surprisingly Brilliant!
I don’t know about you, but chemically scented household products make me gag, and I now know why. It was revealed in a 2007 study, that at least a dozen brand-name air fresheners contain Phthalates. These endocrine disruptors are capable of causing birth defects, hormonal abnormalities and problems with reproduction!
This information is enough for me to never use anything artificially scented again. The video you are about to watch offers an easy-to-do natural alternative to freshening the smell of your home. The basis of all of these natural scents is using real citrus in the blend.
The first DIY natural home scent combines: oranges, cloves, cinnamon and water. Secondly you can try a mixture of: lemon, vanilla, rosemary and water. Last but not least try: lime, thyme, mint, vanilla and water. Watch the video to watch how this is done.
Once your scent is ready, you boil it and then let it simmer to make your house smell deliciously fresh and inviting!
Please Share This Awesome Idea With Family and Friends


