
Apparently THIS Stops Lint From Sticking To Everything In Your Laundry. I Had No Idea.
Let’s be honest, one of the least exciting chores that must be done around the house is laundry. The inevitable build up of dirty clothes is an annoying, never-ending cycle, but also a very necessary part of life. The worst part about it is figuring out how to properly launder and clean all the different types of clothing you have. Some pieces may be badly stained or heavily soiled, then there’s towels, sheets, whites, colors, and whatever else needs special consideration!
In turn, for all of those different things there are numerous products like detergents and fabric softeners, dryer sheets, spot and stain removers, bleach, and more that are designed to clean certain things. They add up fast, but you don’t even need half of them, instead all you really need is white vinegar.
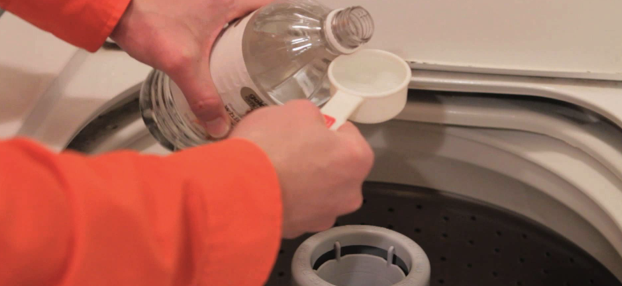
White vinegar allows you to get all of your laundry done with the least amount of guesswork and products. How so? Check out the video and read on for the long list of white vinegar laundry uses that will make your clothes cleaner, softer, better smelling, and less static-clingy!
Clean and Brighten Colors- In addition to regular detergent, place some white vinegar in your washer’s dispenser so that it gets released during the rinse cycle. For larger sized loads use ½ cup and for average-smaller sized loads about ¼ cup of white vinegar.
Sweat Stain Removal- Before washing, spray some white vinegar on the stains, and then launder as per usual.
Stubborn Stain Removal- Soak clothes overnight in a tub filled with warm water and ½ cup of vinegar then wash them as you normally would the following day.
Deodorize- Vinegar is a natural odor neutralizer and works wonders at eliminating stinky smells, from mildew to smoke and perfumes.
Remove Built-up Residues- Powdered detergents have a nasty habit of leaving behind residue but by adding a half a cup of white vinegar you can both eliminate and prevent them.
Fabric Softener- Simply pour a little bit in the compartment for the fabric softener and you’ll notice the difference.
Delicates- Fill a sink, tub, or container with warm water and then add six tablespoons of white vinegar. Hand wash delicate items and soak them for 30 minutes before rinsing and drying.
Clean the Washing Machine- Don’t place any clothes in for this, simply add in a full cup of white vinegar to the machine’s dispenser and run it on the hot cycle. When it’s all done any built up grime, waxes, or residues will be gone.
Reduce Static Cling- When you wash your clothes with vinegar it reduces the static charge and so they’ll attract less dust, animal hair, lint, and all that fuzzy type of stuff.
White vinegar can basically do everything you need in terms of doing laundry and cleaning clothes and the only other thing you might need is detergent. Using vinegar can help you save money and cut down on all the irritating, harsh, chemical-laden products you use. Try it the next time you do laundry and see how you like it!
Please Share This With Family and Friends
With 3 Simple Steps You Can Unshrink All Clothes Back To The Size They Once Were!
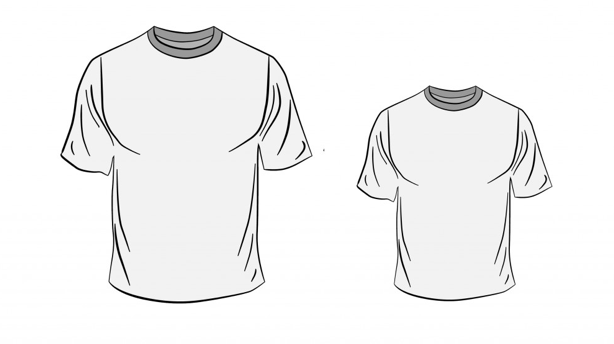
Whether you like doing laundry or not, it is a necessity of life that can’t be avoided. There is nothing worse than washing cotton clothes that haven’t been preshrunk, and forgetting about NOT putting them in the dryer. I just cringe when my favorite new tee shirt or pants get shrunk!
Until I came upon this incredible DIY, I never even thought that UNSHRINKING clothes was a possibility! When cotton clothes shrink, that is known as CONSOLIDATION SHRINKAGE. The combination of moisture, heat, and the back and forth motions of machine washing and drying causes this type of shrinkage.
Amazingly enough you are about to watch the solution for UNSHRINKING YOUR CLOTHES. All that is required is baby shampoo and water. The steps in doing this are easy to follow, and I can attest that this works, because I decided to try it myself before passing this on.
This will save you lots of money in replacing ruined clothes!
Please SHARE this with family and friends
This Is How You Can Fit All Your Clothes Into A Carry-On. I’m So Glad I Learned THIS Simple Trick
Packing for a trip is a necessary evil. No one likes to do it but it must be done. The annoying task is made all the more harder by airline’s weight and size limits, not to mention the costly fees and numerous rules about what is and is not allowed on a plane. All that aside, the number one most pain in the butt aspect of packing is simply trying to fit all the clothes and shoes you need and want to bring along with you in the suitcase.
If you toss and cram stuff in randomly you are definitely not going to fit as much as you could have by neatly folding it. However, even doing that isn’t the best route to go, instead you should strategically fold things together, into a tight and compact packet, to maximize packing efficiency.
Below is my best attempt at explaining this packing technique, however a better way to understand and master it is by watching the video yourself:
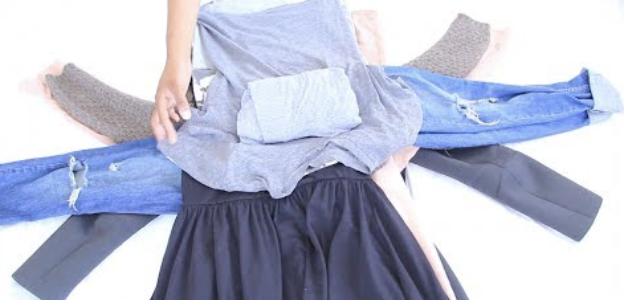
Start by laying out jackets collar down on a flat surface, then place collared shirts on top 180 degrees from the jacket, collared side up. Begin to add on other shirts or sweaters directly atop one another, with sleeves lined up. Then place pants and jeans horizontally across the pile, with the legs extending outwards and the waist in the middle of it.
The key is to keep shirts on the vertical axis and pants on the horizontal one as you add articles of clothing to the pile in layers. Take all your socks and undies and wrap them up separately in a tight t-shirt bundle, then place that strategically in the middle of the clothing pile.
With the t-shirt packet in place, start to wrap up the clothing one piece at a time. Fold the clothes up into what will become one big bundle by wrapping the arms first, then body part of tops; see the video to truly understand this part. When everything has been tightly wrapped, you will end up with a nice squarish pile of clothes that minimizes wrinkles and the amount of space it ends up taking in your suitcase.
When packing up your suitcase place 2 pairs of shoes in first, one dressy and one casual. If your bag has a zippered compartment it can make a great holder for the shoes. Next, place the clothing bundle in the suitcase and then follow that with whatever else you want to bring that can fit in or around it.
Hopefully, this method will help tame the madness that packing often turns out to be. Try it out the next time you are going on a trip and see if it works for you!
Please Share This Packing Hack With Family and Friends
Woman Starts Cutting Into Her Old Leggings. When She’s Done Its Absolutely Stunning!
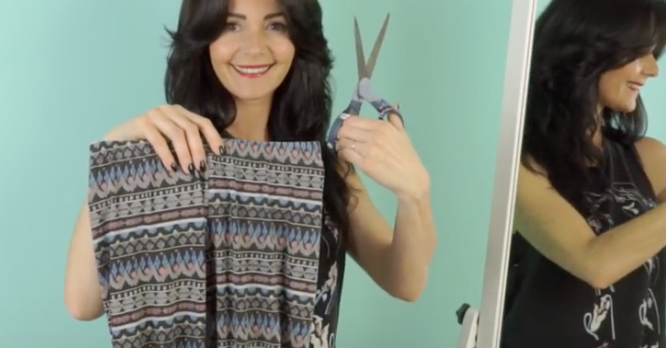
Do you have an old, tired pair of leggings taking up closet space? Instead of donating or tossing them out try getting creative and give them a style upgrade. With just a pair of scissors you can transform your leggings into a cute new crop top shirt. This DIY tutorial on the Handimania YouTube channel shows how to easily do it and it’s impossible to mess this one up. There is no sewing necessary and you can do this in under a minute so be sure to check it out and try it later. Plus, who doesn’t want a shirt that’s basically free, which looks great on, and that you can say you made!
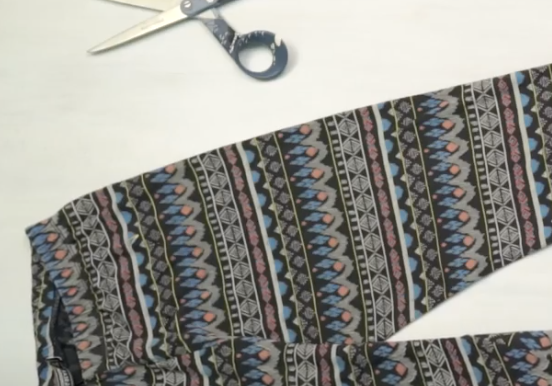
Start off by laying out the leggings on a flat surface and fold them in half the long way, so that one leg overlaps the other and rests directly atop it. Smooth the fabric as evenly as you possibly can and then grab a pair of scissors.
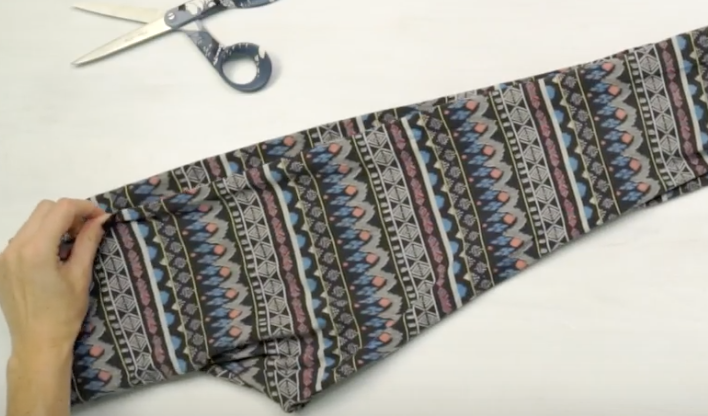
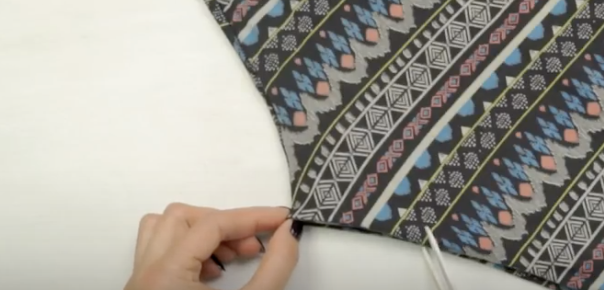
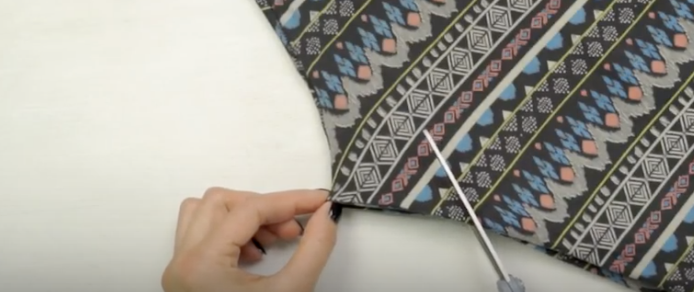
Pinch the seams at where they meet in the crotch area and pull the fabric tight with one hand. With the other hand begin to cut, starting from about an inch or so below where you are pinching. Cut out a half-circle shape, which will become the neckline for the top, and it can be further adjusted to get the desired fit you’re looking for. The legs are now sleeves and the waistline is now the bottom part of the shirt.
This fashion trick is the perfect way to up-cycle and reuse leggings that no longer fit or ones you love but wore too much. It actually looks great too and you only need to make one cut, so there is no reason why you shouldn’t try this today!
Please Share This Trick With Family and Friends 🙂
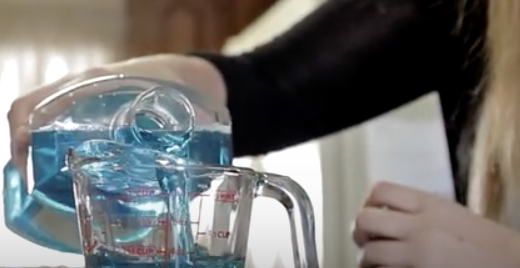
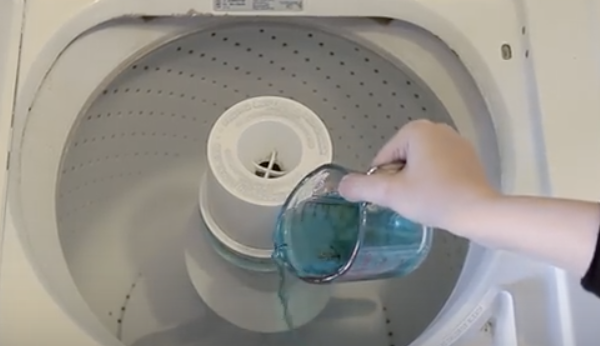
She Pours Mouthwash Into The Washing Machine. The Reason Is Genius!
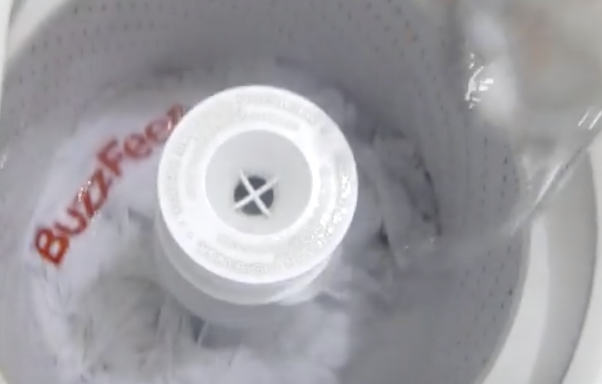
Laundry is one of those annoying chores that is always being avoided but has to be done. Although the machine does most of the cleaning, removing those tough stains, folding the clothes and putting them away all take lots of time and energy. Luckily this video was made which contains a ton of awesome laundry life hacks that will make your life a whole lot easier.
I tried a few of these tricks and they worked perfectly. Here at Sun Gazing we are always looking for simple life hacks that will make your life easier. This video produced by Buzzfeed was just to good not to share. First, they go over how to keep your jeans looking fresh and new.
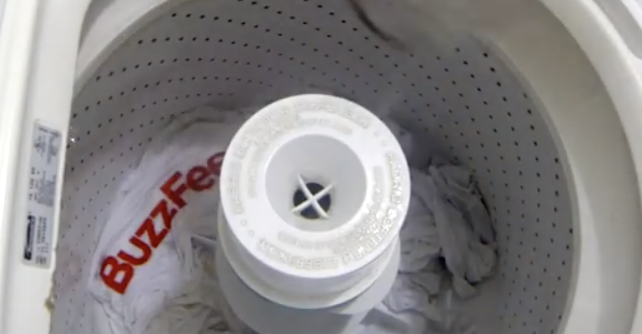
Next, they cover how to stop your clothes from shrinking. Then, if you don’t have an iron, they have an easy trick that will get rid of those annoying wrinkles. Keeping your shirts looking vibrant is covered next. Finally, if your washing machine is dirty, they have the best hack to disinfect and keep it so fresh and so clean!
Enjoy and let us know if these laundry hacks worked for you. Also if you have any other laundry hacks share them in the comments below.
Please SHARE With Family and Friends
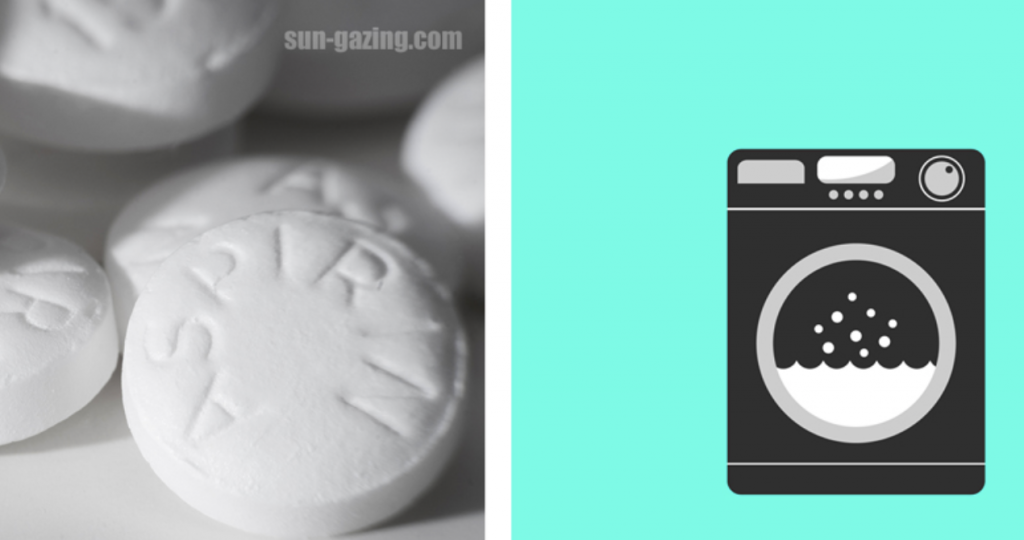
He Puts a Bunch of Aspirin In The Washing Machine With His Laundry. The Reason Is Brilliant.
Keeping white shirts crisp, clean, and white is a never ending battle. Everything from coffee and juice to grease, oil, and ink will leave a stain if it gets on your clothes. However, even if you avoid spilling all of these things on your white shirts, you still have to deal with ugly, yellow armpit stains.
Nothing else ruins a nice white shirt like how sweat stains do. They just look gross and unsightly, and they make you appear dirty, sloppy, even unhygienic. Pit stains are notoriously hard to remove and no amount of soaking in cold water or bleach will get them out. Bleach can actually make them worse!
Part of the reason why armpit stains are so stubborn is because they’re not actually caused by sweat alone. Instead, the stains result from aluminum, which is found in the deodorant or antiperspirant you use, reacting with your sweat and shirt. Both cotton shirts and sweat are proteins and when aluminum reacts to them it causes the nasty yellowing to occur. This reaction also bonds the sweat and deodorant to your shirt and makes the stains water-resistant (aluminum is what gives an antiperspirant its sweat blocking ability). That’s why armpit stains are so tough to remove, they’re essentially chemically set-in and repel water!
Rather than let a little problem like yellow armpits ruin your favorite clothes, try this wardrobe-saving laundry trick and get the most mileage and wear out of your whites. Take five 325mg aspirin tablets and crush them up. Fill a two gallon bucket or tub with hot water and dissolve the crushed aspirin in it. Place any white, sweat stained clothes in the solution and allow them to soak for a minimum of eight hours. Wash them in the machine as per usual and when they come out the stains will be gone.
If your don’t have a lot of time to soak clothes for hours you can place five aspirin tablets in the washing machine with a load of laundry. This won’t get stains out as well as soaking them will do, but they will be noticeably faded. To increase the sweat stain fighting power of aspirin even more, pre-treat stains by combining 5 crushed tablets with a ¼ cup of warm water. Smear the resulting paste on the stains and allow it to sit for several minutes before rinsing and washing the clothing as you regularly would.
Finally, if you need to spot treat smaller sweat stains or a single item, this small batch aspirin soak will do the job. It’s great for shirt collars and kids shirts. Crush up two 325mg aspirin tablets and dissolve them in a glass filled with hot water. Place the sweat stained portion of the shirt in the mixture and let it soak for 8 hours. Wash, rinse, and you’re done!
What makes aspirin so useful and effective at removing sweat stains is the main active ingredient it contains, salicylic acid. When tablets are dissolved this acid gets released and works by breaking up the proteins in sweat stains. It’s also gentle on clothing and won’t harm or damage garments by ruining the fabric. Try this laundry trick tonight or file it away because it will definitely come in handy down the line!
Please SHARE This With Family and Friends


