
This Guy Pours 7-Up Into a Vase. The Reason Is Brilliant!
Soda is not only a popular beverage, it also happens to be quite versatile. There are a number of helpful things that can be done involving the carbonated drink. This awesome YouTube video from the HouseholdHacker channel illustrates seven different ways in which you can use it around the house.
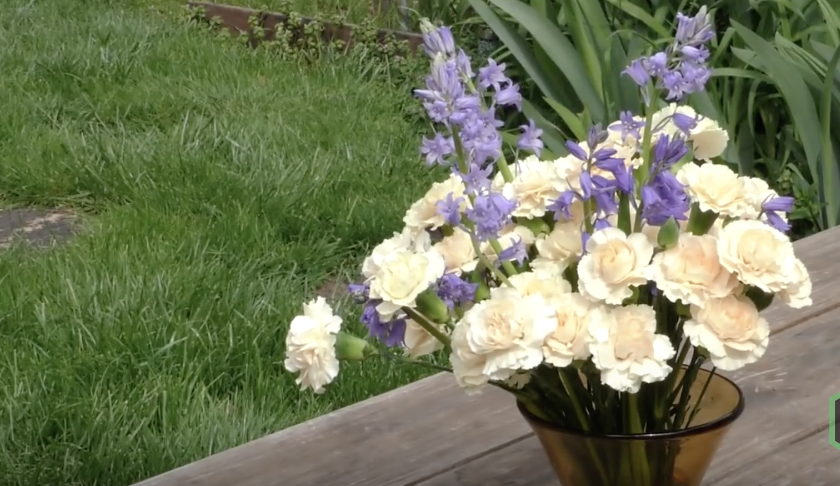
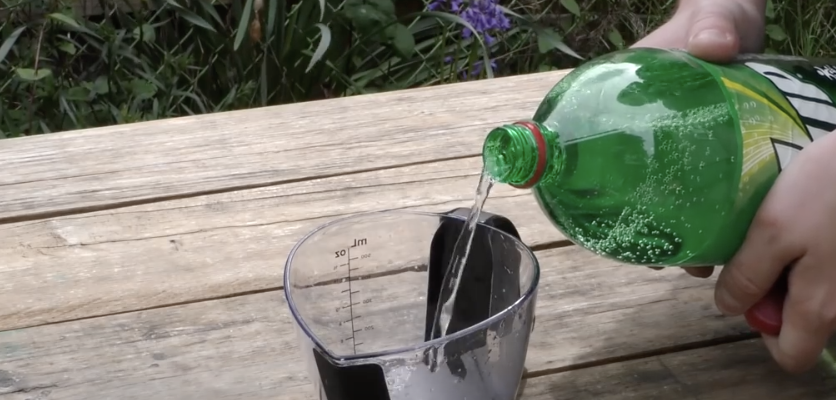
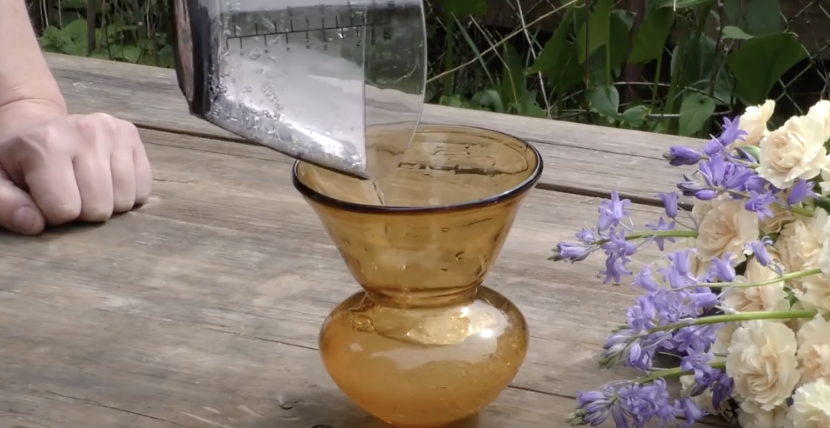
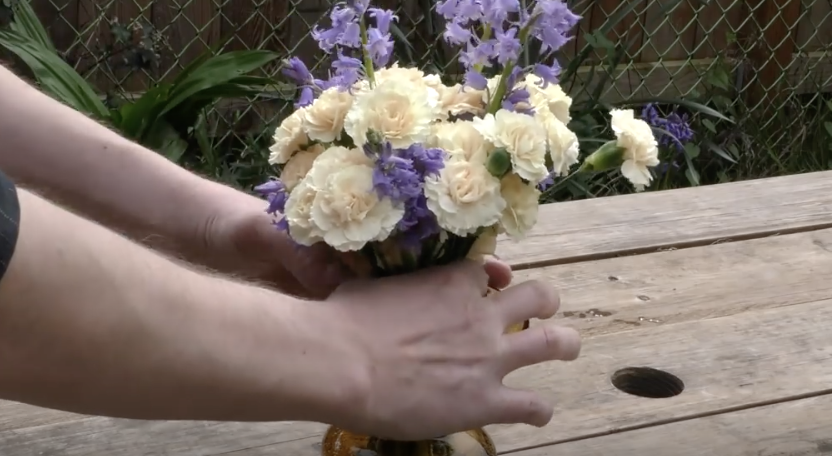
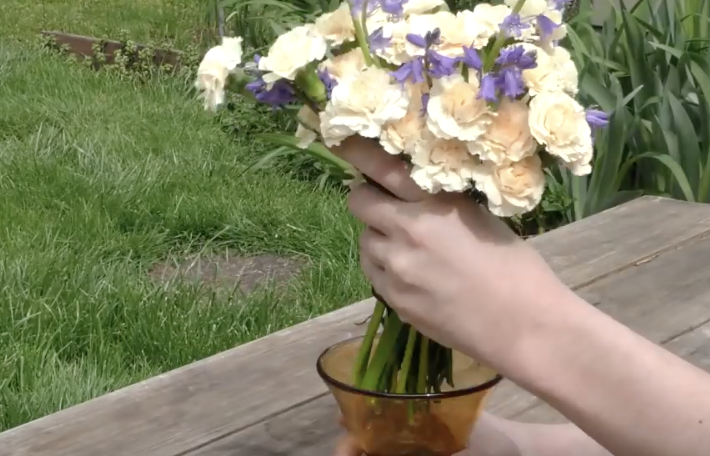
If you ever step in gum and track it all over, don’t sweat it. Simply pour soda on and let it soak into the nasty gum for several minutes. It will be easier to scrape off and this also works to safely remove gum from hair or clothing as well. If you want to keep flowers fresh and vibrant for longer place them in a vase with equal parts water and soda.
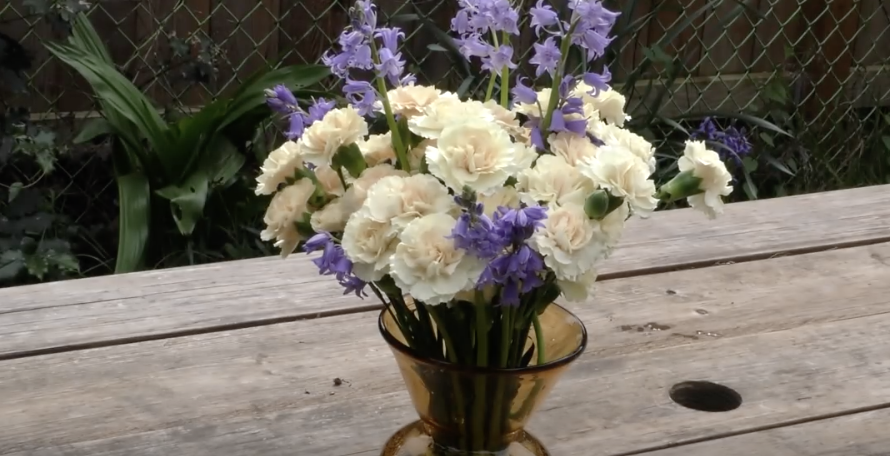
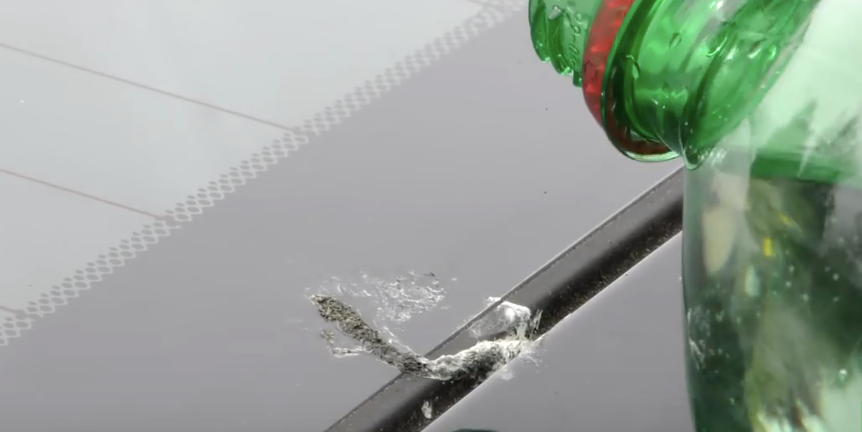
The plants love the sugar they draw out of the mixture and this works best with clear soda. Next, you can clean gunk off your car without using harsh chemicals or risk ruining the paint job. Pour the pop on the stubborn area, let it sit for a few minutes, then wipe it off with a paper towel. Also, pour water on the spot to get rid of any leftover stickiness.
If your having trouble with bees or wasps take an empty plastic soda bottle and carefully cut off the top half with a knife or razor. Fill the bottom/base portion with soda then flip the top half upside down and place on top. The pests will be drawn to the sugary liquid, crawl down the hole, and get trapped. Next, recycle soda that has gone flat by freezing it in ice cube trays for use later in fresh drinks that need cooling. The soda ice will stop your drinks from becoming watered down and you’ll get your moneys worth out of the flat stuff.
The sixth hack makes the best out of a dark situation when you only have dinky little candles for light. Take an aluminum soda can, carefully cut several slits down the sides, pry open the slits, and press down on the top to help make it pop open. Place a candle inside, light it, and enjoy your new lantern.
Lastly, use a can of cola to clean the toilette by pouring it all around the bowl. Wait one hour for the citric acid to eat away at the nastiness then flush. That’s it! Of course, you could just do the obvious and refreshing thing with your can of cola and drink it. But if you ever find yourself in one of the above situations, try using soda to solve the problem!
Please SHARE With Family and Friends
Woman Pours Baby Oil On a Roll Of Paper Towels. The Reason Is Brilliant
Baby wipes are needed, and arguably essential, for cleaning and freshening up babies and young children. Some brands are well made yet expensive, others cheap but low quality, and almost all contain ingredients that can cause irritation in some babies with sensitive skin. It is hard to truly know what different wipes contain. Oftentimes there are additives like perfumes, chemicals, and alcohol, which have been shown to increase the risk of irritation. Mothers want the best for their children and the only way to know for sure what wipes contain is to make your own.
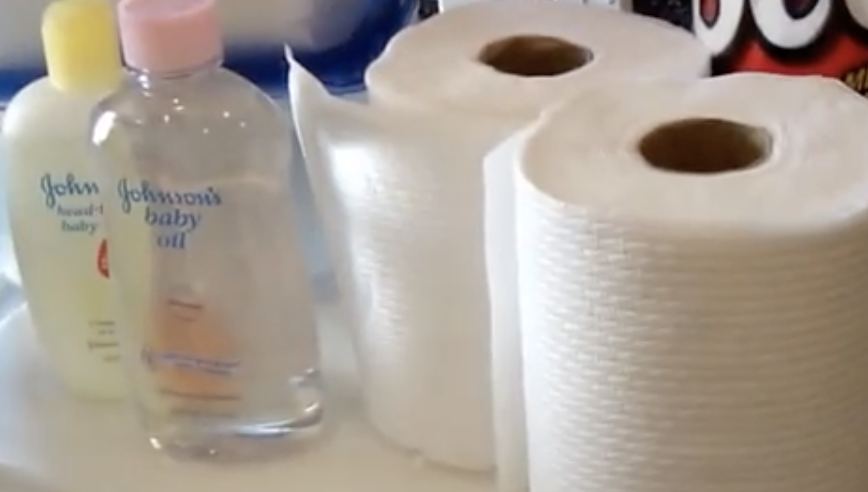
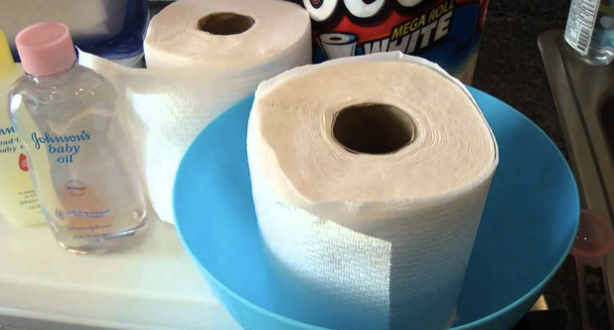
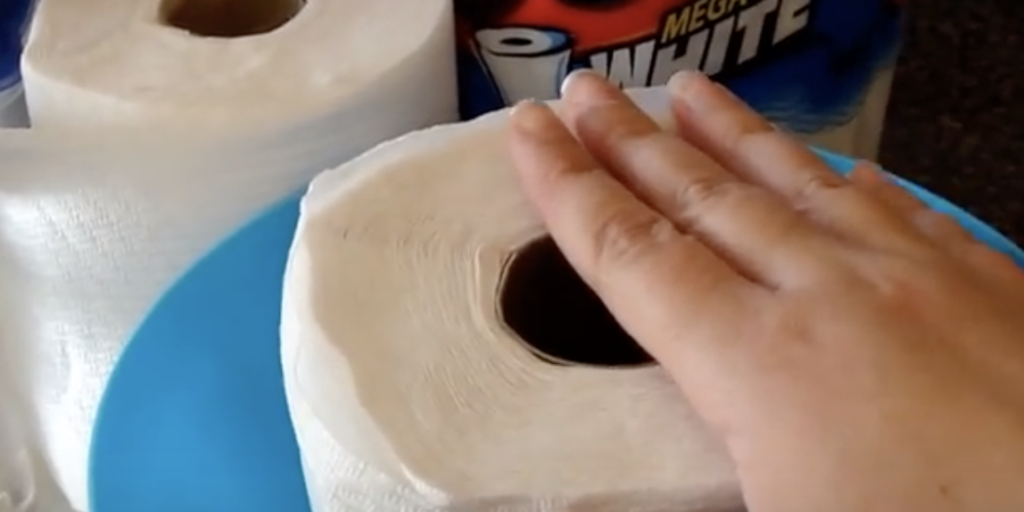
The key to DIY wipes is to start with a good quality paper towel, if cheap ones are used they will just fall apart and disintegrate. Take a roll and cut it in half with sharp knife (the sharper the better, you want as smooth an edge from the cut as possible). Now you have 2 rolls which should look like 2 rolls of toilette paper. Place one of the halves in a bowl and set it aside. Now it is time to mix up 1 and ½ cups of water with 2 tablespoons of baby wash and 1 tablespoon of baby oil.
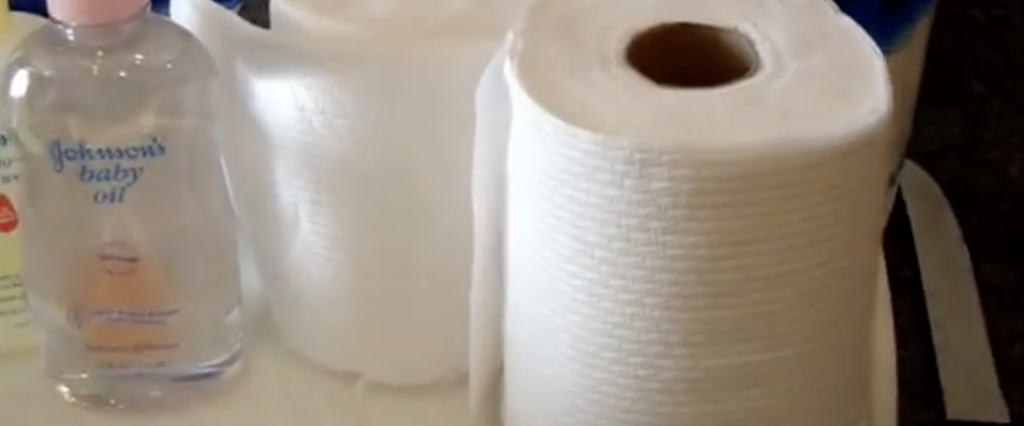
Pour the liquid over the entire roll, making sure to soak it completely, and let it sit in the bowl for about 10 minutes. Turn the roll over and pour any remaining liquid on top, if there is none left just let it soak for another 10 minutes on that side as well. When that is done you can pull out the middle cardboard part. This should be easy to pull through if your roll is wet enough.
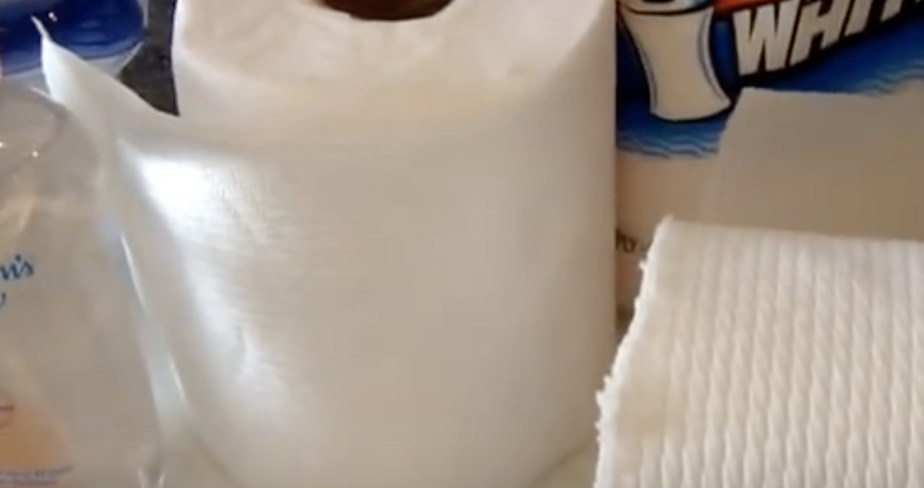
Another way to make these wipes is to cut up the paper towels into pieces. Place them in a nice water-tight container (like a plastic food storage type) and pour the mixture over it. Allow this to soak for 10 minutes before placing the lid on and turning it over to again soak for an additional 20 minutes. That’s it!
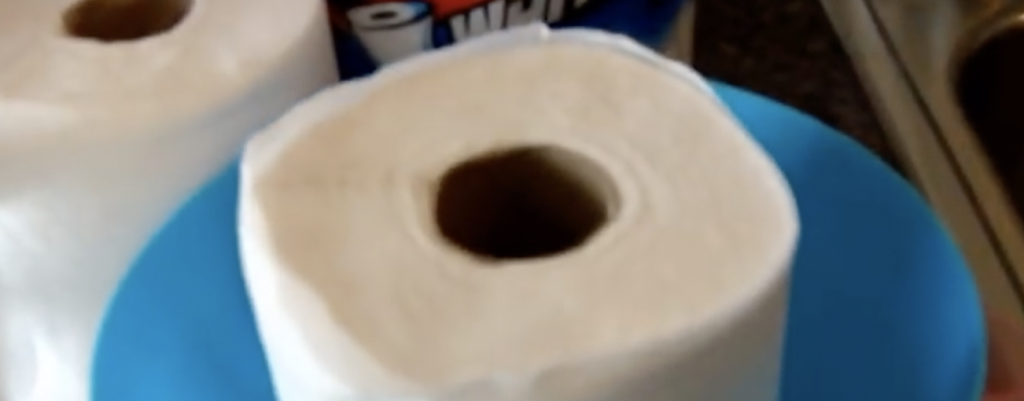
These make thoughtful and unique baby shower gifts as well. The woman in the video explains that she is going to tie a pretty ribbon around the container to dress it up a bit. She also plans to include a nice tag with directions on how to make them. The whole project is very easy, inexpensive, and will put any mom’s mind at ease knowing that the wipes don’t contain potential irritants or unknown ingredients.
Please Share This Life Hack With Family and Friends
Video: Woman Starts Spray Painting A Seashell. But When She’s Done Stunning!
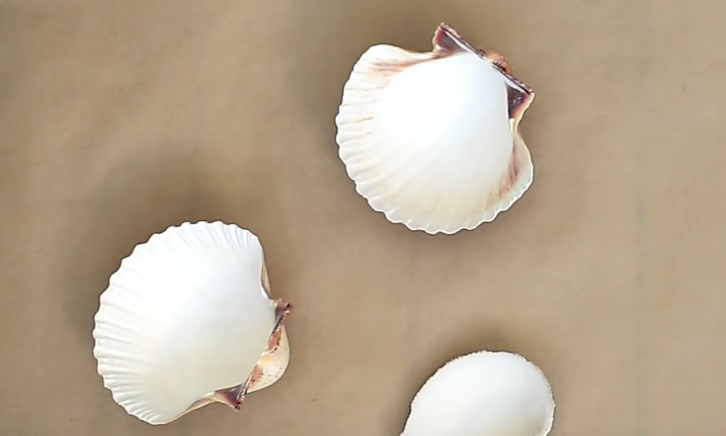
With the warm weather finally here and summer will be here before we know it!r If it feels a bit too early for all that, then try making these fun little candles. They seem like the perfect accessory to liven, and lighten, up any space. Best of all, the pretty beach-chic lights are super simple and very inexpensive to make. All you need are seashells, tea light candles, glue, and spray paint.
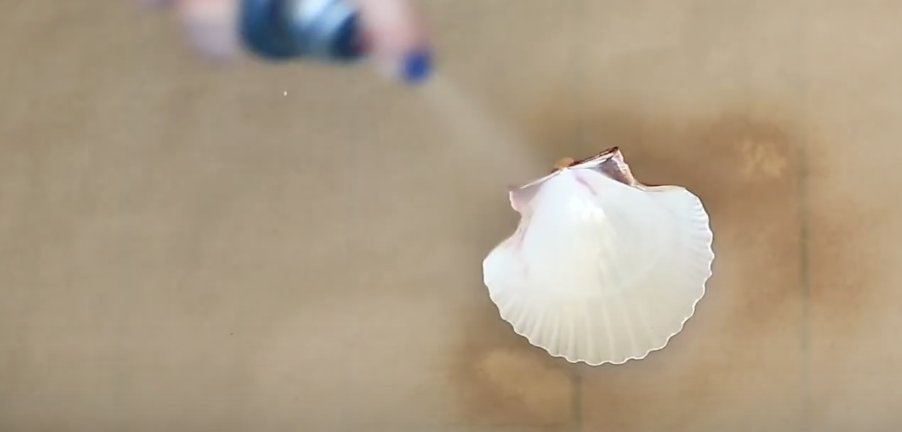
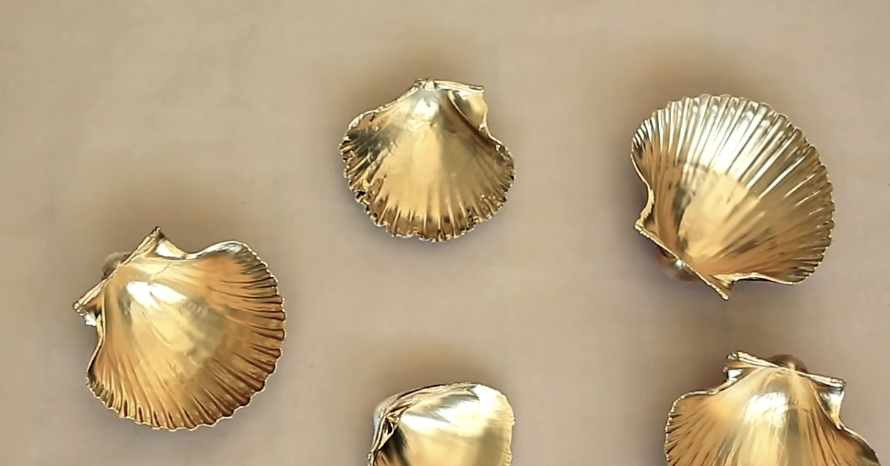
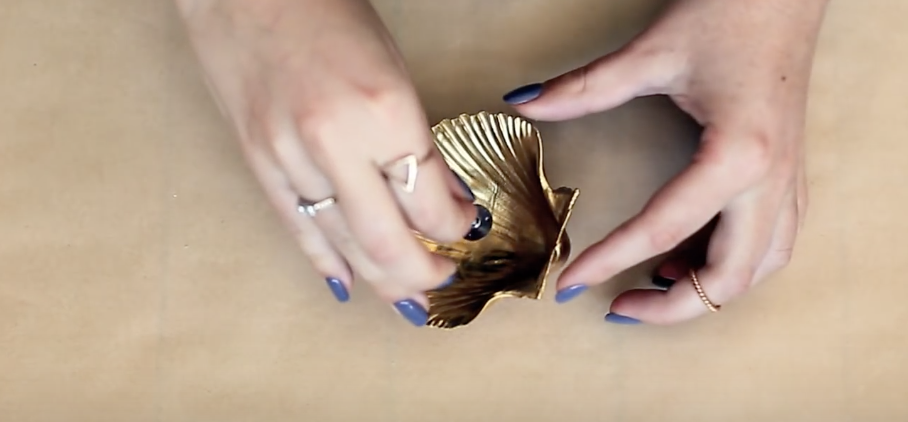
You can either use shells you may have collected at the shore and have on hand, or do what the video says and head to a craft store, like Michaels, to pick them up. Then, spray paint the shells with whatever color your heart desires or that you already have on hand. The gold ones shown came out looking very nice, and other metallic finishes like silver and bronze would likely be on par with those in the video.
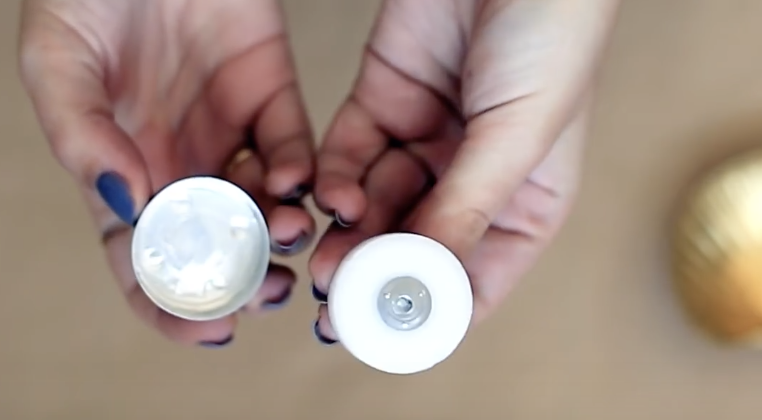
After that, remove the wicks from the tea lights and make sure to return the wax back into the metal holder. Glue the wicks to the base of the shells then set them aside to dry. Melt the wax by placing the metal tea lights/wax holders on a pan over low heat. Watch this part closely and when it’s all liquid take the wax and carefully pour it into the seashells. As they dry and solidify use a pair of pliers to grab the tops of the wicks and straighten them out.
All that is left is to allow your freshly poured candles to fully harden. Strategically place them or strew the shells wherever you please, set them alight with a flame, and enjoy!
Please Share With Family and Friends
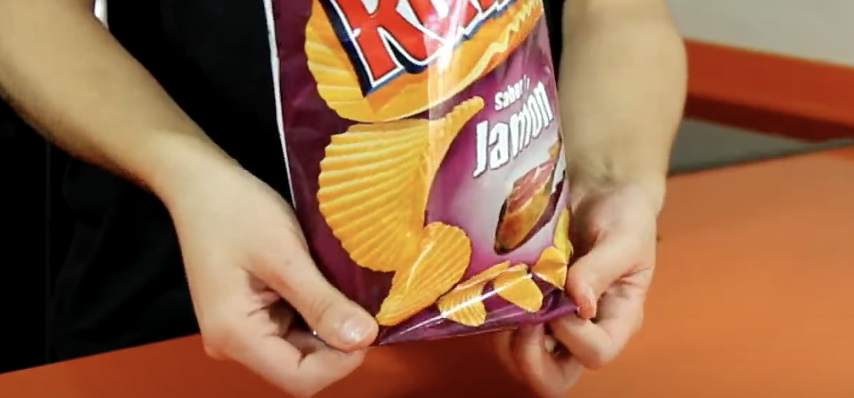
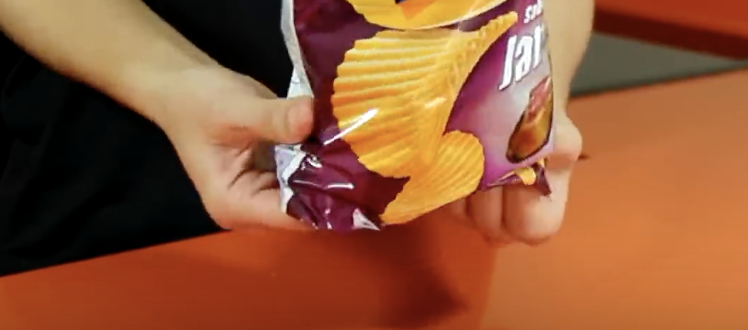
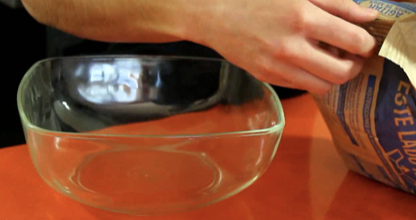
I Always Served Chips In A Bowl. But After Seeing This I’ll Never Use One Again!
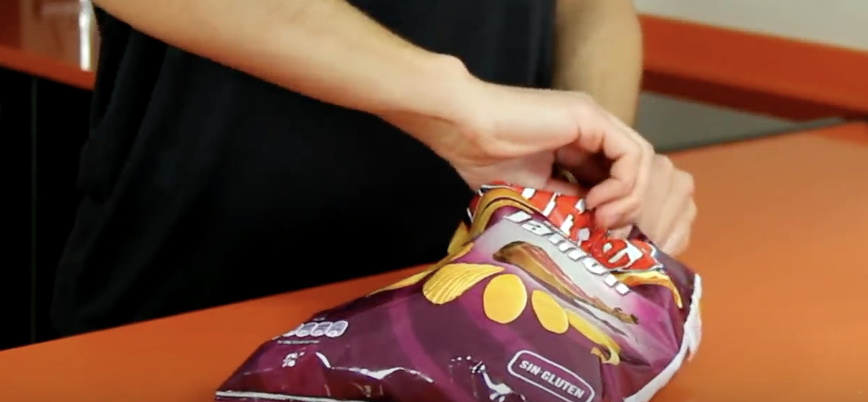
Life hacks can be found all over the internet today and always reminded me of the saying “There is more than one way to eat a Reese’s.” While there is no one way to do practically everything, there are always more efficient and easy ways to get tasks done. Without further ado, watch and learn from this expertly prepared video, ten tips to fall back on should you ever need them.
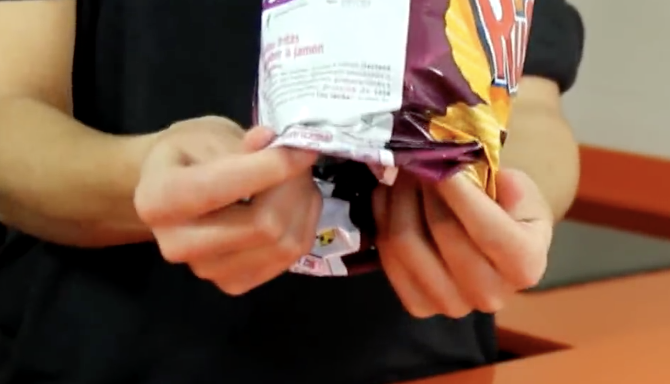
First, if you happen to be unable to get a lid off a jar just stick a knife under the lip and jimmy it around until you hear the top seal pop. Personally, the knife they show looks very sharp and I instead use a butter knife when doing this one or turn the jar upside down and smack on the bottom a few times to loosen it.
The hint on proper use of a tetra brick is just good to know in general, as I never understood why those cartons poured so lousy. I guess my squeezing and shaking were all for nothing. The garlic peeling tutorial will change my life. I love garlic but hate the stinky, time consuming, messy way it breaks apart. Putting it in a jar and shaking it vigorously will eliminate all those cons and save my hands from the scrubbing they would get afterwords.
The other hacks shown in the video are great too. Many people have different ways of doing the same thing, some methods are better than others, and now you know ten alternatives covered here.
Please Share this Video With Family and Friends To Help Spread The Word
He Pours This Liquid Onto The Table. But When The Lights Go Out It’s Stunning!
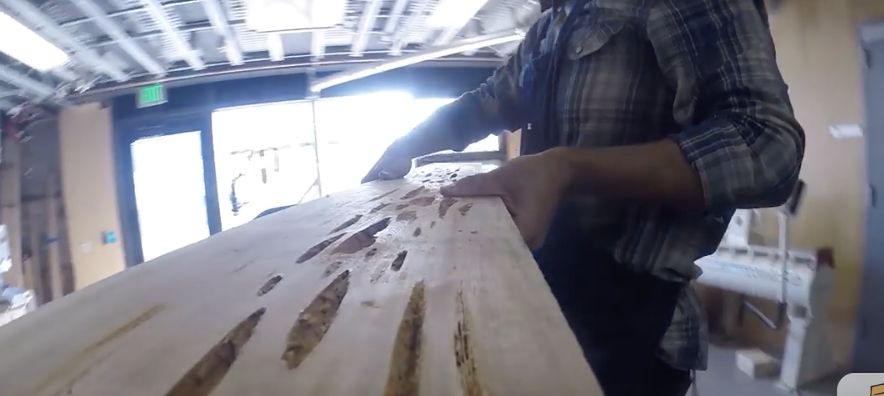
Meet Mike Warren, a clever craftsman who came up with an awesome idea. Mike has made lots of tables throughout his career and was always bothered by the cracks in the wood that are part of a wooden table. He decided to transform those cracks into something magical.
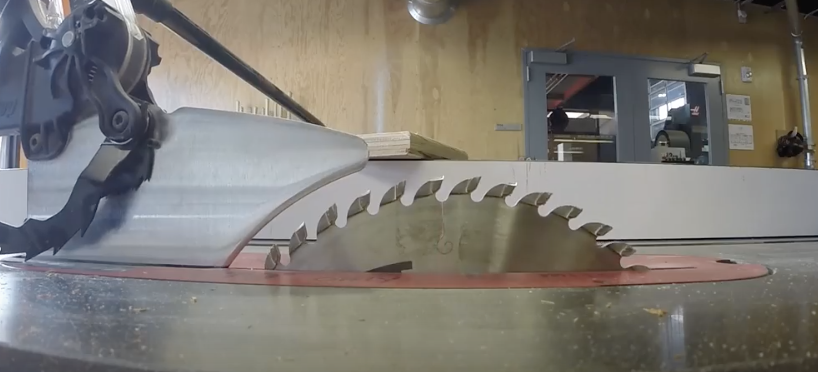
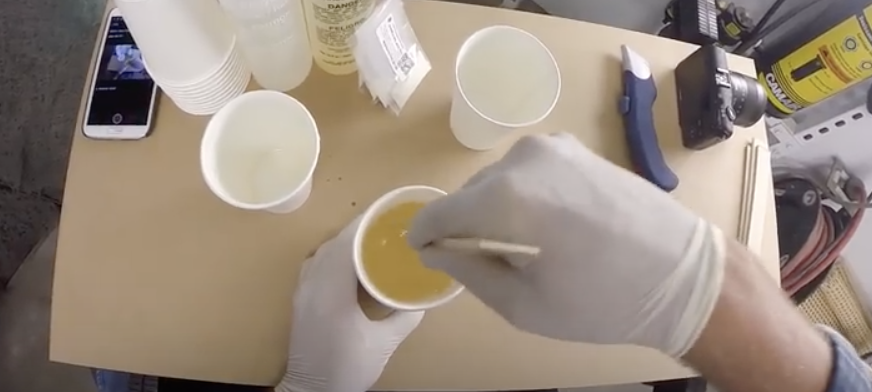
He used a Photoluminescent glow powder mixed with resin to fill those annoying voids. The result? A stunning, creative and unique table that will glow in the dark. Once the table is finished, it just needs to charge up with some sun light and then when it gets dark the table will glow with a nice blue hue.
This glow in the dark table would be perfect for those summer barbecues. It is sure to impress your guests, and enhance the ambiance of any get together. I totally want of these. If you want to try and make one yourself, check out the video below!
Please Share This With Family and Friends
This Guy Places Glow In The Dark Hot Glue Into A Mold. The Final Results Are Priceless!
Growing up as a kid I remember my sister and a bunch of my friends had those awesome glow in the dark stars attached to their ceilings. At night time, their rooms would turn into magical universes and I would get lost in my own imagination staring up at their celestial universe ceiling.
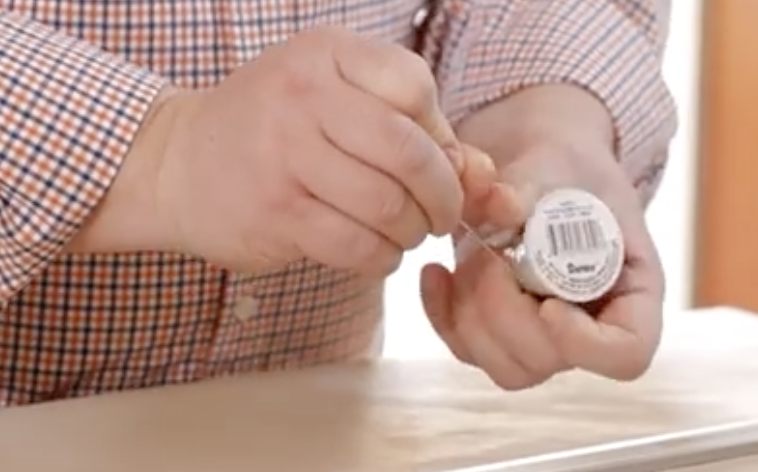
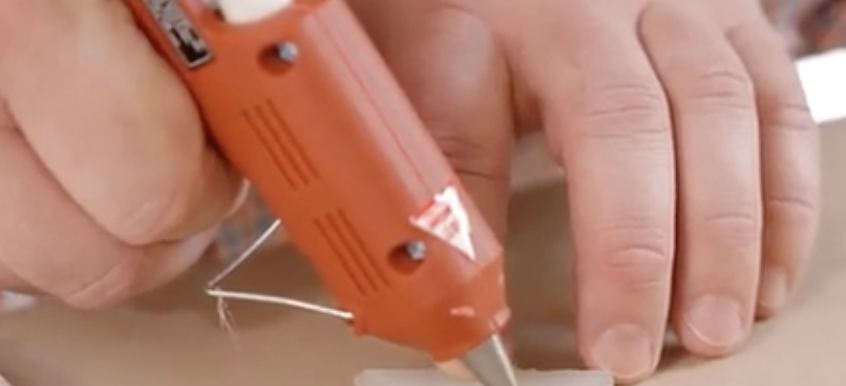
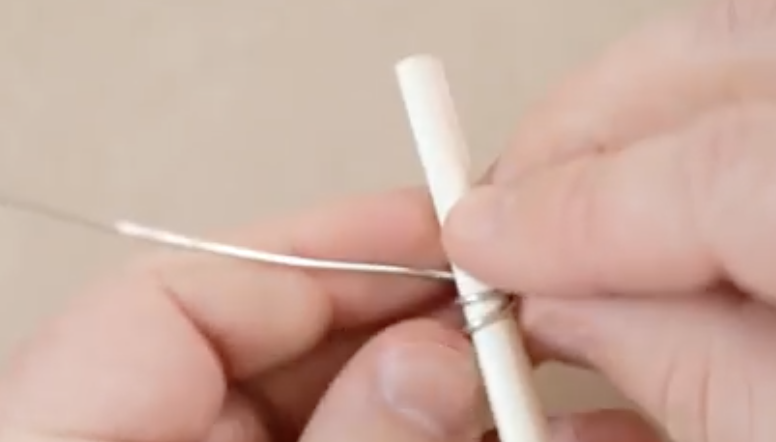
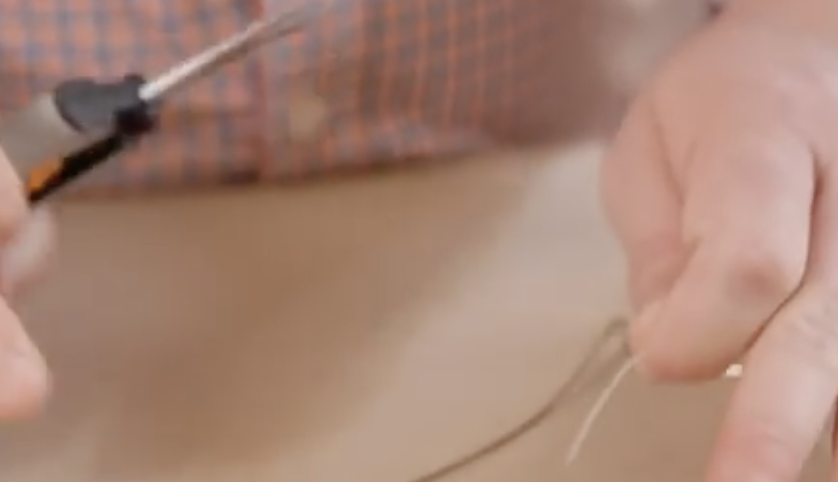
Meet Robert a crafts expert who’s creativity is constantly inspiring us. In the video below he uses hot glue which happens to be glow in the dark, a mold, thread, and some wire to create your very own constellation decor. Whether you are kid or an adult this glow in the dark constellation project is something you can do easily with amazing results.
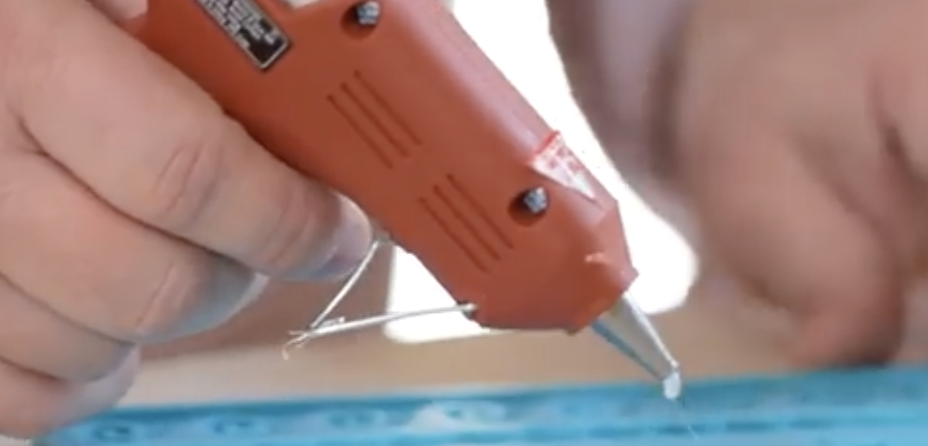
Under the guidance of Robert in the video below, you will be creating your own mini universes in no time. When you are finished you are going to want to place them in a spot that gets light during the day, so that at night they will glow for hours.
If you want, you don’t even have to use the space theme at all. You can use different molds, to create your very own unique glow in the dark projects. For instance, you could use animal molds and create a glow in the dark jungle, or you could use flower molds and make a glow in the dark garden. The possibilities are endless! I can’t wait to try this out! 🙂
Please Share This With Family and Friends


