
Have You Ever Transferred Your Old VHS Tapes Onto Your Computer? THIS Is The Easiest Way To Do It!

image via – shutterstock.com
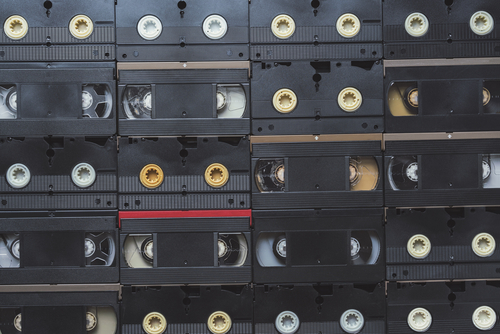
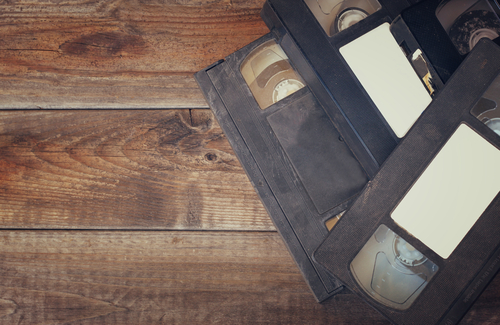
Technology is constantly being improved and advanced upon, which makes it hard to keep up with. This has inevitably led to a number of once brand new and highly innovative products being rendered obsolete. VHS players are a perfect example of this since the previously popular and must have items are now a thing of the past.
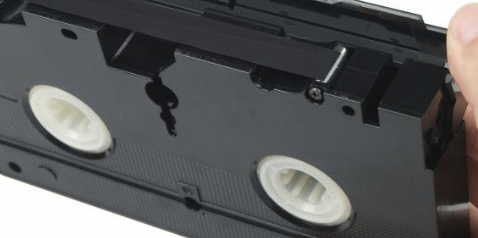
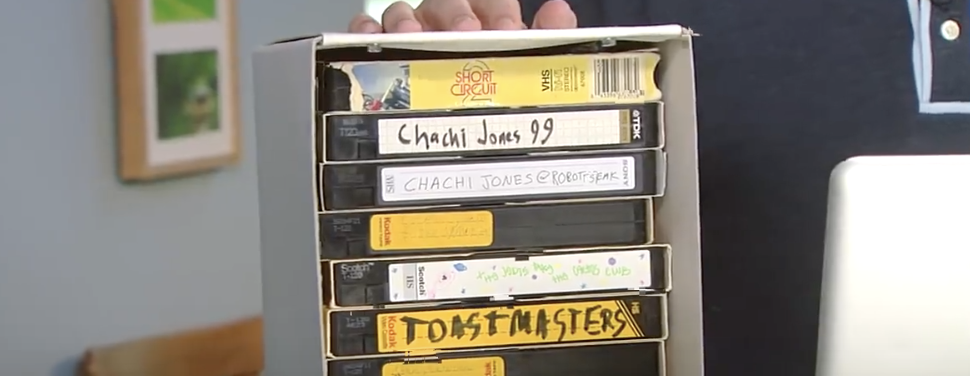
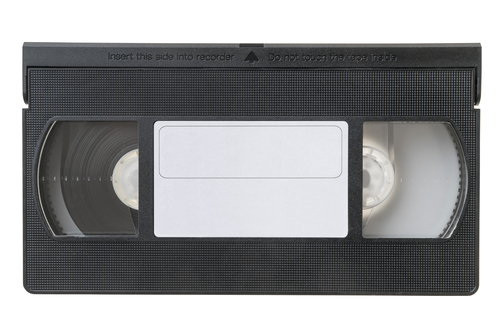
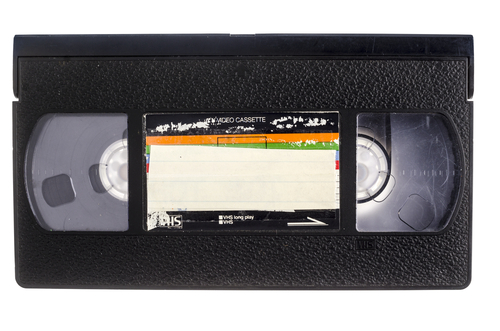
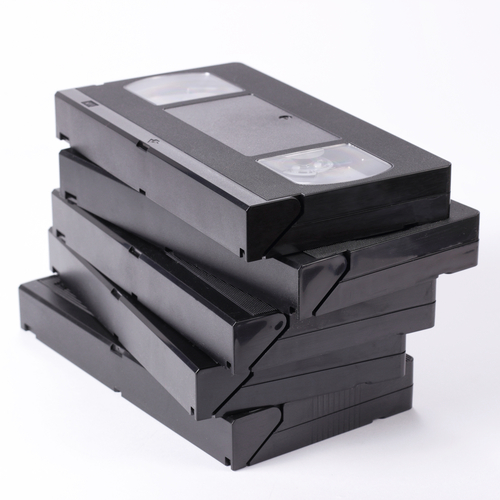
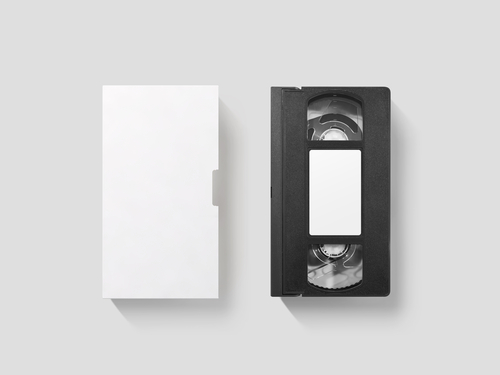
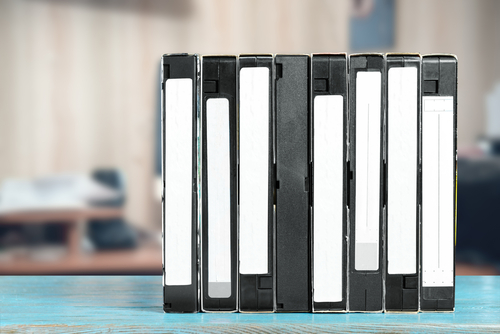
As a result, many people’s extensive collections of VHS tapes featuring home videos and recordings go unused and end up sitting in boxes taking up space around the house. Besides being bulky dust collectors, those tapes may also be deteriorating and you risk losing anything on them.
VHS tapes have a shelf life which varies by brand and how used or rough they have been handled. If you want to preserve the homemade videos and memories they contain, transferring the tapes onto a computer is the ideal way to go.
By saving them in a new, updated digital format you can easily share them with others, edit the content, and watch videos without having to break out the old VHS player. Transferring VHS tapes to a computer can be simple and easy if you know what you’re doing.
In this quick video tutorial CNET senior editor Donald Bell walks through the transfer process and if you follow what he does, you’ll be all set. First and foremost, he makes it very clear that this is only for archiving home video footage and not copyrighted TV shows or movies.
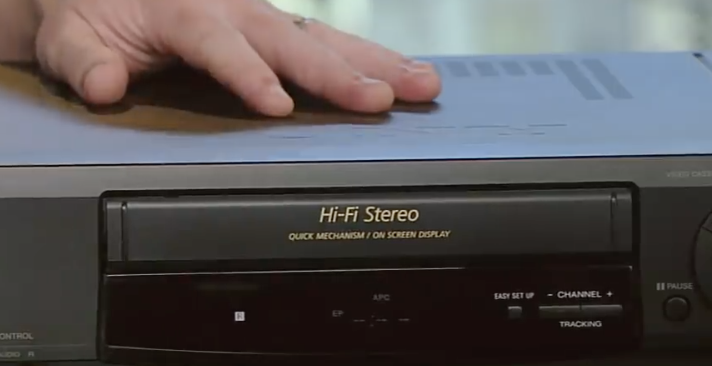
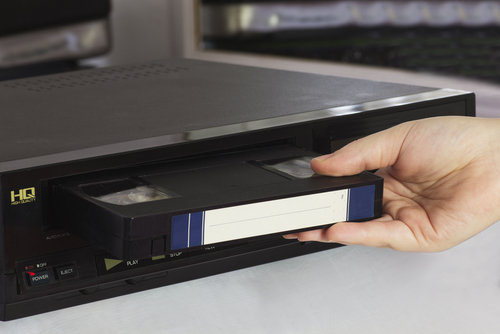
It’s illegal to duplicate and/or distribute such programs as doing so violates their copyrighted content and can get you in a lot of trouble. To do this type of transfer you need a VCR player with audio and video output, VHS tape(s), a computer with room on the hard drive, and a compatible adapter to connect the computer and VCR.
One hour of video will take up approximately 750 megabytes of storage on your computer’s hard drive, so if you prefer to save space on your computer an external hard drive is recommended. Also, the adapter must be compatible with the type of computer you’re using, PC or Mac, or it won’t work.
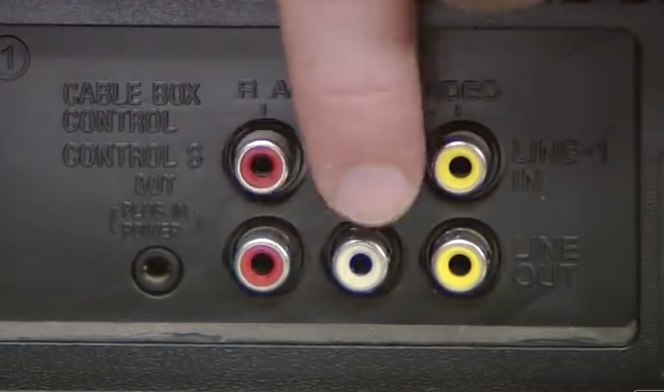
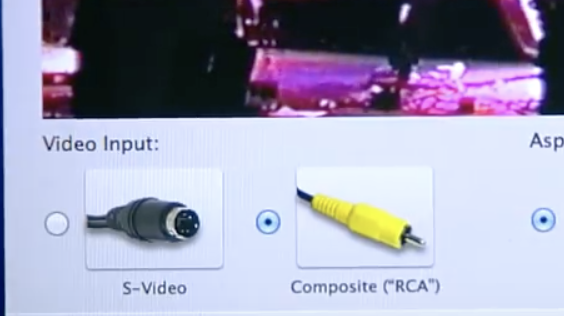
To start, first plug in the adapter’s color coded ends to their matching connections on the backside of the player. The yellow connection is for video, white is for mono audio, and white/red is for stereo audio. Install the software included with the adapter and follow the steps it takes you through until you’re able to see and hear the video, this shows that it’s properly connected.
Now you can name the file and start the transfer. Press the record button and hit play on the VCR to record in real time. Real time recording means that you have to wait for the whole thing to play through and press stop recording when you’re done.
After that you can edit out any unwanted portions from either the beginning or the end of the video. Finally, a file path to the location of the file you just created will show up, along with options to watch, upload, or further edit the video.
Now you can burn the videos onto DVDs or transfer them to other computers and send copies of them to friends and family. Best of all, you can throw out all those bulky VHS tapes or put them away in storage for good!
Pass this information along to others whose video collections could use an upgrade and help them preserve all the memories and milestones they’ve captured on VHS in digital format.
Please SHARE This With Your Family and Friends
The Easiest Way To Transfer VHS Tapes To Your Computer In Under 3 Minutes!
So many of us started video recording back in the day, of the breakthrough, into what was then a new and exciting technology. VHS tapes held our precious memories that we played on our coveted VCR players.
As we all know these are now the dinosaurs that still lurk in our closets and basements. Many of us have converted the tapes to the higher quality DVDs, but have still held on to the original VHS tapes that are collecting dust. I know I’ve held onto mine after converting them to DVDs, “just in case”. I still have a couple of VCR players sitting next to my DVD players.
When I came upon this YouTube video, I was so excited to learn how to upload the tapes I hadn’t converted, onto my computer. This other method of preserving memories and getting to share them directly with my children, friends and other relatives is a great addition to DVD conversion. By offering the capability of storing certain footage on my computer, I now have the capacity to email them memories that otherwise wouldn’t be shared.
The video below, which you are about to watch, offers a step by step simple tutorial of how to do this in less than 3 minutes. I am so happy to have found this information that required little effort, and is so cost efficient.
Please SHARE this invaluable information with your friends and family on Facebook
Have You Ever Thought About Transferring Your Old VHS Tapes To Your Computer? This Is How It’s Done.

Technology is constantly being improved and advanced, which has led to a number of once new and innovative products being rendered obsolete. VHS players are a perfect example, as the previously popular and must have items are now a thing of the past. As a result, many people’s collections of VHS tapes go unused, sit in boxes, and take up space around the house. If you want to preserve the homemade videos and memories they contain then transferring the tapes onto a computer is the ideal way to go. By saving them in a new, updated format you can easily share them with others, edit the content, and watch videos without having to break out the old VHS player.
In this quick how-to video CNET senior editor, Donald Bell, walks us through the process of transferring VHS tapes to a computer. He makes clear the point that this is for archiving home video footage only and not copyrighted TV shows or movies. It is illegal to duplicate and/or distribute those programs and doing so violates their copyrighted content and can get you in a lot of unnecessary trouble.
To do this transfer you need a VCR player with audio and video output, VHS tape(s), a computer with room on the hard drive, and a compatible adapter to connect the computer and VCR. An hour of video will take up approximately 750 megabytes of storage on your computer’s hard drive, so if you prefer to save space on your computer use an external hard drive. Also, the adapter must be compatible with the type of computer you’re using, a PC or Mac, or it just won’t work.
First, plug in the adapter’s color coded ends to their matching connections on the backside of the player. The yellow connection is for video, white is for mono audio, and white/red is for stereo audio. Install the software that’s included with the adapter and follow the steps it takes you through until you’re able to see and hear the video, which shows that you are properly connected.
At this point you may name the file and start the transfer. Press the record button and hit play on the VCR to record in real time, which means you have to wait for the whole thing to play through, and press stop recording when you’re done. Now you can edit out any unwanted portions from either the beginning or the end of the video.
Finally, it shows you a file path to the location of the file you just created, plus options to watch, upload or further edit the video. Now you can burn the videos onto DVDs or transfer them to other computers and throw out the bulky VHS tapes or put them in storage for good!
Please Share This Tip With Family and Friends
The Most Simple Way To Transfer Old VHS Tapes Onto Your Computer.
Things are changing at a rapid pace in the increasingly complex realm of technology. It wasn’t very long ago that it all seemed manageable, but a few years back that all changed as well. Now we have new models and editions of everything, from cell phones to computers to apps and beyond, that come out before we even get accustomed to the versions which are now considered old!
All of this advancement has caused a variety of products to be cast aside and left to gather dust. These include the turntables, old game consoles, and CD players of the past which used to seem so essential and cutting edge before they became all but obsolete. Perhaps the most well known casualty of the ongoing technology replacement cycle is VHS tapes and players.
In the mid 80s-early 90s they were all the rage and considered the latest and greatest must-have items. People collected thousands of movies on tape and made their own home videos, but then CD and DVD storage formatting came along and replaced VHS. A few years later, no one was using video tapes or VCRs, and as a result many people’s collections were forgotten.
If you have boxes of bulky old tapes getting zero use and taking up space in your house, then you may want to preserve the homemade videos and memories they contain. The ideal way to do this is to digitize and transfer the tapes onto a computer because you can save them in a newer, updated format that allows you to do number of things. Digital format gives you the ability to edit the content and share videos easily with other people, all without having to dig out the old VCR player!
In the accompanying video CNET senior editor Donald Bell demonstrates how to transfer old VHS tapes onto the computer. Just so it’s clear, this is exclusively for the purpose of archiving personal home video footage only. It’s illegal to duplicate anything that is protected by copyright, like films or TV shows, and they should never be digitally transferred unless you have the rights to do so.
First and foremost, you will need four items; 1) VCR player with audio/video outputs, 2) VHS tapes, 3) compatible adapter to connect the computer and VCR (differs for PCs and Macs), 4) computer with room on the hard drive. For an idea of how much hard drive space your VHS collection may require, an hour of video takes up around 750 megabytes of storage. You can always use an external hard drive if you don’t have enough space or prefer to save it for other uses.
1. Plug in the color coded ends of the adapter to the matching connections on the back of the VCR. Yellow connection = video, white = mono audio, red/white = stereo audio.
2. Install the included software that came with the adapter and follow the steps it guides you through. When you’re able to see and hear the video, it’s properly connected.
3. Name the file and start the transfer by pressing the record button and hit play on the VCR to record in real time. Real time recording means that you have to wait for the whole thing to play through and then press stop recording when you’re done.

4. At this point you can edit out any unwanted portions from the beginning or end of the video.
5. Lastly, your computer will show you the location of the file that you just created along with options to watch, upload, or edit the video further.
Now you can toss out all your bulky tapes or store them away for good. Even better, you can transfer the videos to other computers, make DVDs, and easily send copies to friends and family. Please pass this information along to others whose video collections could use a much needed upgrade and help them digitally preserve all the awesome memories and milestones they’ve captured on tape.
Please SHARE This With Family and Friends


