
She Wrapped An Egg In Silk. But When She Unwraps The Egg It’s STUNNING!
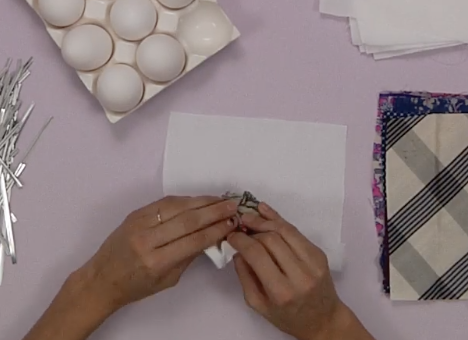
image via – youtube.com
There are many ways to dye an egg. Some people use Kool-Aid, food coloring, store bought kits, nail polish, and all sorts of other things. One lesser known method is an old fashioned way that uses dye from silk scarves to decorate hard boiled eggs. The scarves intricate patterns and colors transfer to the eggs, which turn out absolutely beautiful and truly unique, thanks to their level of detail.
All you need is eggs (uncooked), 100% silk scarves or ties, a ½ yard of white fabric, twist ties, white vinegar, and vegetable oil. You will also need scissors to cut the fabric and a pot of water to boil the eggs in, but that’s it! The whole process is neat and easily doable in under an hour.
However, do not use any of your favorite or treasured silk items because they will be altered by this; not completely ruined, but faded. Also, be sure to use only 100% silk to get the right results. Second hand or thrift stores are a great place to find them at the lowest cost.
To start, cut the silk and white fabric into 7 inch by 7 inch squares. Take an egg and wrap it very tightly in a silk square, then wrap that in a white fabric square, and secure with a twist tie. Once all the eggs are wrapped up place them in a pot and fill with water. Add 3 tablespoons of white vinegar to the water and boil for fifteen minutes.
Remove the eggs from the stove and allow them to cool off. Unwrap them from the fabrics and your done! If desired, rub the vegetable oil onto the finished eggs to give them a glossy sheen. The video says that the silks can be used 2-3 times in this fashion to dye eggs. The eggs are also edible, you start with raw ones and they becomes hard boiled by the end of the process.
The whole project is a great way to try something new, cheap, and easy with family and friends. Check it out!
Please Share With Family and Friends
Dad Boils Crayons and Runs Them Through a Pasta Strainer. But When He’s Done An Unexpected Surprise!
Just about every household in America, especially those with young kids, has a box of crayons laying around somewhere. The colorful wax sticks are a childhood staple, who doesn’t remember doodling and coloring for hours on end.
Parents also love crayons because they’re non-toxic, inexpensive, and less messy or permanent than paint or markers. They also never become unusable or dry up, which is half the reason why they usually end up somewhere in a box that gets put away and forgotten.
One man realized how crayons often sit around unused, collecting dust for years before eventually being tossed out in the trash, and decided to put them to a better use.
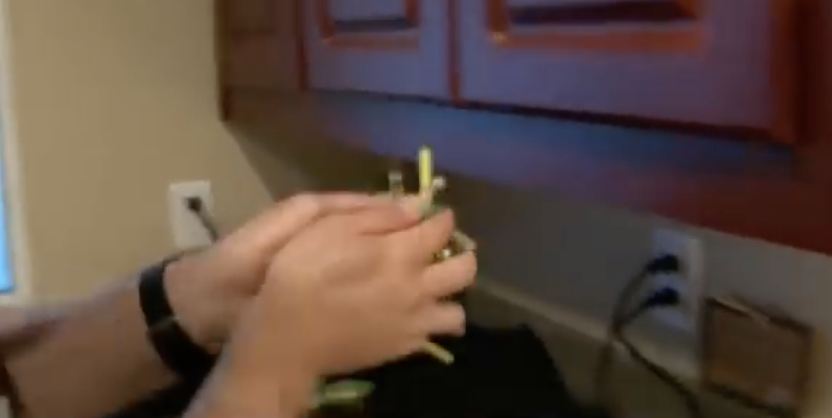
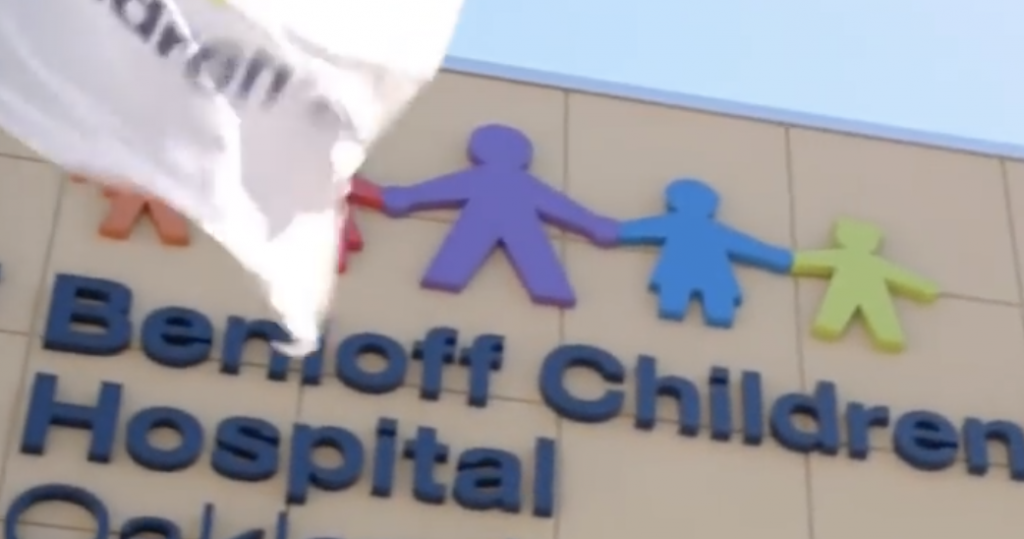
His name is Brian Ware and he started The Crayon Initiative at his house in Northern California. The program collects unwanted crayons from area schools and restaurants and recycles them into new and improved ones.

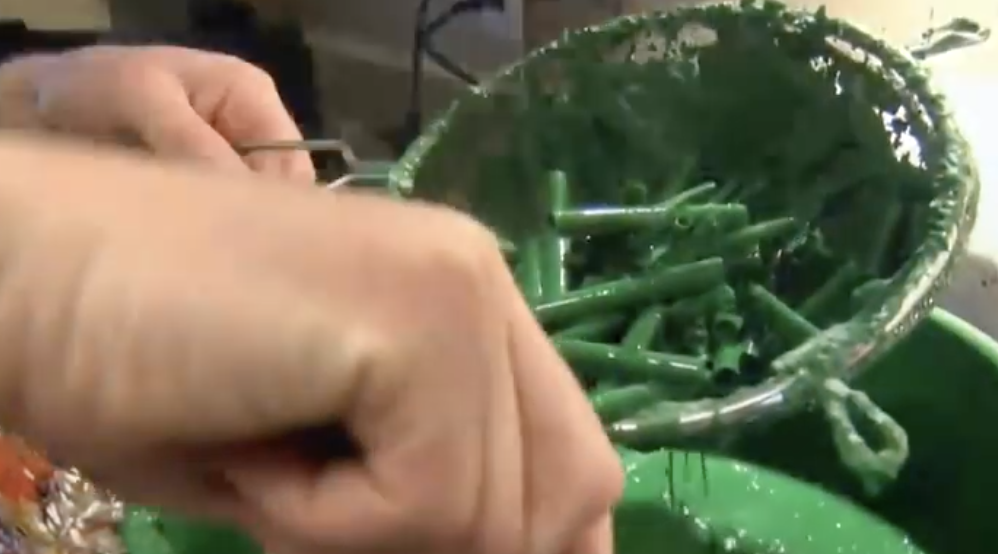
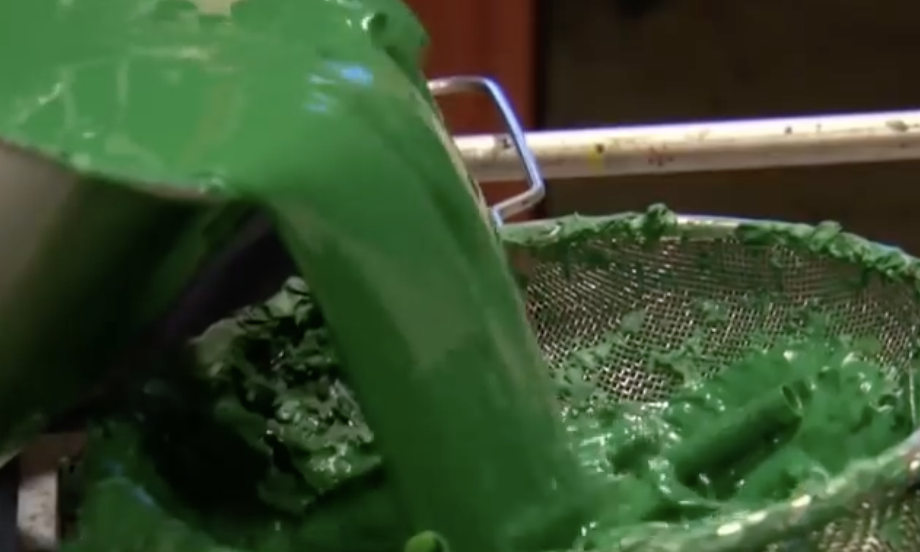
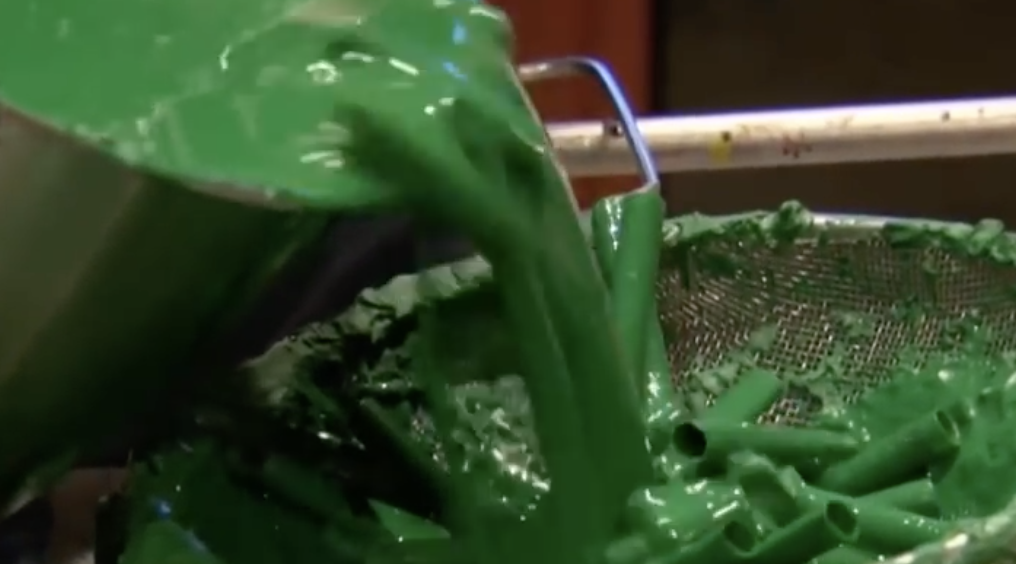
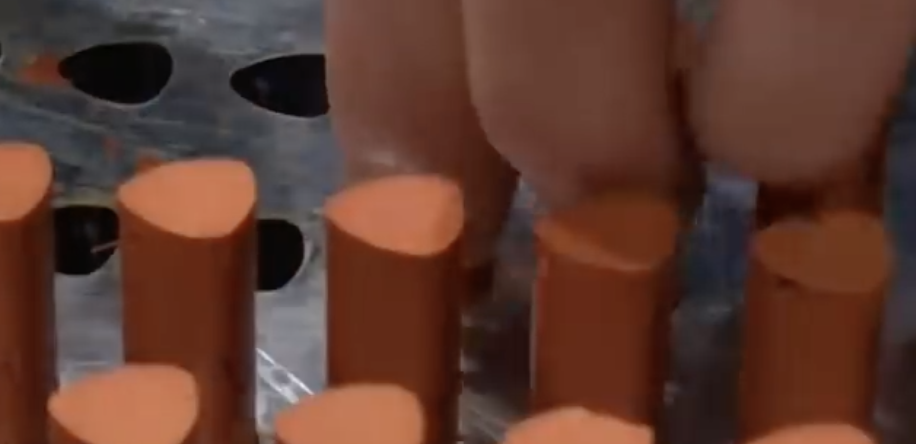
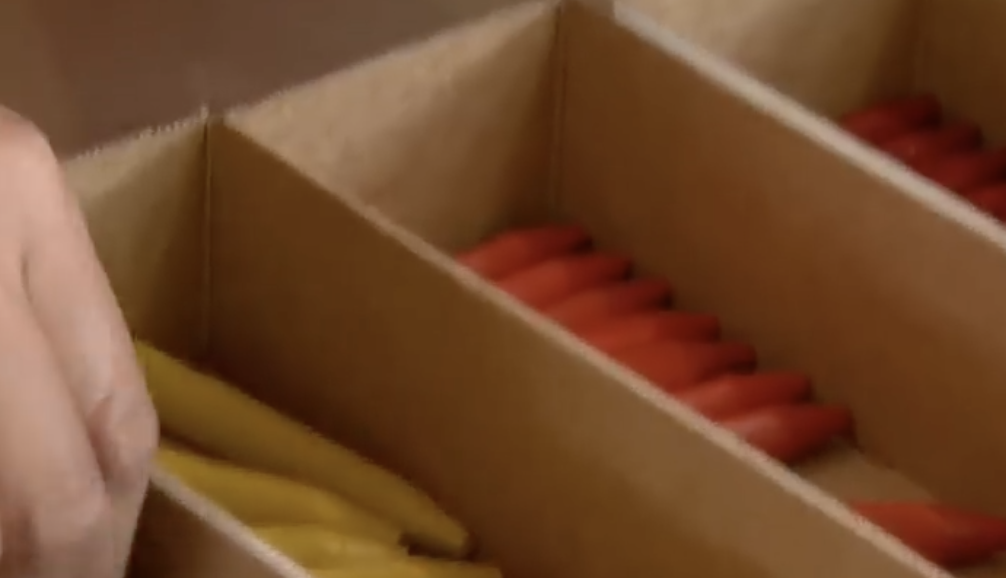
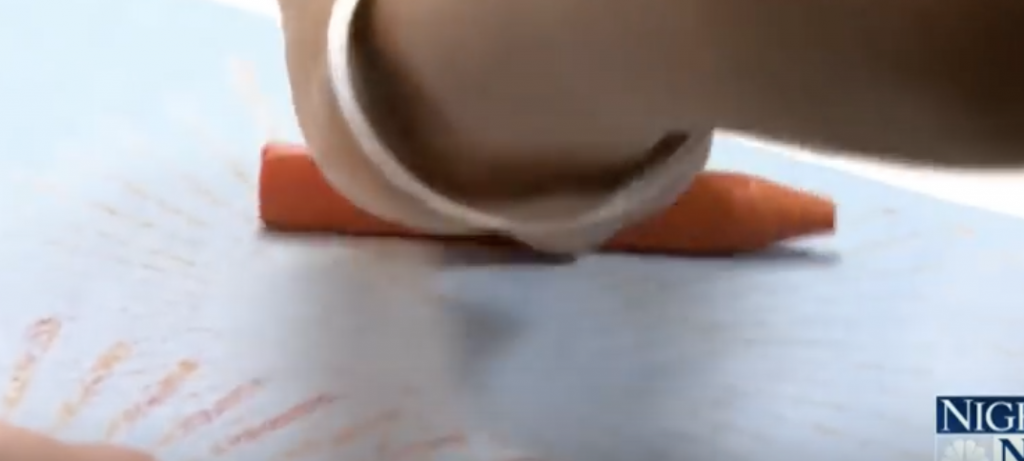
Once the crayons are collected in bulk they get sorted by color and melted down in large pots. The wax is then strained and poured into molds that Brian fashioned himself in order to make the crayons bigger than their original shape.
The new up-cycled crayons are finally boxed up and sent out to local hospitals where they are distributed to children recovering from surgery or treatment.
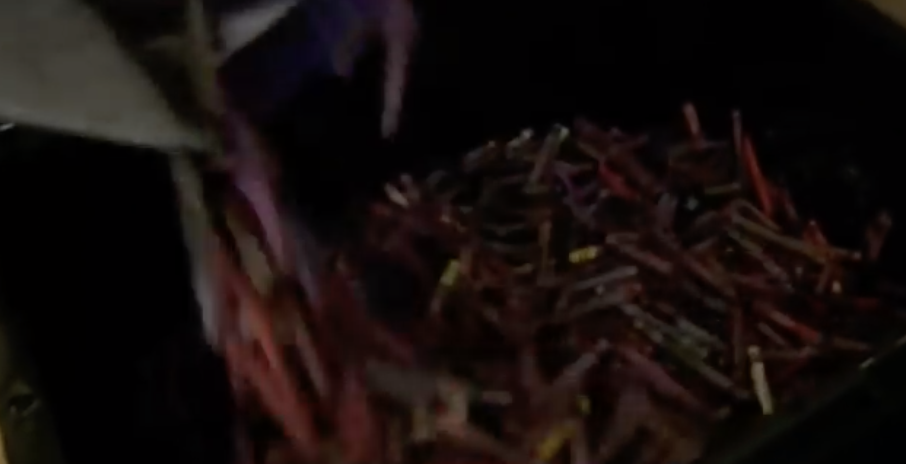
The Crayon Initiative has grown in scope size and it takes a small army of volunteers to sort through them all and melt, box, and distribute them. Brian estimates that on an average day they go through about 4,000 crayons!
Stacks of boxes filled with donated crayons take up space in his house and everyday new boxes arrive. Recently 100 volunteers gathered to help sort and process them and as you can see in this NBC Nightly News video, it’s no small task.
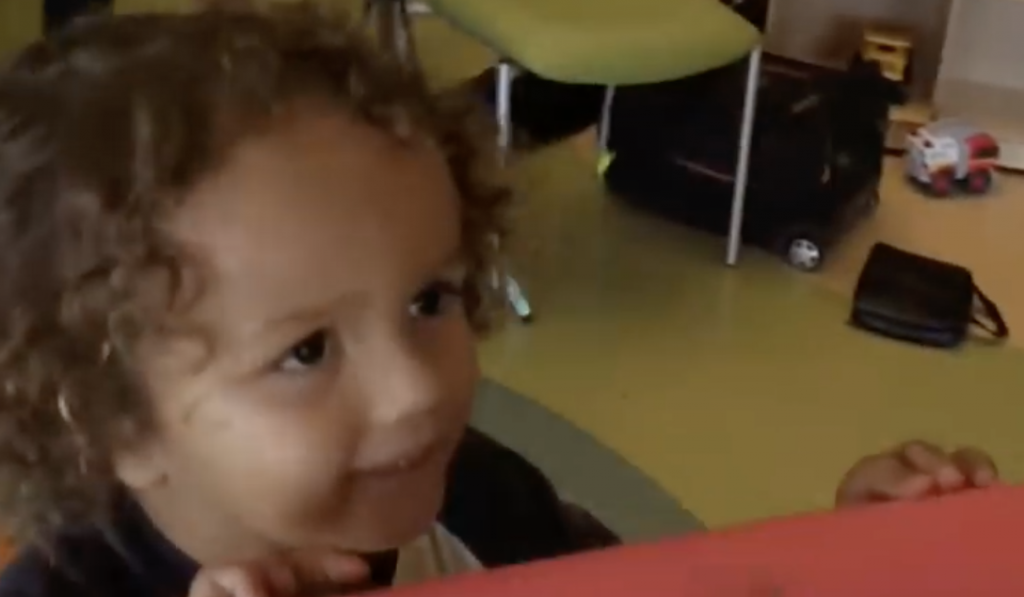
The children who end up with the crayons are thankful for the small gift. Some are recovering from surgery or illness, others are receiving treatments or have special needs, but they all want a distraction and something to keep their minds occupied.
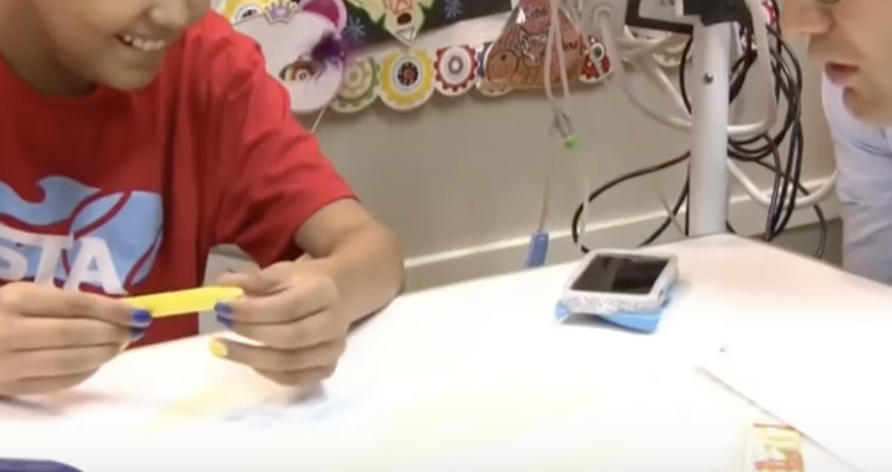
The children interviewed in the news segment say that coloring helps them stay focused, positive, and less stressed. It gives them a creative outlet that’s therapeutic in a way and helps to keep their minds off of the pain and situation they’re in.
If you’ve ever stayed in a hospital then you know how boring and stifling the experience can be. Getting a box of crayons would brighten anyone’s day, especially kids, since it gives them something to do for hours one end, it’s perfect.
If this story doesn’t give you a reason to pull those old crayons out of storage and put them to good use again, nothing ever will! To learn more about The Crayon Initiative you can find them online at thecrayoninitiative.org, and they are on Facebook and Twitter as well.
Please Share this with family and friends
I Was Confused When She Was Painting Glitter On A Balloon. But Then She Pops It For An Unexpected Surprise!
If you are a crafty type of person who enjoys doing all sorts of do-it-yourself things then you likely have a lot of extra craft items on hand, especially glitter. Glitter is the perfect material that adds a little extra flair to practically anything.
It usually doesn’t take much, perhaps even just a pinch will do, to take something from boring to wow with the help of a little sprinkle of glitter. As such, if you have an abundance of different colored and textured glitter on hand you can easily use it up with this awesome glitter bowl project.
It’s a simple and neat craft idea that anyone can do and the perfect way to spend quality time with friends, family, and especially young children. It will get them away from TV and the internet and more involved with creating homemade things.
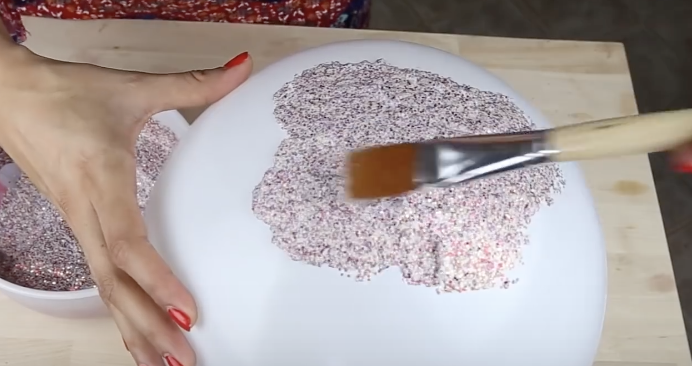
All this project requires is 2 cups of glitter, 1 cup of Mod Podge, a balloon, a paintbrush, and a bowl. Start by mixing up the glitter and Mod Podge together in a bowl so that they are well blended. Blow up the balloon, tie it off, and place it in the bowl with the tie facing down to give it stability and keep it in place.
Paint the glitter mixture onto the balloon surface, making sure to coat it as evenly as possible. Paint half of the balloon to make a bowl shape, or try out different designs. You can customize the bowl, such as by scalloping the edges or making it curve in uneven, distinct ways.
When you have finished painting the balloon set it aside and allow it to completely dry for at least 24 hours. When the time is up you can turn it over, pop the balloon, and remove any of the leftover rubber or latex pieces that may be sticking to the inside of the bowl .
You will be left with a soft, custom made, glittery bowl that is perfect for use as a catch-all. These glitter bowls are not the most durable or strongest bowls but they can hold a variety of little things. You can use them in the bathroom to hold hair ties and clips or whatnot.
They come in handy when placed in a location where things tend to accumulate, such as near the sink or an entrance. They make great holders for knick knacks and spare change as well. Alternatively, you can stretch one of them over an existing, harder bowl to give it a new and updated look.
There are many more ideas and uses for these neat and easy glitter bowls, and maybe you have the perfect use in mind for them. Check out the tutorial to see exactly how it is done and try it yourself!
Please Share This DIY Project With Family and Friends 🙂


