
Girl Says Her Toys Keep Disappearing While She Sleeps. Turns Out A 2-Year-Old Is The Sneaky Culprit.
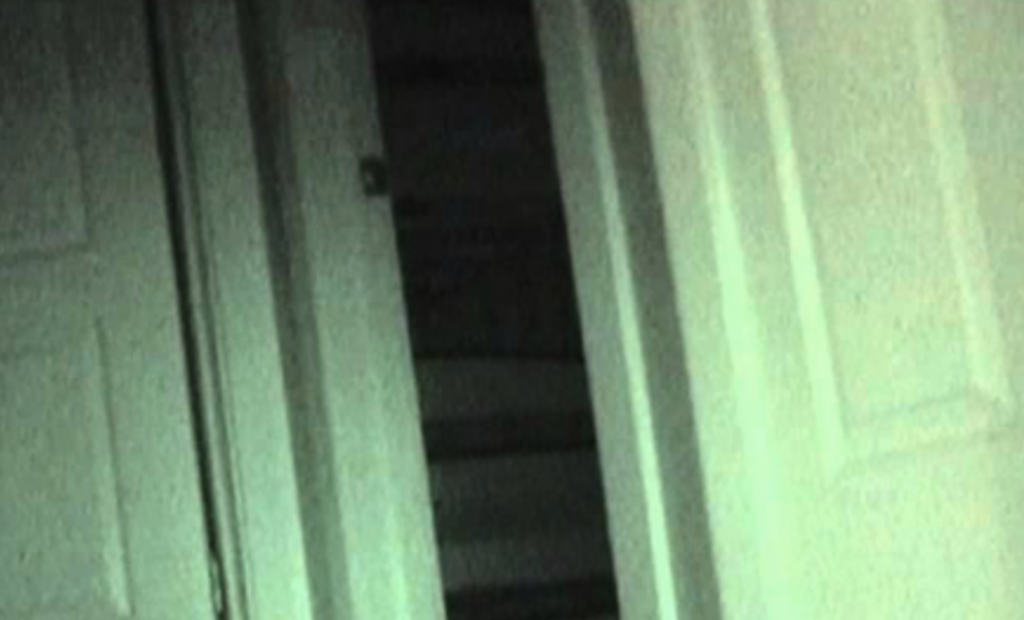
image via – youtube.com
When her 8-year-old daughter kept complaining that her toys were being stolen during the night, her mom became exasperated. In an attempt to prove to her child that this was ridiculous, she set up a night vision video camera in the hallway. Nobody could understand where the toys were going and what was going on. Could it really be a ghost or a stranger in the night? Her daughter had been locking her door to keep out thieves.
The next day everyone watched the nighttime footage. The parents, planning to prove that there was no thief, were aghast at what they saw on the video. There was no way they could ever predict what they were about to view on the footage.
There was, indeed, a thief who came equipped with a tool to open the locked door. The thief had thought this all out with amazing stealth and ingenuity. He was someone the family knew well! For some reason when it comes to mysteries like this it’s always somebody close to the family!
Watch this astounding and hilarious video to find out who this genius thief was and how he pulled off such a stunt. You will not believe your eyes. I surely did not expect this surprise!
Watch the video below and enjoy:
Please SHARE this with your family and friends
I Was Confused When Mom Put A Container Of Toys Into The Freezer. But The Reason Is Surprisingly Brilliant!
When kids are home in the summertime you need to keep them busy and engaged in fun activities. Children often lose interest in their toys and the same old games they play day in and day out. When boredom sets in no one has fun. If you find that you’re running out of ideas to keep them entertained, check out these ice toys.
They’re a novel way to keep kids busy for a long time when it’s really hot outside and you can make them at home with a few simple items that you likely already have on hand. Your kids will play with them for hours and will love having a new activity to do!
First up is ice toys which are made by using a plastic tub or bin, small toys that can get wet, and colored liquids. Place the toys in the bin, pour some liquid over them, and freeze it until completely frozen. Take it out and pour another color over the first layer.
Make sure the liquid you pour on top of the first frozen layer is very cold because if it’s too warm it will crack the layer underneath it. Freeze that layer completely and repeat the process, adding as many different layers of colored liquid as you’d like.
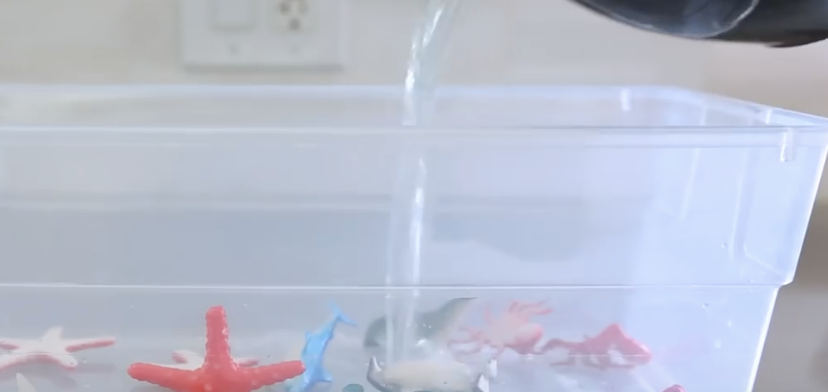
It takes awhile for all the layers to completely freeze so be sure to start this well in advance of when you want to use it. When it’s time to play, give the kids some tools to work with and help them figure out how to get the toys out of the ice. It should hold their attention for a long time and if it doesn’t simply pop the ice back in the freezer and come back to it at another time.
Next is ice paints that you can make with paint, an ice cube tray, water, and toothpicks. Fill an ice cube container a third of the way with paint, then top them off with water. Stir the paint and water, freeze for about two hours, then stick a toothpick in each paint cube and allow it to completely freeze. Take them out and have the kids paint with the ice cubes on paper as they melt.
The third project is ice boats. You will need small plastic containers, supplies to make sails with (such as paper, fabric, toothpicks, umbrella toothpicks, or small bamboo forks), and finally aluminum foil to make a river. Freeze water in the plastic containers and halfway through freezing them stick a toothpick, or whatever you choose to use for the mast, in the middle of them.
After they completely freeze take them out and glue or tape on some fabric or paper sails. Take some tin foil and form a ‘river’ out of it where the ice boats can float down. Then grab a hose so there is a constant flow of water and have the kids sail their boats down the river. They can race their boats and will play with these fun toys until they melt!
Please Share These Ice Projects With Family and Friends 🙂
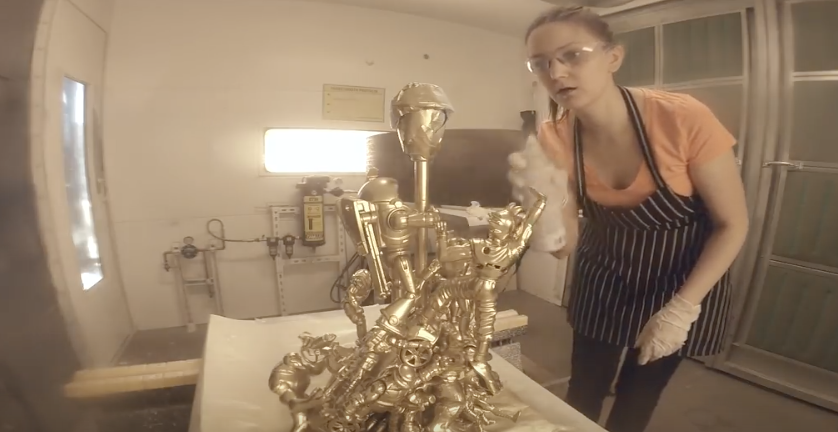
She Takes Her Old Toys Then Tapes And Sprays Them Gold. When She’s Finished I Must Do This!
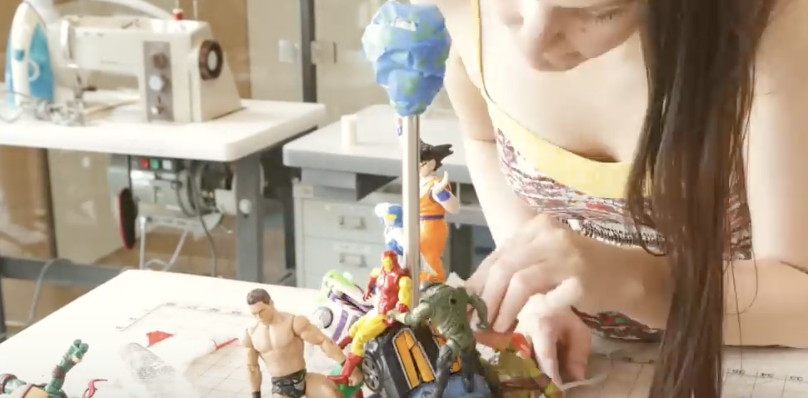
Do you have any old unused items laying around the house that are begging for a new look? Reuse your old stuff and recycle it into a new, one of a kind, gold lamp. That is what one woman chose to make with her old action figures, but the alternate possibilities are endless. Use this video and the technique shown as a guide for creating any type of lamp you want. As an alternative, try doing a similar project, such as spray-painting animal figurines gold, glue them to wood blocks, and thus make sturdy bookends.
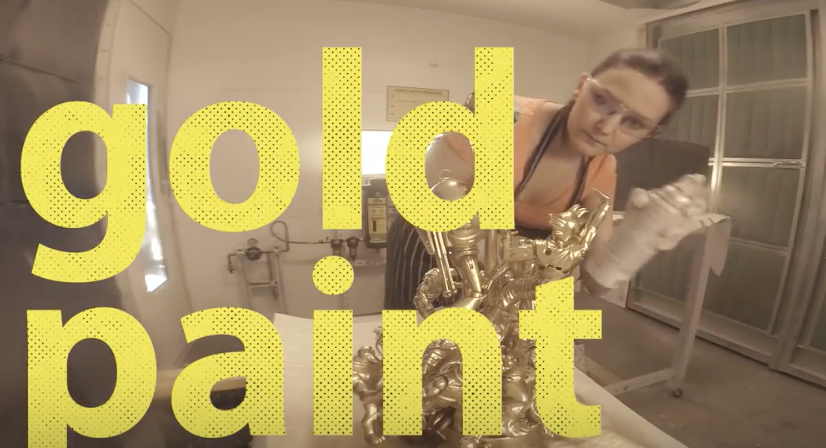
Whatever you decide or desire to make, it will look brand new when you cover it in gold spray-paint. There is just something special about the metallic finish that makes everything look spectacular and fresh again.
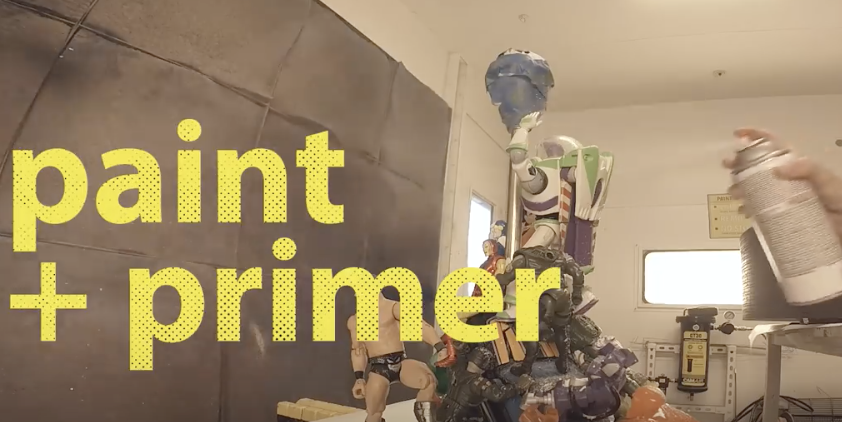
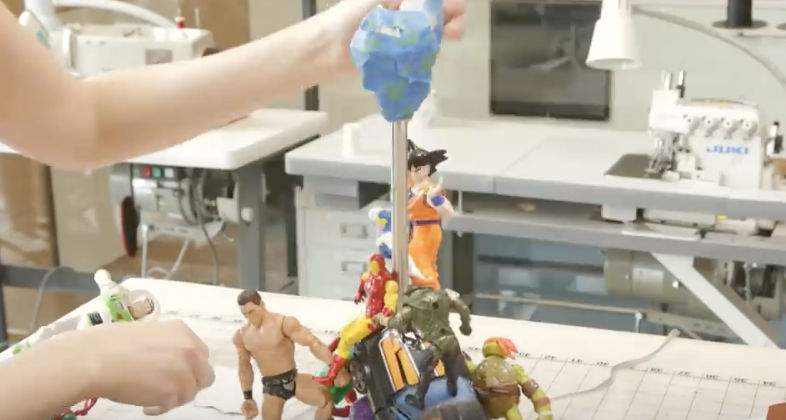
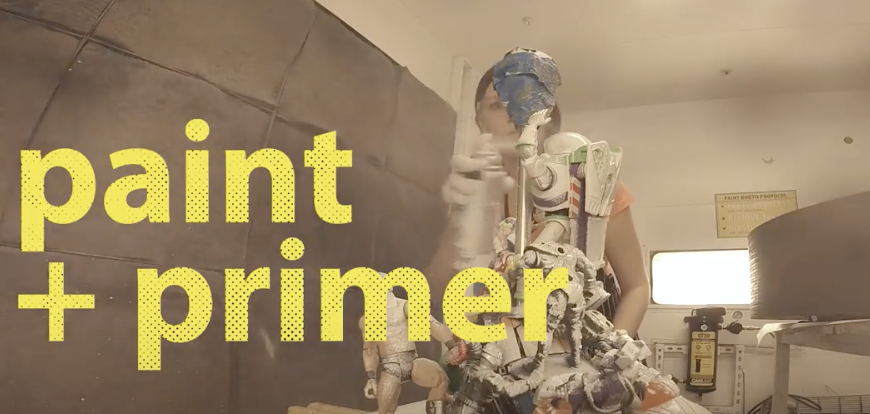
To begin, gather all your supplies including: action figures, spray paint, fine grit sandpaper, craft glue, super glue, painter’s tape, and a lamp. It is recommended that you prime the lamp first with a coat of white spray paint. This will give you better coverage and a more even finish when you go over it with the gold spray paint.
Try and choose a lamp that is tall and skinny so that the figurines or items you use stand out more. Also, harder plastics and materials will be easier to glue and spray paint than rubbery, soft ones. Cover and tape off the socket end of the lamp, cord part, and any other areas that you do not want painted. Lightly sand the entire thing, wipe the dust off, and allow it to completely dry. This will ensure that the glue and paint stick better.
Next, glue all the items or figurines onto the base of the lamp. Attach them to each other and use the glue to hold them in place. If needed, tape around them to better keep them in place while the glue sets. With figurines, the busier the piece the better it will look. Allow all glue to set and dry for 24 hours, then check and re-glue any loose parts.
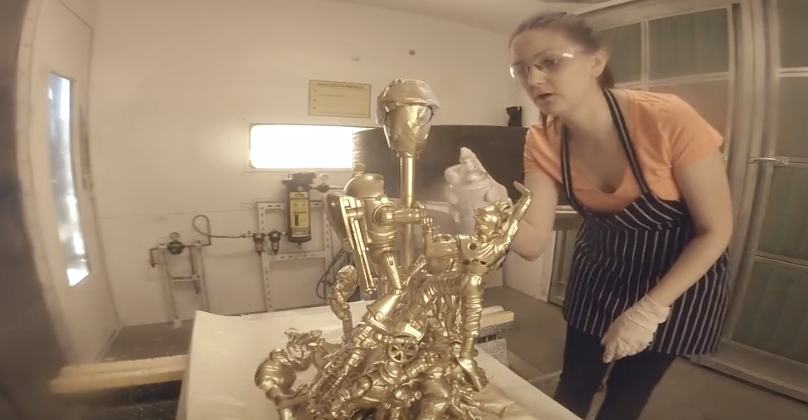
Coat with white primer, let it dry, then spray paint the gold on. Do several coats of each and let them dry in between so the colors look nicer and more even in the end. Remove the tape, add a lampshade that compliments the piece, screw in the light bulb and enjoy!
Please SHARE With Family and Friends


