
THIS Woman Dips Coffee Filters Into A Bowl Of Water. But The Reason Is Unexpectedly GENIUS!
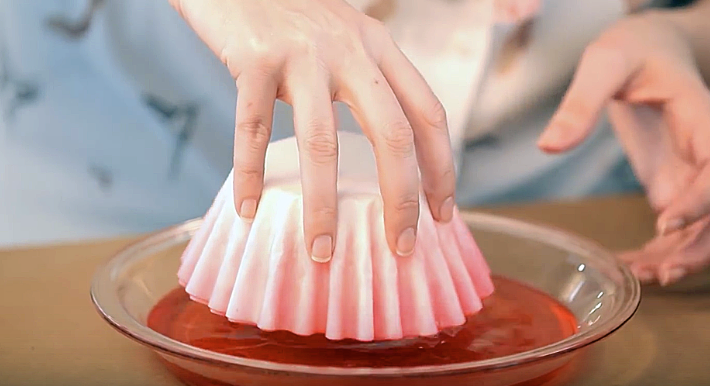
image via – youtube.com
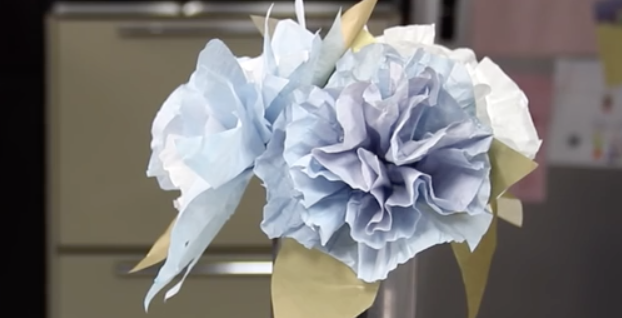
When it comes to decorating for any seasonal holiday, you want to look festive and on-point without breaking your budget. There’s no better way to achieve a fresh, spring or summer look than with these dip-dyed coffee filter flowers. While they may sound cheap and thrifty, which they are, they’ll end up turning out beautiful and vibrant looking every time.
They’re super easy and inexpensive to make even if you’re not a crafty type of person. The homemade, handcrafted flowers make for some uniquely thoughtful decorations and they can be used as neat little candy holders or a centerpiece down a table. They’re even perfect for gifting at any time of the year and no special occasion is needed to hand these beauties out. Present one to someone you appreciate and show them how much you care!
To make your own pretty dip-dyed flowers you will need the following items; coffee filters, food coloring, cups, scissors, a shallow dish or pie plate, warm water, a hot glue gun, a cooling rack, and a baking sheet. In the accompanying video Marianne from HGTV Hand-Made shows us step by step exactly how to make these flowers. Read on below for instructions and watch her transform plain old coffee filters into pretty spring blossoms.
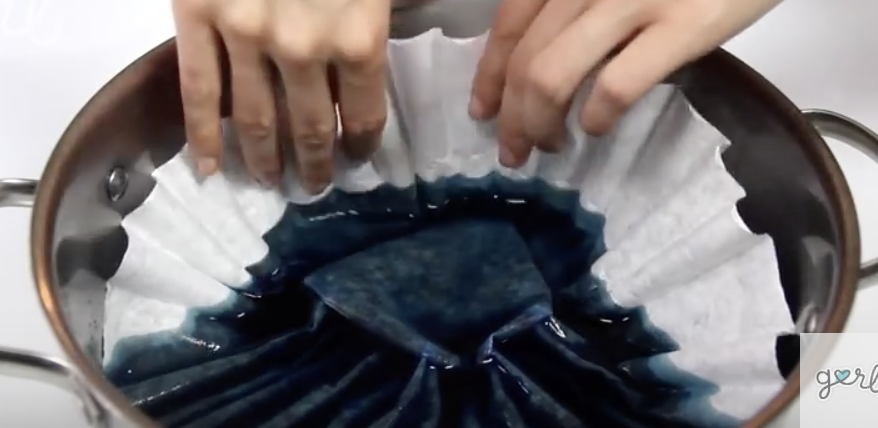
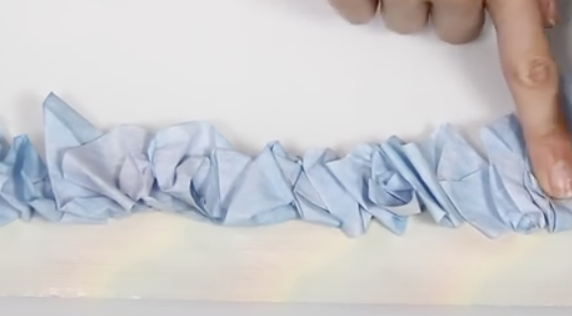
In a shallow dish mix up the dye one color at a time, using a ratio of 10 drops of food coloring to one cup of warm water. Take a stack of about 10 coffee filters and place them upside down in the warm water. Remove them once you notice that the dye reaches the top edge of the filters and place them on a cooling rack to dry.
Make sure to place a baking sheet under the cooling rack to help contain the mess and catch any dye-colored water that drips off the filters. Now repeat the process with the other colors you want to make and allow them all to completely dry before moving on to the next step.
To make the flowers, start off by taking a paper cup and carefully trim it down with a pair of scissors so that it’s about 1½ inches tall. Use a total of 3 coffee filters from 2 different colors each and stack one bunch atop the other. Flatten them down and fold them in half, then cut a 1-inch notch in each fold.
Fold it in half again (so it’s in quarters) and cut a one-inch notch in the resulting fold, plus another notch in the middle of the fan-shape that you have at this point. Unfold it one time, so that it’s still folded in half, and trim away the edges near each of the notches so that they end up resembling petal-like shapes.
To assemble each flower, take a cup and dab a little bit of hot glue in the center of it. Take one colored coffee filter, center it over the cup, and press it down into the glue. Fold the sides down roughly around the cup and then take another filter and glue it atop that one.
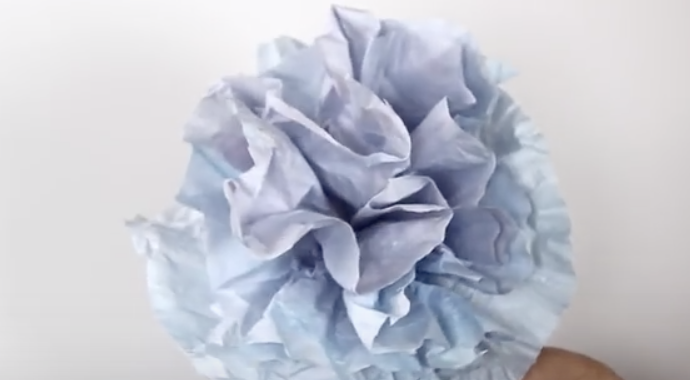
Take the third and final filter of that one color and glue it to both the bottom and up the sides of the cup, so that it’s covered. Now take the 3 remaining filters from the second color and glue them all to the bottom of the cup. You can fan the filter edges out gently and arrange them so they look fuller, and now they’re ready to use!
Let us know how yours turn out!
Please Share This With Your Family and Friends 🙂
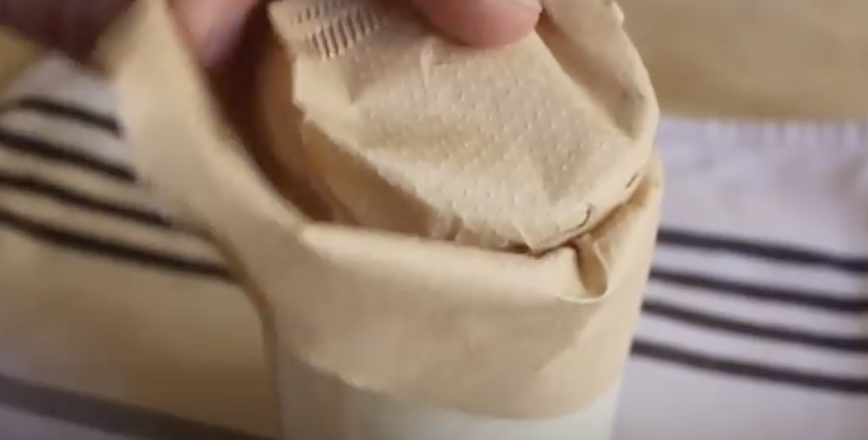
He Puts A Coffee Filter Over This Mug For 24 Hours. When He Removes It I’m DROOLING!
Here’s a great one for all you DIY foodies out there, who would like to make something that a lot of expensive, “fancy shmanzy” restaurants out there, charge a lot for. The more pedestrian term for Creme Fraiche is sour cream. Technically, this might be the case, but the taste of real creme fraiche is a long way from the sour cream you buy in the supermarket.
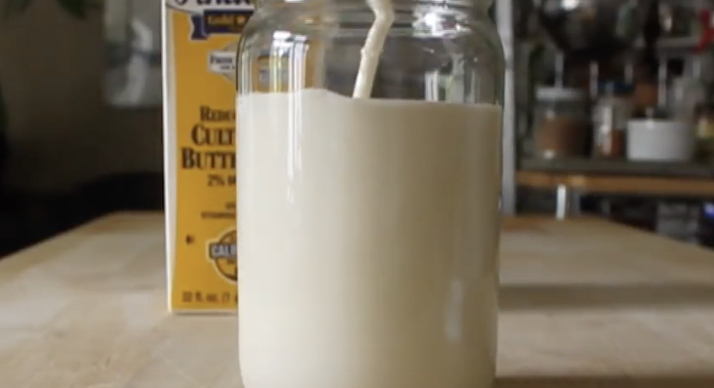
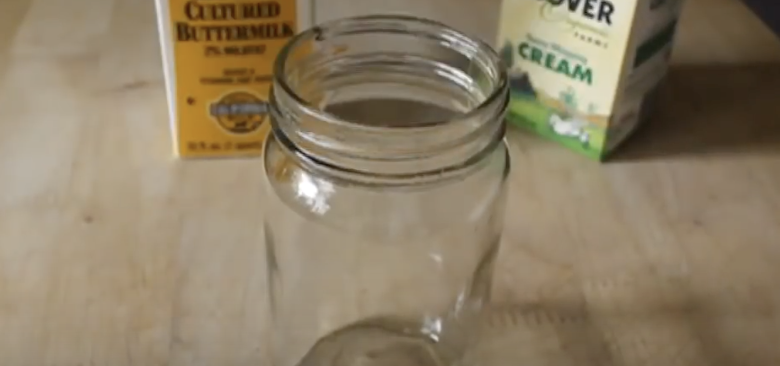
The guy in the video has a really relaxing voice to listen to as he gives us the simple step-by-step instructions for making this delectable treat. If you’re like me, you like finding do-it yourself ways to make items that you rarely get to enjoy at home. With a mason jar, real buttermilk and a coffee filter you will learn how to make this slightly nutty tasting super creamy delicacy.

I hope the video encourages you to try this at home, and share it with your foody friends who like to learn new ways to make things on their own. This is an absolutely delicious tasty treat. Enjoy, Bon Appetit and Good Luck impressing your friends and family!
Please SHARE With Family and Friends
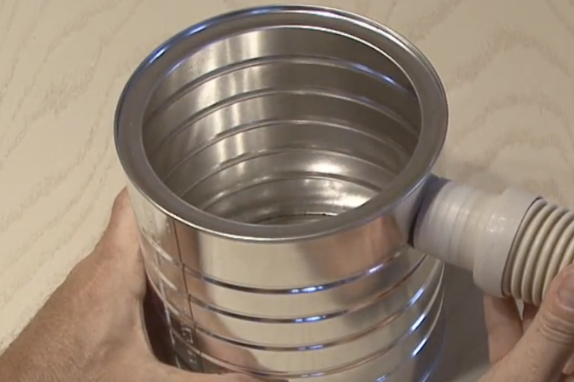
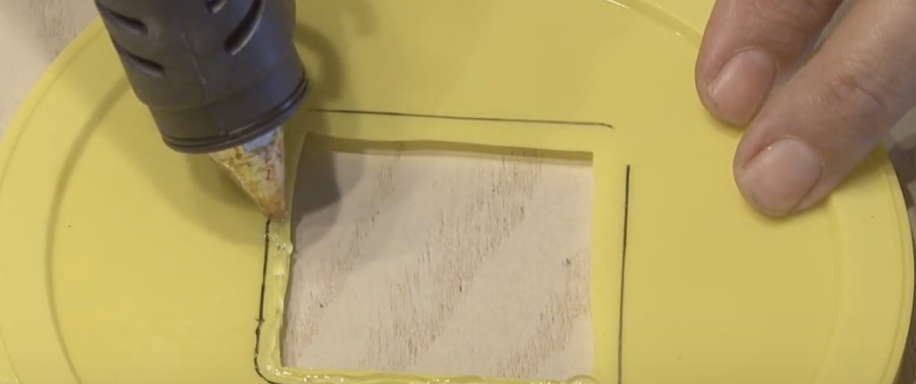
He Attached THIS Hose To A Coffee Can. The Final Result Is Unexpectedly Awesome!
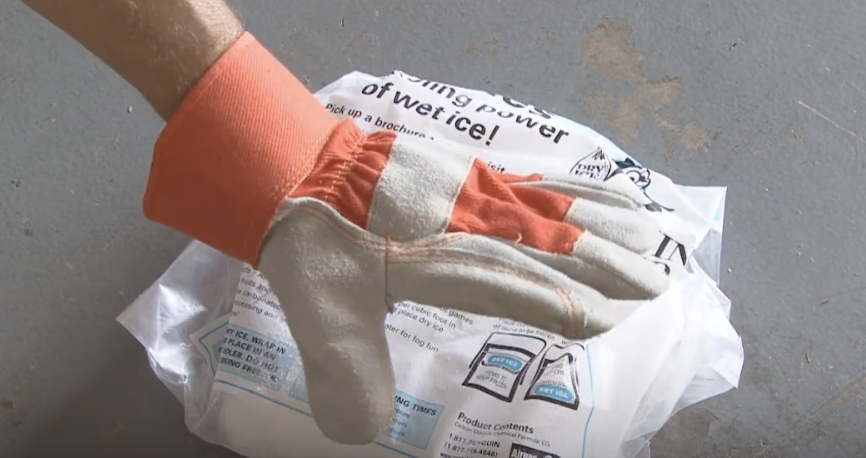
There’s something about dry ice that just fascinates people. Maybe it has something to do with it’s powerful nature that makes it so dramatic! It was once the “go-to”, before refrigeration, to get perishable items sent long distance. Today, in the medical and scientific fields, it is still widely used for cooling.
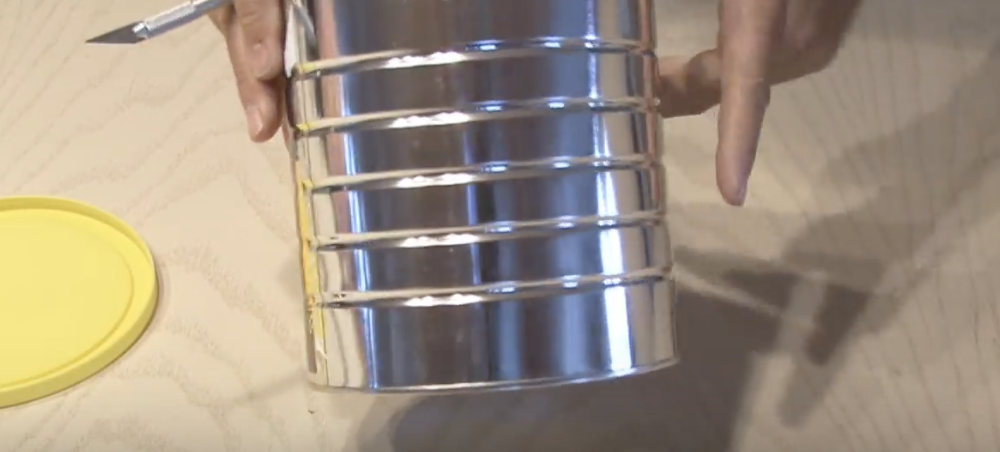
This DIY revolves around the more theatrical nature of dry ice. YouTuber KipKay cleverly shows us how to manipulate dry ice to become misty fog, that happens when it gets converted from solid to gas. It’s a great weekend project to do with your friends or kids.
For those of you who just love the mysterious atmosphere created by a fog machine, watch this creation and let us know if you have fun making it. Always remember that you need proper ventilation when manipulating dry ice, because it is carbon dioxide. Keep your work space filled with oxygen!
Please Share This With Family and Friends 🙂
Woman Places A Rubber Band Around This Coffee Filter And Dunks It In Water. WATCH What It Becomes!
When it comes to getting someone special in your life a gift nothing is more thoughtful and unique than something homemade. These hand crafted flowers are perfect for decorations and make a great alternative gift to give a party host instead of the traditional bottle of wine. No special occasion is needed to hand these beauties out, present one to someone you appreciate, and show them you care.
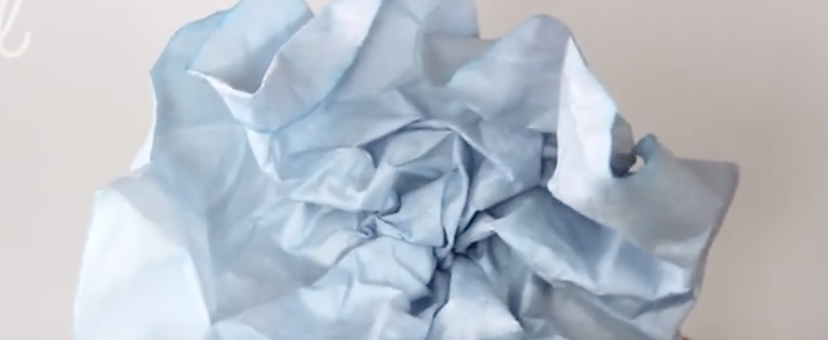
To make your own you will need coffee filters, scissors, a straw/pen/pipe cleaner or similar object, small rubber band, masking or duct tape, and glue. The first method is called the bunch n’ crunch where you pinch a filter in the center and bunch up the remaining material into a flower like form. Add in layers by pinching 3-6 filters onto the first and ruffle them into shape until you have a nice, full flower.
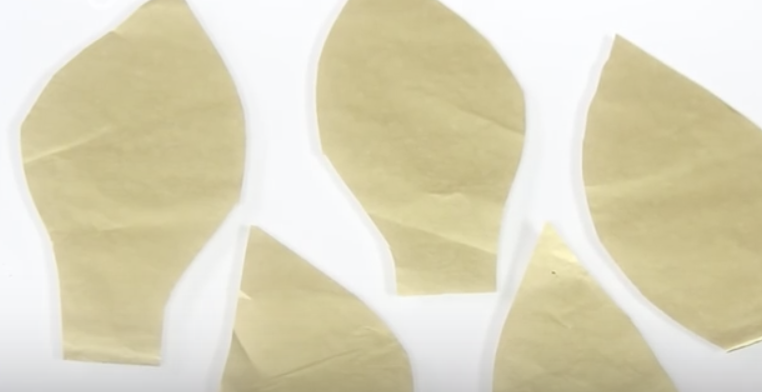
Take a rubber band to bind the base of the filters securely in place. To add petals, cut a filter into leaf-like shapes then glue them on behind any layer of flower, or wherever you think looks best. For the stem, attach a pipe cleaner on by wrapping it around the base of the flower or glue it on. You can style filters by dyeing, painting, cutting, and shaping them before you begin bunching to add more variety and uniqueness to the flowers.
The second method is the singular rose technique in which you cut a filter into a spiral. Start cutting at the outside edge, around and inwards towards the center, leaving the spiral about an inch or two wide. Roll out 2 feet of tape sticky side up, secure it down at both ends, and place one end of the filter spiral down on the top half of it.
Unwind the spiral along the tape, making sure it overlaps as much as possible while you bunch and stick it on from one end to the other. Attach a pen or straw to one end the tape then slowly wrap it around until it’s completely rolled up into a flower. If you want you may attach more tape to the stem to further secure it to the flower. Watch the video for more tips and instructions on how to craft these beautiful flowers!
Please SHARE With Family and Friends


