
Makeup Artist Demonstrates An Easy Way To Put On Eyeliner. The Result Is Perfect Every Time!

The first recorded documentation of eyeliner was in Mesopotamia and Ancient Egypt. The people of this time placed a dark black line around their eyes. These cosmetic applications were not only used for looks but also to protect their skin from the hot desert sun. Another reason they applied eyeliner was to protect themselves against the evil eye.

The eyeliner was made from antimony and copper ore. Then for many centuries eyeliner disappeared only to make a resurgence in the 1920’s when Tutankhamun’s tomb was found. Eyeliner was soon reintroduced to the western world, and fashion quickly began to change, while women felt more free to apply makeup.

In modern culture, eyeliner has seen a strong resurgence in Punk,Gothic, and Emo Fashion. It is also common daily make up practice of many people to highlight different features of the eyes.
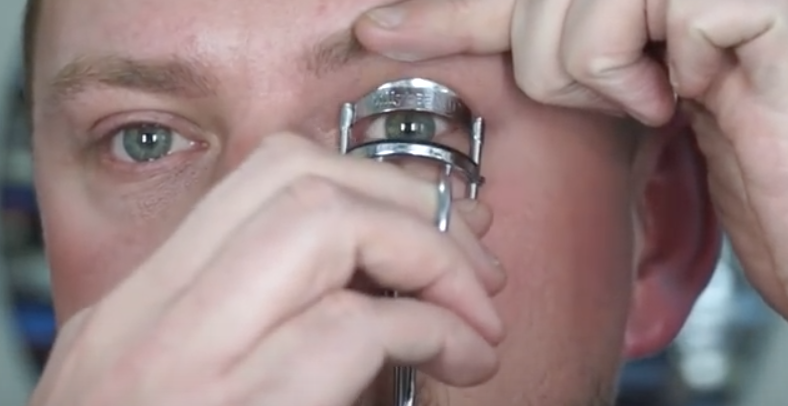
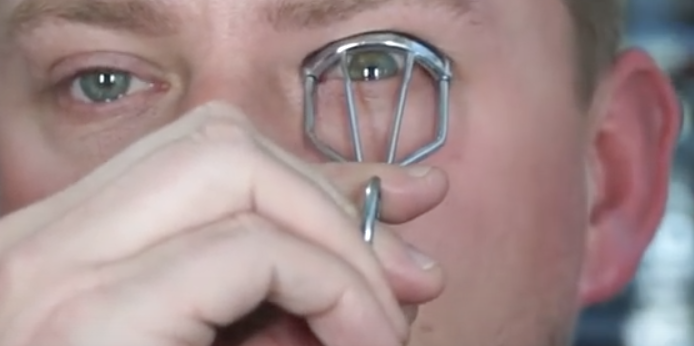
Sometimes in life it is the simplest ideas that make the greatest impact. The Makeup artist in the video below has come up with an awesome trick for those who are constantly struggling with their eyeliner application.
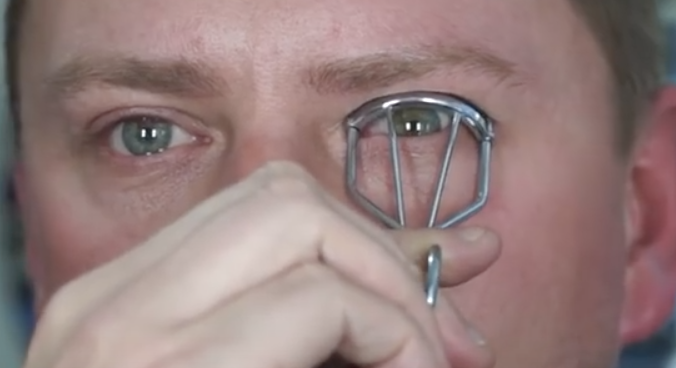
There is a bit of a learning curve to this method, and it will take some practice but once you get it down, it is the perfect way to curl your eyelashes and place your eyeliner perfectly all at the same time.
Please Share This Trick With Family and Friends
She Sets Wire Shelves Into Her Food Cabinets. The End Result Is Impressive!

Most of us dread having to clean and organize different areas of our houses but the time comes when you just have to get it done and over with. While we don’t really enjoy actually doing our spring cleaning chores, we do like learning about new and simple ways to get them done. It can be fun and interesting to discover what nifty and quick solutions people have come up with to solve common problems and the kitchen hack covered here is no exception!
If you’re currently dealing with messy, unorganized, sloppy looking kitchen cabinets where you store canned goods, then you know how frustrating and headache inducing it can be every time you open them up. Most of us simply place new canned goods and items on the shelf and in the process we end up piling and jamming things in wherever they fit.

Over time, the pantry cabinets that hold all of those cans and jars eventually becomes jumbled and disorganized. Food gets mixed up, lost, and pushed towards the back, where it’s never seen or heard from again!
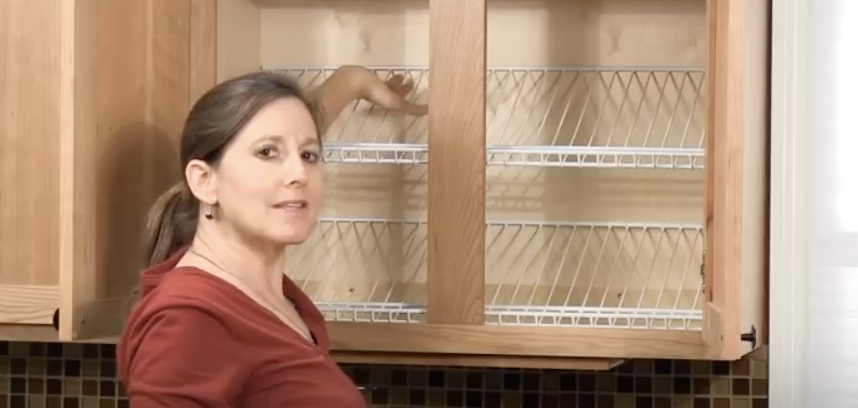
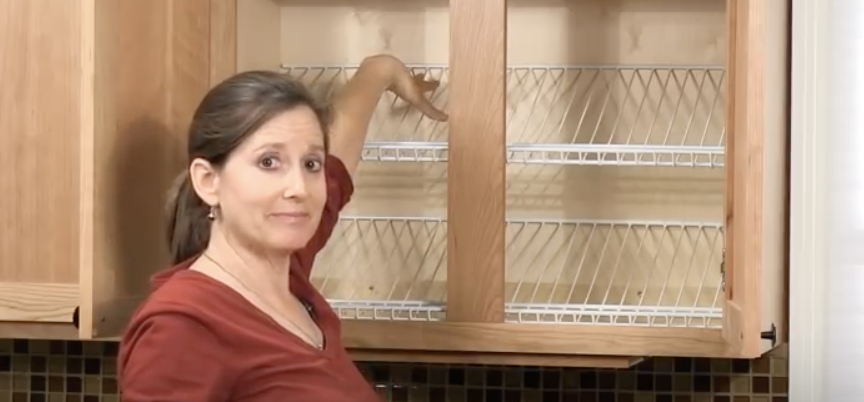
If you suffer from kitchen cabinet canned goods-itis then you need to check out this simple solution that will cure you of it. Elisa Bernick, associate editor at The Family Handyman, shows how an inexpensive and easy upgrade can turn your cabinet nightmare into a storage dream.
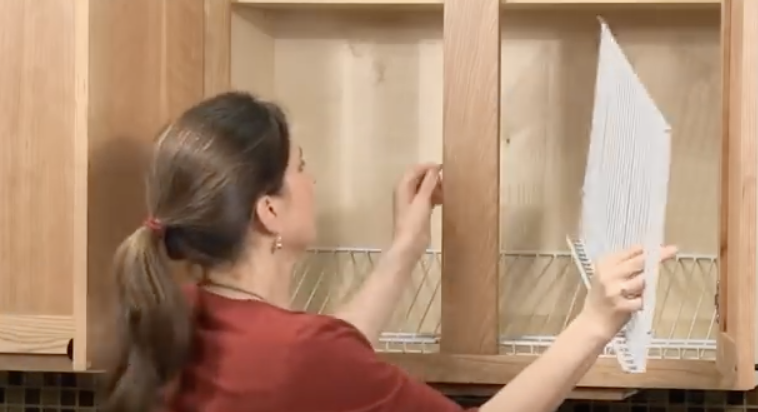
All you need is closet wire shelving, a hacksaw, two screws, and a drill. With the help of her easy instructions and a clear picture of exactly what to do, you can achieve clean and neatly organized kitchen cabinets. Check out the video for more details and below is a breakdown of how to make the storage shelves for canned goods:
First, measure the inside dimensions of your cabinet and then measure out a piece of wire shelving that matches. When you go to cut the shelving, make sure to cut it about half an inch short.
You can use a hack saw to cut the wire or heavy duty bolt cutters, which are quicker and easier to use. When placing the bottom shelf inside the cabinet just wedge it into place, but if you choose to add a second top shelf, you’ll need need to do some additional work that requires two screws and a drill.
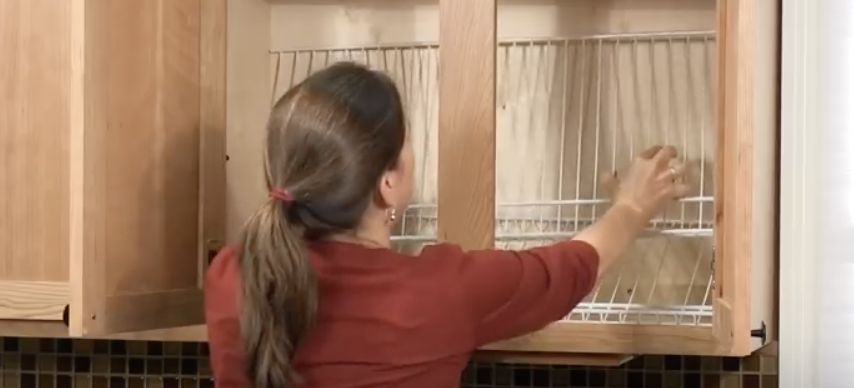
For the top rack, start off by pre-drilling two screw holes into the back of the face frame of the cabinet. Next, install the screws but make sure to leave them each hanging out by about ¾ of an inch so that the top rack can rest on them.
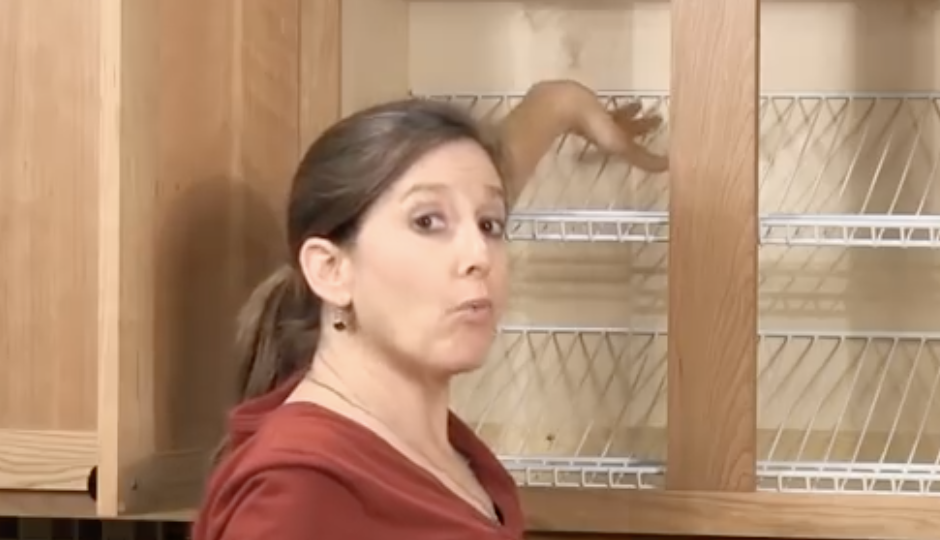
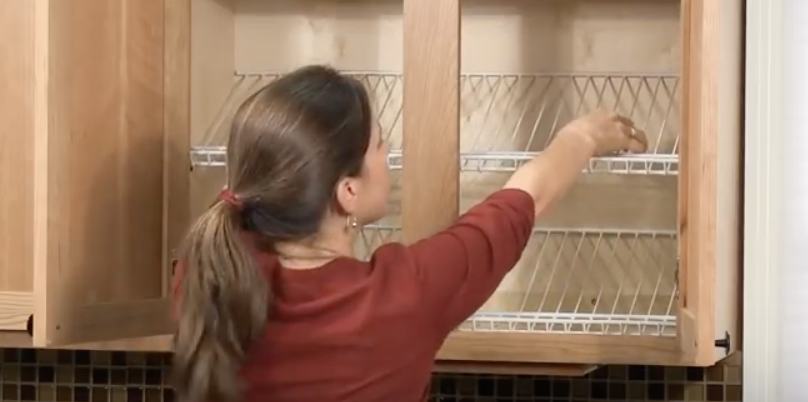
Cut the shelving to fit and this time when you go to install the top rack, position it inside the cabinet on an angle so that it’s slightly tilted. The front should end up sitting down on top of the screws, while the back will wedge into place.
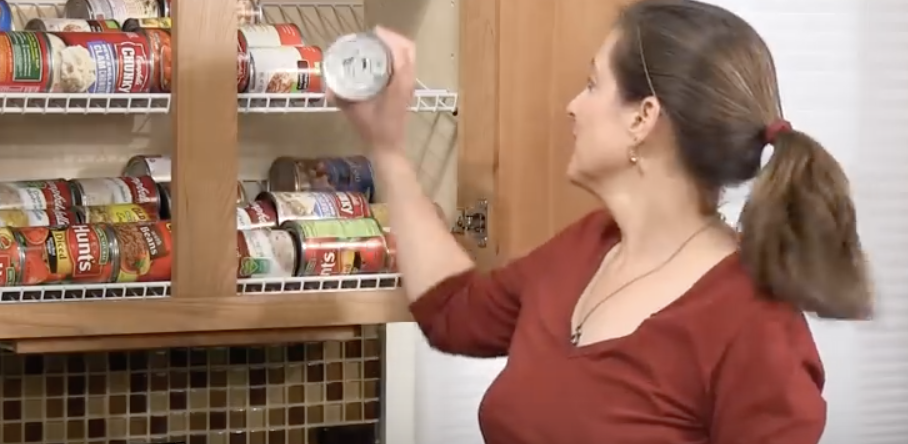
Finally, check to ensure that it fits snug and securely so that it’ll be able to hold a bunch of heavy cans, jars, or whatever other items you plan to place on them. Once the shelves pass the quality control test, go ahead and load them up with goods, and enjoy your newly organized shelf-life!

Please Share This With Family and Friends 🙂
The Easiest Most Natural and Effective Way To Get Rid of Annoying Skin Tags

A while back, I kept feeling this little annoying thing on my neck, that was really irritating when it rubbed against my shirt. It was really bugging me, and then I felt one on my armpit when I was showering. A few more developed over time, and it was not only annoying, but I became a little nervous.
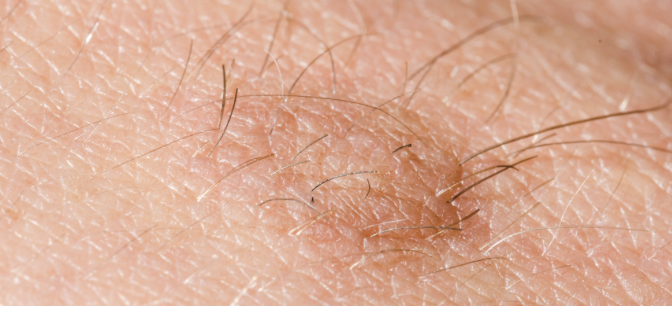
I just kept trying to ignore them, and then found out that they are called “Skin Tags”. I was actually really relieved when I came across the video you are about to watch below; somehow I thought it was something only I had. It was good to hear that they are quite common, and tend to develop where the skin folds naturally in different places on the body.

I was actually getting ready to go see a dermatologist for removal, but as you will hear, there is a really easy home remedy to get rid of them without being cut. If you’ve had these annoying tags, “The Health Fixer”, does a good job of explaining why we develop them and an easy solution for removal. As they tend to recur, it’s good news that the way to remove them is probably already in your kitchen…APPLE CIDER VINEGAR to the rescue, yet again!

I would never have guessed it would be the solution for this problem, but as it turns out, “the Mother” form of this vinegar, has multiple uses for skin problems. The video will show you how to apply the vinegar, for how long, and how to achieve the best results. If you have any concerns about your skin tags, of course, see your doctor before trying this. I was amazed at how effective a remedy this is!

Please SHARE This With Family and Friends
Apparently I’ve Been Cooking Sweet Potatoes Wrong For My Whole Life. I’m So Glad I Learned THIS
Potatoes are among the most popular and versatile food items that are readily available at any local grocery store. There are many different types grown throughout the world, but one of the tastiest and most healthy varieties is the sweet potato. Sweet potatoes are exactly as their name implies; sweet.
The orange fleshed root vegetables are considered a superfood because they contain a lot of vitamins and nutrients, such as vitamins A, C, E, and B-6, as well as beta carotene, fiber, potassium, iron, manganese, and copper. The antioxidants found in them can help prevent cancer and heart disease, strengthen your immune system, and even slow aging. Plus, they’re fat free and cholesterol free! A simple sweet potato can be transformed and prepared in many different ways.
They can be served hot or cold and people love them mashed, baked, fried, hashed, steamed, juiced and more. Their only downside seems to be that it often takes a long time to thoroughly cook them. One of the easiest, most basic ways to cook any type of potato is by poking a few holes in the skin and tossing it in the microwave.
Press the preset “Potato” button and minutes later it’s done. While that’s the fastest way to cook them, it’s definitely not the tastiest. Oftentimes the skin and flesh gets rubbery or becomes kind of mealy and it’s just not the same as a slowly cooked, oven baked potato.
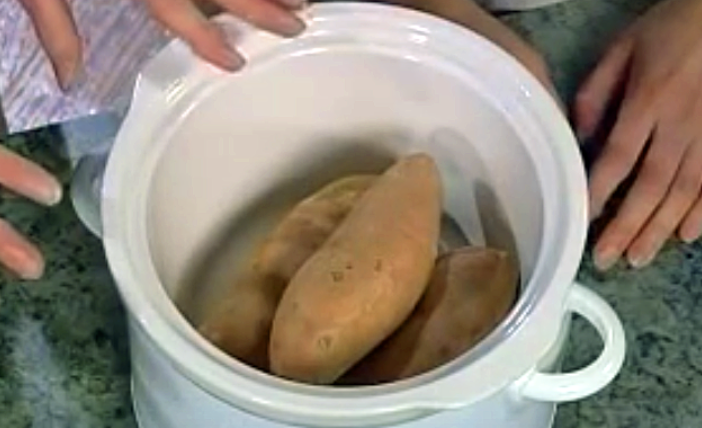
Instead of zapping them, try cooking a bunch of them at once in a slow cooker. In the end it’s just as easy as microwaving, but the potatoes will turn out much more delicious. JoAnn Rachor shows how it’s done in this easy to follow video she posted to her YouTube channel.
Start by washing a few sweet potatoes, making sure to scrub the skins well. There is no need to poke them with a fork for this recipe, just trim off any bad spots and then toss into a crock pot with a little water. In the video they used about ½ cup of water for 3 large sweet potatoes, if you cook a larger batch simply adjust the water amount up to about ¾ of a cup.
This doesn’t require a lot of water, just enough to steam and help cook them. Cook on high for about 2-2 ½ hours for a small batch and 3-3 ½ for a larger amount. While they’re cooking you’re free to go about your day and when you get back the potatoes will be done.
The insides will be evenly cooked, fluffy, and tender, while the outside remains firm. You can eat them right away since they’ll be warm and ready, or you can use them in another recipe that calls for cooked sweet potatoes. Try this practically effortless slow cooking method the next time you plan on having sweet potatoes for dinner.
Plus, if you need to shave minutes off a dinner prep time, cook them ahead of schedule and free up a lot of time and valuable oven space.
Please Share This With Family and Friends
Apparently You Should Be Doing THIS 1x Per Month To Your Fridge. I Had No Idea.
What do you think is the largest and most useful appliance to have in a house? If you answered a refrigerator, you answered correct! Refrigerators are indispensable for modern day living. We rely on them to keep our food from spoiling and use them every single day.
All that use makes them dirty. Oftentimes foods and drinks get spilled inside on the shelves and door. When that happens we clean the mess up quickly. But what about other parts of the fridge, like underneath it, do you ever clean there? Not many people do, at least not until they realize just how gross and disgusting it gets down there!
As dirt and dust accumulates underneath a fridge, it gets caught up in the coils. Over time this causes the energy-loving appliances to run much less efficiently than how they were intentionally designed to, and you end up paying more. On average, it costs about 10 cents an hour to run a refrigerator. Multiply that by 24 hours a day, 7 days a week, for a year straight, and you get the point- even a slight difference in efficiency can have a huge, costly impact over time.
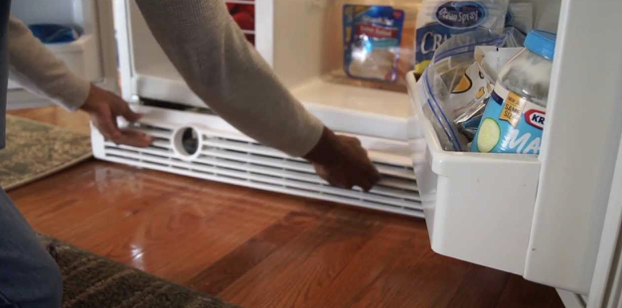
While we can’t simply pull the cord and unplug them for days at a time, we can for a half an hour or so. That’s all the time you’ll need to clean the coils and the drip pan which are both located at the bottom of the unit. Check out the accompanying video to learn exactly how you can properly clean underneath your fridge and read on for more information. You’ll not only save yourself money in the long run, but you’ll also be healthier by doing it!
First off, it’s highly recommended that people clean under their fridge regularly. Aim to try and do it once a month. That may sound like a lot, especially if you never ever do it, but doing this ensures that nasty stuff like mold, germs, and bacteria, gets cleared out and removed. Unplug the fridge before you get started and then remove the grille, if there is one, that conceals the condenser coils. Use a long, thin, bristled refrigerator coil brush to really get at the dust on the coils and then vacuum up the debris. The brush is specifically designed for the dirty job and can be found at most hardware stores or online for less than ten dollars, refer to video to see what it looks like. Rinse off the grille and disinfect it of any possible mold or mildew build up, then dry it completely before placing it back on the fridge. Finally, run a damp cloth over the top, sides, doors, handles, and wherever else needs a good wipe down. Plug it back in and you’re done!
Please SHARE This With Family and Friends, To Help Save Them Money and Energy 🙂
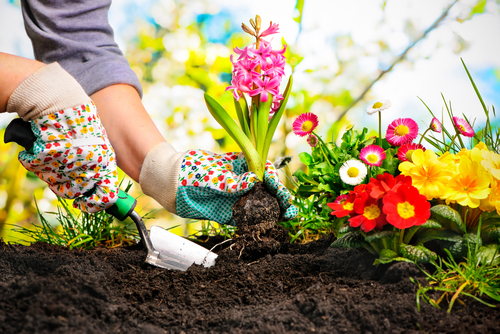
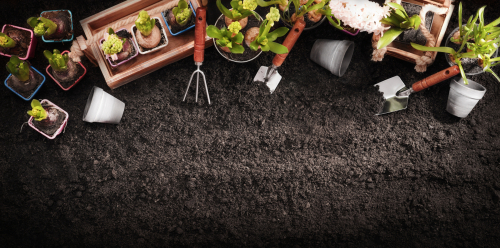
10 Gardening Life Hacks Everyone Should Know.
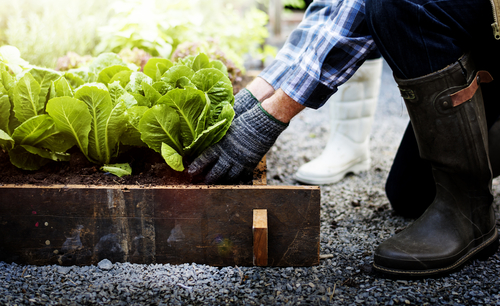
image via – shutterstock.com
This time of year is when everything starts to come alive again. The trees are beginning to bud, plants are starting to poke through the dirt, flowers are blooming, and the songbirds are out in full force. If you’re a gardener, that means it’s time to start digging in the dirt! Even if you aren’t a seasoned gardener, it’s not too late to get started. Who knows, once you try it, you may just end up falling in love with it!
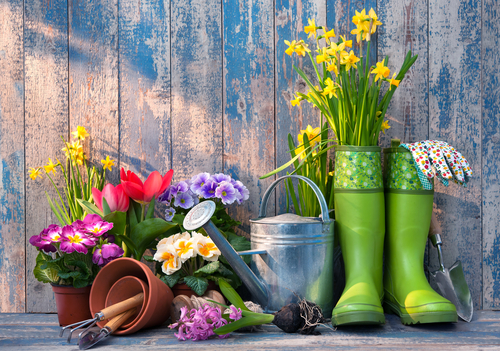
Gardening is a good for your health, your wallet, and the Earth. Many people find that it’s a very relaxing and rewarding way to spend some quality time outdoors and it helps to improve their mood and life. Not only that, fresh healthy foods like fruits and vegetables can be grown to your tastes and cost much less than the grocery store variety. Plus, foods that you have taken the time to grow yourself always taste a lot better!
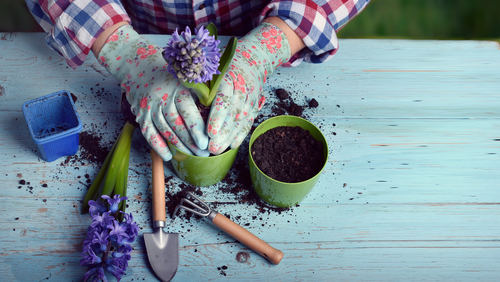
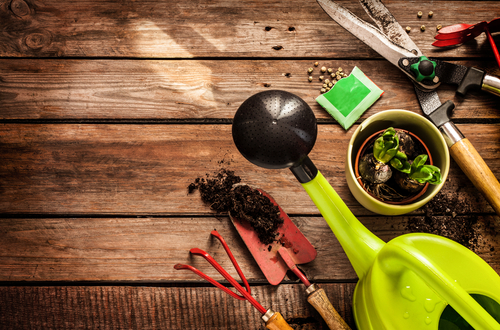
Beautiful, colorful flowers, green shrubbery, and ornamental plants can all help to liven up any yard and make it appear brand new. The possibilities for gardens are endless with thousands of varieties and combinations of seeds readily available. If you’re interested in learning more about gardening or making your green thumb greener, look no further. This video and what follows below are some super clever ways to help ease your garden along. They all use everyday items and objects that you probably already have on hand or can pick up at the store for cheap, so check them out. This year garden smarter, not harder!
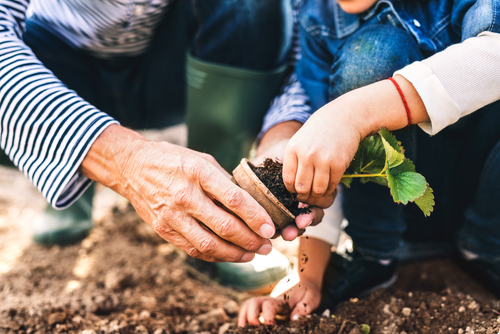
1. For plants that are sensitive to root disruption, such as beans and peas, use leftover cardboard tubes from paper towel and toilette paper rolls as planters. The tubes make transplanting much less stressful and ensures roots stay separate and untangled from one another.
2. If you don’t have a lot of space to work with try making a vertical garden on a wall, fence, or other space. The video shows how to use gutters to create a wall garden by drilling holes in the bottom of them for drainage. Measure and cut them to size and then hang on wall brackets.
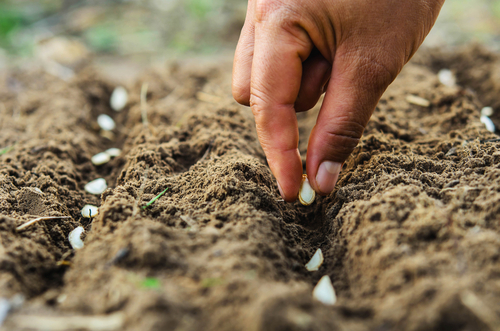
3. To help seeds germinate and sprout earlier soak them overnight in lukewarm water before planting. 4. For a technological and creative approach to gardening check out the available software and apps out there for planning and plotting out gardens. They’re really useful for both new and seasoned gardeners and have even been shown to reduce the chances of ending up with failed crops.
5. For neat rows of evenly spaced plants use a measuring stick. To always have one handy nearby make one out of a long wooden handled gardening tool marking off intervals on it.
6. Keep track of plants by labeling what and where they are located. You can recycle last years labels by scraping off any old marker with sandpaper or use cheap Popsicle sticks, flat stones, or tiles as markers.
7. On cold nights where frost could be an issue you always need to protect sensitive seedlings. Cover them with a terracotta pot at night and simply uncover it the following morning.
8. A very common pest that plants often get is aphids, which are also known by their nastier sounding name, ‘plant lice.’ To get rid of the tiny bugs wrap sticky tape around your hand and brush them off your plants. This will help pick the aphids off while keeping them off your hands as well.
9. Make a super easy irrigation system by recycling old plastic water bottles. Punch a couple holes in the cap, cut the bottom off, insert it in the ground near the plant, and fill with water. This design allows water to slowly be released into the ground so it lasts longer, which is especially important and necessary if you are growing plants in hot, dry, arid conditions.
10. Recycle and reuse leftover water from cooking, like water used to boil veggies, and collect rainwater from your roof/eaves to help water your garden and decrease overall consumption. Every bit helps!
Please check out the video for more information and to get a better visual understanding of all the pointers covered here. Remember, don’t garden harder, garden smarter!

Please Share These Gardening Tips With Family and Friends 🙂


