
She Attaches Some Tubing To Terra Cotta Pots. But When She’s Done It’s STUNNING!
One of the more relaxing things in life is listening to the sound of gently flowing water as it trickles down over smooth stones. Life needs the soothing sounds and peaceful sights of running water and nothing provides them better than a little zen fountain.
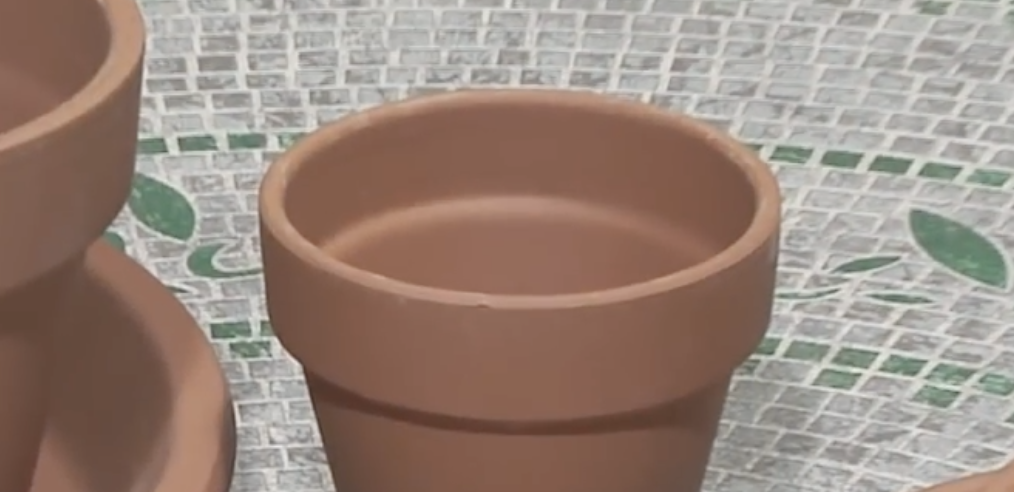
You can make your own extremely affordable and durable fountain at home instead of buying a pricey, yet cheaply made, one at the store. This terra cotta design is ideal to make because the materials are widely available, inexpensive, and you can easily expand on the design to make it your own since it’s so basic.

Plus, if anything should ever break, it’ll be easy to fix. It’s also the perfect size, not too big or too small, and will easily fit on a tabletop or stand. This would look awesome on a porch or in a garden, you can put it anywhere!
Here’s a list of what you will need for this project:
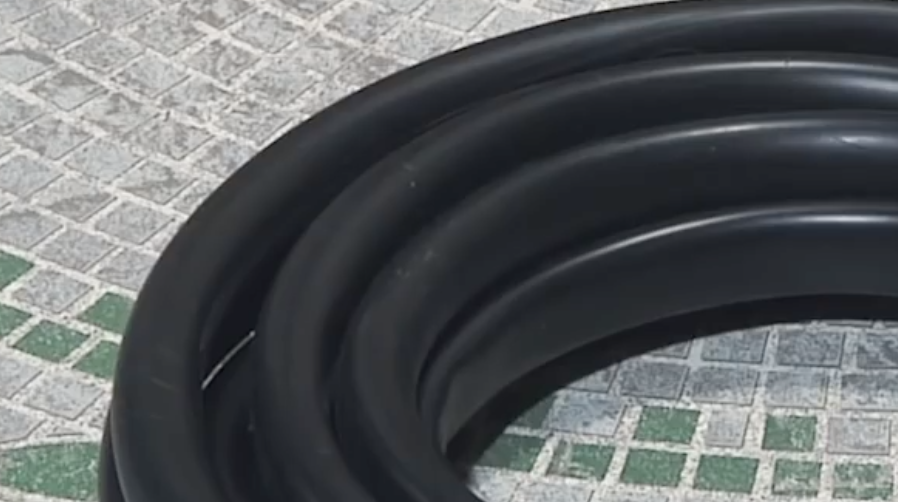
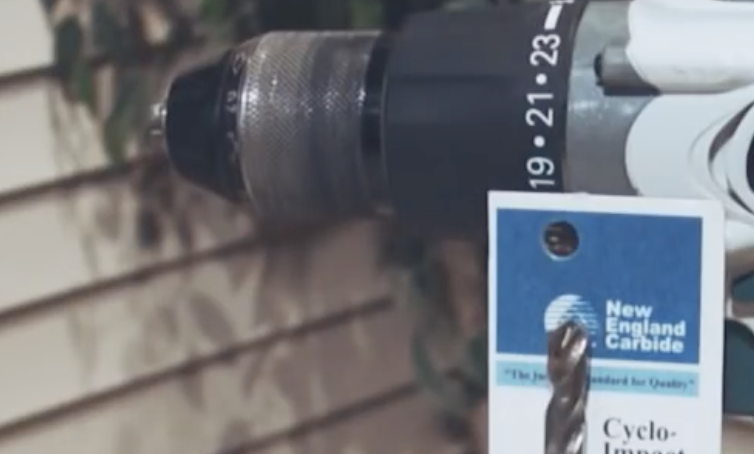
14 inch terra cotta saucer Fountain pump – 7 inch terra cotta saucer Plastic tubing – 6 inch terra cotta saucer Silicone sealer – 4 inch terra cotta saucer X – 3 Clear spray sealer – 6 inch flowerpot Round file – 4 inch flowerpot Drill and 3/8 inch masonry bit
Instructions:
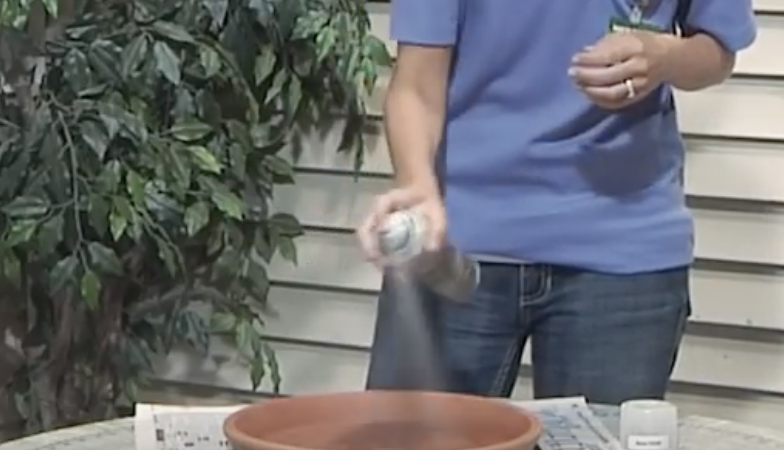
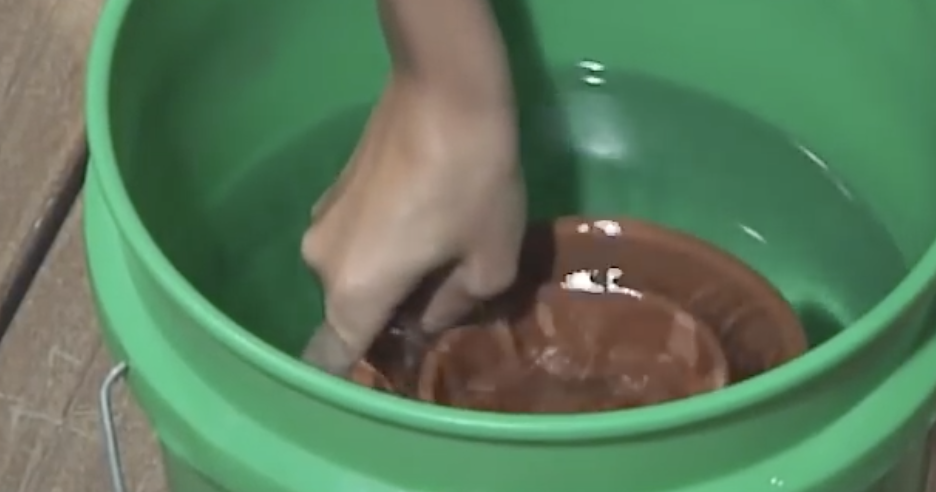
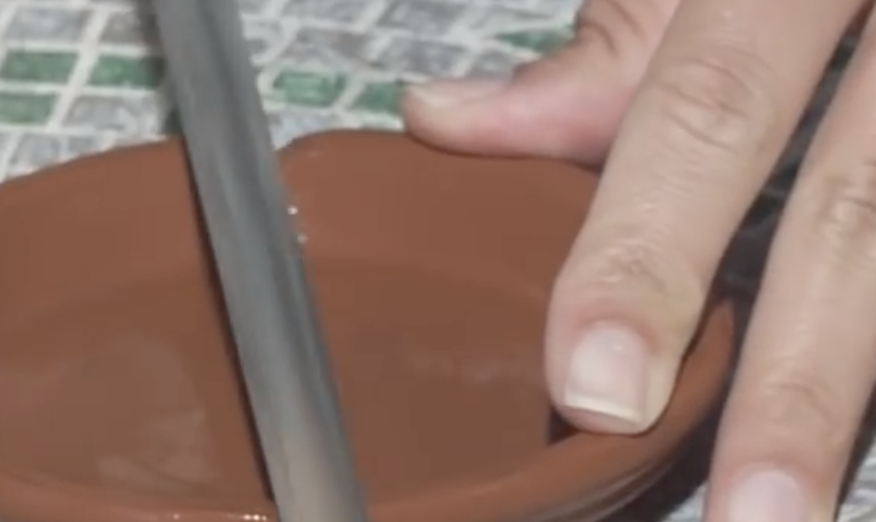
Start by coating the inside of the 14 inch saucer with clear spray sealant. Set it aside and allow to completely dry before re-coating it another two times to ensure that it’s fully waterproof. Take the rest of the saucers and the flower pots and soak them all in a bucket of water for an hour or longer.
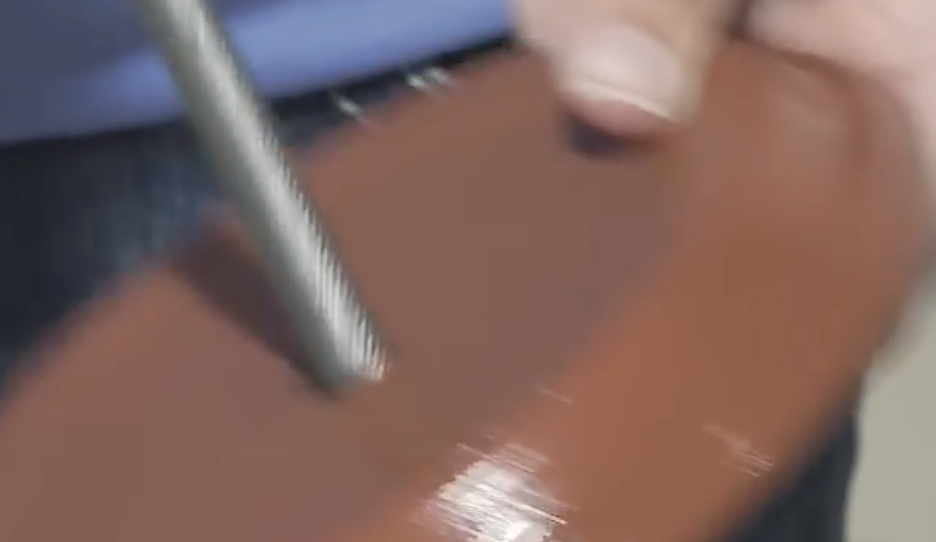
Take the drill and use the 3/8 masonry bit to make a hole in the center of the 7 inch saucer. To make this step easier, place the saucer over a piece of wood to help support and stabilize it. Check to make sure the plastic tubing fits through the hole, if it doesn’t use the round file to open it up further.
Use the round file to file four notches in the 6 inch flowerpot lid so that there’s one on each side and they’re across from one another. Next, take one of the 4 inch saucers and file 4 notches in it, then file a notch in the lip of the 7 inch saucer as well (this will be your spout so file in a downwards motion to make it flow better).
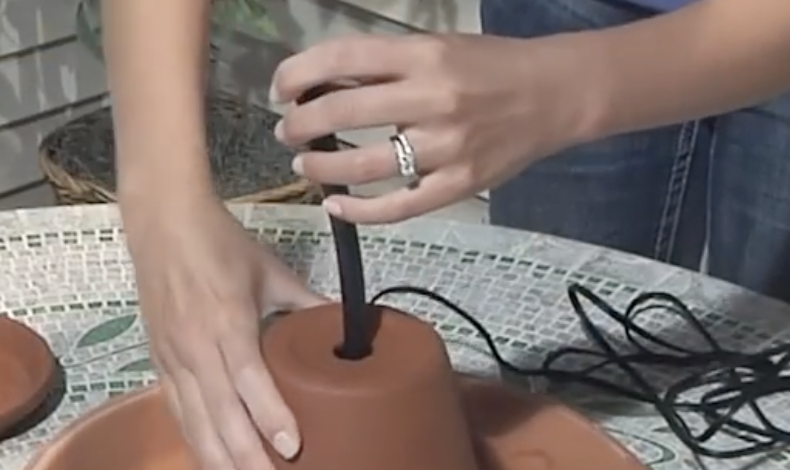
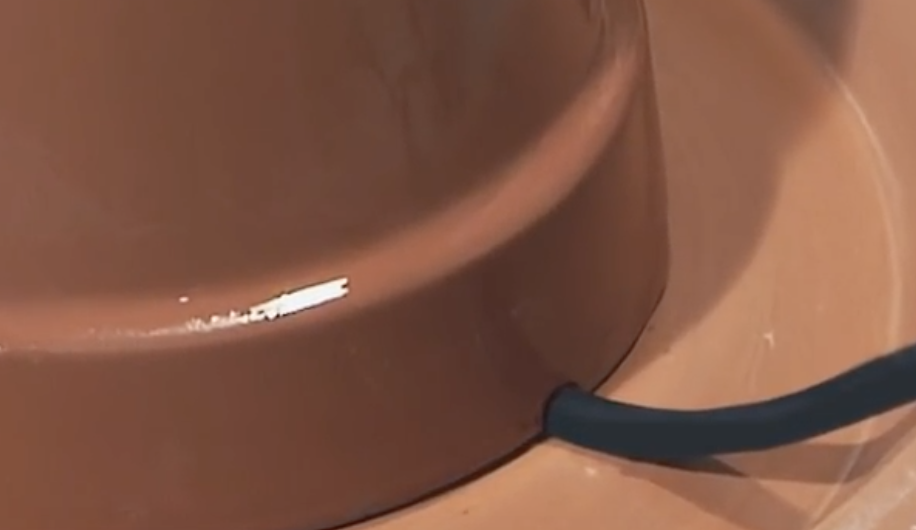
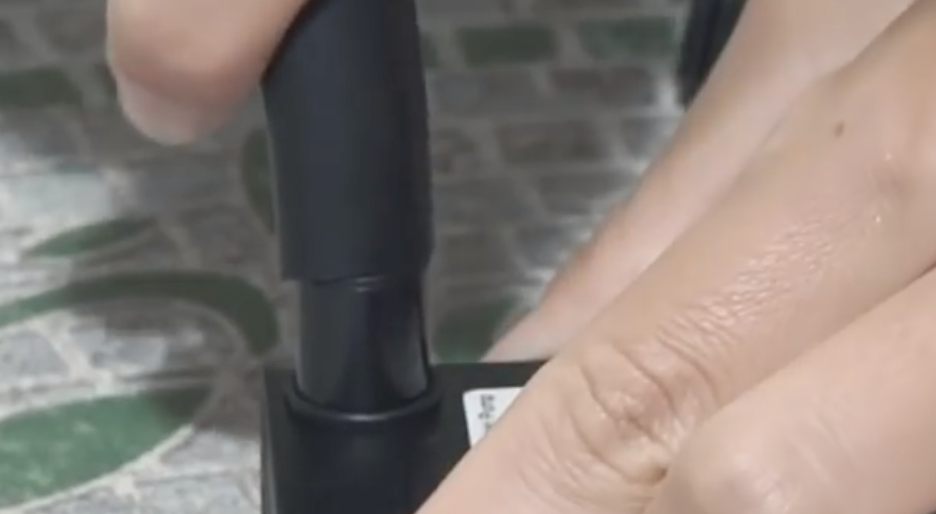
Attach the plastic tubing to the pump’s outlet and then place the 6 inch pot upside down over the pump, bringing the tubing up through the hole in its center. Lay the 7 inch saucer atop this pot, bringing the tubing up through the hole that you previously drilled in it. Fiddle with the tubing until the pump rests flat on the bottom and then trim the tube so that a half inch or so of length extends from the top. Seal this end with silicone sealer and allow it to dry completely.
Next, place the 4 inch saucer that you filed four notches in over the tubing and then place the 4 inch pot upside down next to the first column. Follow that by placing the 6 inch saucer on top of it. Take another 4 inch saucer and place it upside down next to the second column before finally placing the remaining 4 inch saucer on top of it.
Now that the basic assembly is done, fill the base of the fountain up with water. Plug in the pump to an appropriate outlet and make sure it runs smoothly before adding the final effects. You can use pebbles, marbles, glass, stones other types of decorative rocks, flowers, plants, and whatever else you can think of.
Now you can enjoy the relaxing sounds and tranquil sights of your fountain all summer long!

Please Share This With Family and Friends 🙂
She Stacks 2 Terra Cotta Pots On Top Of Eachother. The End Result Is Priceless!
If your thinking ahead for the perfect Father’s Day gift or a birthday present for your brother son or husband this could be the perfect homemade present for any of the special men in your life!
Generally speaking, men are hard to shop for and finding the perfect gift for your father can be downright difficult to do. Most dads don’t even ask for anything, leaving you further in the dark, and would be happy to simply get a nice card and spend some time with you. However, a thoughtful present is the way to go if you want to show just how much you care and appreciate him.
If you need some ideas or inspiration for what to get, check out this video on how to build a homemade smoker. It’s not only affordable and easy to make, it’s also super cool and original. No store is selling anything like this and ones that are available cost well over $500. So if you’re dad loves meat and grilling out, he’ll love this smoker and the fact that you made it yourself.
All that this simple smoker requires is the following:
For the smoker: For the handle you will need these parts:
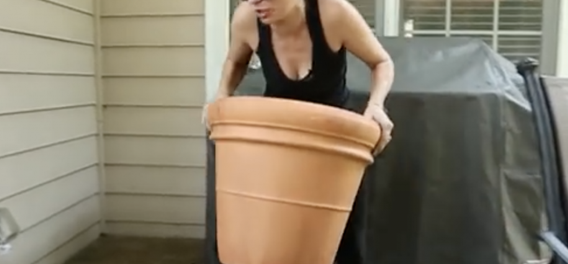
— 2 large terra cotta pots ½ x 8 inch steel pipe — 1 hot plate ½ inch coupling — 1 pie plate tinfoil ½ inch T pipe — 2-4 bricks 2 steel washers — woods chips 2 ½ x 3 inch pipes — grill grate 3 ½ inch pipe caps
Start by assembling the handle first. Attach the coupling to one end of the 8 inch steel pipe and the T pipe to the opposite end. Screw in each of the 3 inch pipes to the T pipe and seal them off with the ½ inch pipe caps. Attach the handle to the bottom of the terra cotta pot by placing a washer on the inside hole and threading the remaining pipe cap through it. Place the other washer on the outside of the hole and on the pipe cap, then twist on the end of the 8 inch steel pipe into the pipe cap. Make sure it’s tight and sturdy, then set it aside.
To assemble the smoker portion take the other terra cotta pot and balance it on the bricks. Use at least 2 or more to ensure that it’s secure and not rickety. Take the hot plate and place it in the bottom of the pot, thread the cord through the bottom hole, and set the pie pan filled with wood chips atop it. Next, put in the grill grate and make sure it sits flat and rests snugly against the sides because you don’t want the meat tipping off it later on! All that’s left to do is place the pot with the handle directly atop this bottom piece and you’re finished.
To use, simply plug in the hot plate and place some meat on the grill. Set a timer for 6-8 hours and by then the meat should be smoked to tender perfection. Smoking times will vary depending on the type of meat, the cut, and size you use, so adjust accordingly.
Elissa Benzie, the woman who guides us through this project on the Rare Life channel, says that she spent under $100 total on all the materials for this. If you already have some of the parts on hand, it’ll be even less. This smoker even turned out to be good looking, dad won’t be embarrassed to use it, and it works great which is most important!
Check out the video for more detailed instructions and to get a better visual idea of what it will look like at each step.
Please Share This With Family and Friends 🙂
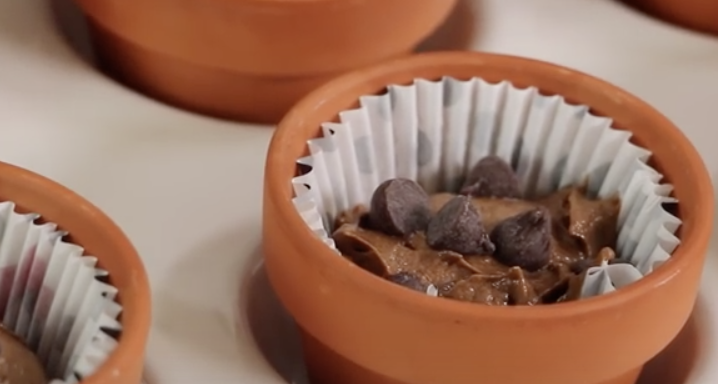
She Puts Cake Batter Inside These Flowerpots. But When She’s Done My Mouth Won’t Stop Watering!

This video was posted as a great idea for a mother’s day treat, but really it could be used for something special for a bridal shower, birthday, baby shower or for just a unique springtime dessert. You get a really special looking treat with, for once, not a ridiculous amount of effort or technique.
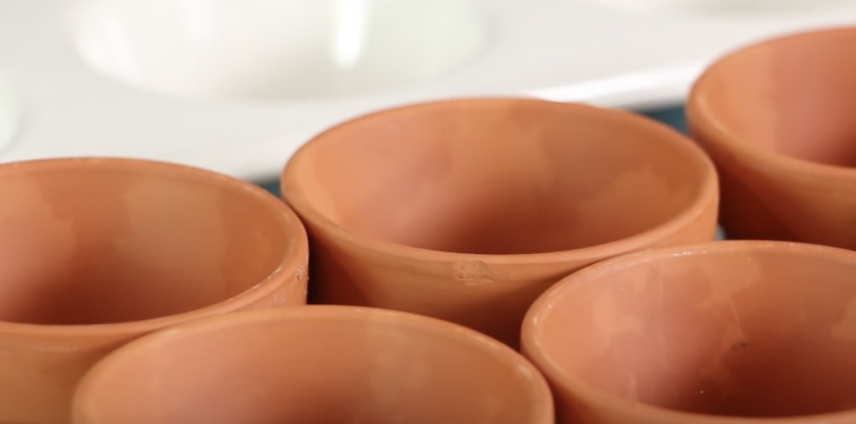
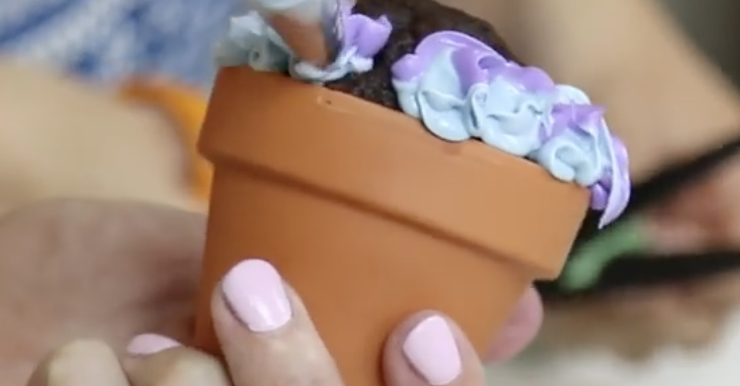
Using small terra-cotta pots lined with cupcake papers, chocolate cake batter is poured and baked. Then the decoration begins. These two lovely women from Orange County, California, decorate these flower-pot inspired treats. It’s so simple, even I’m going to try it this weekend! With just a couple ingredients and a little extra love this is the perfect treat for any occasion.
When the pots cool add the little flowers and leaves as demonstrated. This crosses the simplest crafting technique with baking resulting in a dessert that looks too good to eat! I kind of just want to keep one as a sculpture decoration! lol! Pass on this simple demonstration that will delight you, your family and friends. This recipe is sure to be a crowd pleaser!
Please SHARE With Family and Friends


