
THIS Is How You Can Make The Perfect Bow Everytime With A Fork! It’s So Simple For Mother’s Day!
For some of us there is nothing more satisfying than wrapping gifts ourselves, whether it be for the holidays, birthdays or just a token of our love and friendship. Others don’t particularly like making a bow because it’s too hard, but hate spending the money on one, when it just gets ripped off and discarded.
There is a saying that, “presentation is everything”, which for me perfectly summarizes the video below. Another saying is “good things come in small packages”, and the trick you are about to watch is just perfect for those smaller gifts.
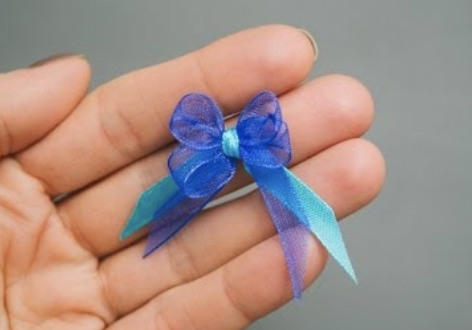
Using a fork and some ribbon, this YouTuber shows us how the small perfect bow is created in an easy-to-follow step-by-step fashion. So save some money after you learn this really fun technique for making the perfect small bow.
It is so pretty, and after trying it I can honestly tell you, that the method never fails to produce this little gem that will accent your gifts in such a thoughtful way.
Please SHARE This Bow Trick With Family and Friends 🙂
Video: THIS Simple Trick Will Make Opening Tough Packaging A Breeze and It’s Done With Only 2 Quarters!
Have you ever tried to open something that was packaged but just couldn’t get it unsealed? I’m talking about those annoying moments when no matter what technique you try the wrapper won’t rip, tear, or budge. After a little while you just end up getting really frustrated and angry, and still can’t get the thing open!
Usually it happens with food, candy, or some other type of product that you’re trying to get at, and the struggle is all too real. Eventually you have to grab a knife or scissors to open the darn things and your left feeling defeated, weak, and incompetent.
These days it seems like companies are wrapping stuff up in childproof packaging that is a real pain to break into. It may look like a simple wrapper, but looks can be deceiving. If you have ever wrestled with packaging then you need to check out this super quick video that shows a simple method on how to easily open up stuff.
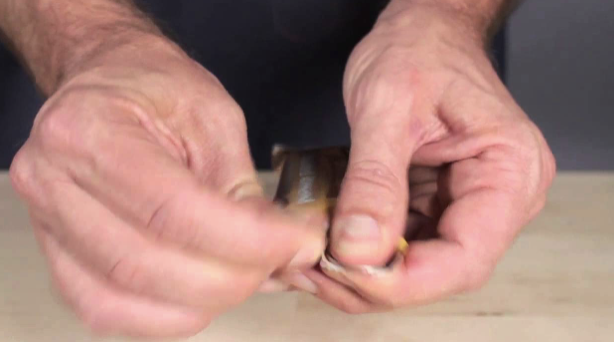
All you need is 2 quarters or something similar in shape, size, and firmness to them. Other change would also work, but quarters are the biggest coins and so they’re easier to handle. Find the spot on the wrapper where you wish to open it.
Place a quarter on one side of the edge and a second quarter on the opposite side and down a little ways, so it’s not directly atop or flush with the first one. Hold them in place against the wrapper and then take the quarter on the underside and pull it towards you. The packaging should tear easily and now you can get to whatever it is you need.
This method works because it gives your fingers something to firmly grip onto. They won’t slide around or simply bend and mush the packaging which is what often causes problems when you try to open them to no avail. It also creates a nice, neat tear and keeps the wrapper in place, which is a lot better than ripping it wide open and having everything fly out all over the place.
Nothing is worse than wanting to eat a Nature’s Valley bar and having it explode in your hands, with crumbs going everywhere, and half your snack on the dirty floor! Try this out yourself the next time you have issues with a wrapper and never look back. Be sure to share the knowledge and pass this solution on to others who also suffer from wrapper-incompetence!
Please Share This Awesome Trick For Tough To Open Packages With Family and Friends 🙂
This Guy Drills A Hole Into A Flower Pot. The Unexpected Final Result Will Save You A Ton Of Money!
This version of a do-it-yourself home candle heater is claimed to be the most efficient and simple design out there. With its adjustable base you can customize the efficiency by controlling heat loss and allowing for candle space. The fact that the heater is hanging keeps it from getting too hot and ruining adjacent surfaces. The apparatus is visually more appealing than other kinds like it, which makes it nice to use even when you have company at home.
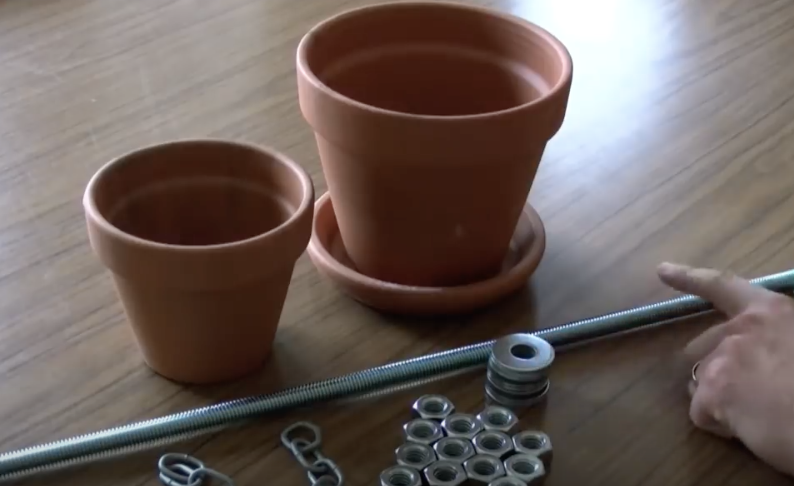
Start by gathering your materials; a six inch clay pot, with its base, a similar five inch pot, a length of chain with an odd number of links, 14 half inch nuts, 11 half inch washers, and a foot or so of half inch threaded rod. Now, put two nuts on the end of the rod, about an inch from the end.
Place the two end links of the chain onto the rod distal to the nuts, secure the chain with one more nut on the end of the rod, and tighten the two bottom nuts by twisting in opposite directions. Next, slide a washer and the big pot onto the opposite end of the rod and push it up to the secured nuts.
Insert another washer, followed by a nut, onto the rod inside the pot. With the nut tightened, top it with a washer and the small pot. Add a washer and two more nuts, again with the nuts threaded in opposite directions so that you can fasten them against each other.
Alternate placing the rest of the washers and nuts on the rod in order to create mass for the candles to heat. Save one nut and washer for the assembly of the base, and make sure you have drilled a hole in the bottom before you slide the rest of the heater onto the rod. Hang the heater from the top chain and place candles on the tray to light, and voila, you have heat!
Please Share This With Family and Friends
THIS One Simple Trick Will Get Rid Of Those Annoying Fruit Flies and Gnats For Good!
A fruit fly infestation in your home can be more than a bother. These tiny pests, also known as gnats, can often become unbearable. It can require disposal of fruits and vegetables, replacing cleaning supplies, fixing suspect drains and plumbing and on and on.
After attempting all of these fixes you may find yourself still battling the infestation. This is due to the fact that the breeding of these gnats is rapid. If you have run out of patience with these annoying pests, there is a simple solution that I truly wish I knew about years ago!
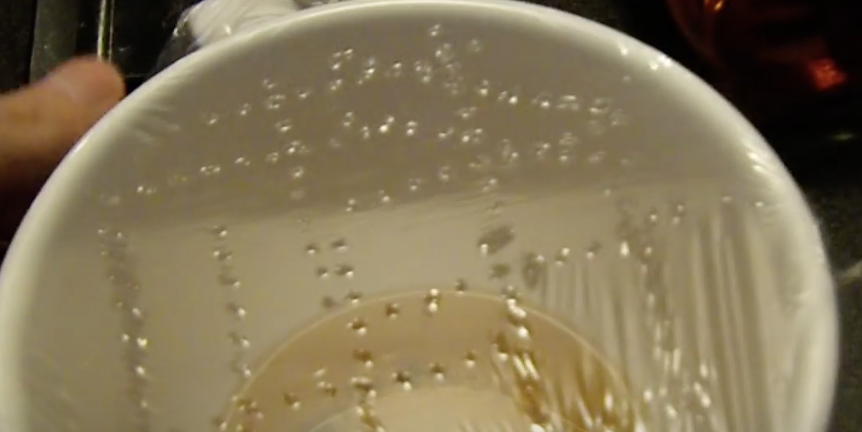
All you need is a cup, some apple cider vinegar, plastic wrap and a device to poke very tiny holes like a toothpick. This DIY will show you what to do with these simple products to finally take care of the problem. Watch this simple video, and your problem will be solved. It is the perfect life hack with spring in full swing and summer right around the corner!
Please Share this with friends and family
I Thought It Was A Terrible Idea When He Set A Wine Cork On Fire But This Unexpected Trick Is Brilliant!
One of life’s little joys can be found in a nice relaxing glass of wine. There is just something inherently comforting and enjoyable when you sit back and sip on it after a long stressful day. It seems like there is a wine out there for everyone with so many types and varieties readily available.
Once the bottle is empty it usually doesn’t take long before another one is uncorked and wine aficionados often end up with a bunch of corks laying around. Instead of treating them as waste and throwing them out put them to good use and get the most out of your wine habit!
Wine lovers everywhere can appreciate this video that covers 8 different ways to reuse leftover corks. The first project is for wine cork magnets. Cut a cork into 1/8th inch pieces and glue small magnets on one side, then decorate the other side however you wish. Similarly, you can hollow out one end of a cork, place an air plant in it, glue on some magnets, and stick it on any metal surface.
Air plants don’t require any watering because they get all their required nutrients from the air, so they make perfect low maintenance plants for this project. Next up is floating cork key-chains that will ensure your keys never sink when they end up in water. Take a cork and insert a screw eye in the middle of one end, tighten until snug, then attach a key ring and key to it.
Need a bag clip? Make a few wine cork chip clips to help keep bagged food fresh and crisp. Stand a cork up and cut down about an inch into it, move over about a ¼ of an inch and make a 2nd downwards on a 30 degree angle so you end up with a wedge. Another handy use is to make them into plant markers. Take a wooden skewer and stab the sharp end into the cork, label appropriately and stick it in the ground near the plant.
For a more decorative approach try making a candle cork vase. Take a large vase and a smaller glass of equal height that can fit inside of it. Put a candle inside the small glass, place that into the vase, and fill in the surrounding gap with an assortment of corks.
Another useful thing you can make is a cork mirror that doubles as a hot plate to protect counter tops and surfaces from hot pots and pans. Cut a bunch of corks in half lengthwise and lay them out on the mirror you wish to decorate. Glue them on 2 at a time so they frame the mirror and trim any to make it fit nicely.
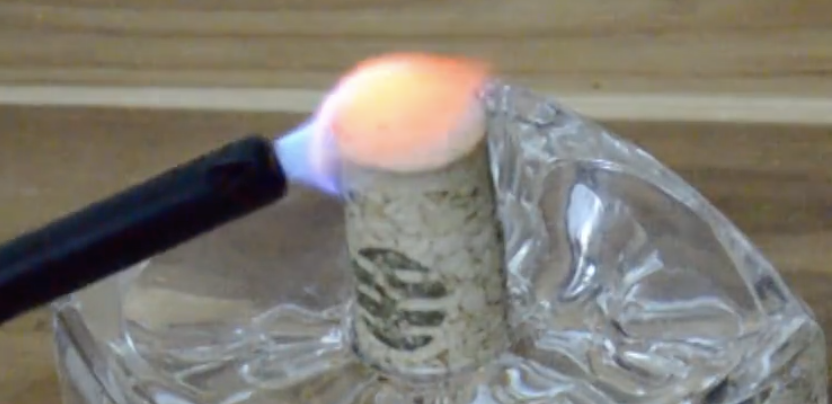
Finally, we saved the best for last, cork candles. Take a small mason jar and fill it with 70% rubbing alcohol, place a few corks inside, cover it tightly, shake it up, and let it sit for at least 24-48 hours (the longer the better). When you go to burn it simply take a cork out and place it in a candle holder that fits it snugly ad then light the top.
It doesn’t last as long as a normal candle but it’s a good alternative and great to have around in case of an emergency. That’s it! All of these DIY projects are simple, cheap, and easy to do. The next time you drink a bottle of vino, save the cork and reuse it!
Please Share These Awesome Wine Cork Hacks With Family and Friends
This Guy Pours Olive Oil All Over The Inside Of His Car. But The Reason Is Brilliant!
This car cleaning trick works great and is a safe alternative to the harsh chemical products that people usually turn to when cleaning their car interiors. Since you only need olive oil and a napkin there is absolutely, positively no toxic chemical residue left behind on surfaces or lingering in the air. It won’t smell heavy like a factory either. Instead, there will be a pleasant and barely noticeable scent of olive oil, which is much better than fake chemical odors.
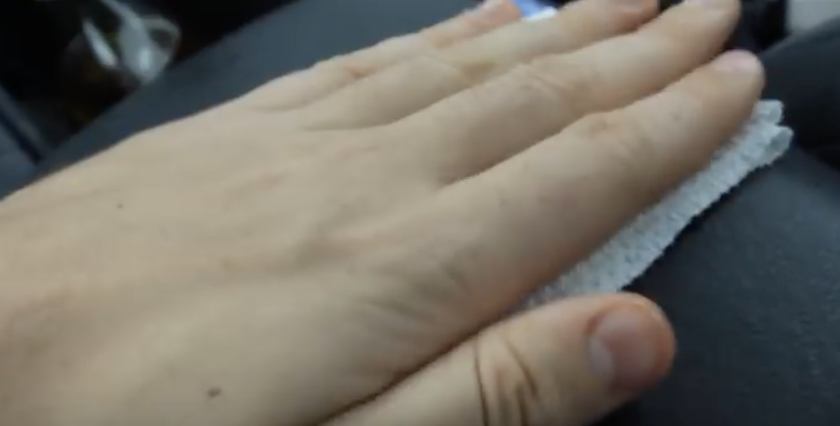
This video was made courtesy of YouTube channel CrazyRussianHacker. He shows us how he cleans his car’s leather interior with olive oil and thoroughly explains the nuances of the technique. Getting right down to it, start by taking a napkin or paper towel and fold it in half several times over. Take some olive oil and pour a few drops onto the napkin. The key here is to remember that a little goes a long way.
Don’t pour on too much oil because you’ll end up making a mess and wasting it. Next, rub it in evenly onto the dashboard, making sure to cover all exposed surface areas. Once you have put down a coat of oil, take another clean napkin or paper towel and wipe over the surface again.
This will just pick up any excess oil that may be present or didn’t get absorbed. The oil will help pick up and remove the dust and leave behind a pleasant odor and a nice, shiny sheen. It’s the safest and most effective way to clean your car’s interior, and probably the cheapest too.
The best thing about this ‘crazy Russian hack’ is that it can be done for pennies on the dollar. Most people have olive oil on hand in their kitchen and paper towels or napkins. If not, gas stations often have paper towel dispensers near the pumps, and inside there are most likely napkins if they sell food so just grab a few.
If you have young children and/or pets who spend a lot of time in the car, you don’t want them being exposed to whatever chemicals and harsh ingredients auto cleaners contain. Keep them safe with olive oil, plus your skin and hands will thank you if you get some on them!
Please Share This Car Hack With Family and Friends


