
You Will Never Buy Donuts Ever Again After You See How Simple It Is To Make Them
Some people love donuts and their mouths water when they catch a whiff of the tasty high calorie treats. For those who want to indulge in them without feeling so guilty and heavy afterwords, this recipe is for you. It is a lighter, more healthy, version of a donut because it is baked instead of deep fried. YouTube channel OnePotChefShow gives us the how-to in this video and even shares their secret ingredient for making rich, moist, delicious donuts.
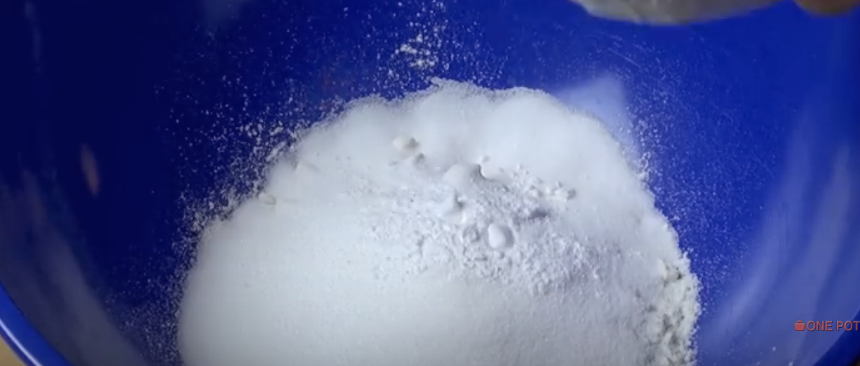
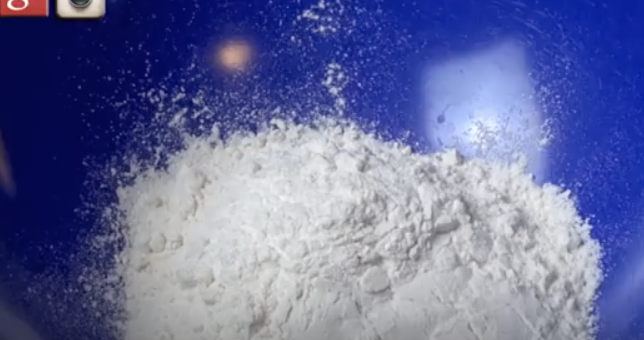
Gather up all the ingredients including: – 1 cup of plain all purpose flour – ¾ teaspoon of baking powder – ¾ teaspoon of baking soda – 1/3 cup of caster sugar – 1 teaspoon of vanilla extract – ½ cup of low fat vanilla yoghurt – 1 egg – 250 g (about 2 cups) of fresh blueberries (or strawberries, raspberries, blackberries, etc)
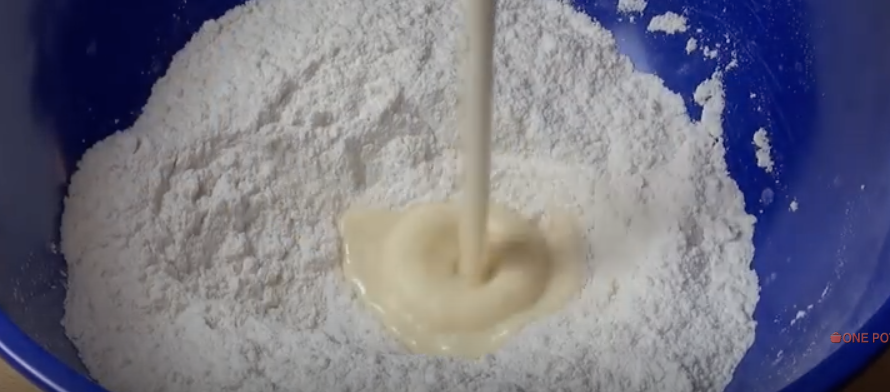
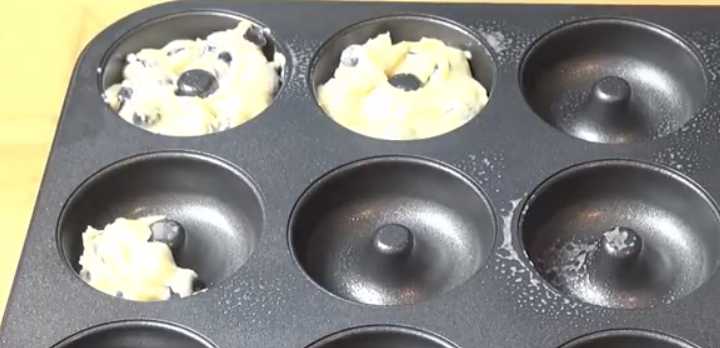
Mix together all the wet ingredients first then mix them with the dry ones. Add the berries in last and mix everything up. Spoon the dough into a donut tin so they are about three-quarters of the way filled and bake them for 10-12 minutes at 375 degrees or until golden brown. Once they have cooled sprinkle on a dusting of vanilla sugar and enjoy!
Please SHARE With Family and Friends
With Just 3 Simple Steps This Woman Transforms Ordinary Mason Jars Into Something Amazing!
Mason jars have been making a huge comeback recently and they are no longer used only for your grandmother’s canning needs. These days they hold anything from quick and easy on the go salads and snacks to hand poured candles. This YouTube video from flourishxo shows how to make DIY colored mason jars. They add an extra pop of color for any room in the house and can be used for holding flowers or a flame-less tea light. Best of all they are very inexpensive and easy to make.
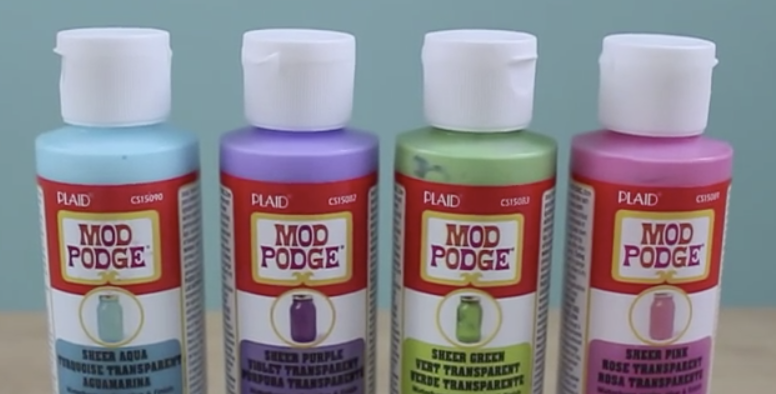
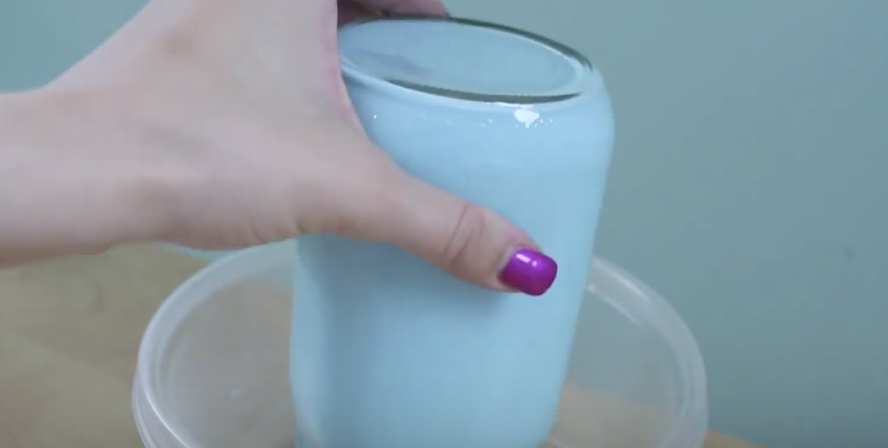
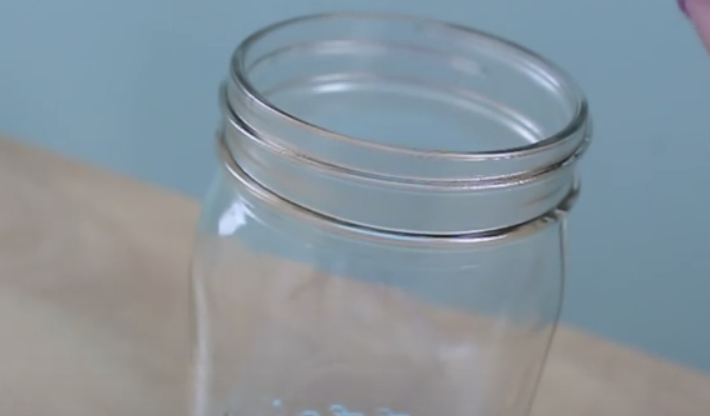
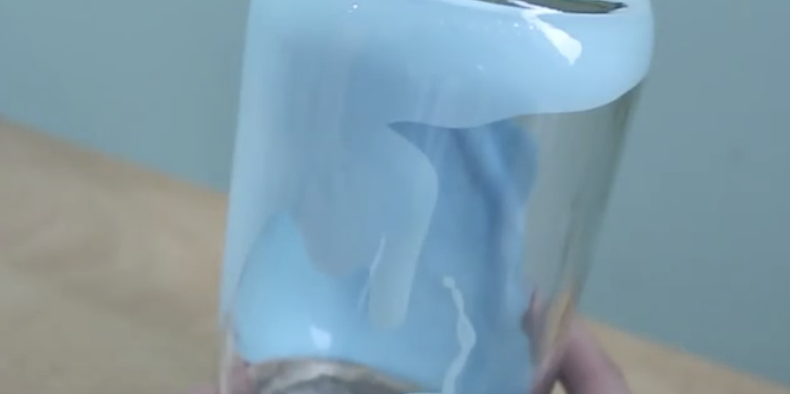
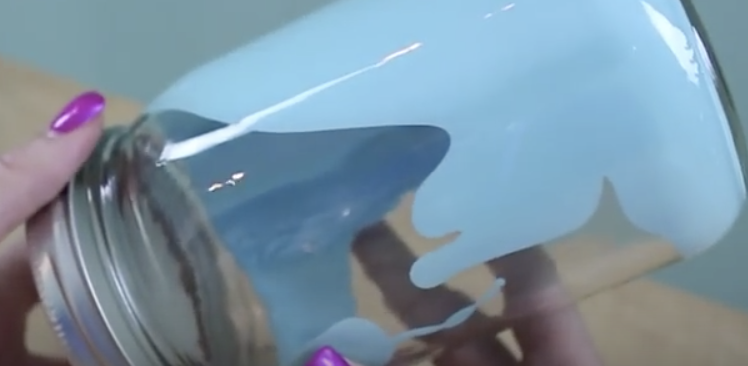
Start by gathering your materials. You will need mason jars of any size, different colored modge podges, a plastic container/bowl and paper towels. Begin by pouring some colored modge podge into a mason jar and place the lid on tight. Then, tip the jar all around and upside down so that the modge podge coats the entire inside surface of the glass evenly.
Take your time and be sure to make certain there are no spots left uncovered by the glue. After, remove the lid and turn the jar upside down into the bowl so that any and all excess glue drips down and out. Repeat the process for each jar you want to color and then take some paper towel and wipe up any excess modge podge from the lid(s). Wait about 12 hours to completely dry before using them for whatever you’d like!
The colored mason jars will make a beautiful decoration on a porch or as an addition to a picnic table spread. You can use them to hold utensils, napkins, candles, flowers, or as a hold-all for little knick knacks. The possibilities are wide open and they are incredibly easy to make with things you likely already have on hand. Check it out and give it a try!
Please SHARE With Family and Friends
Woman Mixes Flour Salt Oil and Kool-Aid and Then Warms It Up. When She’s Done AWESOME!
This is an old favorite DIY that’s worth revisiting now that summer is near. When the kids are off from school, and it’s a rainy day, you can never have too many really fun crafty projects for them to participate in. This video has an instructional, that will both save you money and double as a fun DIY to make with your kids.
The finished product is homemade PlayDoh; the beloved reusable form of clay has provided hours of entertainment for generations of children, for at least 6 decades. The downside and real expense of PlayDoh is that it dries quickly when not covered (which is often the case), becoming useless for further creations.
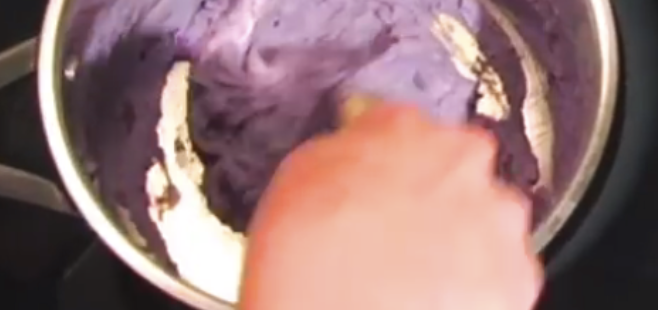
This DIY Play Doh recipe lasts longer and has a secret ingredient that gives it a variety of colors, makes it smell delicious, and keeps it non-toxic for the really little ones who still love to test things out by putting it in their mouths.
The secret ingredient? Kool-Aid!! The other ingredients are flour, salt, cream of tartar, warm water and vegetable oil. Gather these up and watch this simple-to-follow recipe that will provide you and your children endless hours of fun and creativity.
Please SHARE With Family and Friends
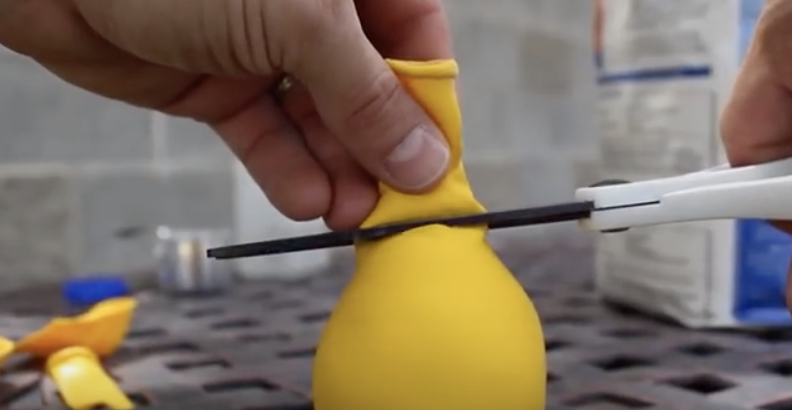
This Guy Cuts The Top Off These Balloons For An Incredible Reason. I Need Like 10 Of These!
There’s nothing better than new ways of making DIY toys at home. When you consider the expense of new toys, and how quickly kids either break, outgrow or get bored with them, a DIY toy is a welcome pleasure. In this world that is consistently moving faster and faster with technology and immediate gratification it becoming easier and easier to become stressed out. This brings us to todays DIY project.

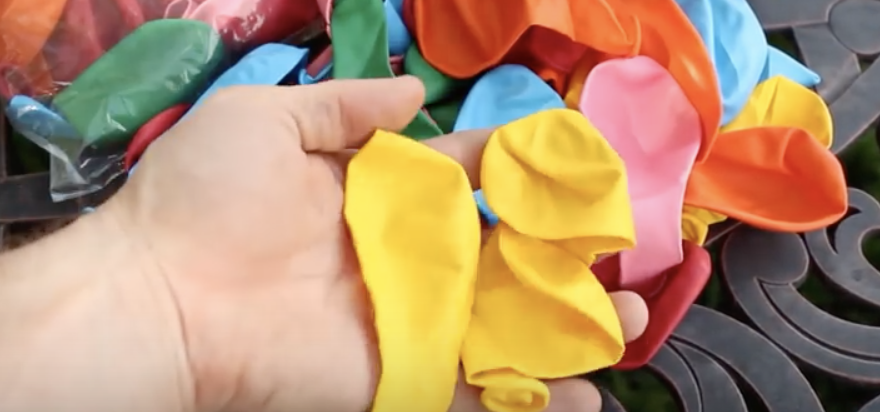
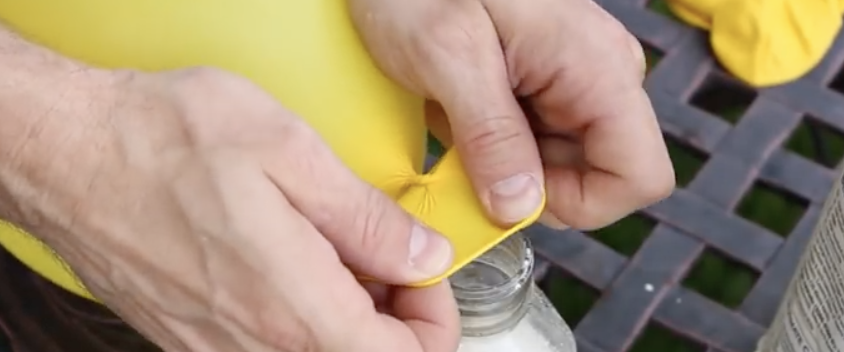
For this one, all you need are multicolor balloons, flour and empty plastic bottles. The video shows you step-by-step, how to make “ninja balls” or stress balls. They would work great as party favors, toys for games, or even as cool little pieces of art. Quite frankly, I could see them as stress relievers for both kids and adults.
The colorful balls are not only satisfying to the touch, but really have an appealing look. Watching them being put together was so much fun. Enjoy the video and share it with anyone you think would like to try this. Hope you have a stress-free day!
Please SHARE With Family and Friends
This Lady Cuts Up An Old Blue T-Shirt. When She’s Done It’s PRICELESS!
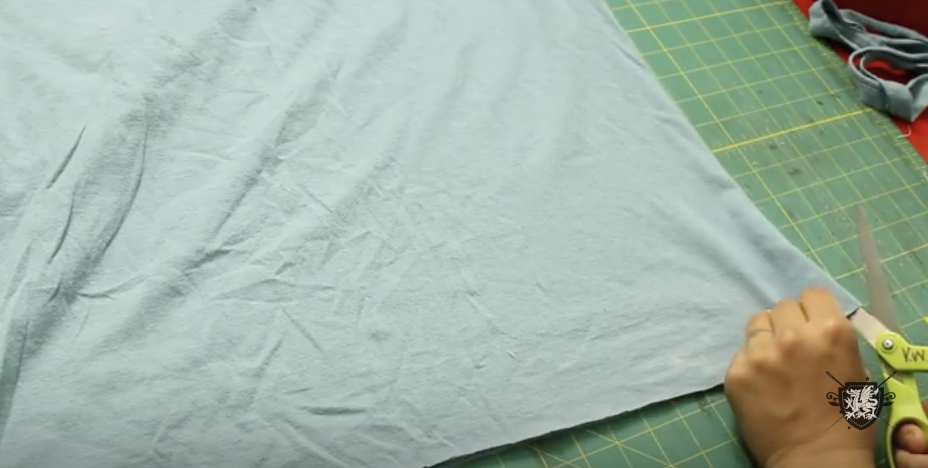
I just love these super easy DIY projects that result in something useful, attractive and great to make for yourself or as a really personal, thoughtful gift for a friend. The Crafty Gemini presents just such a tutorial in this video. All you need is a sharp pair of scissor and old t-shirt, preferably a Mens Large, and you can, within 15 minutes, transform it into a DIY hobo bag that is just really great looking, functional and really fun to do.
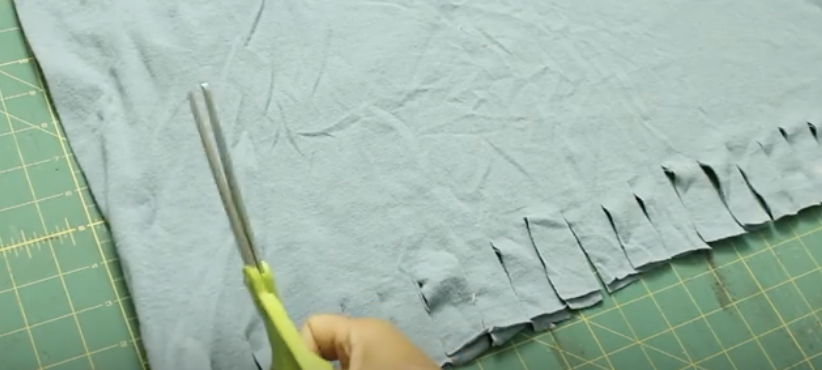
It’s great as a tote when you want to pack up more stuff than you can fit in a purse. For an outing to the beach or park, this is your perfect bag. Depending on what you want to use it for, you can alter the size, simply by the size t-shirt you choose to make it.
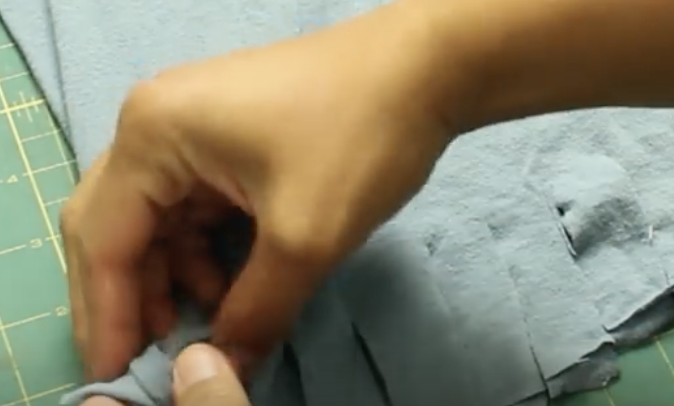
I’m going to give this a try this afternoon. It’s so cheap and easy to make and in the end it’s a totally awesome spring and summer accessory. Pass this on to your friends and please let us know how your hobo turns out. Have fun and enjoy making your own. Let us know how yours turns out!

Please SHARE With Family and Friends
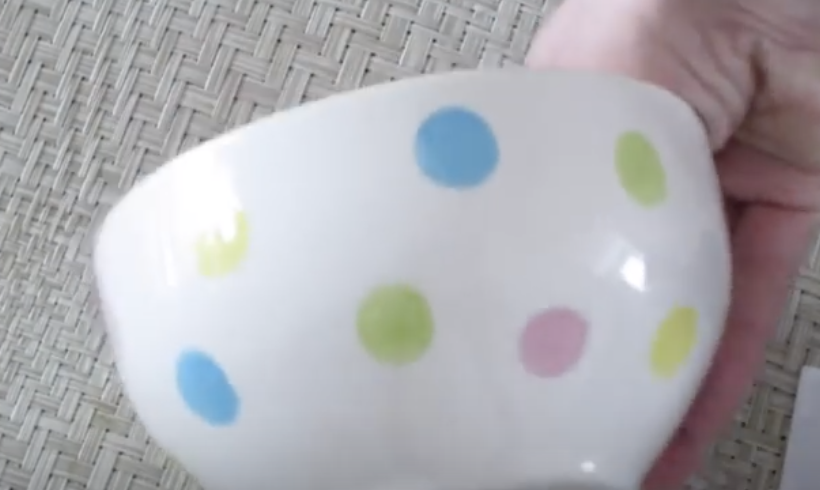
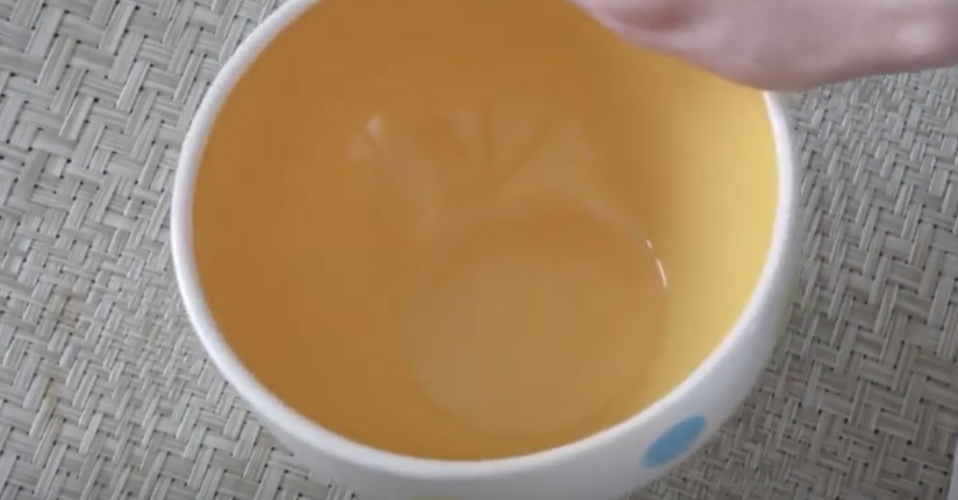
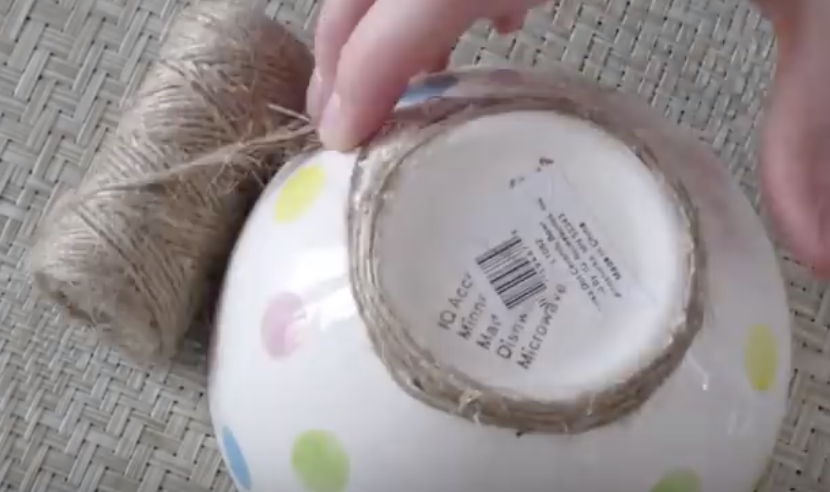
Woman Begins Gluing Twine To A Cereal Bowl. When She’s Done It’s STUNNING!
I don’t know about you, but one of my most relaxing activities, is looking through home decor catalogs and imagining different items in my home. Some of the smallest decor touches can completely change the vibe of a room. A certain decor can make or break a room. There is nothing like getting that perfect piece that completes the vibe of a room. What can make it even better is if you are the designer of the piece. That brings us to today’s DIY project!
This DIY video is one of the best I’ve come across. She uses items from the dollar store to create shocking replicas of Pottery Barn home decor items, with such ease, that it would be a crime to spend the money because of laziness. Plus, it really looks like a fun project!
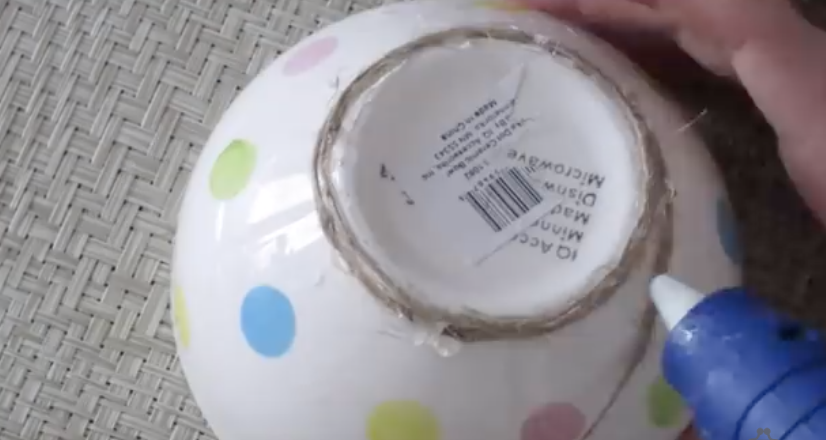
For under $12 she creates a multi-mirror leather art piece, a twine nautical bowl, and a magnetic chalk dish that would have cost over $300 at Pottery Barn, and puts them together in 15 minutes! I kid you not. This is a DIY I’m actually trying today. If you decide to try any or all of these let us know how they came out. Have fun!
Please SHARE With Family and Friends


