
She Puts A Headband On Her Head And Folds Her Hair In. When She Removes It In Morning It’s Stunning
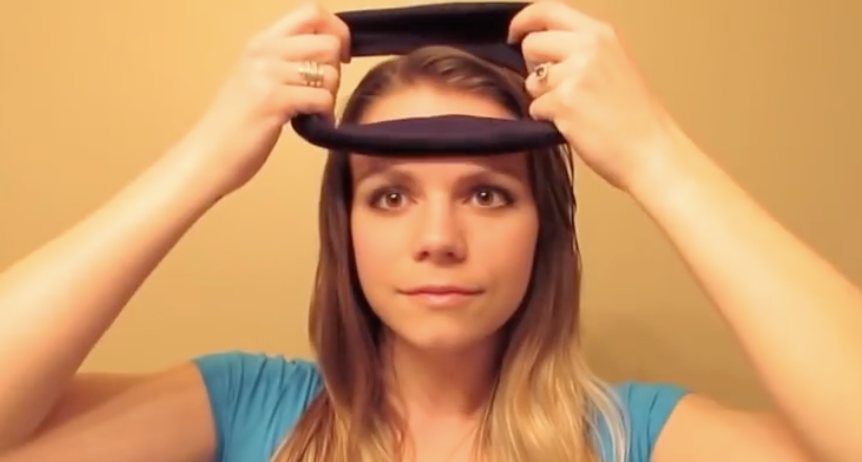
image via – youtube.com
Women have spent years using hot rollers, regular rollers, curling irons, blow-dry brushes…all in the pursuit of pretty manageable curls. The girl in the following video shows us how to avoid all these heat damaging techniques.
She demonstrates a clever way to create lovely curls on her straight hair, but this also works for curly, kinky and frizzy hair. The bonus is that without the horrible damage that heat does to our hair, you can achieve beautiful shiny, bouncy curls, while you are sleeping!
Using a regular stretchy headband, watch this demonstration that gives you perfect romantic-looking, sexy curls. You will see her put it around her head, 60’s hippy style, and dampen it with a little sea spray. She then winds her hair around it section by section. Wait until you see what this straight hair looks like in the morning when she removes the headband.
I, who have naturally curly hair that has a mind of it’s own, and some frizz, tried this technique. I got the same results! When you remove the headband, style it with your fingers, and finish with the cream or hairspray of your choice. The curls hold for a couple of days until your next wash! Sleeping on this is completely comfortable, but if you want a quicker result, you can achieve this look in an hour, if you have curly hair.
I’ve done this a few times and once I’ve started the twisting through the headband I don’t even have to look in the mirror. I just watched some TV and actually found the process relaxing. Let us know if you will try this.
Please SHARE this Amazing Technique For Beautiful Curls Without Damaging Heat with your Family and Friends
She Wraps A Shirt Around Her Wet Hair. When She Removes The Shirt It’s Unexpectedly STUNNING!
If you have curly hair then you know how much of a pain it can be when trying to style it into the perfect look. Fussing with curls too much makes them frizzy but there’s no other way to go about doing hair other than that. To combat the problem many people end up using lots of different products that weigh down hair and make it look bad.
Others blow dry, chemically straighten, or run hot irons through the curls in attempts to get hair under control. These can easily damage and ruin otherwise perfectly healthy hair and take a lot of time, patience, and money that could be better spent elsewhere.
There is hope for curly haired people everywhere in the form of plopping or plunking. It sounds funny but this technique can give you frizz free, bouncy, beautiful curls. It’s easy to master and only requires a tee shirt, no expensive gadgets or serums are necessary, and since it’s done overnight you’ll free up a lot of time in your morning routine yet still look great. This video will show you how to plop your hair. Check it out and try it tonight!
First shower and clean your hair, then towel dry it and add any styling product you prefer to use, but only smooth them onto hair from the ears down. Don’t put any product above your ears because that weighs down hair and overtime the products build up causing it to look bad and unhealthy.
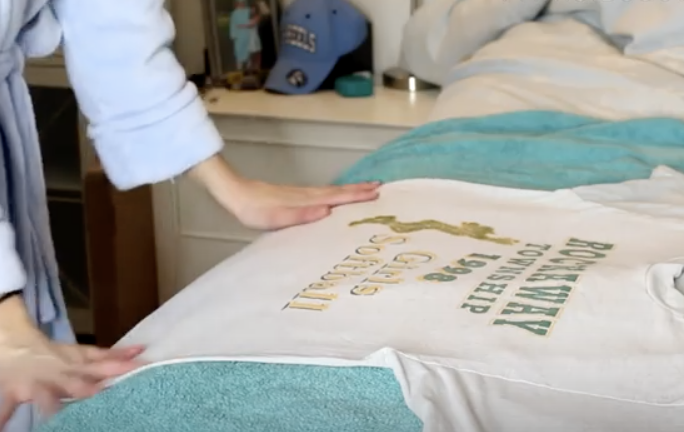
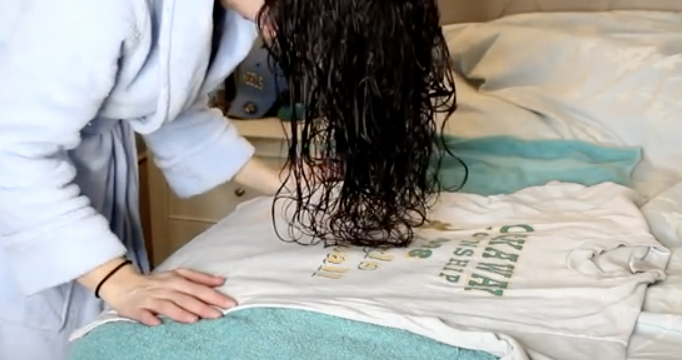
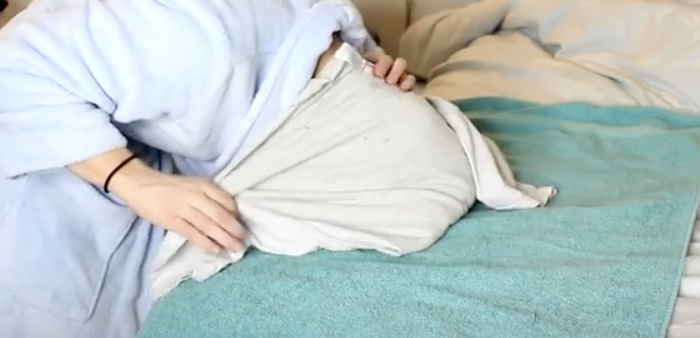
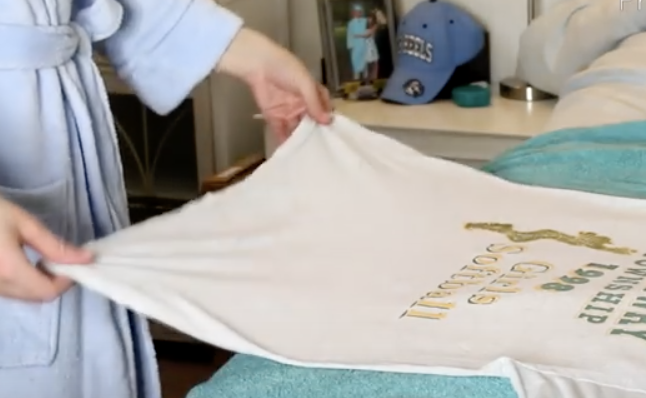
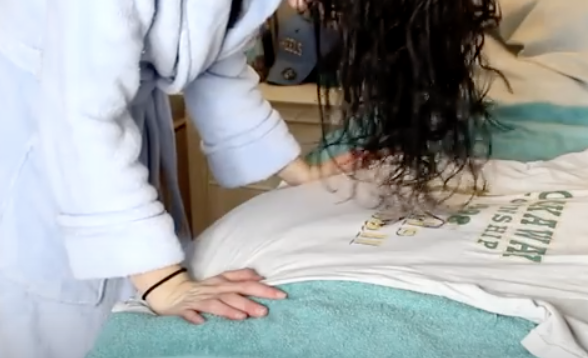
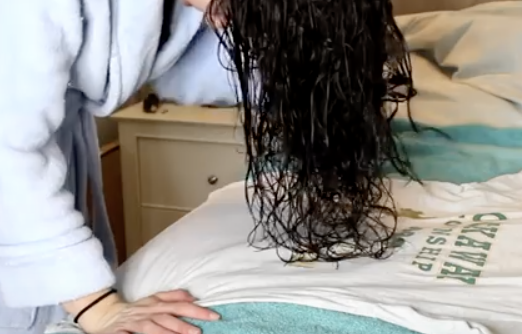
Comb the product(s) evenly through your hair then lay out a large cotton t-shirt. Smooth it down on a flat surface in front of you, a bed works perfectly. Shake your hair out, then flip it in front of you and lower your head down onto the shirt carefully so that the curls don’t get crumpled or tangled.

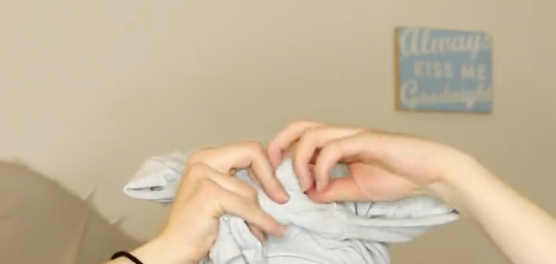
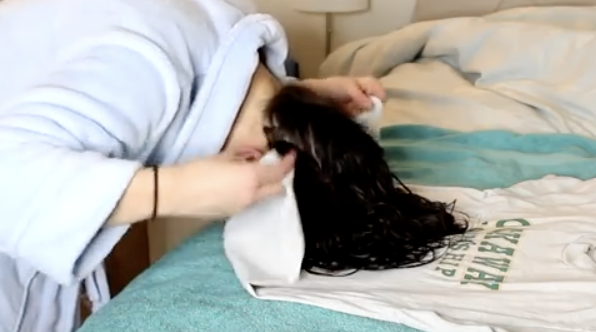
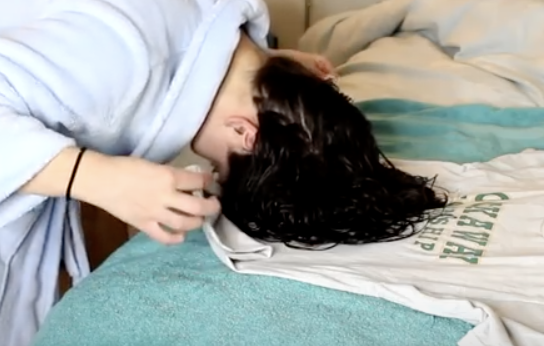
Keep your head still and grab the bottom edge of the shirt, wrap it around towards the base of your neck, and hold it there in place. Now grab the top of the tee and pull the neckline part down to the base of your neck, pulling the sleeves to the side of your head.
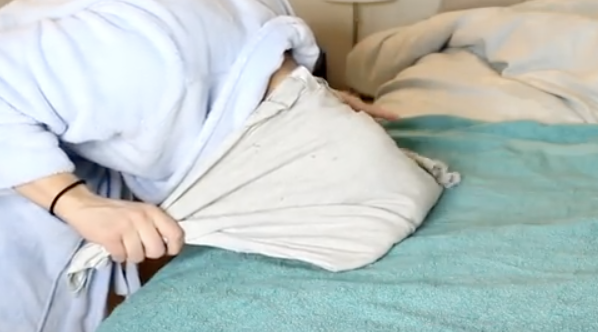
Tie the sleeves in the front so that you end up creating a turban out of the shirt and tuck in the tails or any extra loose fabric so it stays in place. It may take a few tries to master the turban but eventually you’ll get it right and love what plopping does for your hair.
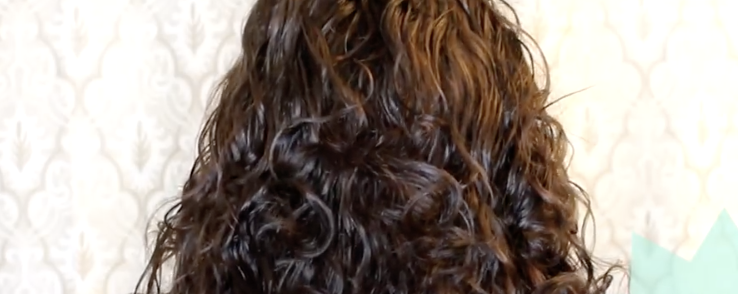
The t-shirt will protect your curls as you sleep on them overnight and all that’s left to do in the morning is to unwrap your hair. Your curls will be dry, bouncy, frizz free and while you may have to reshape a few with a curling iron, that’s it!
Please Share This Hair Trick With Family and Friends
This Woman Wraps A T-Shirt Around Her Wet Hair. When She Removes The Shirt STUNNING!
Curly hair can be a real pain when it comes to styling and creating the perfect look. Fussing with the curls too much often makes them frizzy and to combat the problem many people end up using lots of product that weighs down hair and makes it look bad. Others blow dry, chemically straighten, or run hot irons through their hair in attempts to get it under control.
These can damage and ruin otherwise perfectly healthy hair and eat up a lot of time, patience, and money that could be better spent elsewhere. So what’s a girl with curly hair to do? Try plopping or plunking it!
This video shows how to plop your hair, which is to say it will end up giving you frizz free, bouncy, and beautiful curls. The technique is easy to master and only requires a tee shirt, no expensive gadgets or serums are necessary. Plus, it takes place overnight so you will free up a lot of time in your morning routine and still look great!
Shower and clean your hair, then towel dry it. Add whatever styling product you prefer to use, but only smooth them onto hair from the ears down. Do not put any product above your ears because it will weigh down hair and overtime it can result in product build up which makes hair look bad and unhealthy, so avoid the top part of your head.
Comb them evenly through your hair and then lay out a large cotton tee shirt. Smooth it down on a flat surface in front of you, a bed works perfectly. Take your hair and shake it out, then flip it in front of you, and lower your head down onto the shirt. Do this carefully so that the curls don’t get crumpled or tangled. Keep your head still and grab the bottom edge of the shirt, wrap it around towards the base of your neck, and hold it there in place.
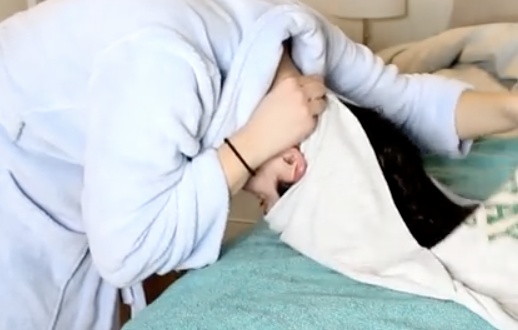
Grab the top of the tee and pull the neckline down to the base of your neck, pulling the sleeves to the side of your head. Tie the sleeves in the front so that you end up creating a turban out of the shirt. Tuck in the tails and any extra loose fabric so that it stays in place.
It may take a few tries to make the turban but eventually you will master it and love what it does. Overnight the tee shirt wrap will protect your curls as you sleep on them. All that’s left to do is unwrap your hair in the morning and out should spring dry, bouncy, frizz free curls. You may have to reshape a few with a curling iron but that’s it. Try plopping your hair tonight and never look back!
Please Share This Hair Trick With Family and Friends
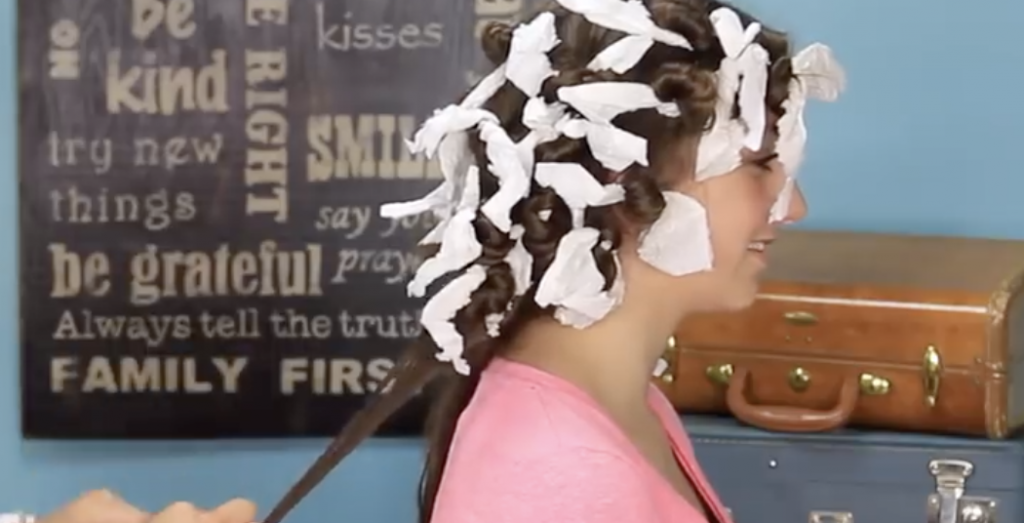
She Wraps Paper Towels Around Her Hair At Night. When She Removes Them In The Morning STUNNING!
Depending on how old you are, you may remember your mom putting little rag strips in your hair, to create beautiful curls without heat. It creates a natural look, without heat damaging utensils, that you simply don’t get from hair curling electric devices.
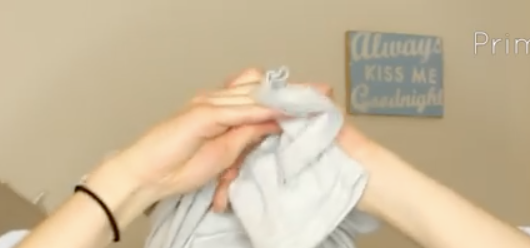
The video you are about to watch below, offers a new twist on using bits of rags, by substituting with pieces of paper towels. YouTube channel Cute Girl Hairstyles, shares a really easy to follow way to curl your hair, and as usual their result makes you want to try it for yourself.
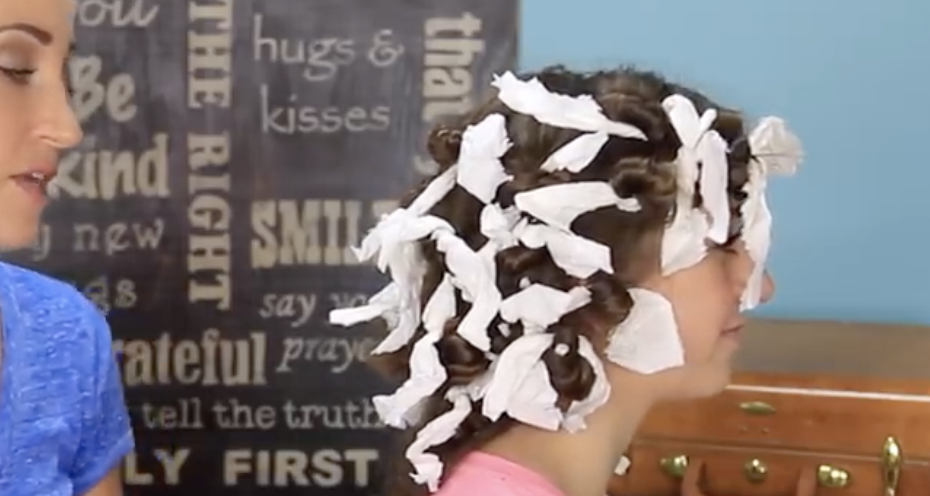
This method is great if you have straight or curly hair, because it both creates curls where there aren’t any, and in the case of curly hair it makes your curls more manageable.
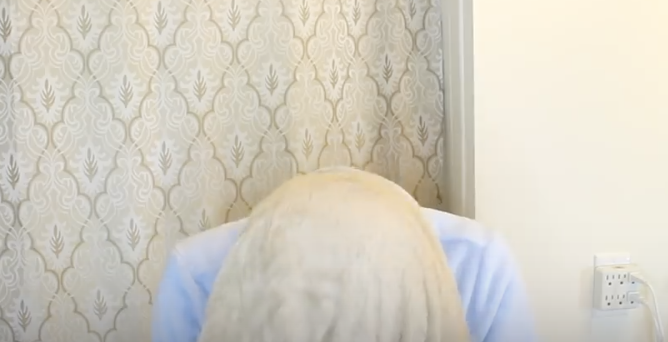
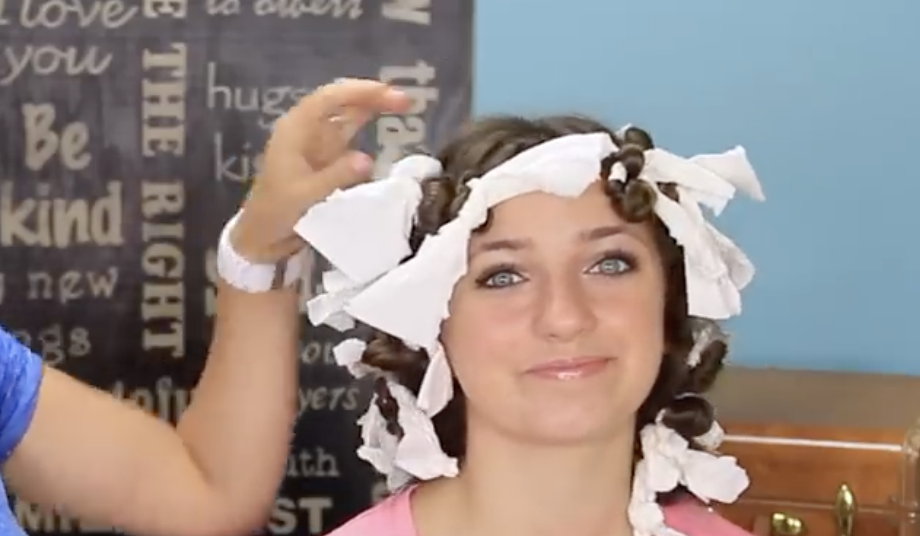
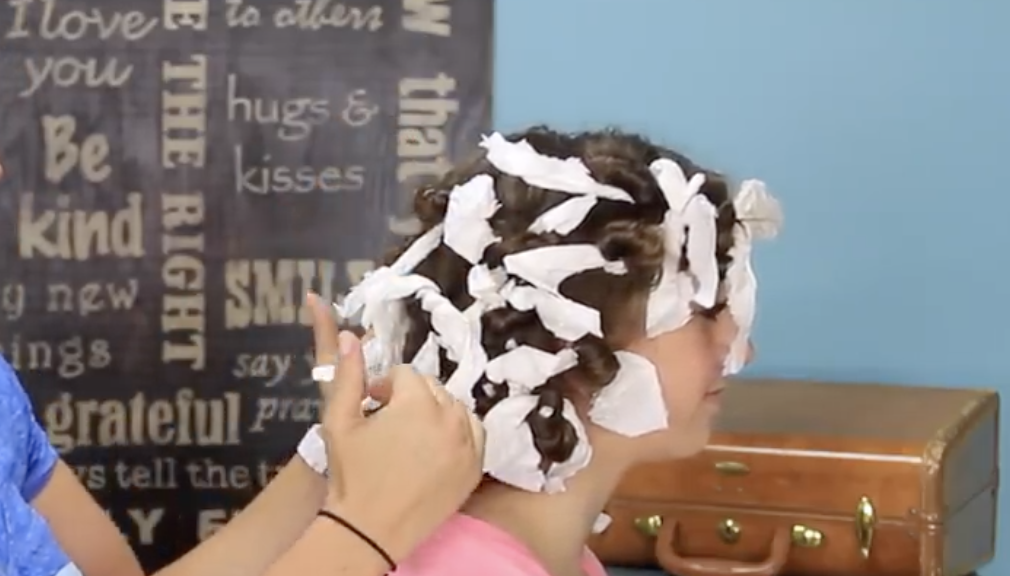
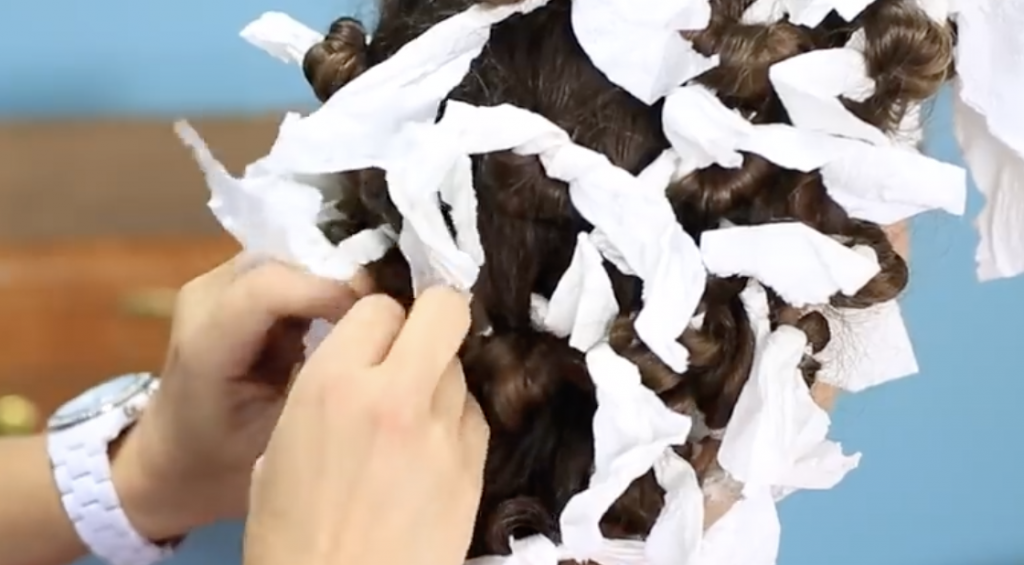
After washing your hair and letting it air dry until damp, she illustrates how to take strands of hair and roll them up around a piece of paper towel, in either the up or down direction.
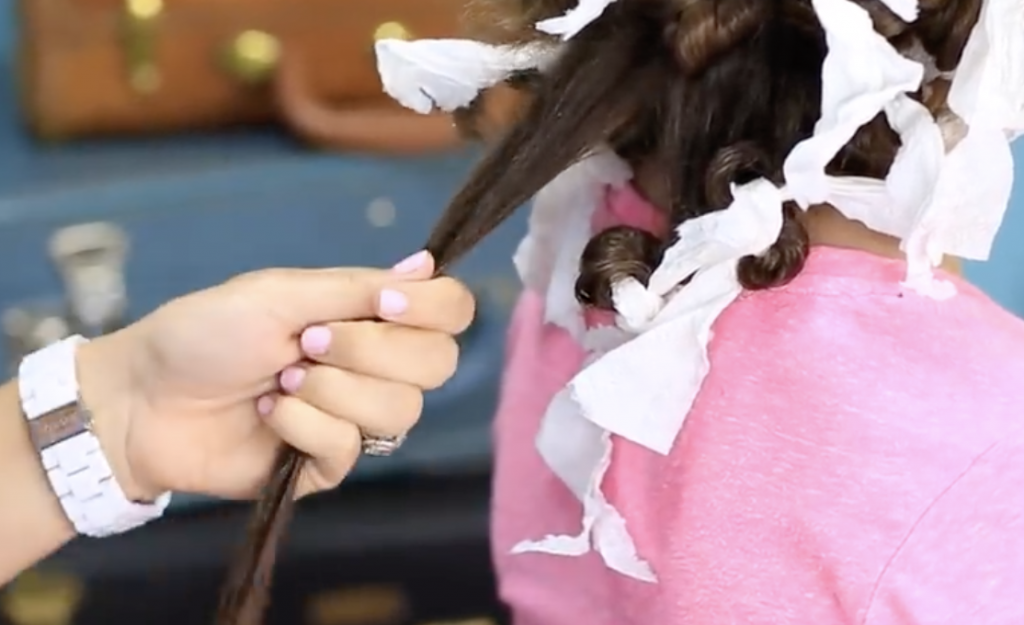
You can either let your hair dry for a few hours or sleep on it. The tutorial will take you through the entire process; when you see the end result…WOW!
Please Share This With Your Family and Friends
The Easiest Way To Naturally Remove Unwanted Facial Hair At Home
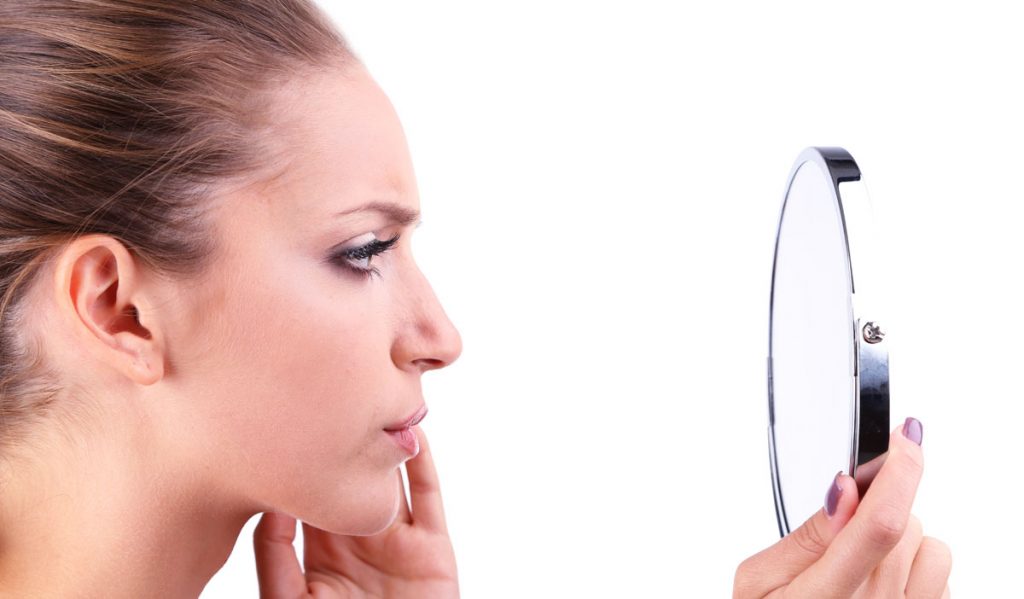
Women don’t have to be “Hair Phobes” to dislike that unwanted facial hair, known as “peach fuzz”. Although it tends to be light in color, it is quite visible in natural daylight, according to “Healthline”. Because of how light it is, it wouldn’t respond to a laser, even if you wanted to go through that pain and considerable expense.
I can tell you from personal experience that having it waxed is a really bad idea. It seems to come back in greater quantity and weirder texture. So when I came upon this video for a home remedy that claimed to get rid of “peach fuzz” PERMANENTLY, I decided to give it a try. It is actually a face mask, that not only removes this hair, but is great for your skin.
So, if that “peach fuzz” makes you self-conscious, this video you are about to watch below is
for you. The lovely young woman who presents this tutorial, Himani Wright, shows you exactly how to mix the ingredients for this all NATURAL MASK. All that you need is: COCONUT OIL, WHOLEMEAL (Whole Wheat), FLOUR and WATER. Himani stresses the importance of applying it in one direction, and removing it in another.
She advises doing this 2X per week (with a couple of days in between), for a period of a month for substantial permanent hair removal. I am in my third week of using this mask, and already see far less peach fuzz. She says continuing to apply it for the second month insures maximal results. It’s really exciting to come upon something on the internet that really does what it claims to do!
Please Share This With Family and Friends
Totally Natural Recipe Will Simply Get Rid Of All Your Unwanted Facial Hair Easily and With No Pain.
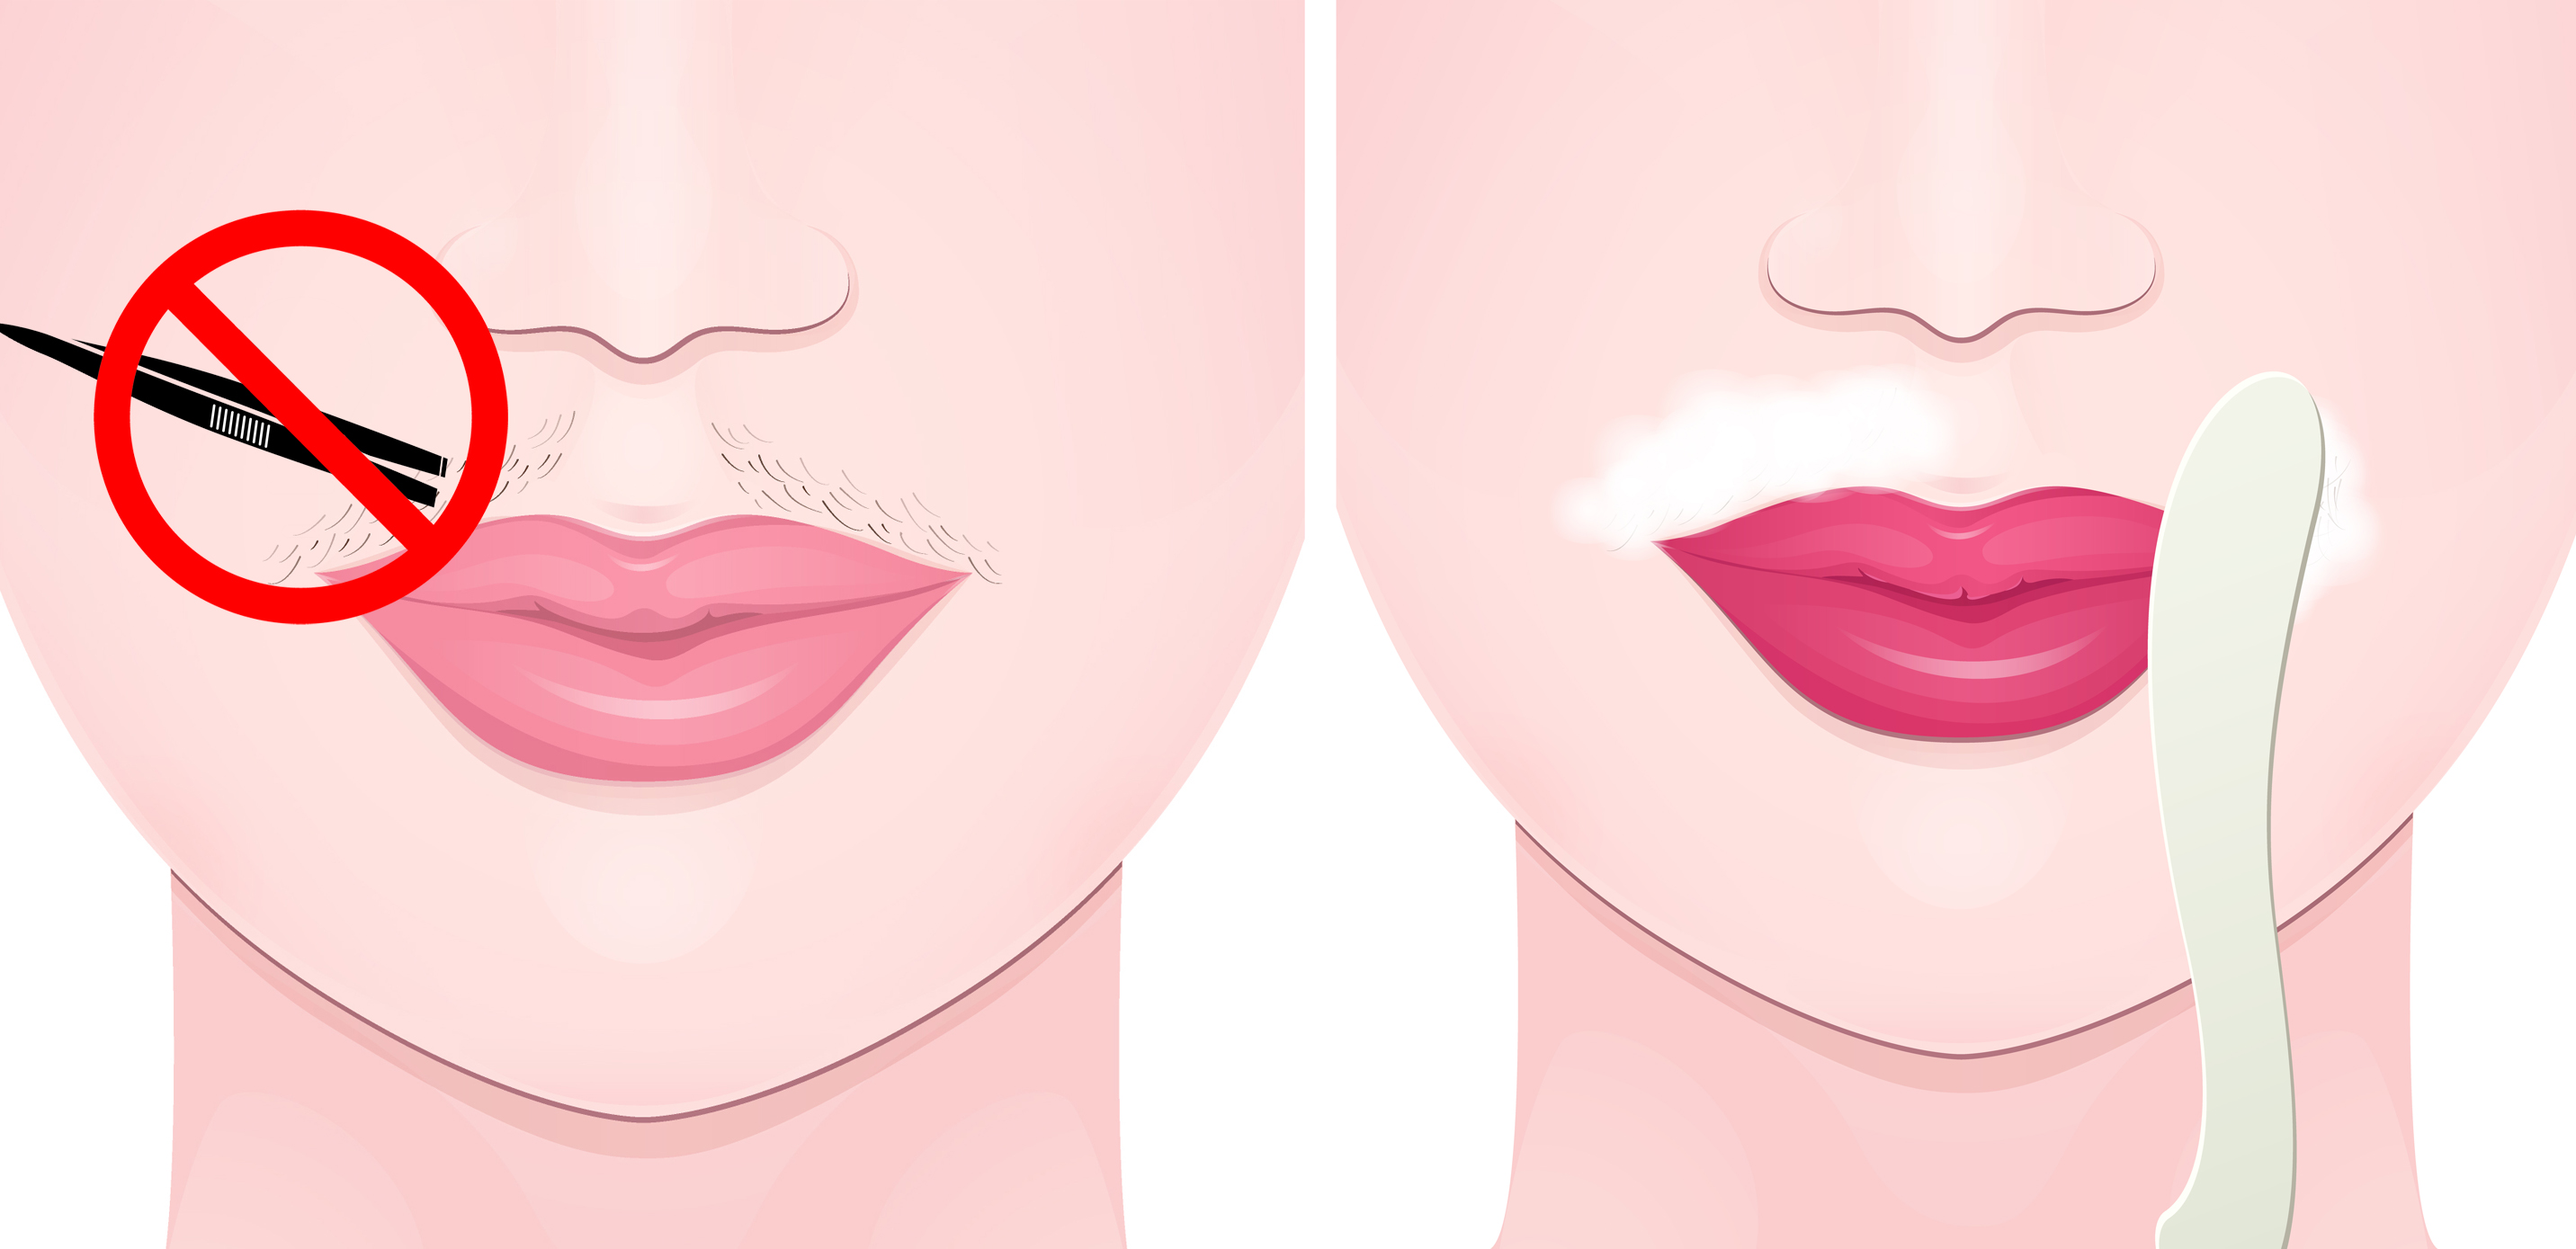 image via – shutterstock.com
Facial hair is a very common problem that many women struggle with and yet no one ever really wants to discuss it. Lets face it, peach fuzz and straggly hairs on your upper lip, chin, neck and face are annoying and unsightly. It’s also incredibly frustrating because for the majority of women out there, unwanted facial hair is a nightmare to deal with.
People have ended up spending a small fortune on a range of methods in their quest to remove it. There’s a seemingly inexhaustible supply of waxes, creams, razors, gels, lasers, lights, and more that all promise to banish facial hair for good. Many of these treatments are pricey, some actually cause more harm than good and leave skin irritated, while others don’t even work! So what’s a woman to do?
Instead of turning to some product that’s filled with harsh chemicals, try an all-natural alternative method. This simple 3-ingredient face mask from beauty blogger Himani Wright is the perfect solution to all your unwanted facial hair problems! It’s safe for all skin types, convenient, and super affordable. Not only is it easy to make and use, it actually works and removes hair and peach fuzz effectively. Plus, if you use this regularly it will eventually get rid of facial hair completely and permanently, so you can skip the painful waxes once and for all. The following is exactly what you need for it:
½ teaspoon of extra virgin, cold pressed coconut oil
3 tablespoons of wholemeal* flour (*this is the same as wholewheat or wholegrain flour)
A splash of water
1. Start by gently massaging coconut oil into your skin, taking special care to cover your entire face.
Coconut oil has anti-fungal properties, which is part of what makes it an excellent base moisturizer. It’s commonly used in beauty treatments because it contains protective nutrients and antioxidants that our skin, hair, and bodies love.
2. After you’re finished with the coconut oil mix together 3 tablespoons of wholemeal flour with enough water to form the thick, pasty consistency, as shown in the video.
3. When you go to apply the flour mask to your face use a downward stroke and work in one direction.
4. Allow it to dry and after about ten minutes you can begin to remove the mask. Rub your face gently in the opposite direction than how you applied it, using an upward and out type of motion. When the majority of the mask has been removed you can wash the rest off of your face with water and then pat it dry with a clean towel.
5. For optimal results, apply a toner to all treated areas to close up pores and further protect your skin’s health. Finally, finish up with your favorite moisturizer and you’re done!
This wholemeal flour treatment works best when done twice a week for at least one month, all while waiting a couple of days in-between each application. After the first month you can cut it back to once a week for however long it takes for facial hair to lessen and disappear.
This is by far one of the easiest all-natural ways to remove facial hair and it costs just a few dollars. Please pass this along and share this beauty tip with others. Who knows, it could change someone’s appearance and life for the better. In the meantime, try mixing up a mask and prepare to be amazed at how well such an unlikely solution actually works!
Please SHARE This With Family and Friends 🙂


