
Man Pours Water Into This Diaper. But The Reason Is Genius!
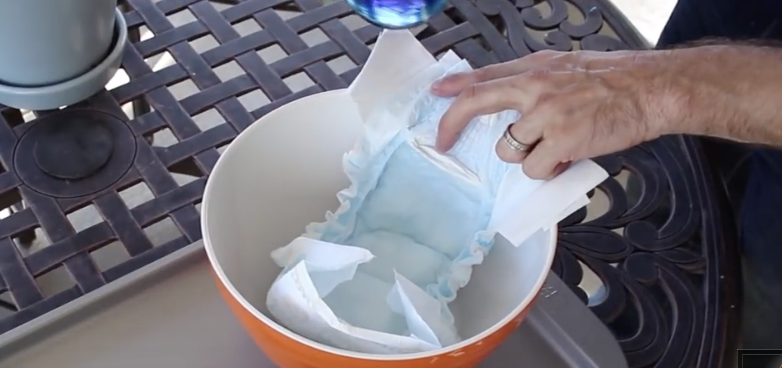
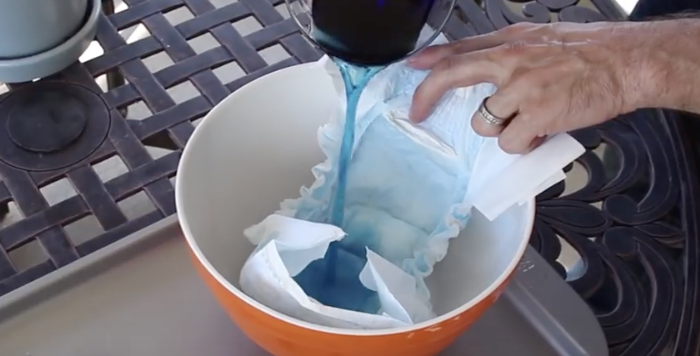
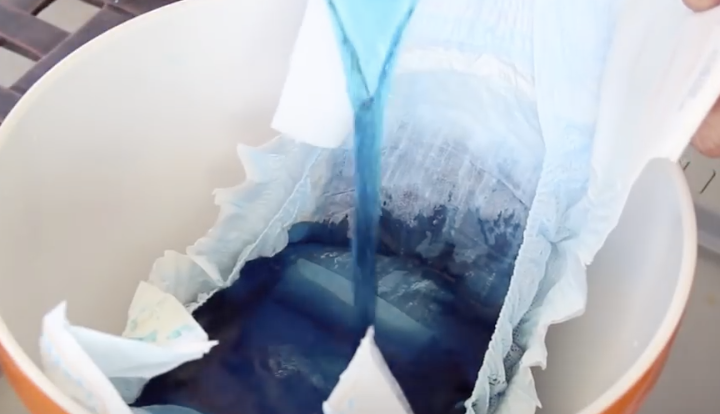
So here’s an unlikely pairing…an adult sized diaper to organically promote healthy plant growth! How does this work? This video illustrates how, out of one diaper, 12 cups or more of hydrogel can be produced. When this is mixed with potting soil it literally creates a “super-soil”!
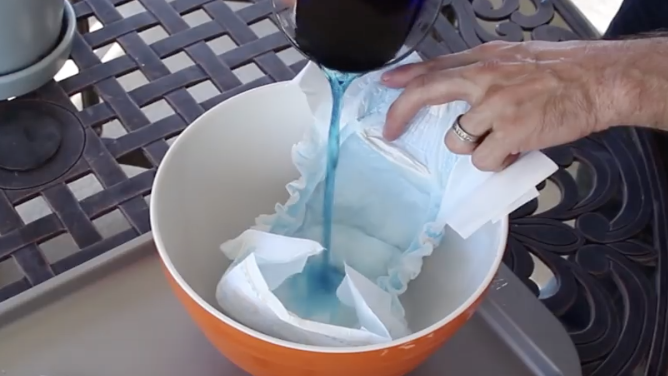
The soil/hydrogel mix produces super-absorbent soil that is capable of giving your plant the water it needs. Many of us kill our plants with over-watering. This mixture even prevents this from happening. It is ecologically and economically sound, as it both saves water and time. The gel is non-toxic.
It never fails to amaze me how such simple ideas are thought of, and produce such miraculous results. As a person who loves growing plants and seeming them thrive, I will certainly try this! Watch this really cool video and let us know whether you will try this.
Please SHARE With Family and Friends
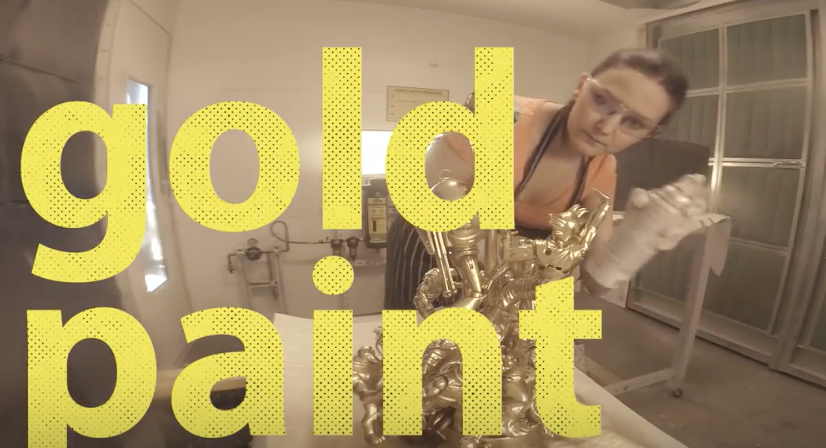
She Takes Her Old Toys Then Tapes And Sprays Them Gold. When She’s Finished I Must Do This!
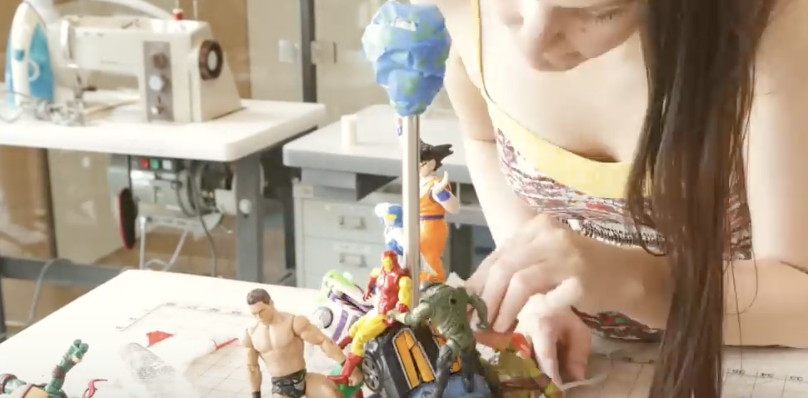
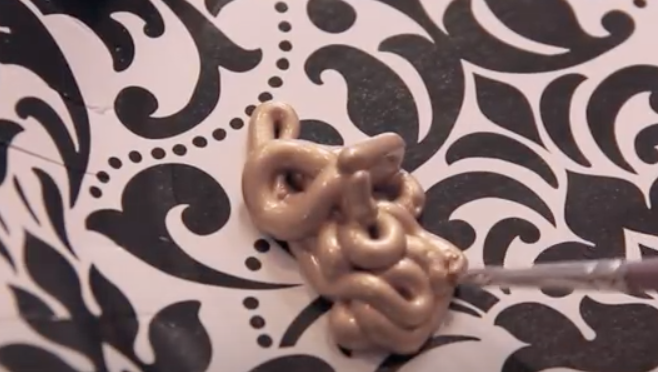
Do you have any old unused items laying around the house that are begging for a new look? Reuse your old stuff and recycle it into a new, one of a kind, gold lamp. That is what one woman chose to make with her old action figures, but the alternate possibilities are endless. Use this video and the technique shown as a guide for creating any type of lamp you want. As an alternative, try doing a similar project, such as spray-painting animal figurines gold, glue them to wood blocks, and thus make sturdy bookends.
Whatever you decide or desire to make, it will look brand new when you cover it in gold spray-paint. There is just something special about the metallic finish that makes everything look spectacular and fresh again.
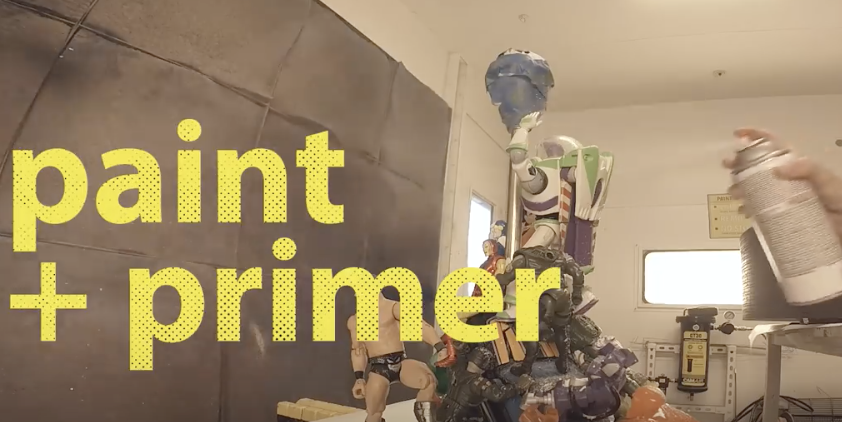
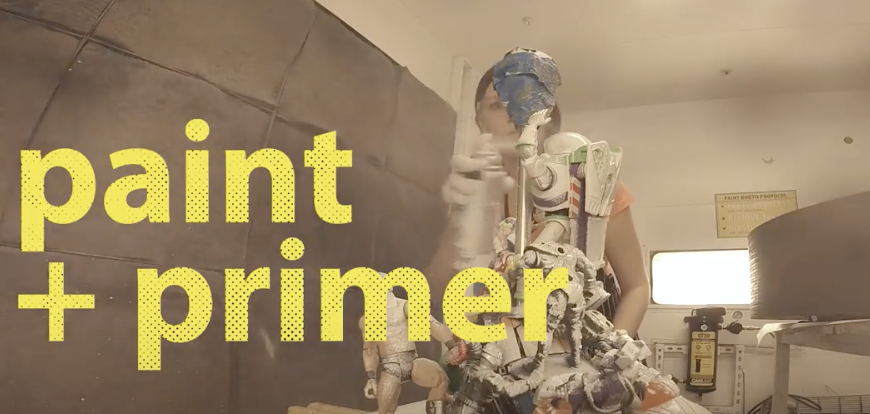
To begin, gather all your supplies including: action figures, spray paint, fine grit sandpaper, craft glue, super glue, painter’s tape, and a lamp. It is recommended that you prime the lamp first with a coat of white spray paint. This will give you better coverage and a more even finish when you go over it with the gold spray paint.
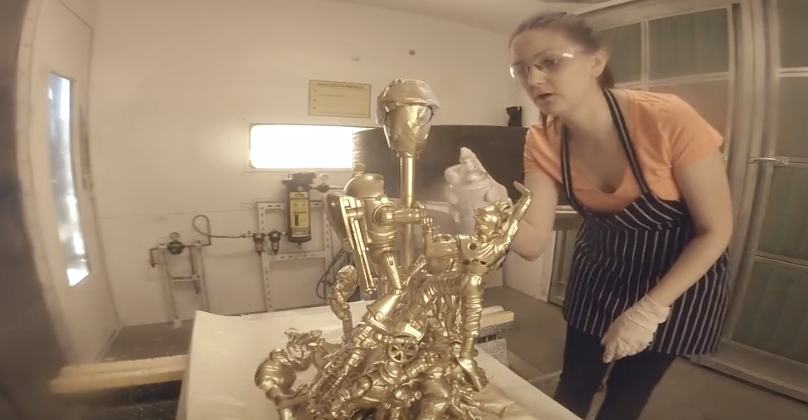
Try and choose a lamp that is tall and skinny so that the figurines or items you use stand out more. Also, harder plastics and materials will be easier to glue and spray paint than rubbery, soft ones. Cover and tape off the socket end of the lamp, cord part, and any other areas that you do not want painted. Lightly sand the entire thing, wipe the dust off, and allow it to completely dry. This will ensure that the glue and paint stick better.
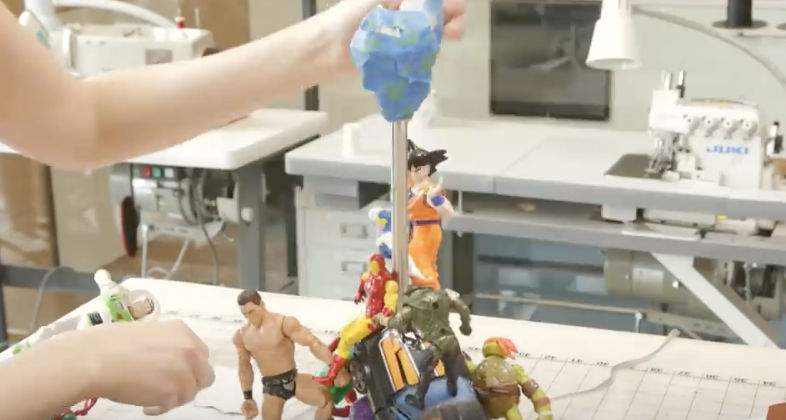
Next, glue all the items or figurines onto the base of the lamp. Attach them to each other and use the glue to hold them in place. If needed, tape around them to better keep them in place while the glue sets. With figurines, the busier the piece the better it will look. Allow all glue to set and dry for 24 hours, then check and re-glue any loose parts.
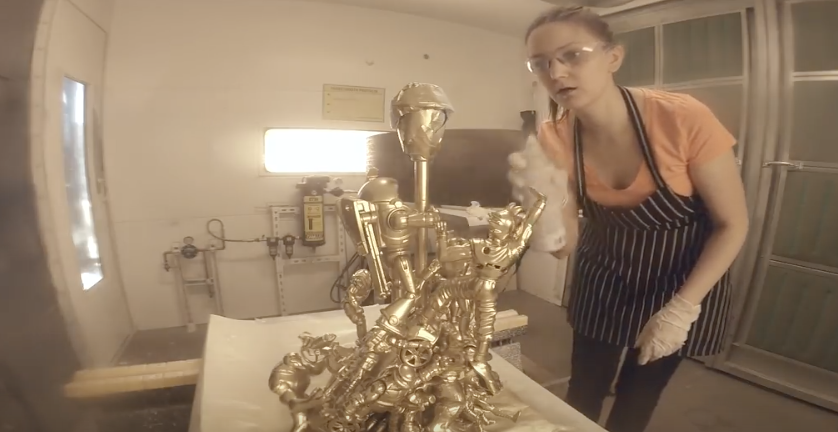
Coat with white primer, let it dry, then spray paint the gold on. Do several coats of each and let them dry in between so the colors look nicer and more even in the end. Remove the tape, add a lampshade that compliments the piece, screw in the light bulb and enjoy!
Please SHARE With Family and Friends
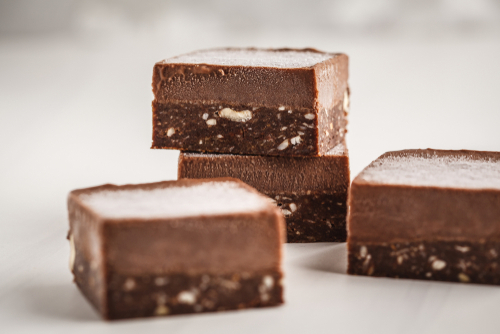
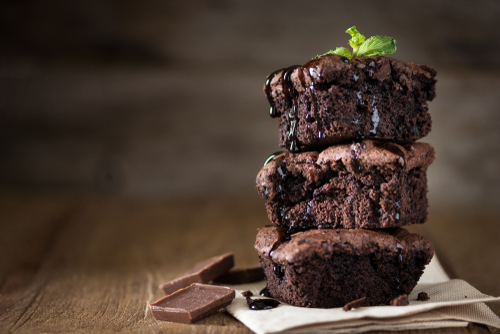
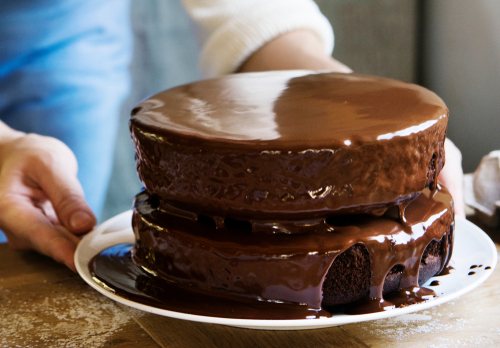
This Lady Pours Milk Onto This Chocolate. The Results? My Mouth Is Dripping!
Fudge was first recorded in America by a student at Vassar College named Emelyn Battersby Hartridge. She wrote a hand written letter in 1886 to her friend in Baltimore, Maryland that the first Fudge was sold for 40 cents per pound. In 1888 Hartridge got her hands on the first fudge recipe and it become popular at her school immediately. Soon it spread like wildfire to other women’s colleges and then exploded into the rest of the population soon after.
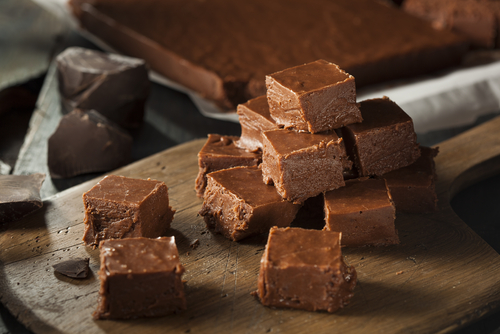
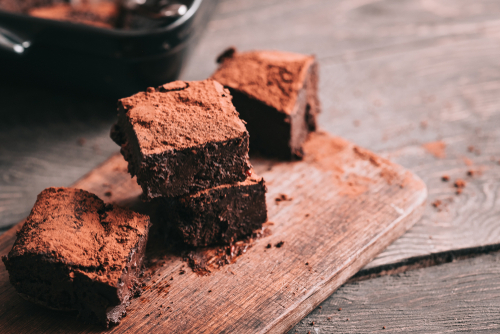
Fudge is usually rich, soft and sweet. It is usually made with a mix of milk, butter, and sugar. You then beat the mixture until it cools down and gets that special creamy, smooth consistency.

In the video below Elizabeth Labau will show you the simple steps to making your very own fudge at your house. You will need the following ingredients:
1. Prepare an 8×8 pan by lining it with aluminum foil and spraying the foil with nonstick cooking spray.
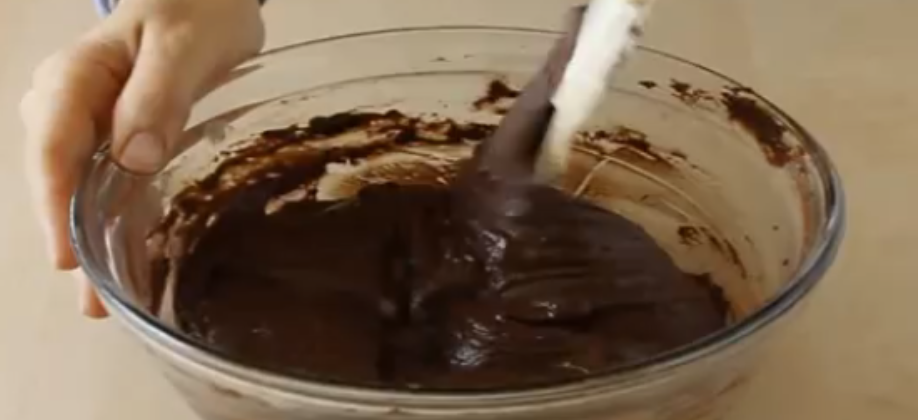
2. In a large microwave-safe bowl, combine the chocolate chips, condensed milk, and butter. Microwave in one-minute increments until melted, about 2-3 minutes.
3. Stir to ensure all the chocolate is melted, then add the vanilla and salt. Stir until the candy is smooth and well-mixed.
4. Pour the fudge into the prepared pan and smooth it into an even layer.
5. Place the fudge in the refrigerator to set for at least 2 hours. Once set, cut into 1-inch squares and serve at room temperature. Store excess fudge in an airtight container in the refrigerator.
Please Share This Recipe With Family and Friends
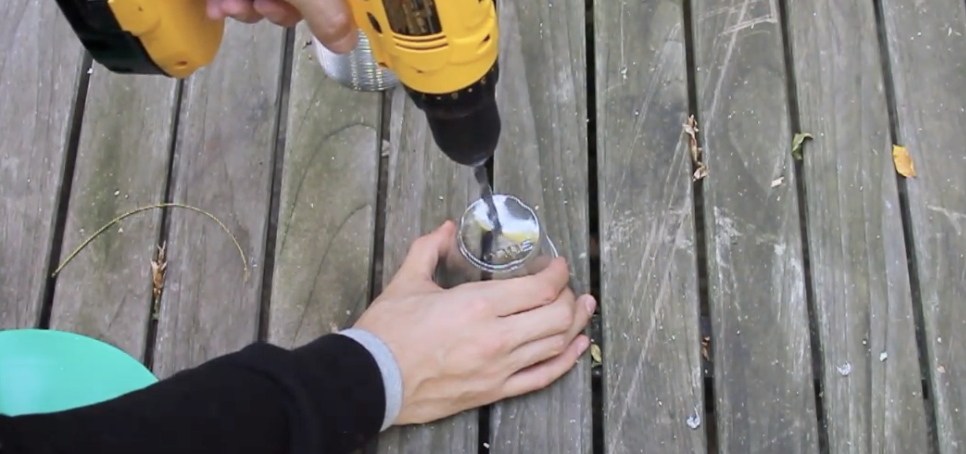
He Staples Dozens Of Plastic Cups Together. But When He’s Done It’s STUNNING!
Whether it is Christmas lights lining someones hedge or a wreath decked out in LEDs, it always makes me think of faeries when I see illuminated globes of light on summer nights. They just seem more magical and unexpected when they are ‘out of season’ and shining bright on a warm evening. I always wanted a few hanging globe lights to add a touch of magic to my own garden, yet I was having a hard time finding them.
Some specialty garden stores sell similar-type garden lights but they are usually on the expensive side and not really what I envisioned. When I stumbled across this DIY sparkle ball project it was perfect and exactly what I had in mind as to cost, effort and looks. It even carries over into winter and makes for the best holiday decorations.
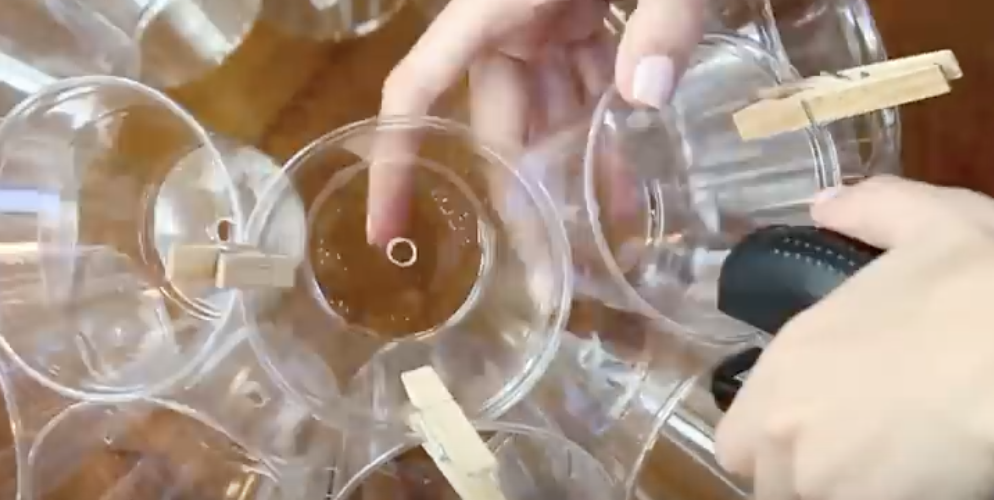
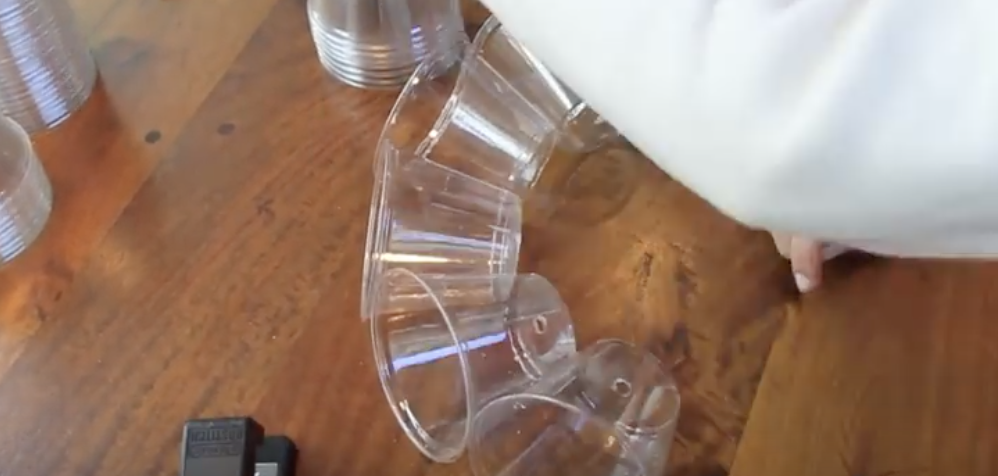
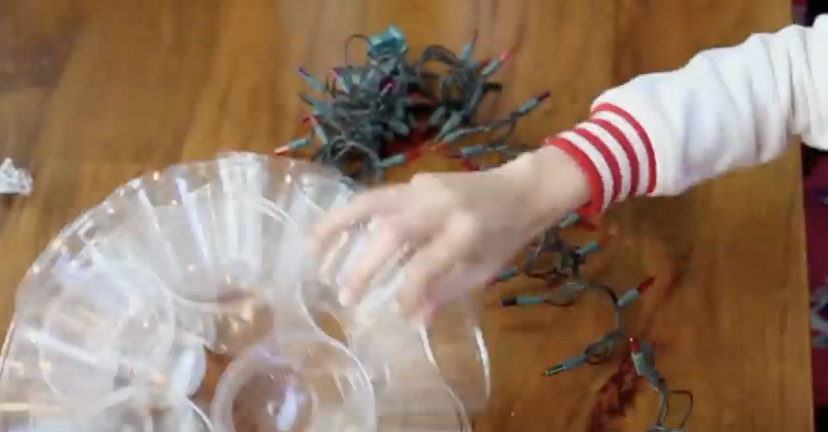
To make a sparkle ball you will need 50 clear plastic cups, a drill or tool to make holes in every cup bottom, a stapler, a string of lights, and some clothespins. First drill the holes in the cup bottoms and then take 2 and staple them to each other along their sides. Keep adding on cups in this fashion until a complete circle is formed (*see video for clearer picture/explanation).
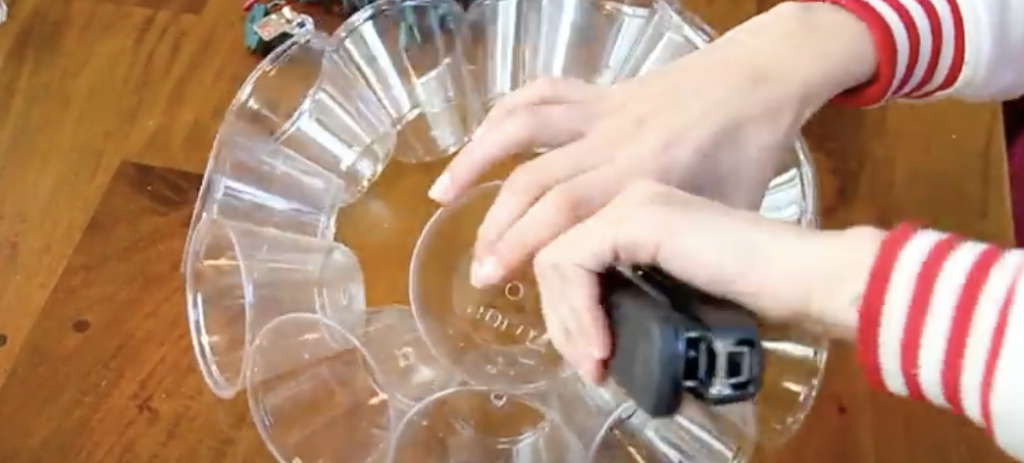
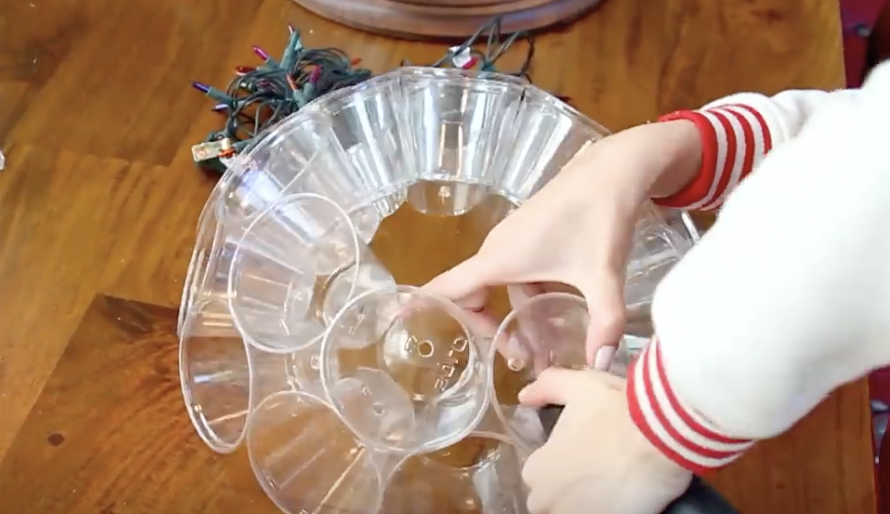
Now move on to the next ring of the circle and staple cups on top of the first ring. Use clothespins to help hold the additional cups in place and finish off the half-globe with a few more cups on top of the second ring. Repeat the process for the other half and then push one light through every hole on the cup bottoms. Finally, bring the two half-spheres together to form a full sphere and staple all the remaining cups together. That is it, Your done!
These lights look amazing and wont break the bank. The lights can even be switched out to fit different occasions; multicolored, clear, all one color, blinking, and so on. They are really neat looking from a distance and add just the right amount of sparkle to any old scene. Are you going to try and make one of these? Let us know.
Please Share This Tutorial With Family and Friends
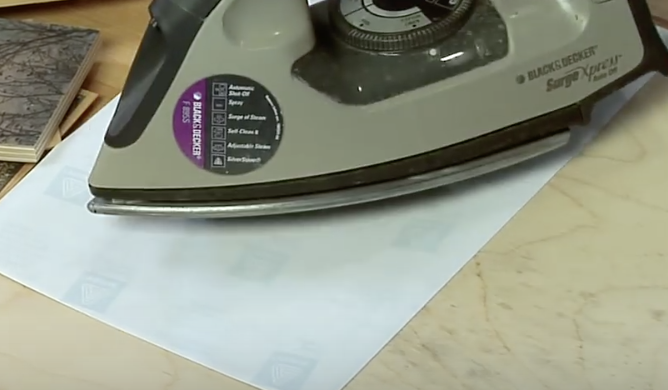
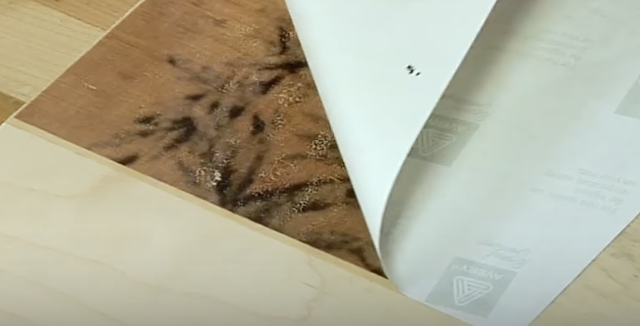
Woman Irons Paper On Top Of This Piece Of Wood. When She Lifts The Iron Up It’s STUNNING!
With Mother’s and Father’s Day on the horizon it’s time to start thinking about thoughtful ideas to give to our loved ones. Nothing is better than a heartfelt homemade gift directly from the heart. The following is an awesome DIY tutorial on how to cover wood with your favorite photos. This is the perfect gift that will be unique, creative and your friends and family will truly cherish and appreciate!
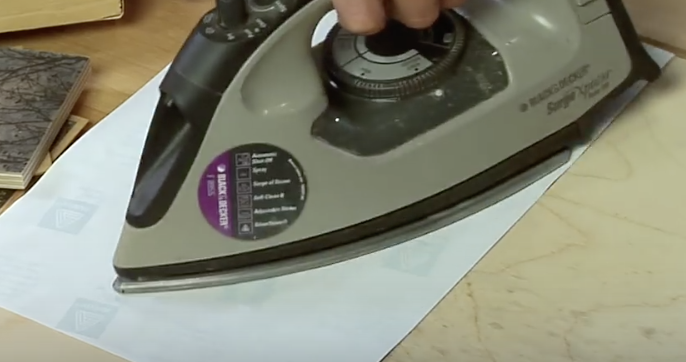
The people at toolgirl.com have figured out a way to get any photo off your computer onto a piece of wood. Depending on what your goals are you can design all different types of wood motifs. The best part is, it’s fast, easy, cheap and anyone with a computer and some wood can do it. I totally can’t wait to try this awesome DIY.
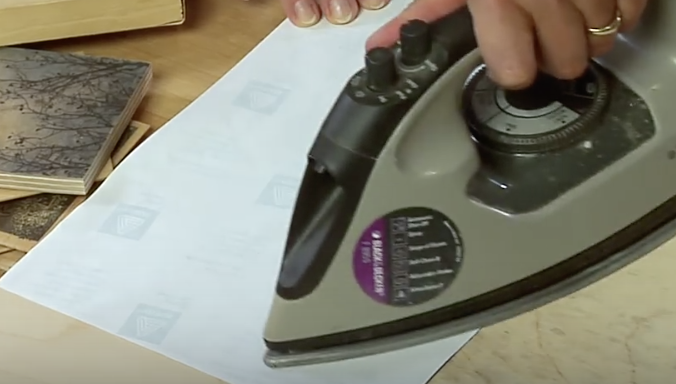
You will need a computer, t-shirt transfer printer paper, an iron, and a nice piece of wood. Then it’s time to begin your very own creation. Follow the instructions in the video below and post your finished products! This would be the perfect gift for Mother’s or Father’s Day. Are you going to try this awesome project?
Please SHARE With Family and Friends
When You Mix Alcohol With Normal Sharpies The Results Are STUNNING!
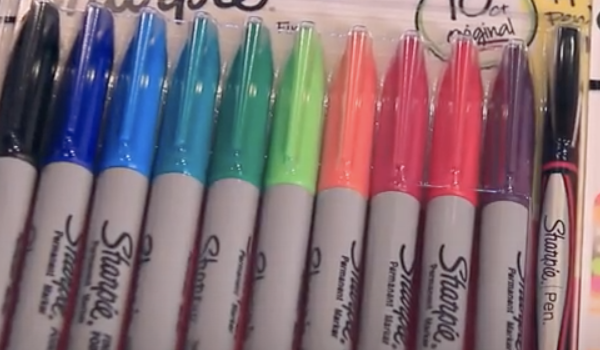
If you’re looking for a cool and easy craft idea, or some unique colorful pictures to liven up a space, then check out this video. YouTube channel SoCraftastic uploaded the tutorial which features artwork done primarily with Sharpies, or any permanent marker, and rubbing alcohol. There are 4 different techniques covered and each attains certain results. Each one turns out looking awesome and, best of all, they don’t require that you be a highly skilled fine artist.
The Sharpie watercolor technique is the first covered. Take a sandwich bag and color on it with a marker until there seems to be a lot of ink on the bag. Fill up a dropper with rubbing alcohol and squeeze some onto the marker/bag. Mix it all together with a paintbrush and then you can paint it on canvas as you would with watercolors.
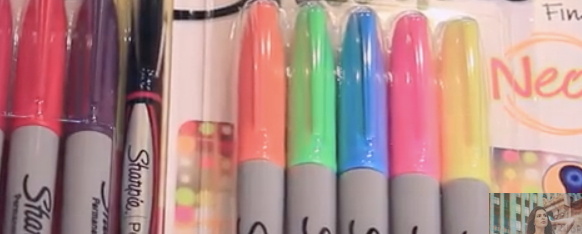
If you add in more rubbing alcohol it gives you lighter hues that are more faint and after about 5 minutes it should be dry. Next is the tie dye technique, which works best with neon colors. Start by drawing a star-burst, then extend it out in layers with different colors until the entire canvas is filled. Take a dropper of alcohol and drip it onto different parts of the canvas. It will spread the ink out and overlap the colors into a nicely blended smear.
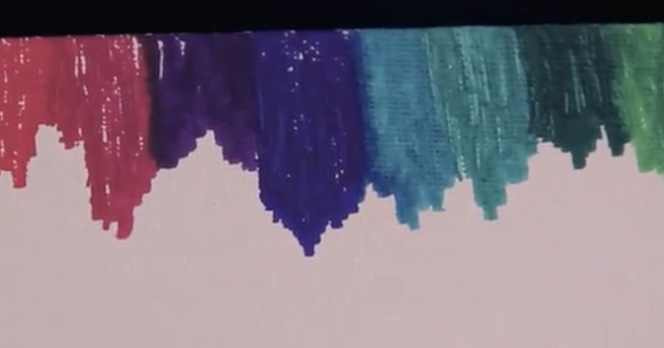
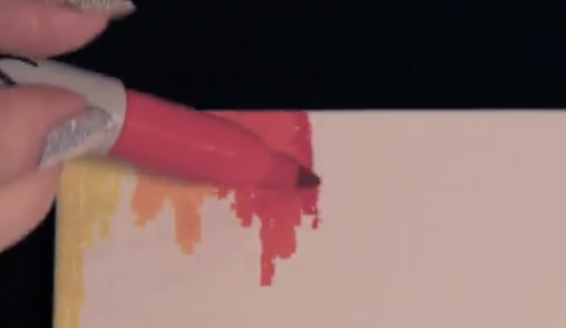
The third is the crayon melting technique, which requires only the top portion of the canvas be colored. Mix up and alternate colors in any way you desire, the video shows rainbow, and you can color over onto the side as well. Prop the canvas upright and drop alcohol onto the top colored portion, making sure to let it run down the canvas as if it melted and dripped down like wax.

Last up is the galaxy-esque style. Draw stars on duct tape and cut them out (or use stickers) then place them down before you add any ink. Color all over the canvas, with different colors here and there, then add in some black spots. Prop the board upright and drop on alcohol so it runs down. Let it dry and then it’s safe to peel off the stars.
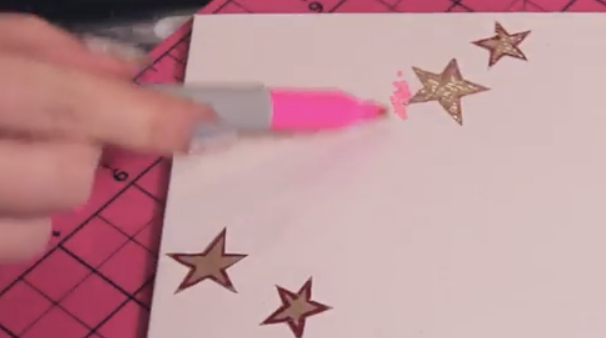
The video girl painted her stars with gold puffy paint, and she brushed on modge podge mixed with glitter, to add a bit of sparkle to the galaxy. These make a really fun project for kids, teens and adults. Plus, with 4 alternative ways everyone can find something to try. Check it out and enjoy!
Please SHARE With Family and Friends


