
Apparently I’ve Been Slicing Watermelon Wrong For My Entire Life! I’m So Glad I Learned THIS
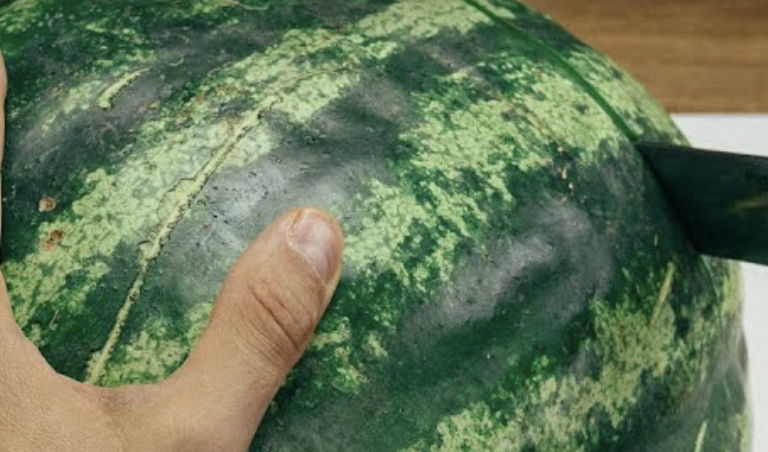
image via – youtube.com
Summer is around the corner, and with it most everyone’s favorite fruit, WATERMELON. Delicious as it is, there is a really annoying downside to the ‘BIG W’…it is messy in every way possible. I often beg my husband not to buy whole watermelons (which he inevitably does anyway), because of how hard it is to cut and store.
Another problem with the cutting of this unwieldy fruit, is that so much seems to be wasted and uneaten, given the difficulty in cutting it. So, when I came across the video you are about to watch below, that claimed to offer an innovative solution to all the inherent problems of slicing this large fruit, I was intrigued.
In less than two minutes, all of you watermelon lovers out there, will have a life-changing moment. It’s the kind of solution that I would never have come up with on my own, but am grateful to have learned. His cutting technique has several steps in slicing, each one making the pieces incrementally smaller, until the grand finale.
You, your family and guests will be served holdable slices of watermelon, without slobbering all over the place, which makes this summer ritual all the more enjoyable. An extra bonus is that this cutting technique leaves you with almost no clean-up!
Watch the video tutorial below and enjoy! 🙂
Please SHARE This Technique With Family and Friends
She Takes Yarn And Wraps It Around Her Wrist. When She’s Done It’s a STUNNING Surprise!
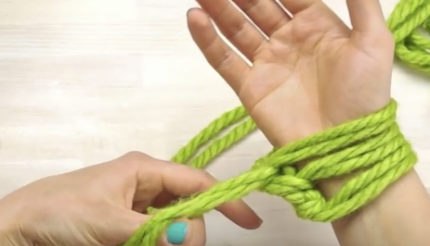
image via – youtube.com
Knitting up a beautiful homemade scarf can be quick, easy, and painless…even if you don’t know how to knit! How so? With a process called arm knitting. There are no sharp needles or sewing of any kind required. Instead, all you need are your own two hands, yarn, and some really clear instructions to guide you through the basics every step of the way.
One of the best tutorials we’ve come across yet happens to be from the YouTube craft channel Handimania. They show us how to make an infinity scarf in just 30 minutes or less in this awesome and easy to follow video. The perspective gives you a bird’s-eye view looking down on the entire process so if you get lost or stuck all you have to do is rewind and take another look at it.
Other than your hands, you’ll also need four skeins of thick, bulky yarn, each measuring approximately 44 yards long. If you’re up for the challenge and want to get creative, try making a few of these cozy, warm winter scarves. They make wonderful gift that anyone would love to receive, and you can make them in any color combination or pattern you’d like.
Brew up a cup of hot tea, check out the tutorial, and give it a try!
Please Share This With Your Family and Friends 🙂
How To Quickly Clean Your Oven Naturally With Only 2 Ingredients!
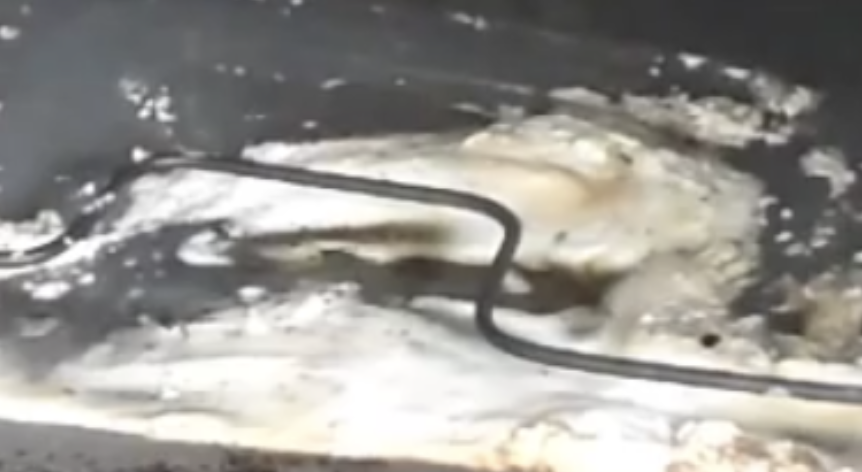
image via – youtube.com
Many of us love to cook, but the clean up is a whole other beast. Nothing is worse than the oven or the broiler pans. If you have a self-cleaning oven, you may or may not get the results you want. I hate the smell from the self-cleaning mechanism, as much as I hate the fumes from oven cleaning products. I feel like I am damaging my lungs!
Ovens and broiler pans get gross pretty quickly. Food and grime gets baked in to all the crevices making it a cumbersome clean-up. When I came upon this natural and simple way to do the clean-up I wanted to share it with as many people as possible. It never fails to amaze me, how certain common substances do so many things so well!
Baking soda comes to the rescue again. Watch the video below to see how combining it with water to create a paste, that you can leave on from 30 minutes or longer. Watch how she optimizes the combination, and just lets it sit. If the grime is really bad you can let this natural paste sit overnight.
Watch how easily the grease and grime gets removed with a minimal amount of elbow grease. This solution is such a great find, that does the job without having to work hard or inhale dangerous chemicals!
Please SHARE this really useful DIY with your friends and family on Facebook! 🙂
This Is The Strange Reason Why We Wear The Wedding Ring On The 4th Finger!
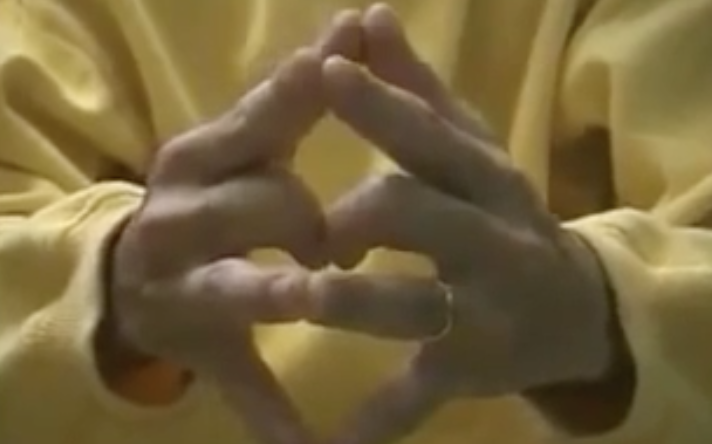
image via – youtube.com
Everyone knows that when they see a person who is wearing a ring on their left hand’s fourth finger, they’re married. Placing a wedding band on the ring finger has long been accepted as a universal symbol of marriage in many cultures throughout the world.
While this is common knowledge and practice, what is not so well known is the reason behind it all. Why do we even place wedding rings on the left hand ring finger in the first place??
To answer that question, one must turn to several ancient traditions and theories, the first of which hails from the East. The Chinese believed that the bond of marriage was the strongest, most vitally important one of all that a person could share with another.
The accompanying video does an excellent job at explaining the reasoning behind the cultures views and once you put your hands together and follow along to it, you’ll understand.
In comparison, in the West the Romans developed their own line of reasoning for as to why wedding rings should be worn on the finger they are found on today. They believed that the human left hand’s fourth finger had a vein in it that ran directly to the heart.
The vein was called vena amoris, which is Latin for vein of love. By wearing the wedding band on that finger, the symbol of a couples love was always connected directly and kept close to their hearts via the vena amoris.
There is something natural and intrinsic about our ring fingers. Each culture developed different rationales and understandings about which finger a wedding band should be placed on, and each arrived beautifully at the same result.
There you have it! If you like hands on learning, or need a clever angle to work into a wedding toast, be sure to check out the short and sweet video clip. Now you know why and how wedding bands came to be placed on the ring finger of our left hands.
Please Share This With Family and Friends
She Buys A $2 Old Tarnished Cheese Grater But When She Reveals Her Transformation It’s AWESOME.
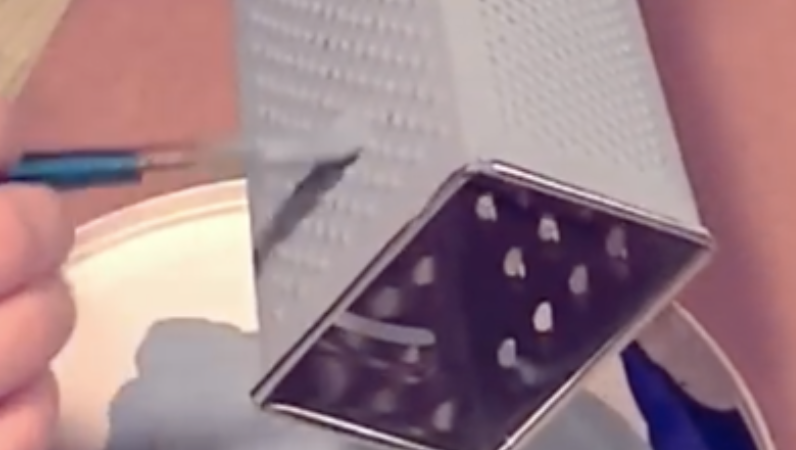
Do you have any old unused items laying around the house that are begging for a new look? Instead of tossing them out, give your old stuff a new life and recycle things into one of a kind pieces that you actually have a use for. All you need is a little imagination and creativity, plus a few craft supplies, and you can re-purpose just about anything. It also helps to have some ideas and videos with instructions showing you what to do, like this one from the Gibbz DIY channel on YouTube. The video shows how an old, rusty cheese grater that no longer has any use can be transformed into a brand new jewelry holder.
To begin, gather all your supplies and you will need: a box cheese grater, medium sized pearl beads, 4 medium sized screw hooks, 3 small sized screw hooks, a hot glue gun, toothpick, sandpaper, acrylic paint, a paint brush, and water to clean the brushes with. If you want to make this and have a newer cheese grater, it’ll work just as well. You can pick one up at the dollar store and can likely find just about everything else you’ll need for this project there as well.
To start, take the small sized screw hooks and screw them into the holes on the small shredder side of the grater. These will be your necklace and bracelet hooks so place them near the top to ensure that you have enough room for your jewelry to hang. If the screws are a little loose, take the hot glue gun and squeeze a little glue out. Pick up a tiny bit of the melted glue with the end of a tooth pick and dab it around the screw to help hold it in place.
Now that the hooks have been added, it’s time to sand and rough up the entire outside surface of the grater. Take the sand paper and run it all over the grater, making sure to remove any built up rust, then use a soft dry cloth to wipe away any excess dirt, dust, or rust particles. This will help ensure that the paint sticks to the metal surface and won’t chip off later and now it’s ready for a coat of paint. Use acrylic paint for this and if you don’t have the exact color you want on hand you can mix it up with a blend of other colors, as shown in the video. Brush the paint evenly on the grater and be sure to coat the all the sides and visible parts. Set the grater aside and allow it to completely dry before adding the second coat of paint.
In the meantime, you can make the feet for the jewelry stand. Take the larger screw hooks and dab hot glue on the ends opposite of the threaded part. Attach a pearl bead onto each end and hold them firmly in place until they set. Apply the second coat of paint to the grater and allow it to dry completely before moving onto the final step. To attach the feet, take the larger screw hooks and apply a generous line of glue along the threaded end, on the side you’ll be attaching it to the grater with. Gently push the glued part of the screw into the inside corner of the grater, making sure that the bead on the outside lines up with the bottom corner. Once the feet are glued on and secure it’s ready for use!
This project is a great re-purposing idea and there are so many ways to customize it to your liking. You can add different sizes and amounts of hooks, switch up the placement of them, go with other types of beads or rhinestones, and choose any shade or mix of colors you prefer. Hopefully it will inspire you, so try it out!
Please Share This With Family and Friends 🙂
THIS Man Starts Rubbing a Potato All Over His BBQ Grill. The Reason Is Unexpectedly GENIUS!
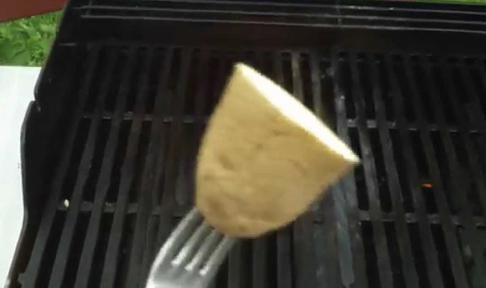
image via – youtube.com
There does come a point in the winter, regardless of how relatively mild an occasional one is, when grilling outside just isn’t inviting. Then those first hints that spring is in the air arrive; the birds are tweeting, and you can actually feel the warmth of the sun…it’s time to clean up the grill!
Food just tastes better on the grill… the smell as it’s cooking makes your mouth water and brings back happy summer memories. I’ve got to say that although we occasionally still go for steaks and burgers, more often than not, we go for the cleaner and healthier choices of chicken, fish and veggies.
There’s just one problem…how to deal with food sticking to the grill without having to constantly be standing there and flipping it? We’ve tried oiling the surface, but more often than not, flames ensue. So, when I came upon the video you are about to watch below, I was intrigued.
There’s a much better way to fire up the grill and make it non-stick, that I’ve never heard of before, so we tried it this past weekend. Rubbing a potato cut in half on the grill’s surface works… The fish didn’t stick and nothing burned!!
The reason why is explained in the footage below.
Please SHARE This Grilling Tip With Family and Friends 🙂


