
This Guy Wipes Steel Wool All Over THIS Windshield. The Final Result Is Awesome!
Anyone who has ever owned, maintained, or driven an automobile knows how the windshield can get cloudy looking over time. This film forms because of all the dirt, dust, pollutants, bugs, tar, and other road grime you drive through gets blasted onto the windshield.
Some of it sticks to the glass, especially bugs, and some of it bounces off. However, it’s the minuscule particles that you don’t see which add up and make the windshield look dirty, hazy, and hard to see out of. A regular car wash will not remove this type of dirt build up.

Instead you need to really scrub and work hard to clean it off. Or, you can try this easy and effective method to truly super clean your car windshield.
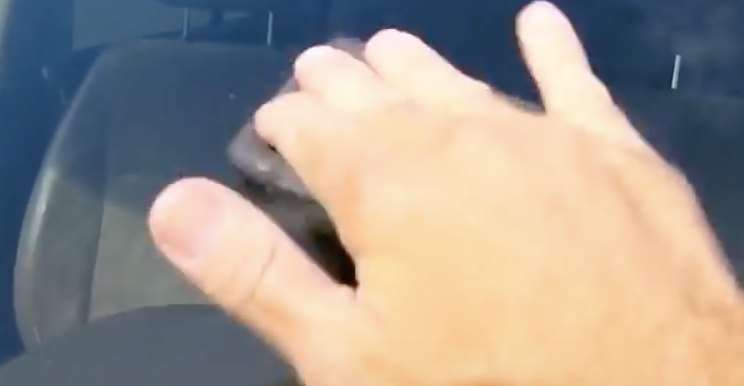
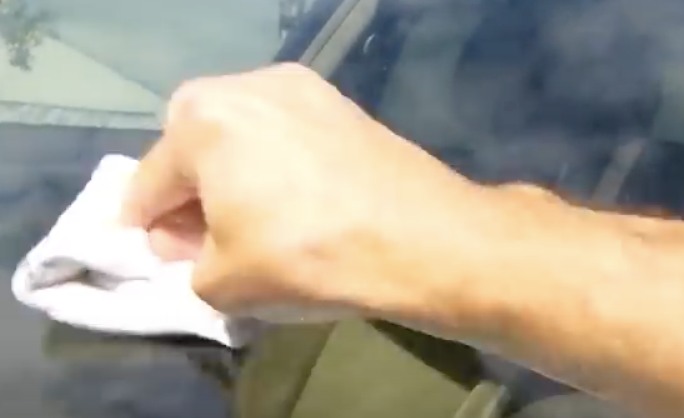
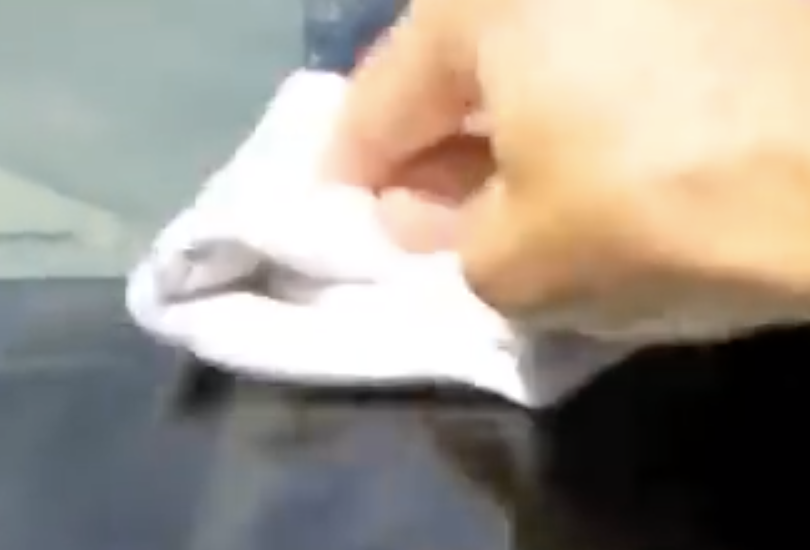
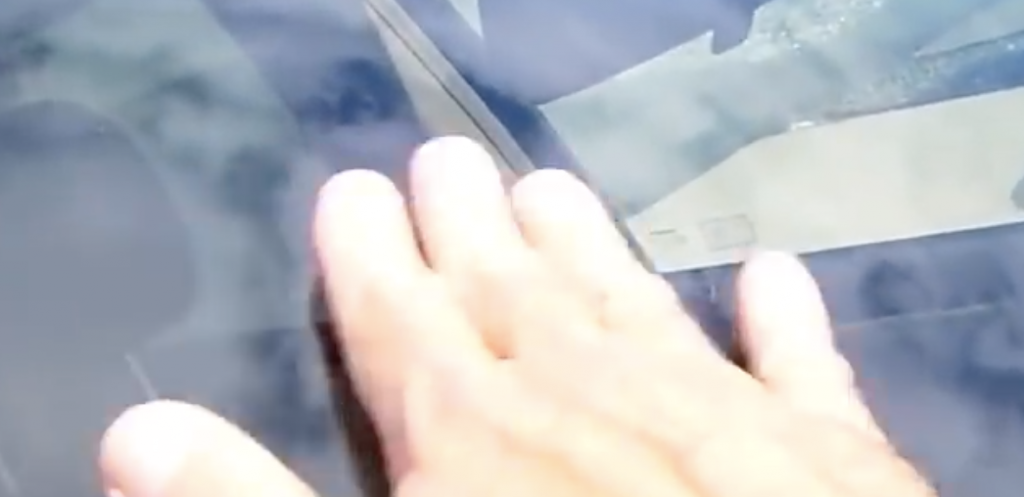
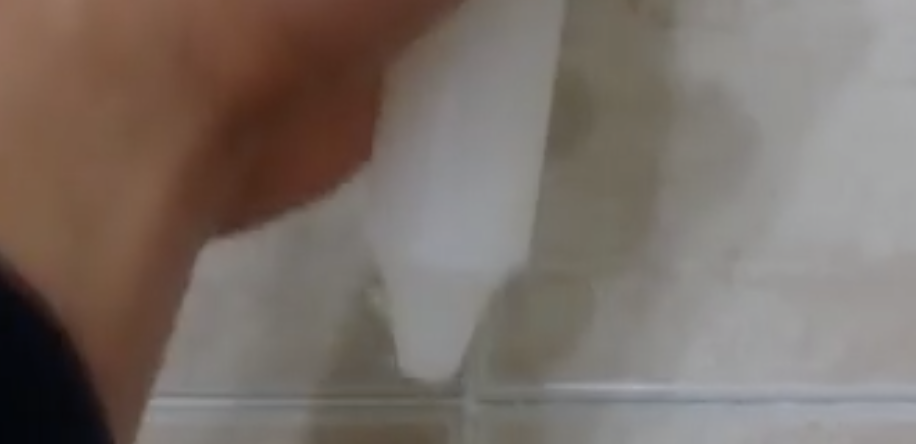
All that you need is rain-x, steel wool (*make sure you get the finest type available which is 4 ott), 2 old cotton t-shirts or rags, and an old pair of cotton socks. Start by taking a steel wool pad and rub it all over the glass. If you use the finest type it won’t scratch and it easily removes everything that may be stuck on the windshield including bugs, grime, and even water spots which are notoriously tough to get off.
Keep rubbing for as long as it takes to completely clean, paying attention to any little spots that may be tougher to get out. It may take you about 5-10 minutes to do this, but the cleaner the better and longer lasting it will be.
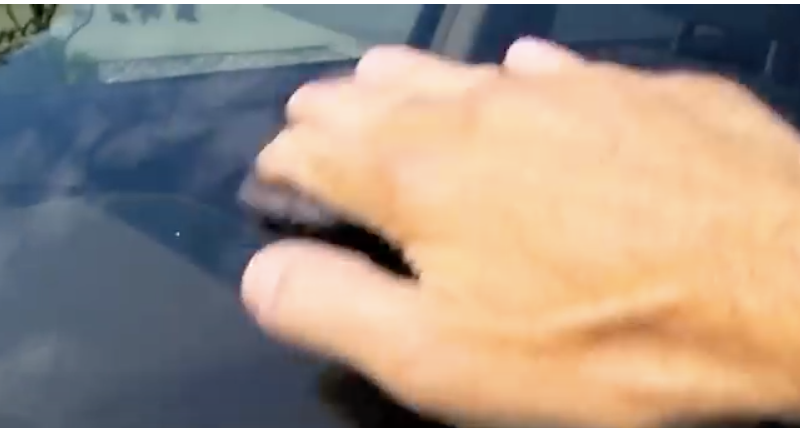
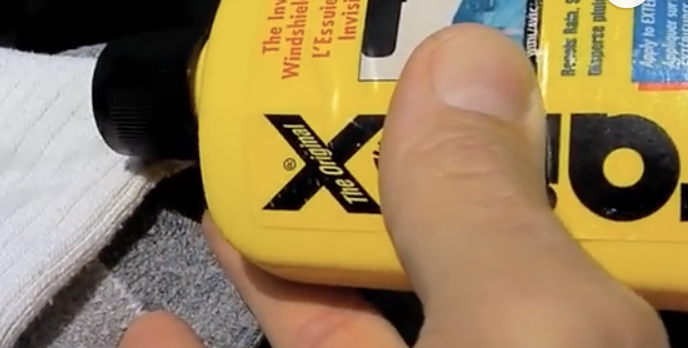
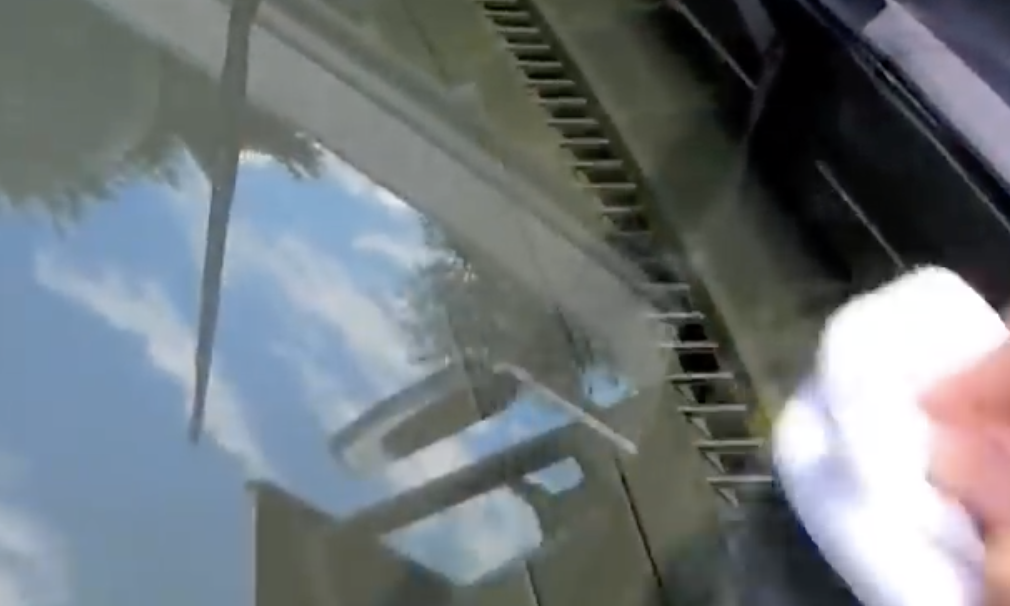
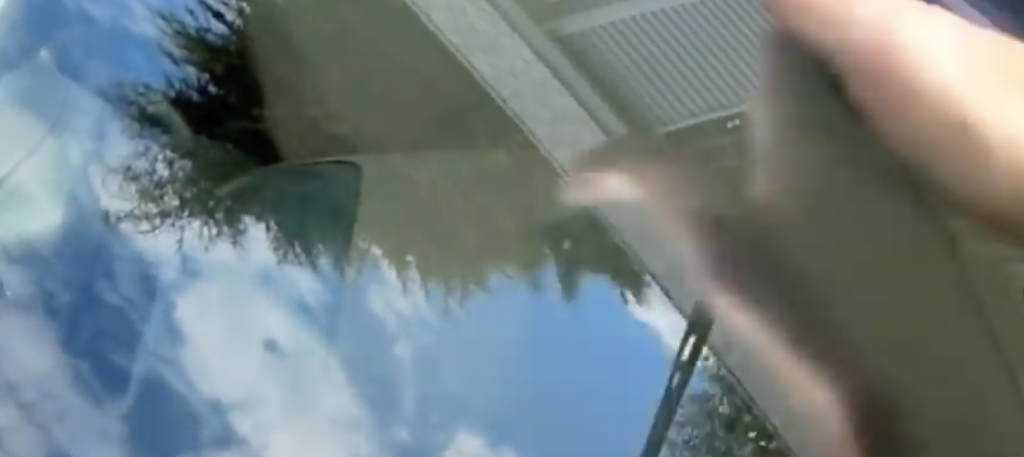
Next, grab an old sock and soak it with rain-x, don’t skimp on this part! Apply it in a circular overlapping motion to the glass, making sure to cover every single spot on it without getting any on the car paint. After it dries a little apply a second rain-x coat right on top of the first one, then let that completely dry.
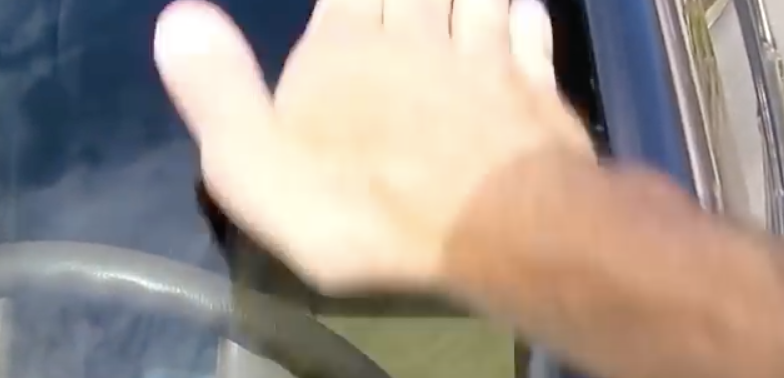
Take one of the rags and completely soak it with water, then wring it out so that it’s still quite wet but not dripping. Wipe the glass with it to remove the rain-x film that’s on the windshield and you don’t need to press down hard or anything. Then take the second dry rag and wipe down the windshield again to completely dry it. That’s it, you’re done!
If you do this your windshield will be incredibly clean, clear, and smooth to the touch. When it rains the water will slide right off the windshield and you won’t need to use the wipers as much as you would have without this treatment. You may also do this to the rear windshield, side windows, and side view mirrors.
The man in the video suggests that you coat the wiper blades with rain-x as well to help make it last longer since it tends to wear off quicker on the windshield from the blades constantly going across it. He also suggested “Invisible Glass” cleaner be used on the inside of windows because it’s superior to regular glass cleaners and doesn’t leave streaks. Check out the video for more tips!
Please Share This Windshield Hack With Your Family and Friends
This Guy Rubs A White Candle On His Bathroom Tiles. But The Reason Is Genius!
When you’re doing some deep cleaning around the house one of the grossest and most tedious areas you have to deal with is hands down the bathroom. As much as you may try to avoid it, at some point in time it must be scrubbed and disinfected, if you want all the surfaces and fixtures to stay looking as fresh and clean as possible.
There are all sorts of specific products that foam and penetrate for toilet’s, showers, sinks and mirrors, but what about tile floors? They seem to slowly build up dirt and gunk over time and nothing ever seems to actually clean the grout.
Mopping is ineffective and if you want it spick and span you basically have to get on your hands and knees and scrub the cracks with a toothbrush.
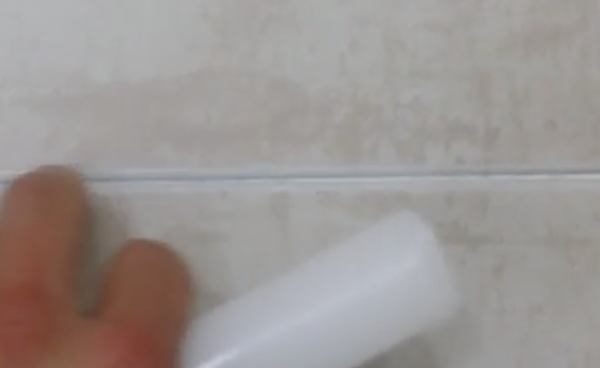
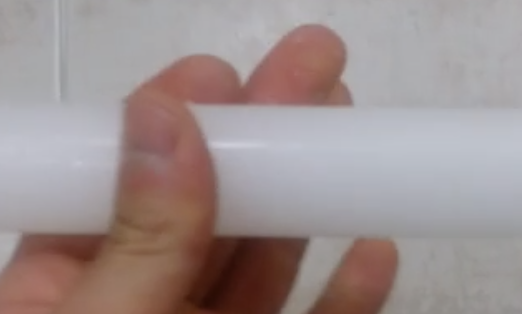
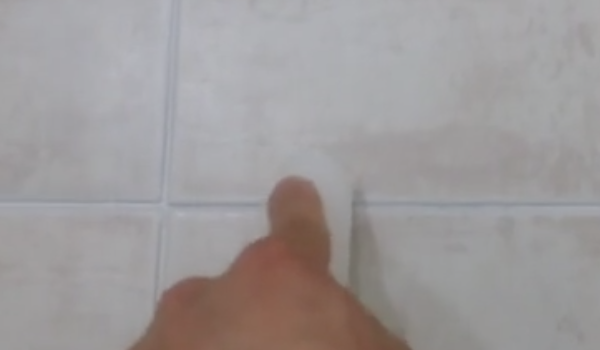
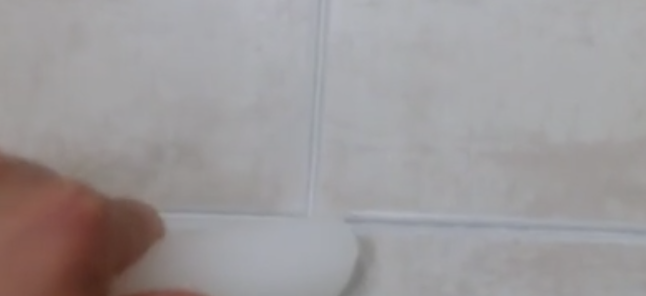
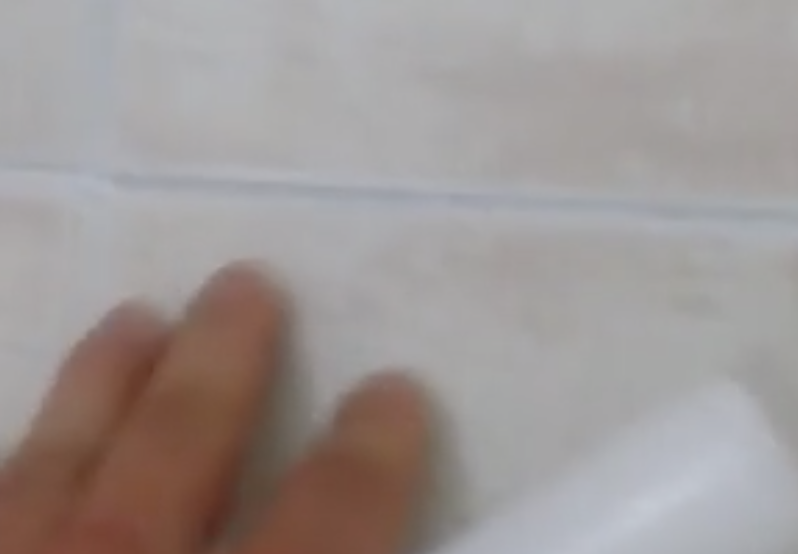
However, there is a much easier and preventative method for cleaning the grout in between tiles. Simply get a white candle stick and rub it directly onto and along the lines between the tiles. Make sure to firmly rub the wax on and go over the cracks a few times so you don’t miss a spot.
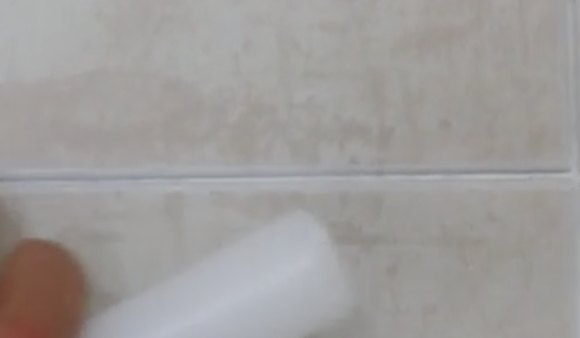
Also, clean the cracks before doing this, since it seals in the grout and whatever may happen to be on it as well, dirt included. The wax is hydrophobic, so when it’s really humid in the bathroom or water drips on the tiles, it repels the moisture and water off of them.
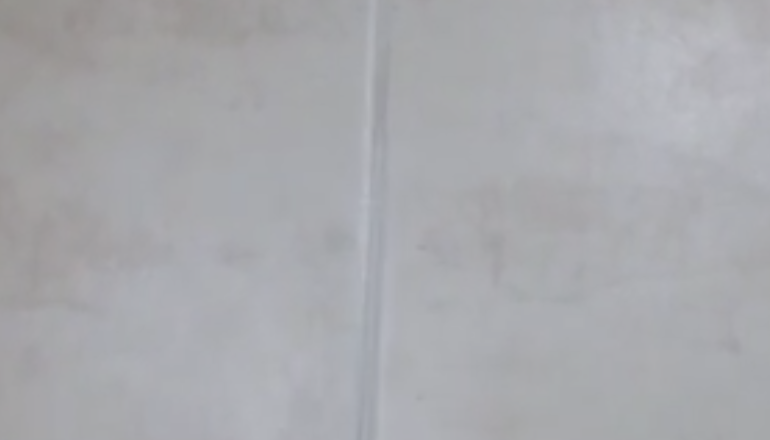
This means that mold and mildew won’t be able to grow and settle in between the cracks, which is what often makes them so hard to clean in the first place. That’s all you need to do to keep the grout from molding, getting clogged up with mildew, or becoming discolored.
Just rub a 50 cent, white colored candle on the cracks! It really works and is the best trick for this exact problem area. Please be kind and share this knowledge with all your friends and family to save them time and energy the next time their bathrooms need cleaning.
Please Share This Tip With Family and Friends
She Places Marbles Inside This Sticky Mixture. But When She’s Done It’s Unexpectedly Brilliant!

It’s spring and almost summertime! Time to fill yourself with the life that is thriving everywhere. Fresh food, bright colors, vibrant cocktails, and sunshine are all in abundance this time of year. You can bring the spirit of summer into your home with fun do-it-yourself crafts like the one in this video.
It’s super easy to make these beach reminiscent coasters at home with just a couple simple materials and a little bit of time. You can even get creative and make whatever design you can imagine.
First, you start with a silicone coaster mold. Fill the molds with floral stones, of whatever color variety you choose, to decide how many stones you need for each mold. In the video she uses yellow, green, and blue, but you could use whatever colors you like or arrange them together to make multi-colored coasters.
Once you have your designs, remove the stones from the molds to get ready for the mixing of your concrete or cement. Follow the instructions on the package that you purchased. You will be mixing a number of parts concrete to the necessary parts of water.
For example, in this video she uses one part water to four parts cement, which she translated to a quarter cup of water to one cup of powder. Mix the concrete and pour just enough into the molds to cover the bottoms. Then, place your stones in your desired design and press them into place. Let the concrete dry and pop out your new coasters! These can also be used as colored tiles to spruce up your patio.
Please Share This DIY Project With Friends On Facebook
Woman Places An Ice Cube On This Spot Of Her Neck For A Month. I Had No Idea It Would Do THIS
For as long as man has existed on earth he has been searching for a fountain of youth. The world has been searched over for some secret, powerful, life enhancing elixir that could make humans healthy and ageless. Today there are areas of medicine and science devoted to studying and searching for the right chemicals, plant extracts, and other combinations that can enhance beauty, turn back the effects of aging, and cure us of any and all ills.
Companies tout the latest and greatest breakthroughs and sell all sorts of creams, serums, crystals, magnets, and so on to consumers eager to snap them up. Most of these things promise the world but don’t work as hoped for. There is an easier, more affordable, and all natural way to heal and refresh your body. All it requires is that every day you lay on your tummy.
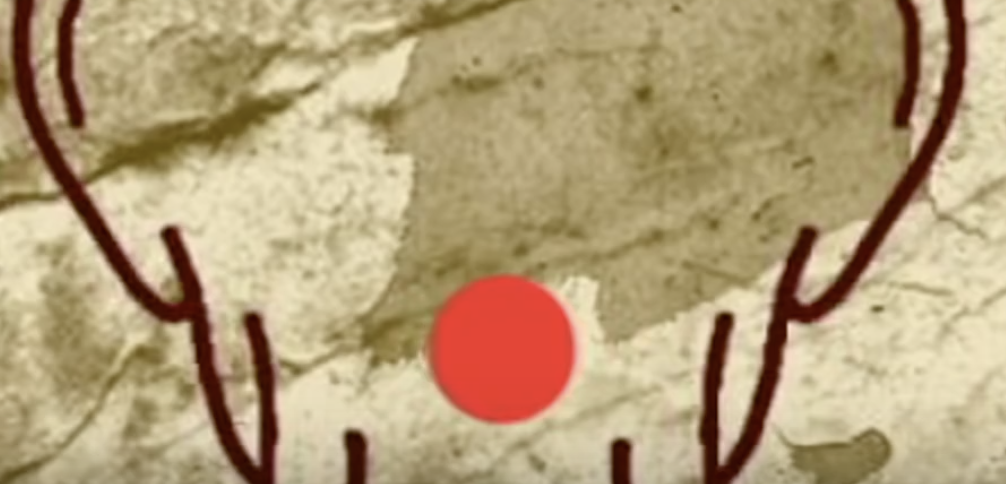
Place an ice cube at the base of your skull on your neck (see the point on the neck shown in the video), and allow it to rest there for 20 minutes. Do this in the morning on an empty stomach and before you go to sleep. It has been said that this technique can provide a variety of benefits to your body, as well as boost your mood and mental health.
After consistent use for a month potential health benefits include improved digestion and sleep, reduced thyroid issues and PMS symptoms, cure common colds, alleviate headaches or toothaches, and reduce overall risks associated with lung and cardiovascular diseases.
This alternative method dates back to ancient Chinese medicine and pressure points. The point it centers around is where your skull and neck meet, which is known as the Feng Fu. Many people report feeling younger, energized, and full of life after doing this everyday. Perhaps this simple practice is the way to go when trying to stay healthy and clean. Plus, there’s no harm in trying!
Please Share THIS With Friends On Facebook
I Was Confused When Mom Put A Container Of Toys Into The Freezer. But The Reason Is Surprisingly Brilliant!

When kids are home in the summertime you need to keep them busy and engaged in fun activities. Children often lose interest in their toys and the same old games they play day in and day out. When boredom sets in no one has fun. If you find that you’re running out of ideas to keep them entertained, check out these ice toys.
They’re a novel way to keep kids busy for a long time when it’s really hot outside and you can make them at home with a few simple items that you likely already have on hand. Your kids will play with them for hours and will love having a new activity to do!
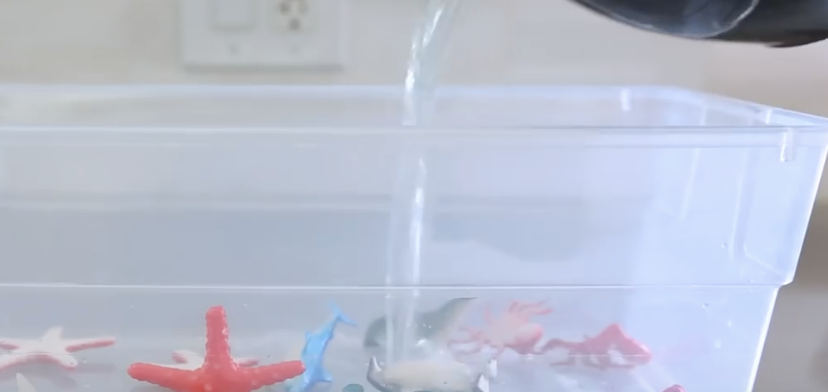
First up is ice toys which are made by using a plastic tub or bin, small toys that can get wet, and colored liquids. Place the toys in the bin, pour some liquid over them, and freeze it until completely frozen. Take it out and pour another color over the first layer.
Make sure the liquid you pour on top of the first frozen layer is very cold because if it’s too warm it will crack the layer underneath it. Freeze that layer completely and repeat the process, adding as many different layers of colored liquid as you’d like.
It takes awhile for all the layers to completely freeze so be sure to start this well in advance of when you want to use it. When it’s time to play, give the kids some tools to work with and help them figure out how to get the toys out of the ice. It should hold their attention for a long time and if it doesn’t simply pop the ice back in the freezer and come back to it at another time.
Next is ice paints that you can make with paint, an ice cube tray, water, and toothpicks. Fill an ice cube container a third of the way with paint, then top them off with water. Stir the paint and water, freeze for about two hours, then stick a toothpick in each paint cube and allow it to completely freeze. Take them out and have the kids paint with the ice cubes on paper as they melt.
The third project is ice boats. You will need small plastic containers, supplies to make sails with (such as paper, fabric, toothpicks, umbrella toothpicks, or small bamboo forks), and finally aluminum foil to make a river. Freeze water in the plastic containers and halfway through freezing them stick a toothpick, or whatever you choose to use for the mast, in the middle of them.
After they completely freeze take them out and glue or tape on some fabric or paper sails. Take some tin foil and form a ‘river’ out of it where the ice boats can float down. Then grab a hose so there is a constant flow of water and have the kids sail their boats down the river. They can race their boats and will play with these fun toys until they melt!
Please Share These Ice Projects With Family and Friends 🙂
She Wraps A Shirt Around Her Wet Hair. When She Removes The Shirt It’s Unexpectedly STUNNING!
If you have curly hair then you know how much of a pain it can be when trying to style it into the perfect look. Fussing with curls too much makes them frizzy but there’s no other way to go about doing hair other than that. To combat the problem many people end up using lots of different products that weigh down hair and make it look bad.
Others blow dry, chemically straighten, or run hot irons through the curls in attempts to get hair under control. These can easily damage and ruin otherwise perfectly healthy hair and take a lot of time, patience, and money that could be better spent elsewhere.
There is hope for curly haired people everywhere in the form of plopping or plunking. It sounds funny but this technique can give you frizz free, bouncy, beautiful curls. It’s easy to master and only requires a tee shirt, no expensive gadgets or serums are necessary, and since it’s done overnight you’ll free up a lot of time in your morning routine yet still look great. This video will show you how to plop your hair. Check it out and try it tonight!
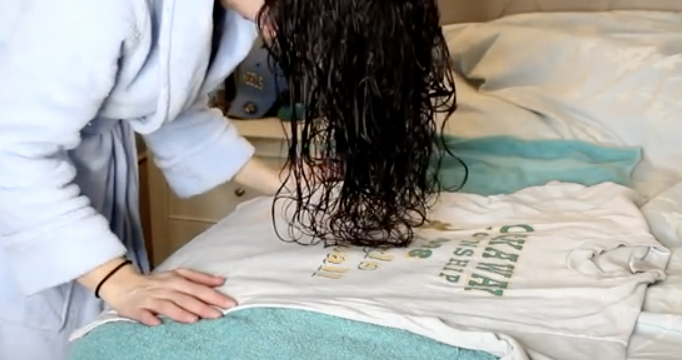
First shower and clean your hair, then towel dry it and add any styling product you prefer to use, but only smooth them onto hair from the ears down. Don’t put any product above your ears because that weighs down hair and overtime the products build up causing it to look bad and unhealthy.
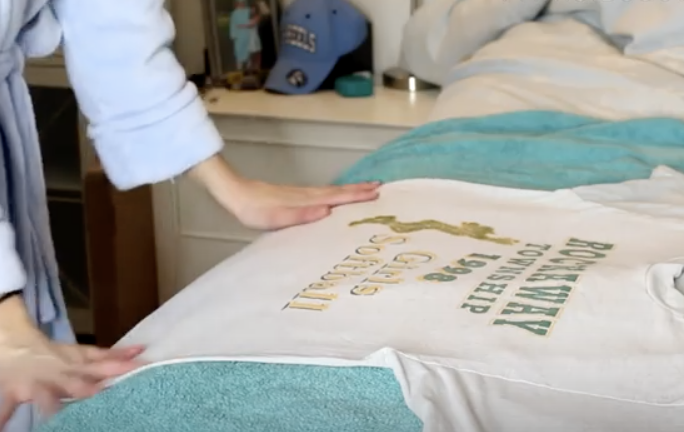
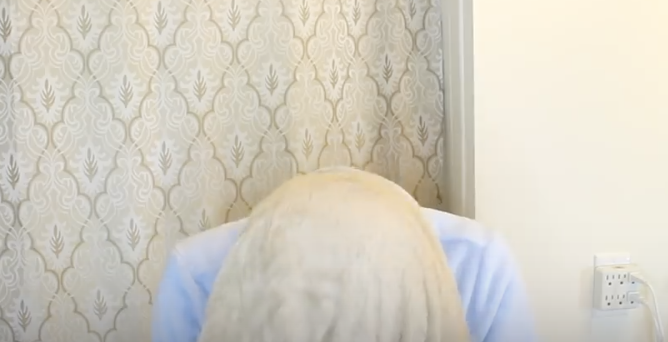
Comb the product(s) evenly through your hair then lay out a large cotton t-shirt. Smooth it down on a flat surface in front of you, a bed works perfectly. Shake your hair out, then flip it in front of you and lower your head down onto the shirt carefully so that the curls don’t get crumpled or tangled.

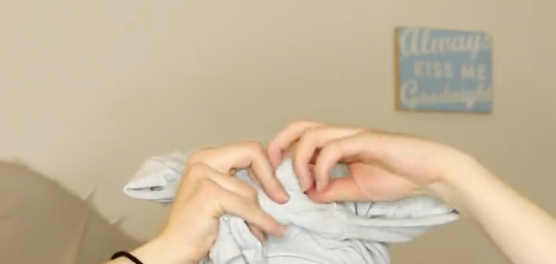
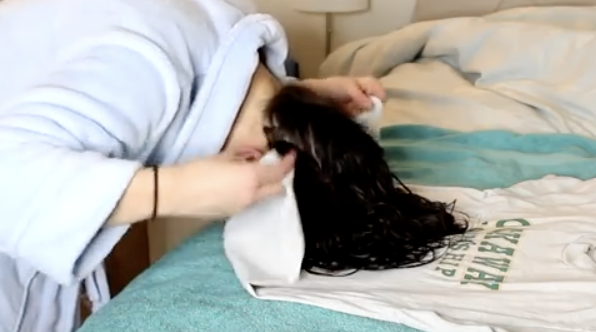
Keep your head still and grab the bottom edge of the shirt, wrap it around towards the base of your neck, and hold it there in place. Now grab the top of the tee and pull the neckline part down to the base of your neck, pulling the sleeves to the side of your head.
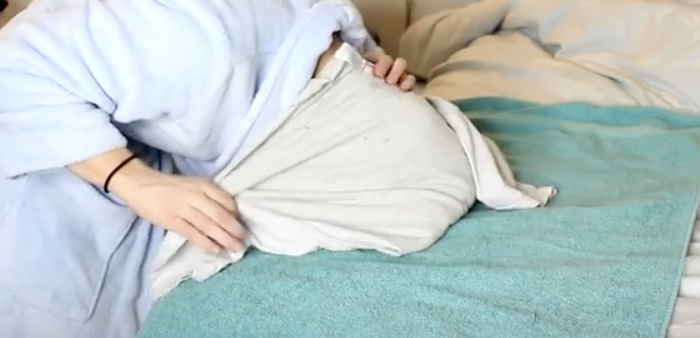
Tie the sleeves in the front so that you end up creating a turban out of the shirt and tuck in the tails or any extra loose fabric so it stays in place. It may take a few tries to master the turban but eventually you’ll get it right and love what plopping does for your hair.
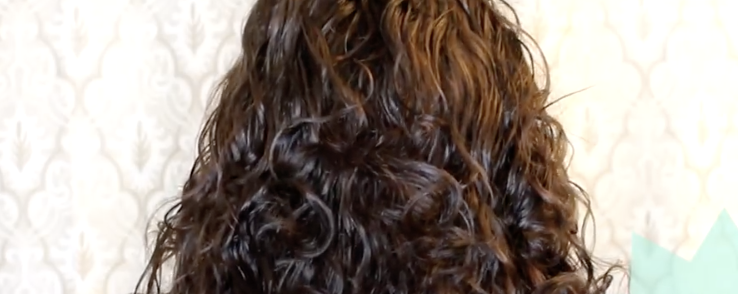
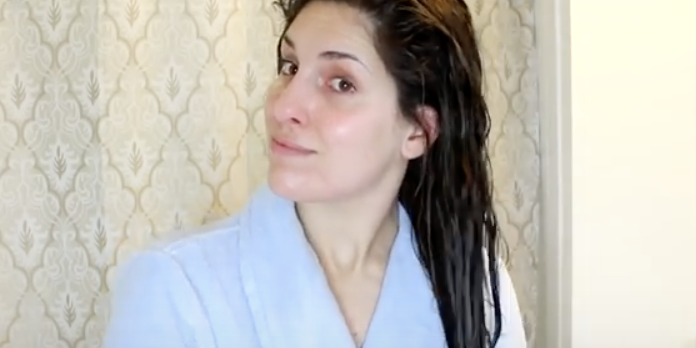
The t-shirt will protect your curls as you sleep on them overnight and all that’s left to do in the morning is to unwrap your hair. Your curls will be dry, bouncy, frizz free and while you may have to reshape a few with a curling iron, that’s it!
Please Share This Hair Trick With Family and Friends


