
He Flattens Bread And Adds a Special Ingredient. When He’s Done An Unexpected Tasty Surprise!
Start your day off right with the help of this strawberry french toast roll-ups recipe. Just reading the name of this treat is enough to make taste buds start watering! These are perfect for breakfast or brunch and are easier to whip up than you’d imagine.
In the accompanying video, YouTube channel Crouton Crackerjacks demonstrates how to properly prepare the dish, so check it out. The recipe instructions and a list of ingredients are below, so make sure you have everything in stock and make these sweet, heavenly creations sooner rather than later!
List of ingredients: 12 slices white sandwich bread, ½ pint fresh strawberries, 4 ounces of softened cream cheese, ¼ cup powdered sugar, 2 large eggs, 2 Tbsp granulated sugar (divided), ¼ tsp cinnamon
Start by rinsing and coring the strawberries, cut them into bite size pieces, and place in a bowl. Add 1 tsp of sugar to the berries and toss them around so they are lightly coated. Place the cream cheese in a separate bowl, add the powdered sugar, and mix together.
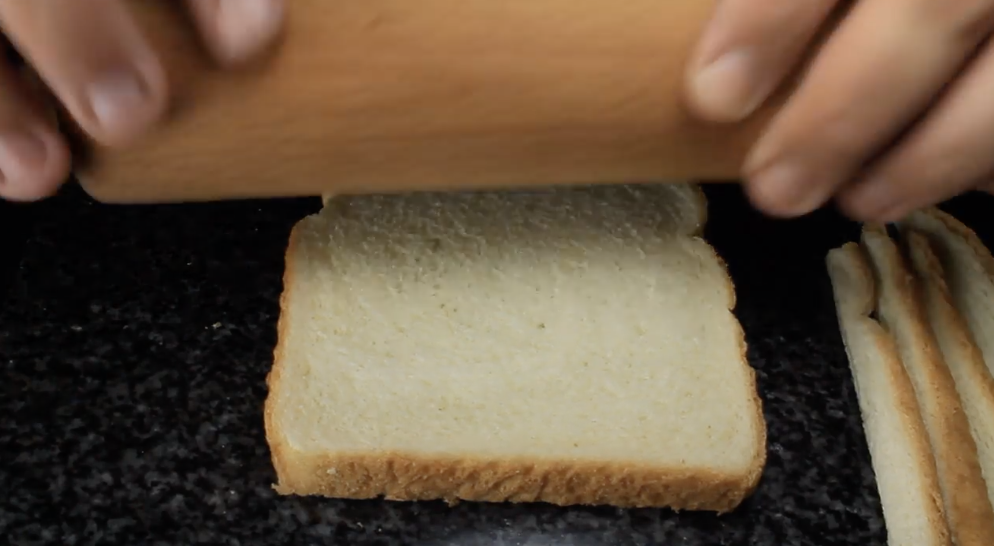
Take a rolling pin and flatten the bread slices, trim off any crust, and spread a teaspoon of the cream cheese mixture on one edge of the bread. Place a spoonful of berries on top then carefully roll up the bread around the berries and cream cheese so that it’s nice and tight.
Take another bowl and whisk together the eggs, milk, 2 teaspoons of sugar, and the cinnamon. Preheat a griddle or nonstick pan over medium heat and add a little oil or butter to it. Coat the rolls in the egg batter and then place each one seam side down to cook. When they start to brown roll them over just a bit, and continue to cook until all the sides are browned.
Once they’re done and off the heat you may dust the rolls with powdered sugar and top the plate off with more fresh berries or fruit. This recipe makes 12 delicious strawberry and cream cheese filled french roll ups. Try making some this weekend and be sure to share this recipe with friends and family, so that everyone can enjoy a fancy and tasty breakfast!
Please Share This Recipe With Family and Friends
Woman Wraps Foil Around THIS Garlic and Puts It In The Oven. But When She’s Done YUM!
Roasted garlic is a wonderful ingredient that can add lots of complimentary flavor to almost any recipe or dish. It’s also really good for you and is packed with nutrients like fiber and Vitamins C and B6. If you ever have a cold skip the medicines and instead pop some garlic since it has been proven to boost your immune system and helps reduce the severity of symptoms associated with the flu and common cold.
There are many other health benefits associated with the hearty bulbs, as well as various alternative ways in which they can be used. However, one of the most universal and beloved ways we take our garlic is by roasting it first.
Roasting garlic helps to lessen the stinky effect it has on our breath and it tones down the powerfully strong taste it has in its raw form. Instead, the heat transforms it into a sweeter, less bitter, and more rich flavor that’s perfect for use in dishes, dressings, dips, sauces, spreads, and so on.
Try the following method to perfectly roast up some delicious garlic in the comfort and convenience of your kitchen at home.
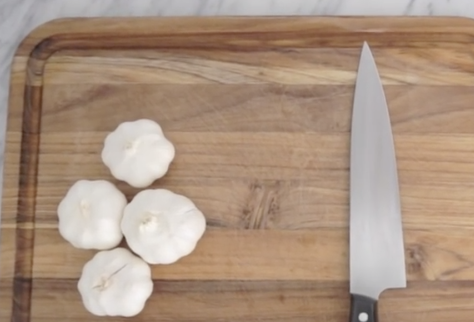
First pre-heat your oven to 400 degrees. Take a bulb of garlic and remove the dried, papery outer skin from around it. Carefully cut off the top of the bulb with a sharp knife. Take a piece of tin foil and lay it flat, place an equal sized piece of parchment paper directly on top of the foil, and finally place the garlic atop the parchment paper.
Drizzle the garlic bulbs with some olive oil and wrap them up neatly and tightly in the foil. Place them on a pan in the oven and roast for one hour. Remove when time is up, unwrap, and allow the garlic to cool. Gently squeeze the garlic bulbs to remove the cloves and serve or use them right away. You may also place them in a covered storage container and keep them for a few days in the refrigerator.
It is simple and easy to roast your own garlic and enjoy its many benefits. Now you can spread it on crackers, use it in dips or different dishes, and upgrade the tastes of whatever you happen to whip up in the kitchen!
Please Share This Delicious Recipe With Friends On Facebook 🙂
She Weirdly Put Biscuits On The Bottom Of A Muffin Tin. But She Creates An Unexpected Tasty Surprise!
There is a right way and a wrong way to go about doing almost everything. Then there are all the ways that fall in between those two ends, and that’s what is covered in this Allrecipes YouTube video. It features a novel way for you to use a muffin tin to bake a variety of delicious treats that your whole family will love and appreciate.
The awesome idea shown makes you think outside the muffin tin, and shows you how to switch up how you normally go about using the classic bakeware. Instead of putting dough in the little slots right side up, flip over the tin and use the underside of the moldings to make different types of edible food bowls. Get creative and imagine all the different ways you could use this technique to bake stuff, and below are some of the recipe ideas covered in the video.
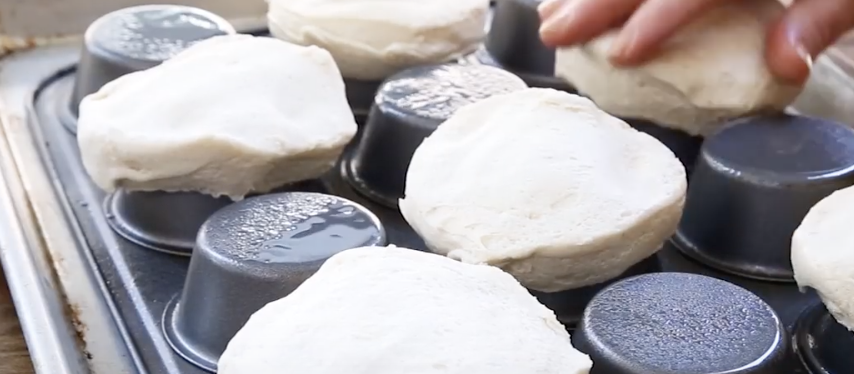
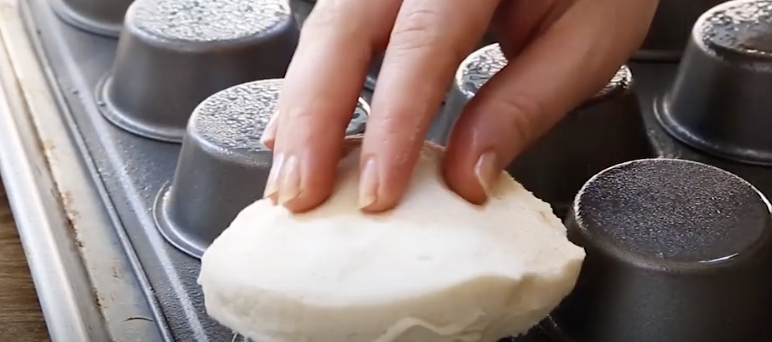
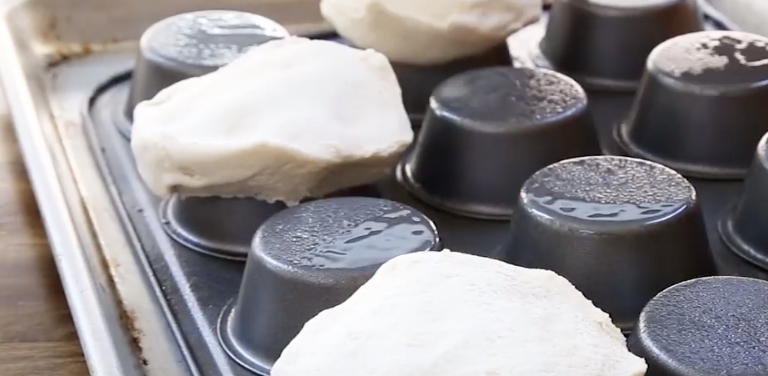
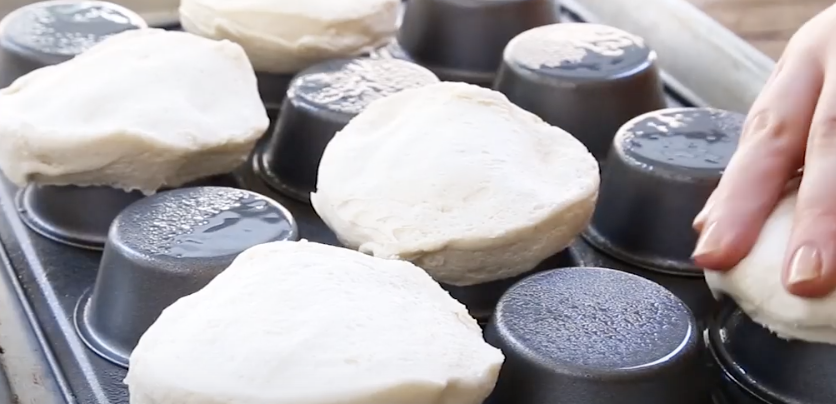
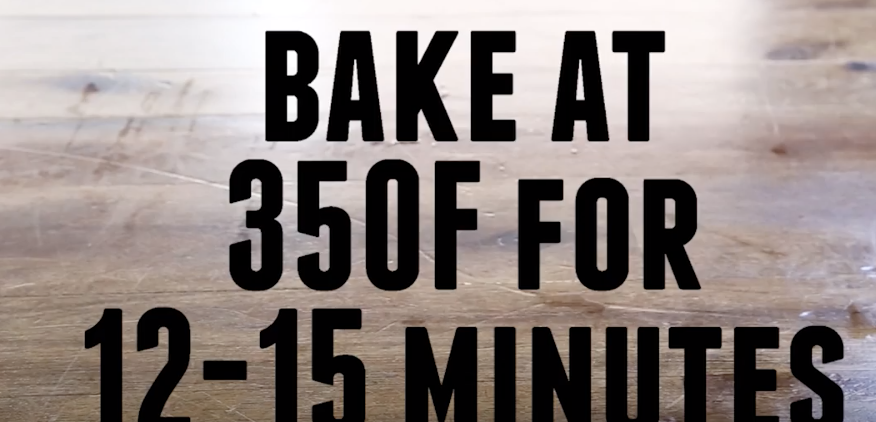
The first recipe shown is for biscuit bowls. Coat the overturned side of the tin with cooking spray, then take some biscuit dough and smush it over the muffin slots on the bottom of the tin. Pop it in the oven at 350 degrees and bake them for 12-15 minutes.
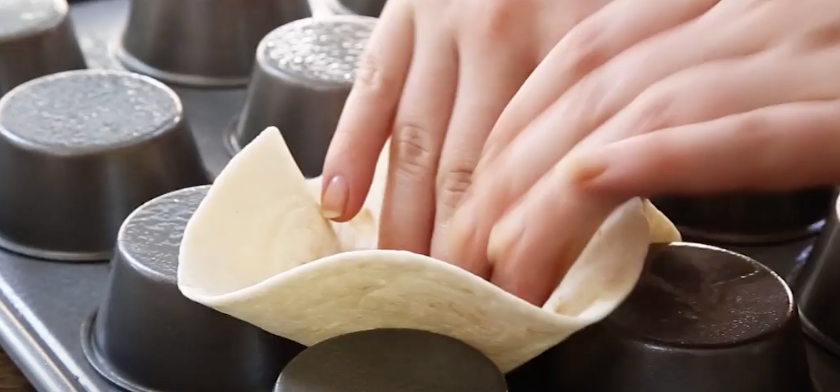
Now you have tasty little biscuit bowls that are perfect for holding hearty soups like loaded potato soup with cheddar or different chowders, as well as dips and chili. The next recipe is for taco bowls. Coat the underside of the muffin tin with cooking spray and then insert soft tortillas in between the muffin slots so that they form a nice bowl shape.
Bake these at 350 degrees for 10 minutes and then fill them up with taco fixings like meat, cheese, lettuce, tomato, salsa, guacamole, or whatever you prefer.
Please Share These Muffin Tin Kitchen Hacks With Family and Friends 🙂
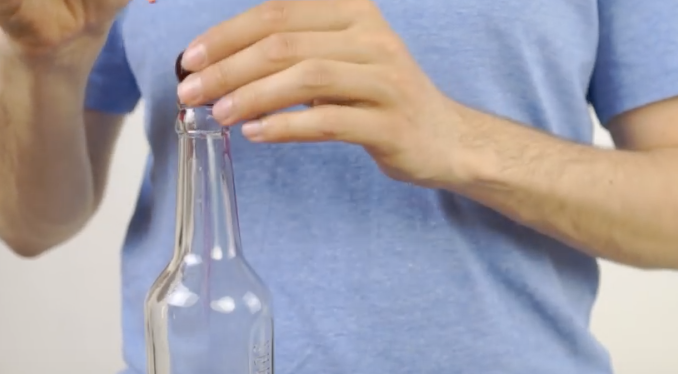
I Was Confused When He Put A Cherry On Top Of The Bottle. But The Reason Is Unexpectedly Brilliant
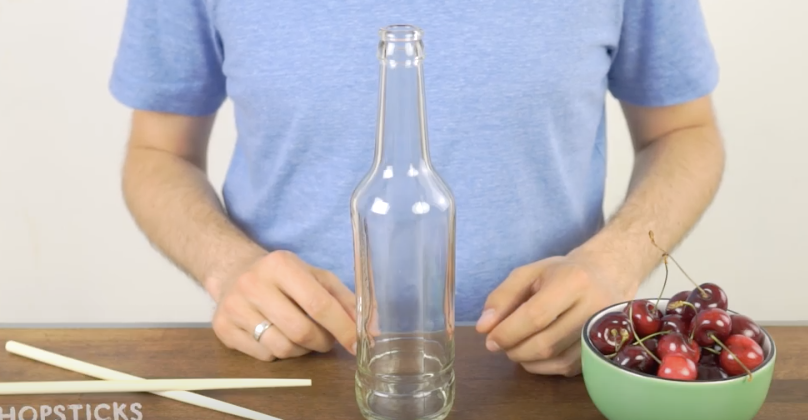
When he put the cherry on top of the bottle, I was confused. But when I saw what he did next, I was running to try it! Cherries are fantastic. Everyone loves them, they are the cherry on top of nature. They have one downfall that makes them aggravating, and it may be the only thing that stands in the way of complete cherry domination. Without the pit, the delicate balance of sweet and tart would be immediately available, and they would be cleaner than the renowned strawberry of legendary lore.
Take me to Japan in April, right at the height of the cherry blossoms, their magnificent pink-white petals sprawling from delicately manicured limbs as thin as glass. The scent of joyful perfection fills the air, as the petals’ twirling dance flirts with the breeze.
Ancient temples rise at impossible angles out of the sea of blooms, their curling roofs housing countless generations of fastidious monks, whose hands relay the attention given to their tree brethren.

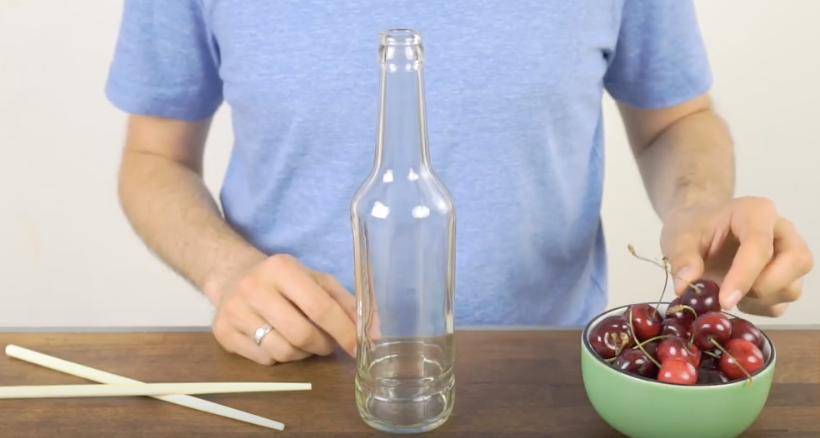
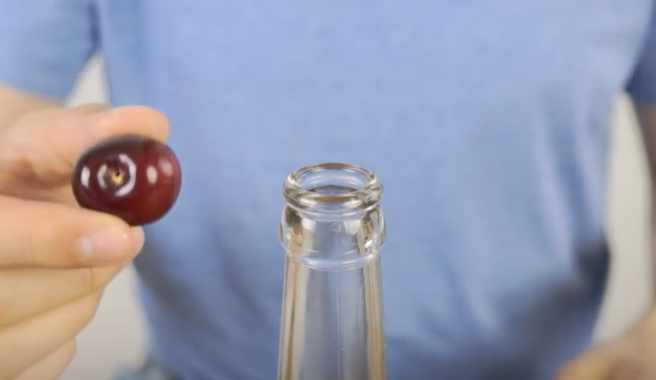
But there is a remedy, decidedly simple, that can be utilized to abolish this infamous pit. You are likely going to want to grab yourself a bottle, chopsticks and a bunch load of cherries. Step one, grab a cherry. Step two, place upon the bottle your cherry.
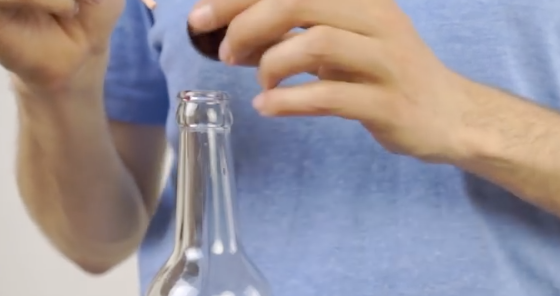
Step three, poke that cherry with that stick. Step four, eat that cherry. You have now successfully demolished the single impediment that stood between you and the cherry palace. Congratulations.
Please Share This Trick With Family and Friends 🙂
I Was Confused When She Put Peanut Butter In A Mixer. But When She’s Done A Delicious Surprise!
When it’s hot and sticky outside the last thing you want to do is spend time baking in the kitchen and making the house hotter than it already is. Instead, try whipping up a recipe that doesn’t require any cooking or heat at all. If you have a sweet tooth that needs satisfaction then this peanut butter pie is the answer.
It’s easy and simple to make and turns out a creamy, melt in your mouth, delicious treat that everyone will love to indulge in. The recipe can be made with creamy or chunky peanut butter and you can customize it by adding in other things such as crushed Oreo cookies or chocolate chips. Or you can switch up the type of pie crust you use and put other tasty toppings on it.

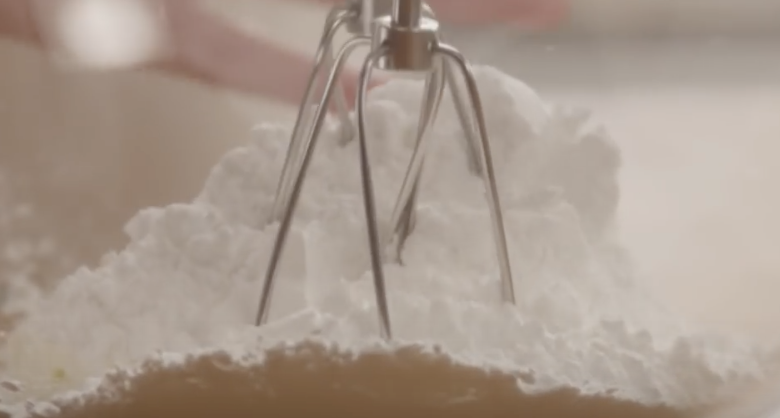
Best of all, you can make this dessert without ever having to put the oven on because it calls for freezing, so it’s perfect for these hot summer days. Start by combining one 8 ounce package of room temperature cream cheese with 1½ cups of confectioners sugar.
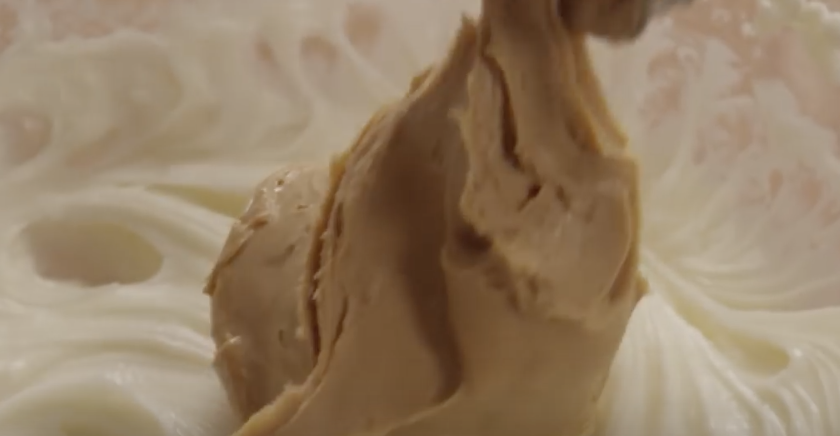
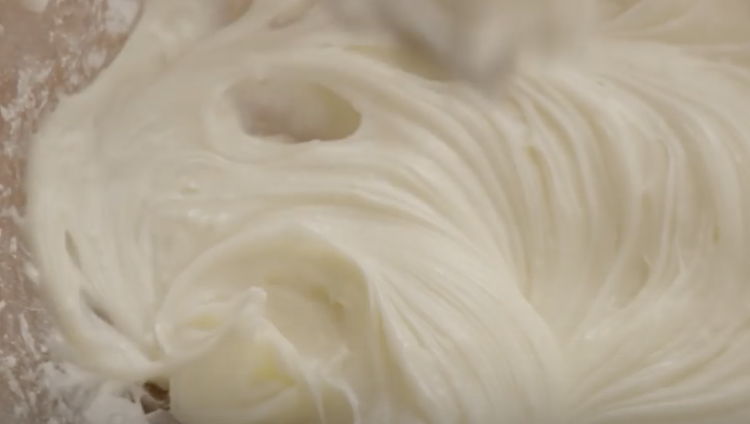
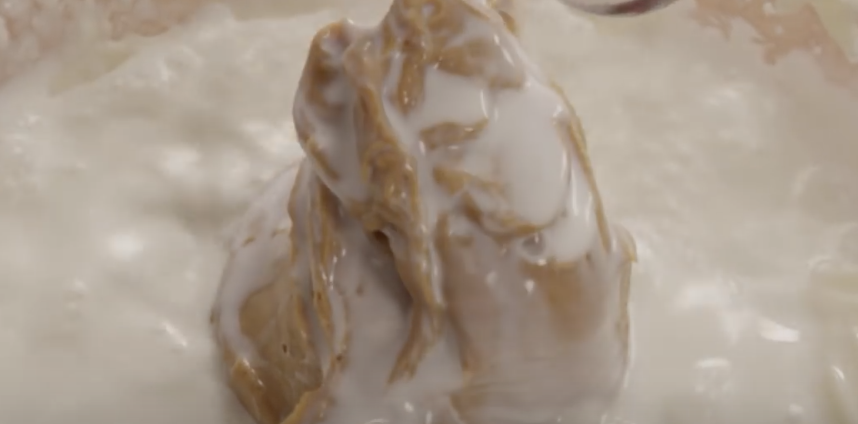
Blend them together with a mixer until smooth. Add in one cup of peanut butter and one cup of milk. Take the blender and beat the mixture until it’s smooth again. Next, add in one 16 ounce package of frozen whipped topping that has been thawed out and blend it in with a spatula.
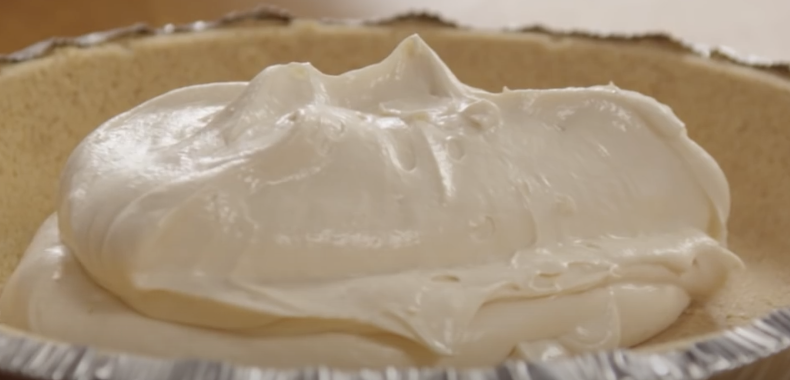
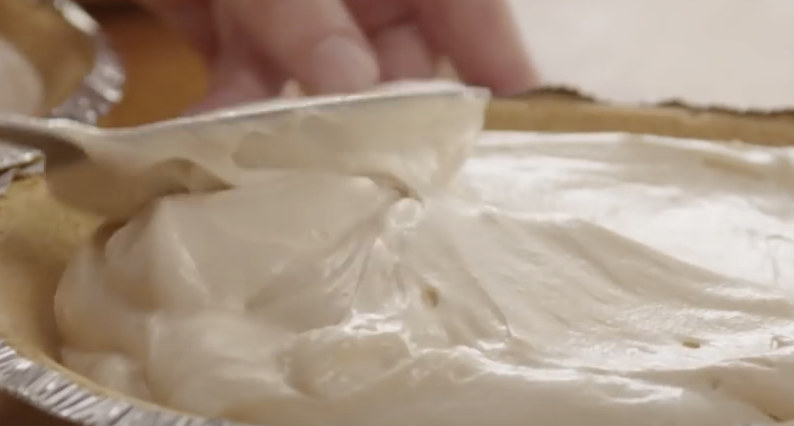
Afterwards, spoon the mixture into 2 nine inch graham cracker pie crust/shells, cover, and freeze for about 2 hours or until firm. This peanut butter pie takes about 20 minutes to make and 2 hours to freeze.
Once you pop it in the freezer you can go about your day and come back to it later for a cool, creamy piece of pie. We just tried this and it came out perfect. This is the perfect tasty treat for any occasion! Watch the video below for a more detailed recipe. What are you waiting for? Treat yourself!
Please Share This Recipe With Friends On Facebook
A Young Girl Gets In Between Six Pit Bulls and Their Food. Now Watch Their Reaction!

Pit bulls are often viewed by many as dangerous dogs who behave unpredictably. Over the years there has been an ongoing debate about whether or not they deserve this reputation and the saying “it’s the owner, not the breed” always comes up. People invoke this expression to defend the animals, claiming that it’s how owners treat the dogs and their environment that factor into whether or not they turn out to be viscous or sweet.

If a pit bull is treated well and trained properly then the dog will act in line with how it was brought up to behave. The same goes for the opposite, if the dog is treated bad, untrained, and never disciplined, then it will likely act mean and aggressive.

One woman made a video displaying how the right training and environment can turn out pit bulls who are incredibly patient, attentive, loving, and non-aggressive. In the clip, uploaded to YouTube by the Pitbull Channel, a little girl stands in front of 6 adult male pit bull dogs.

She tells them all to sit and makes sure they fully comply before turning to prepare their dinner. The girl is only 4 years old and not much bigger than each of the dogs that surround her. Yet they all sit patiently waiting for their food, and not one of them whines, barks, or moves out of position.

She pours the dry food onto the floor as they watch, spreads it out, then counts to three before giving them the okay. All six dogs immediately spring forth to scarf down their dinner and even while they are eating the girl moves around them. They don’t nip, growl, or bite at her, as some dogs do around food, and clearly they have been trained extremely well.

In the background a woman explains “six male pit bulls, some people say it could never be done. They live and eat together. We are a family.” She is indirectly referring to the stereotype that many people cite when talking about pit bulls and how uncontrollable and aggressive they can be.

Her video is proof that this definitely is not always the case and that she trusts them around her young child. It’s strong evidence that the dogs have a bad reputation based on a few bad apples in the bunch. They have the ability to be family dogs who are gentle and patient, and should be loved just the same as any other type of dog.

Please Share This With Family and Friends


